
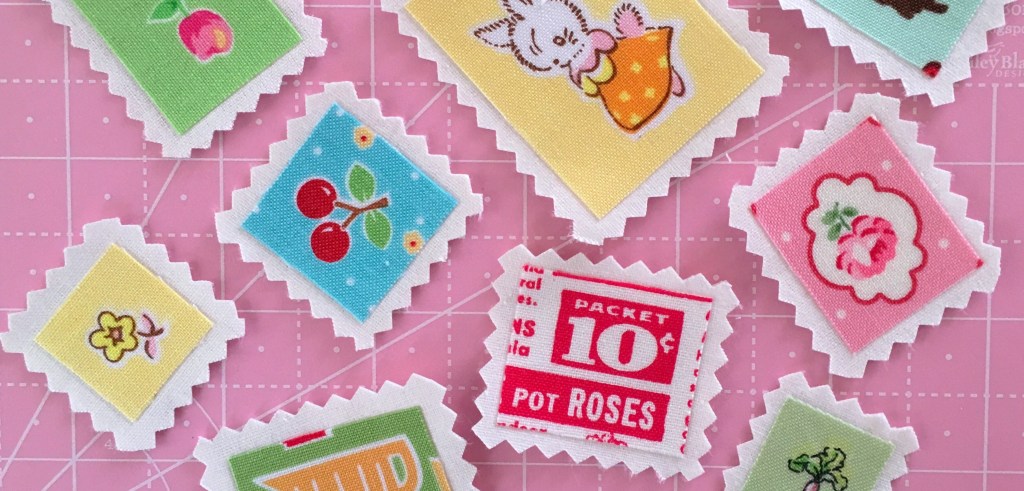
Fabric Postage Stamp Tutorial
Looking to add a little personality and visual interest to your next bag or pouch project? Fabric postage stamps are a fun, modern patchwork embellishment that make great use of small scraps and add a unique touch to any surface – perfect for zipper pouches, tote pockets, or mini accessories.
They’re quick to make, scrap‑friendly, and a great way to practise precision cutting and fussy‑cutting techniques before moving on to bigger projects like bags or quilted pouches.
So, let’s get started, shall we!?
Supplies
- Assorted fabric scraps — dive into your stash and find the little prints you love
- Fusible web (I use Heat ‘n Bond)
- Light‑coloured background fabric or felt
- Pinking shears (scallop or zig‑zag work beautifully)
- Iron + pressing cloth (or baking paper – my fave)
- Standard sewing supplies
Postage Stamp Instructions
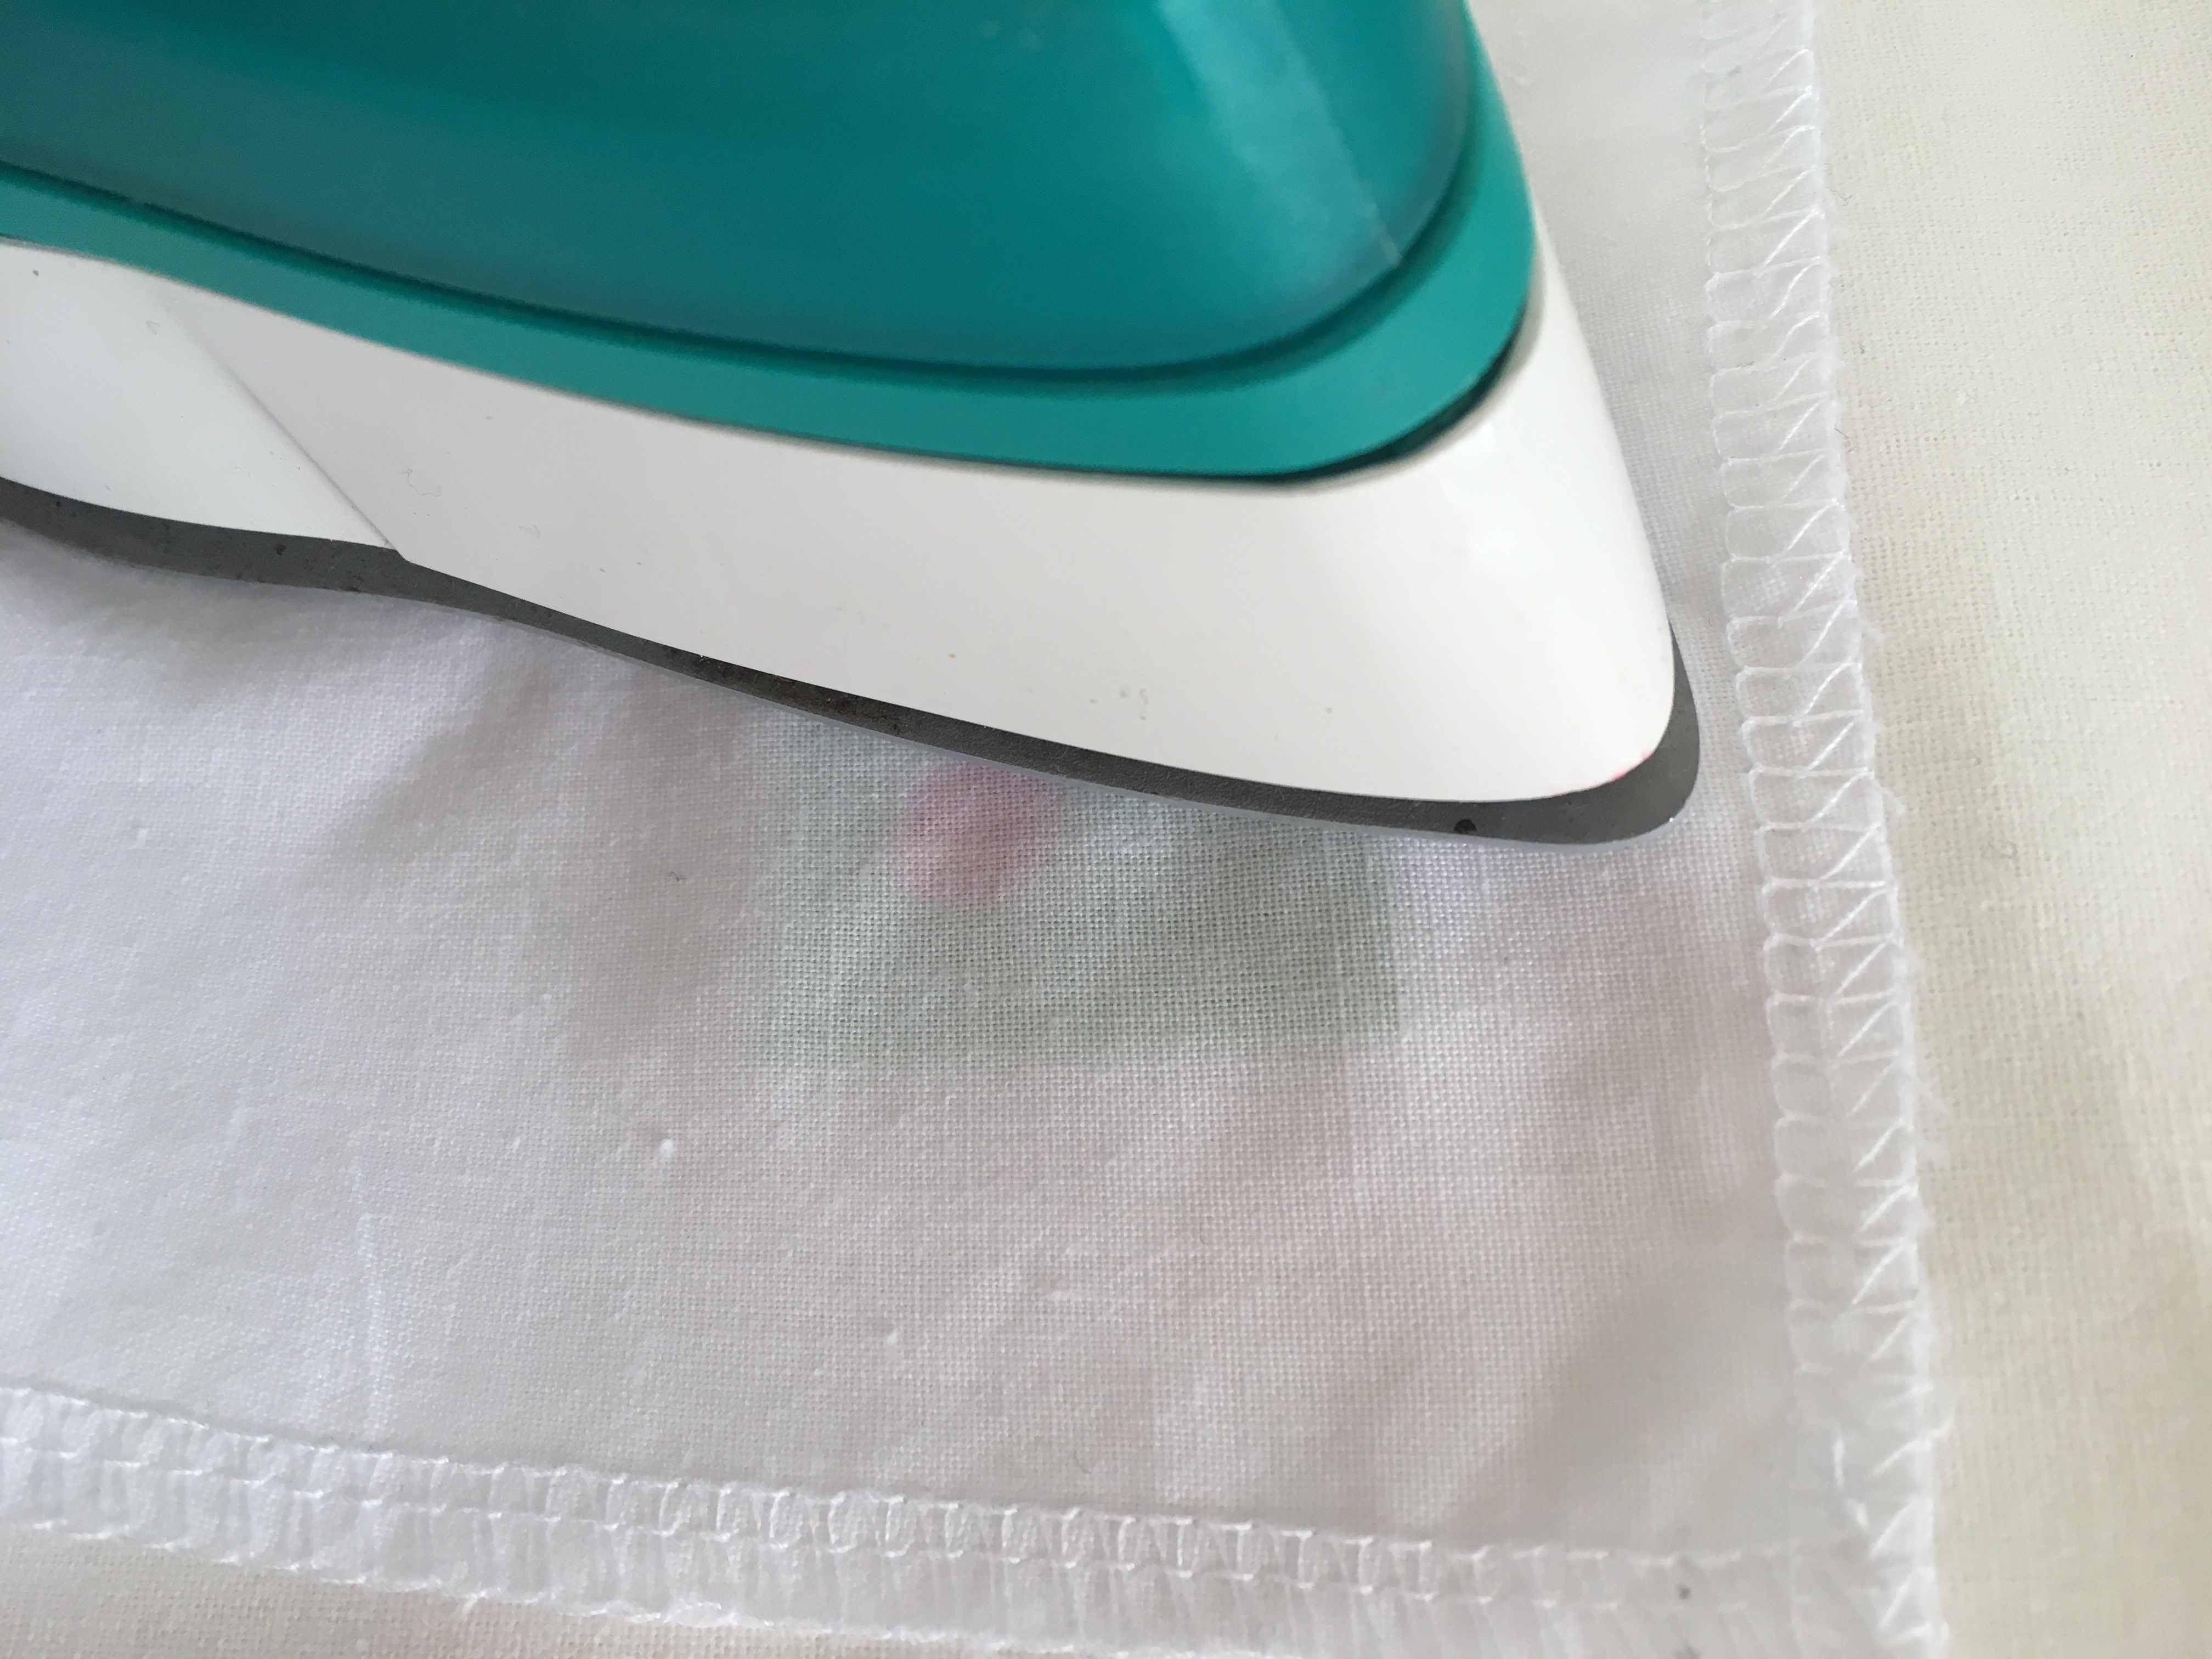
1. Choose & Fuse
Pick a scrap with a graphic or interesting motif you want to feature. Fuse it to the glue side of fusible web, using your pressing cloth (or baking paper) to protect your iron.

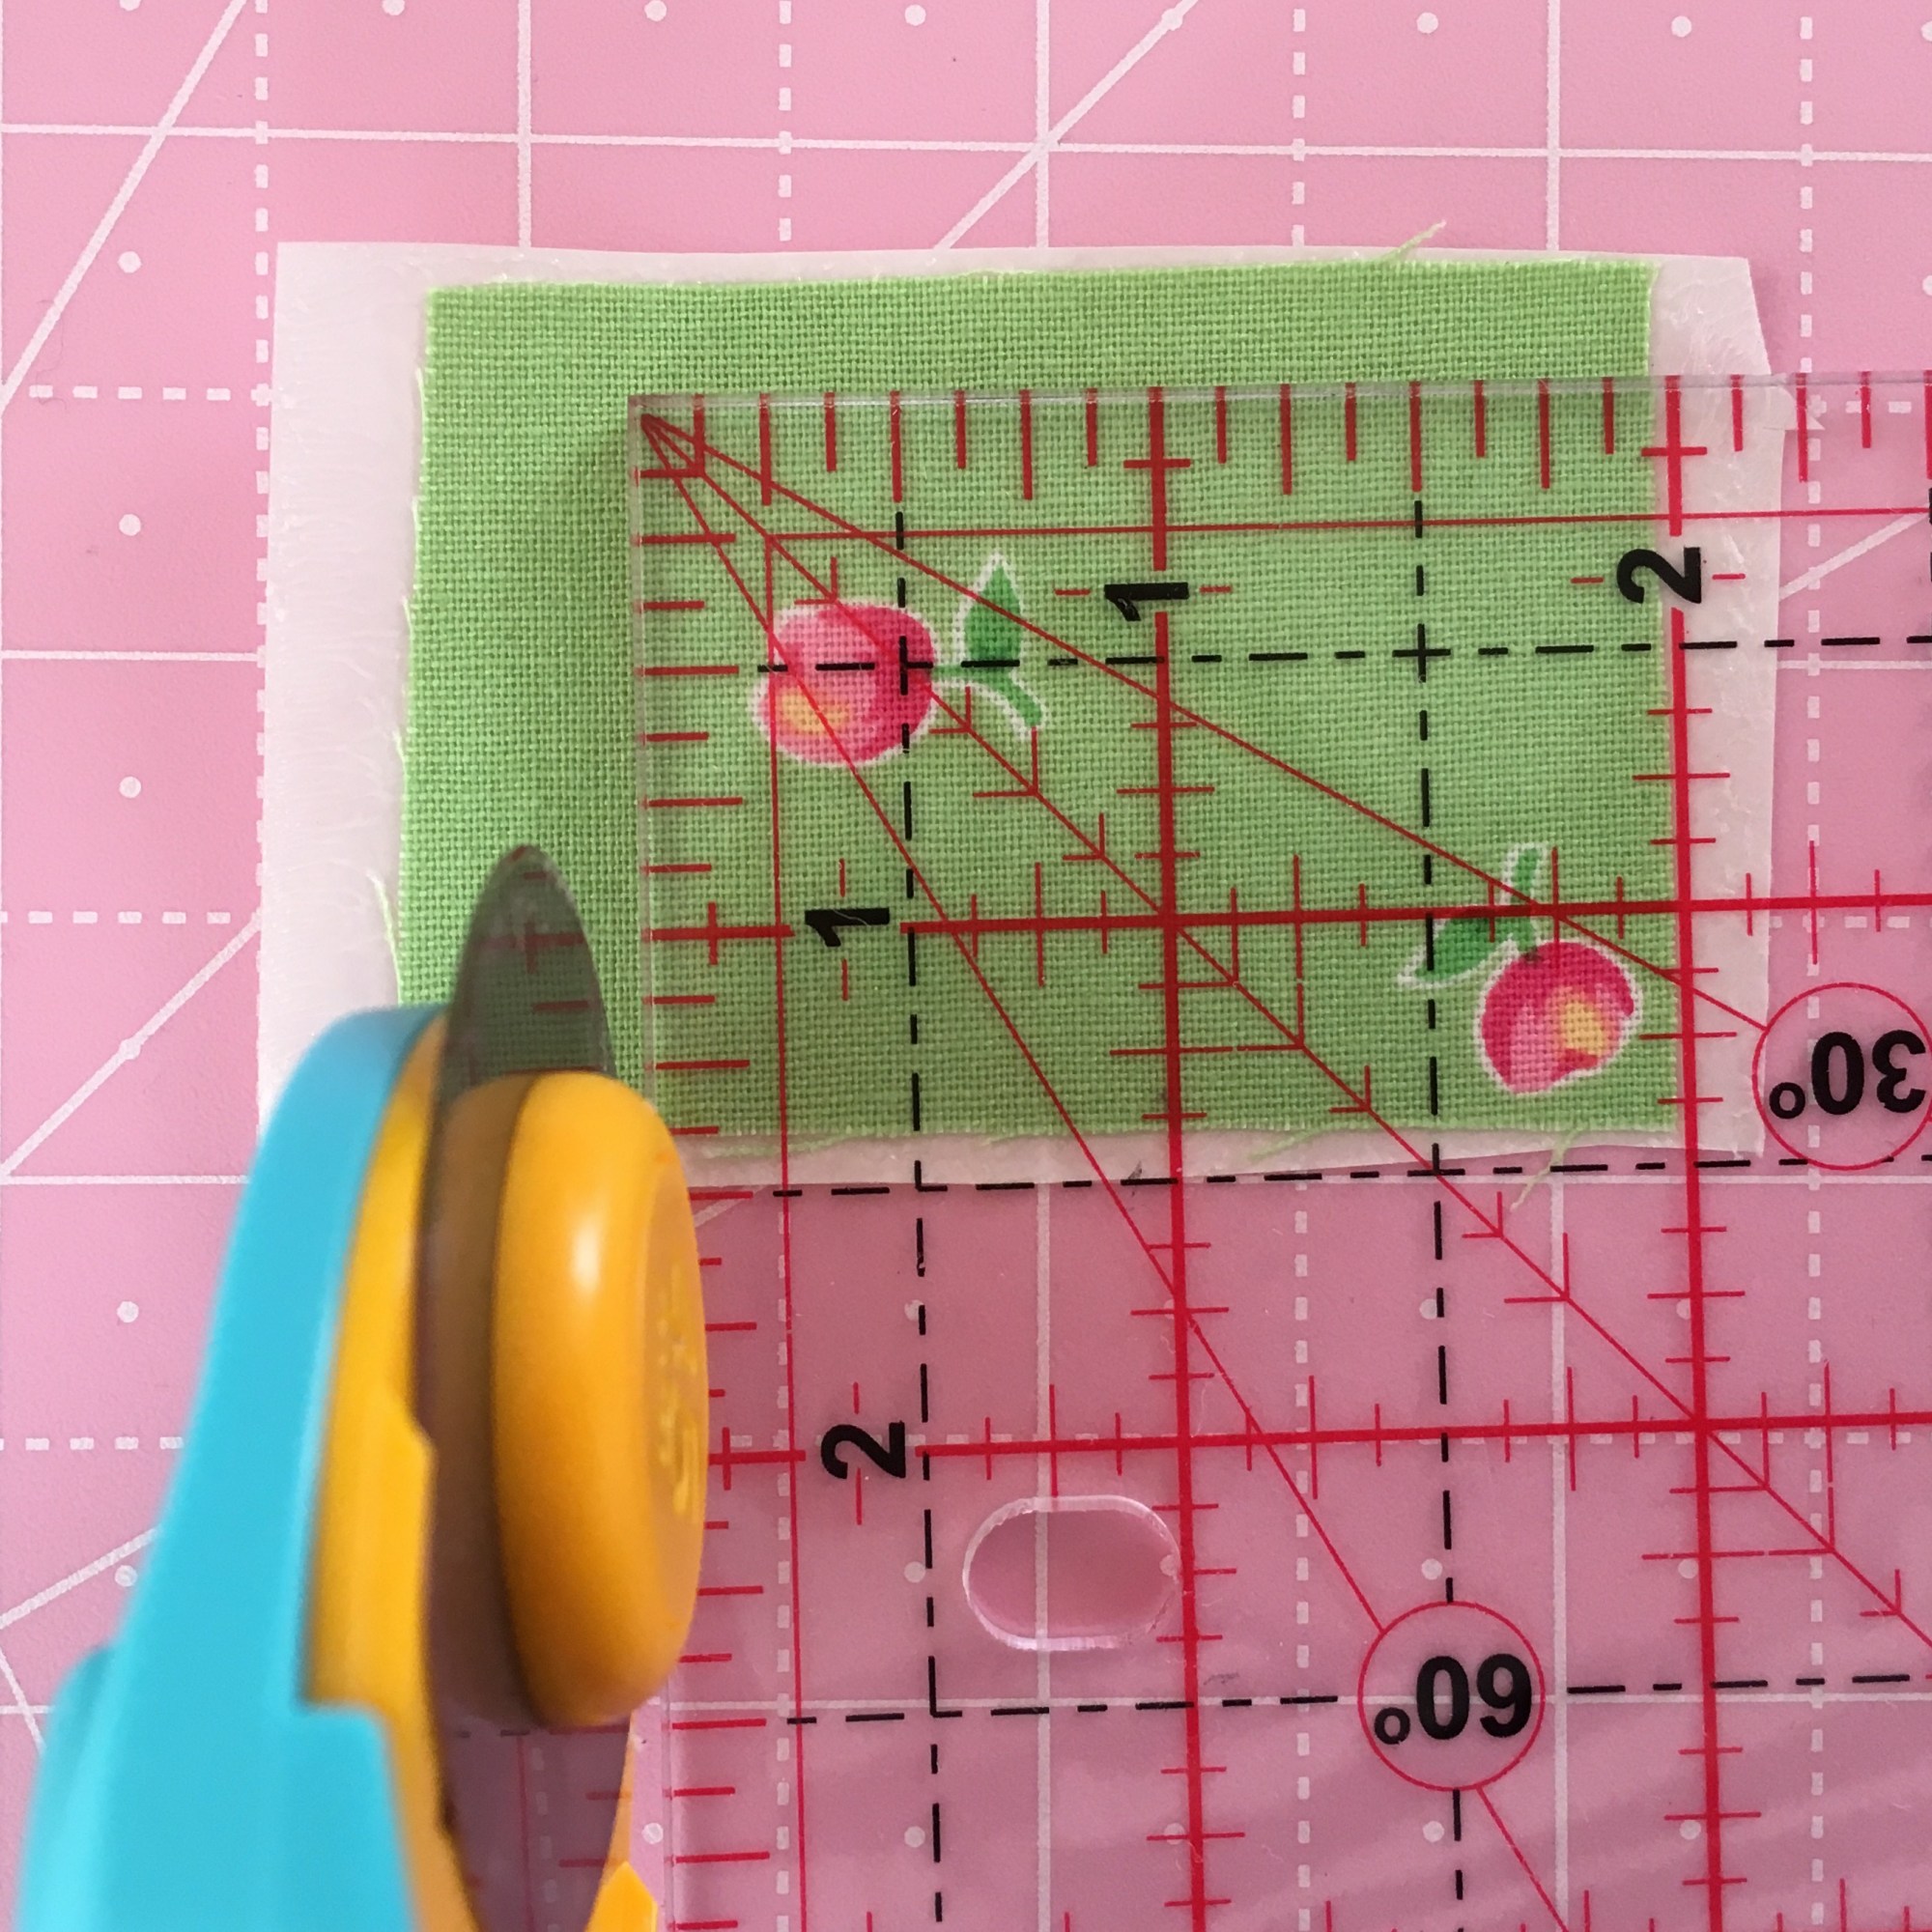
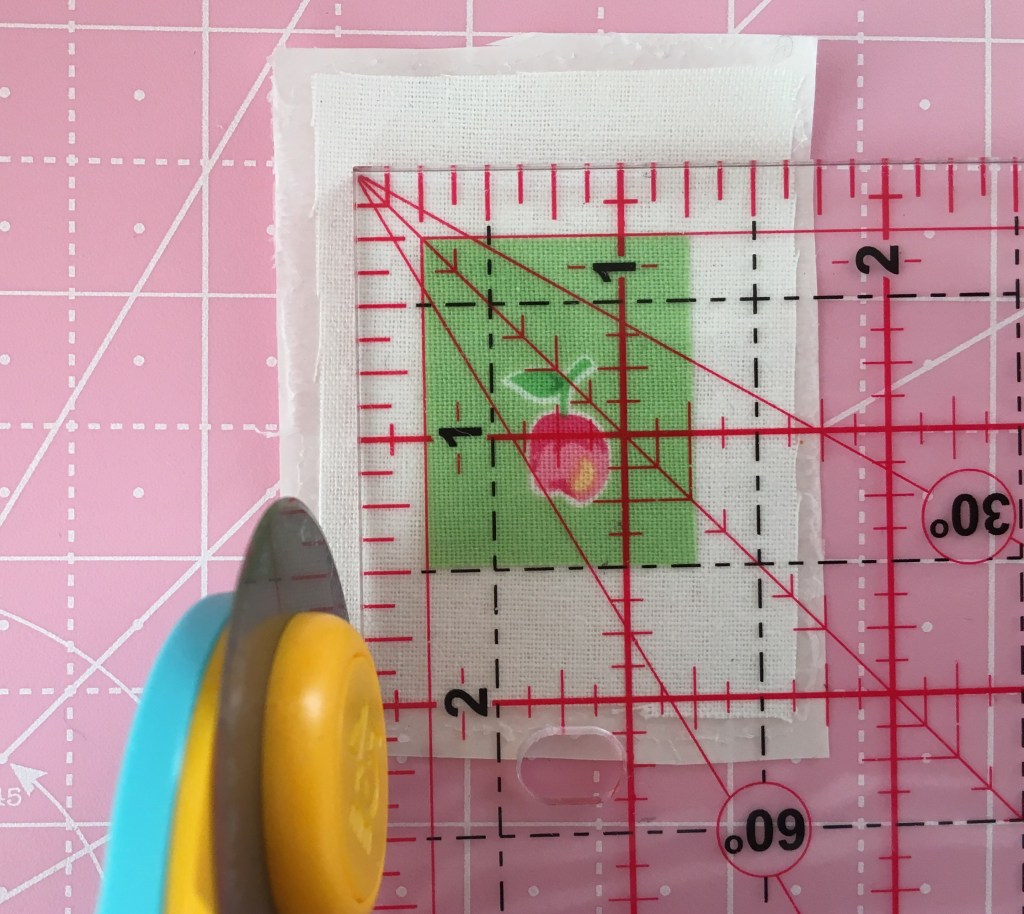
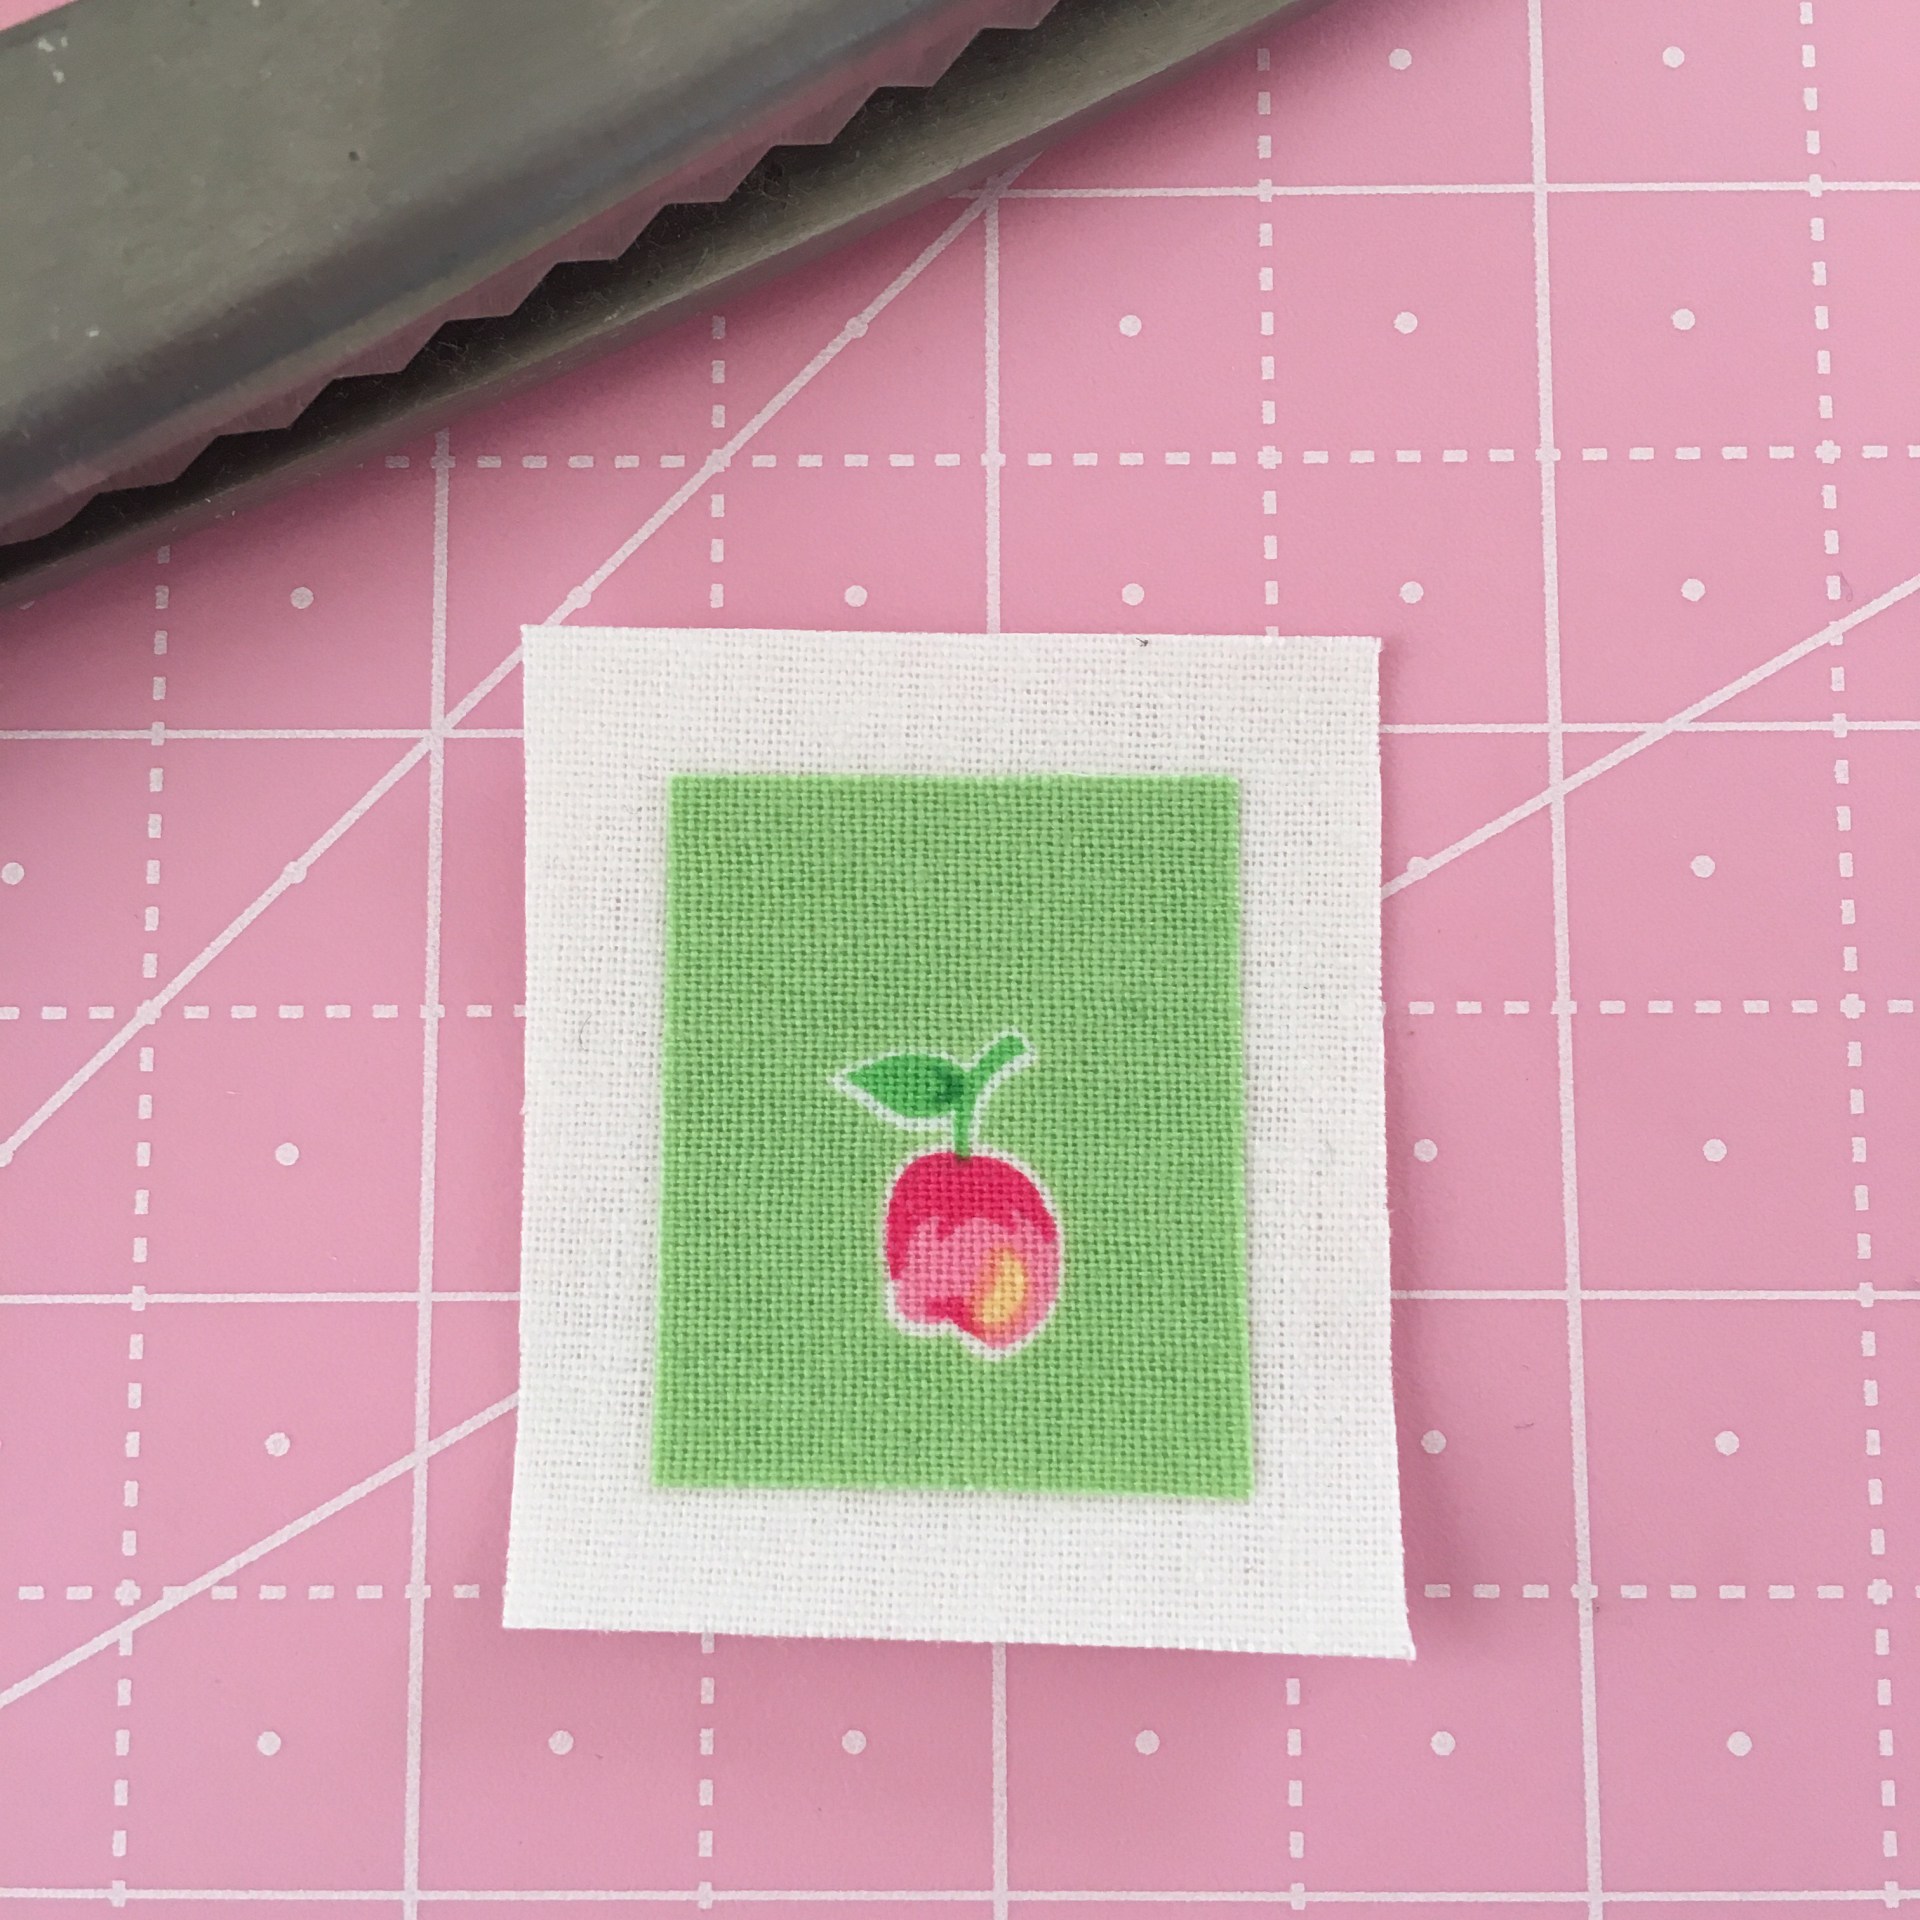
2. Trim the Feature
With a ruler and rotary cutter, square up your piece. I leave about ¼”–⅜” around my motif so there’s space to stitch later.
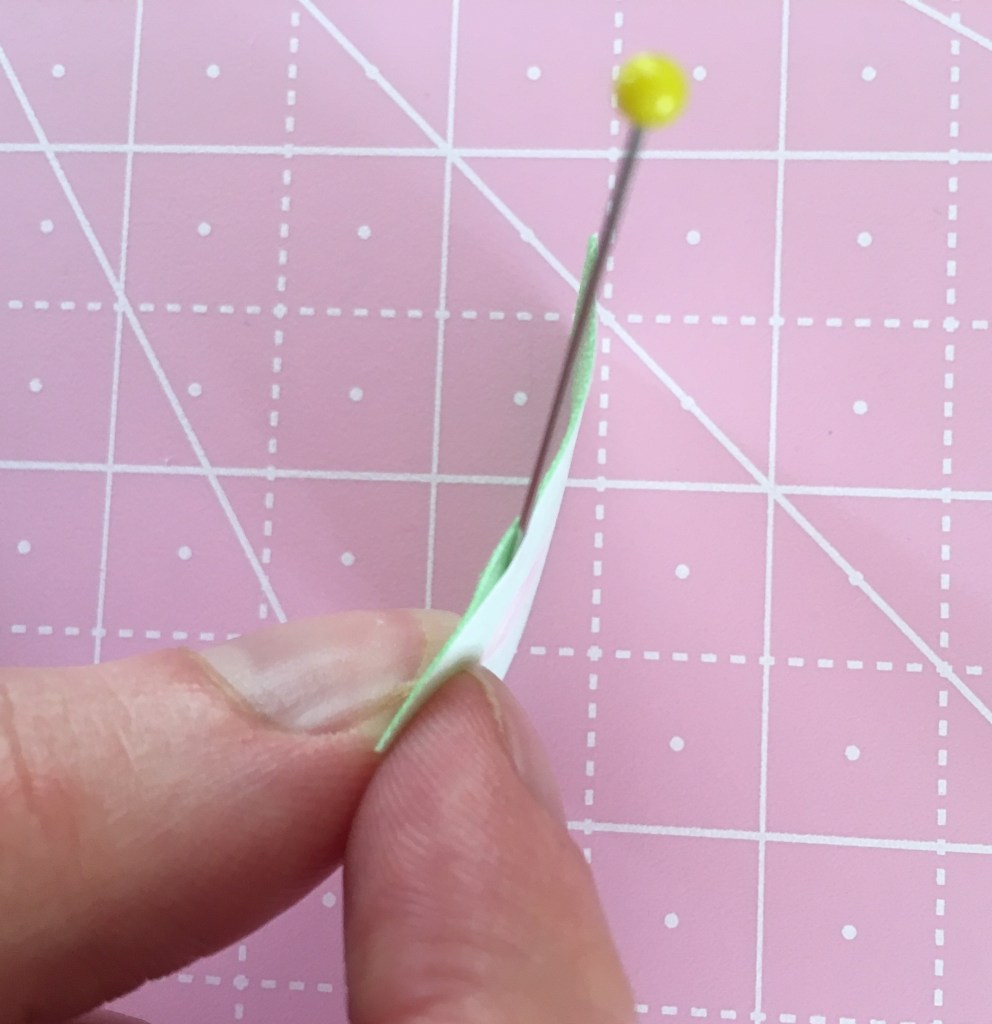
4. Remove the Backing
Carefully peel off the paper backing from the fusible web. If it sticks, slip a pin gently between the fabric and the paper to help it release without fraying.
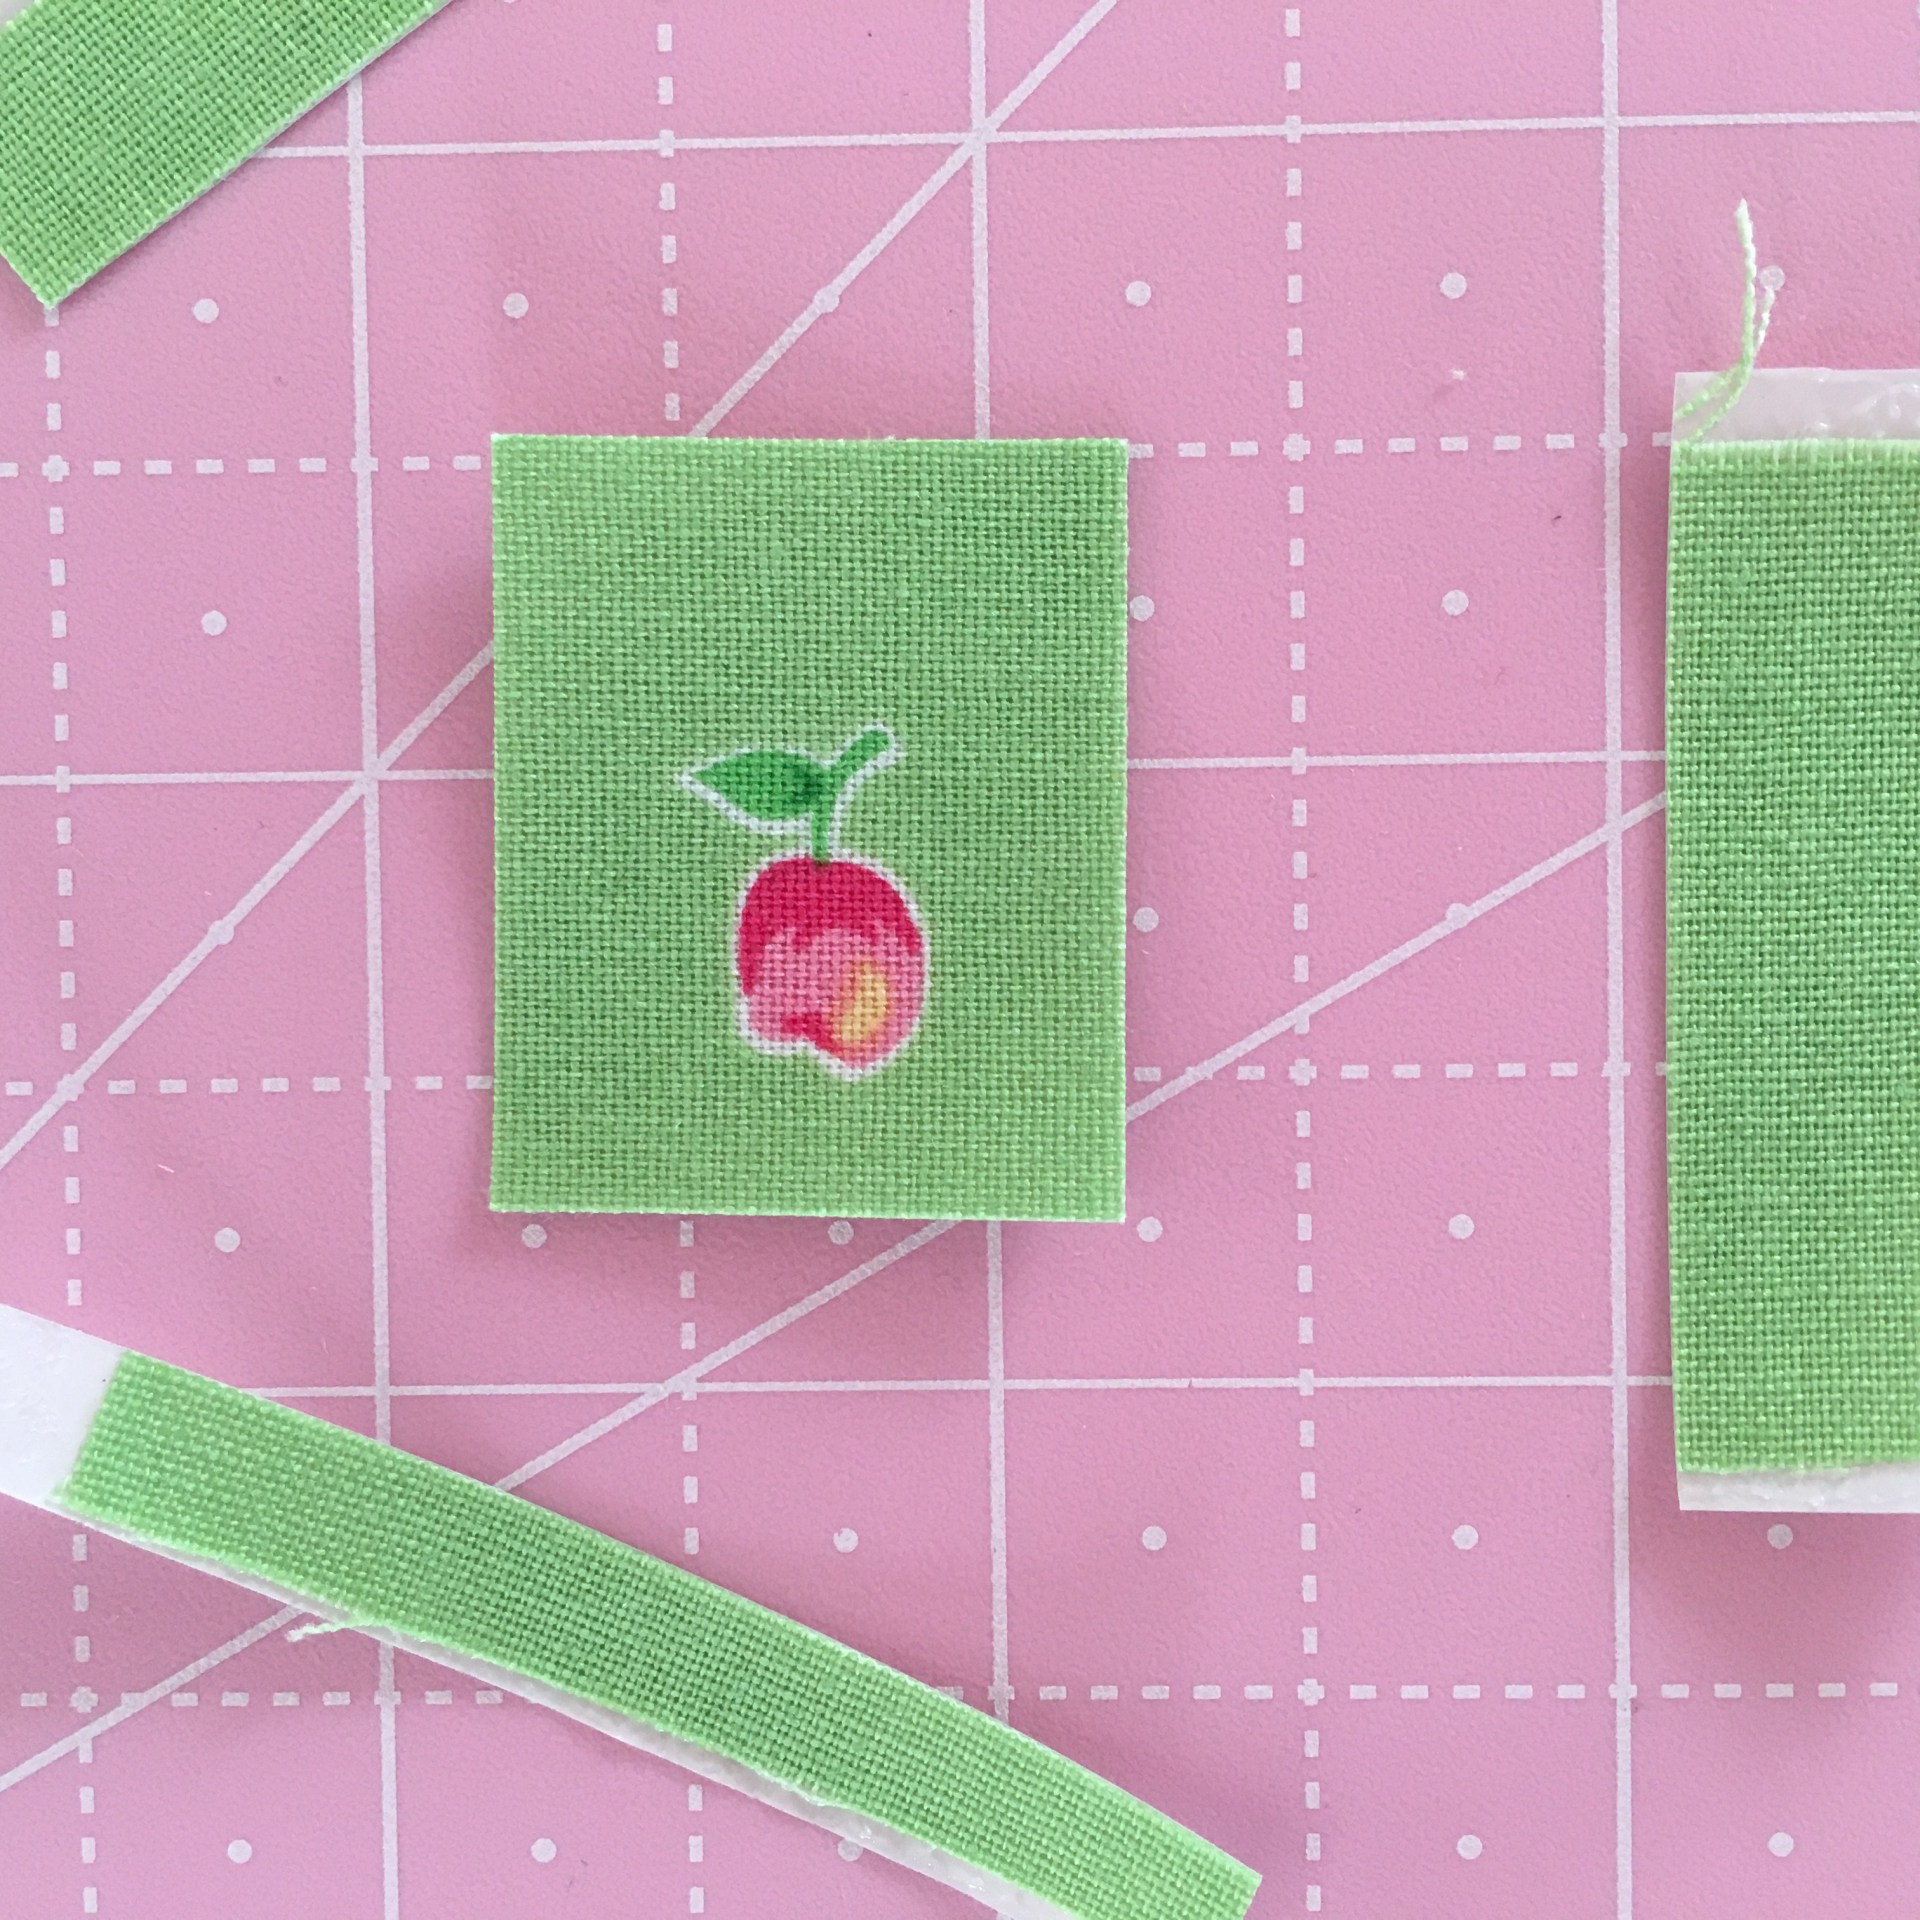
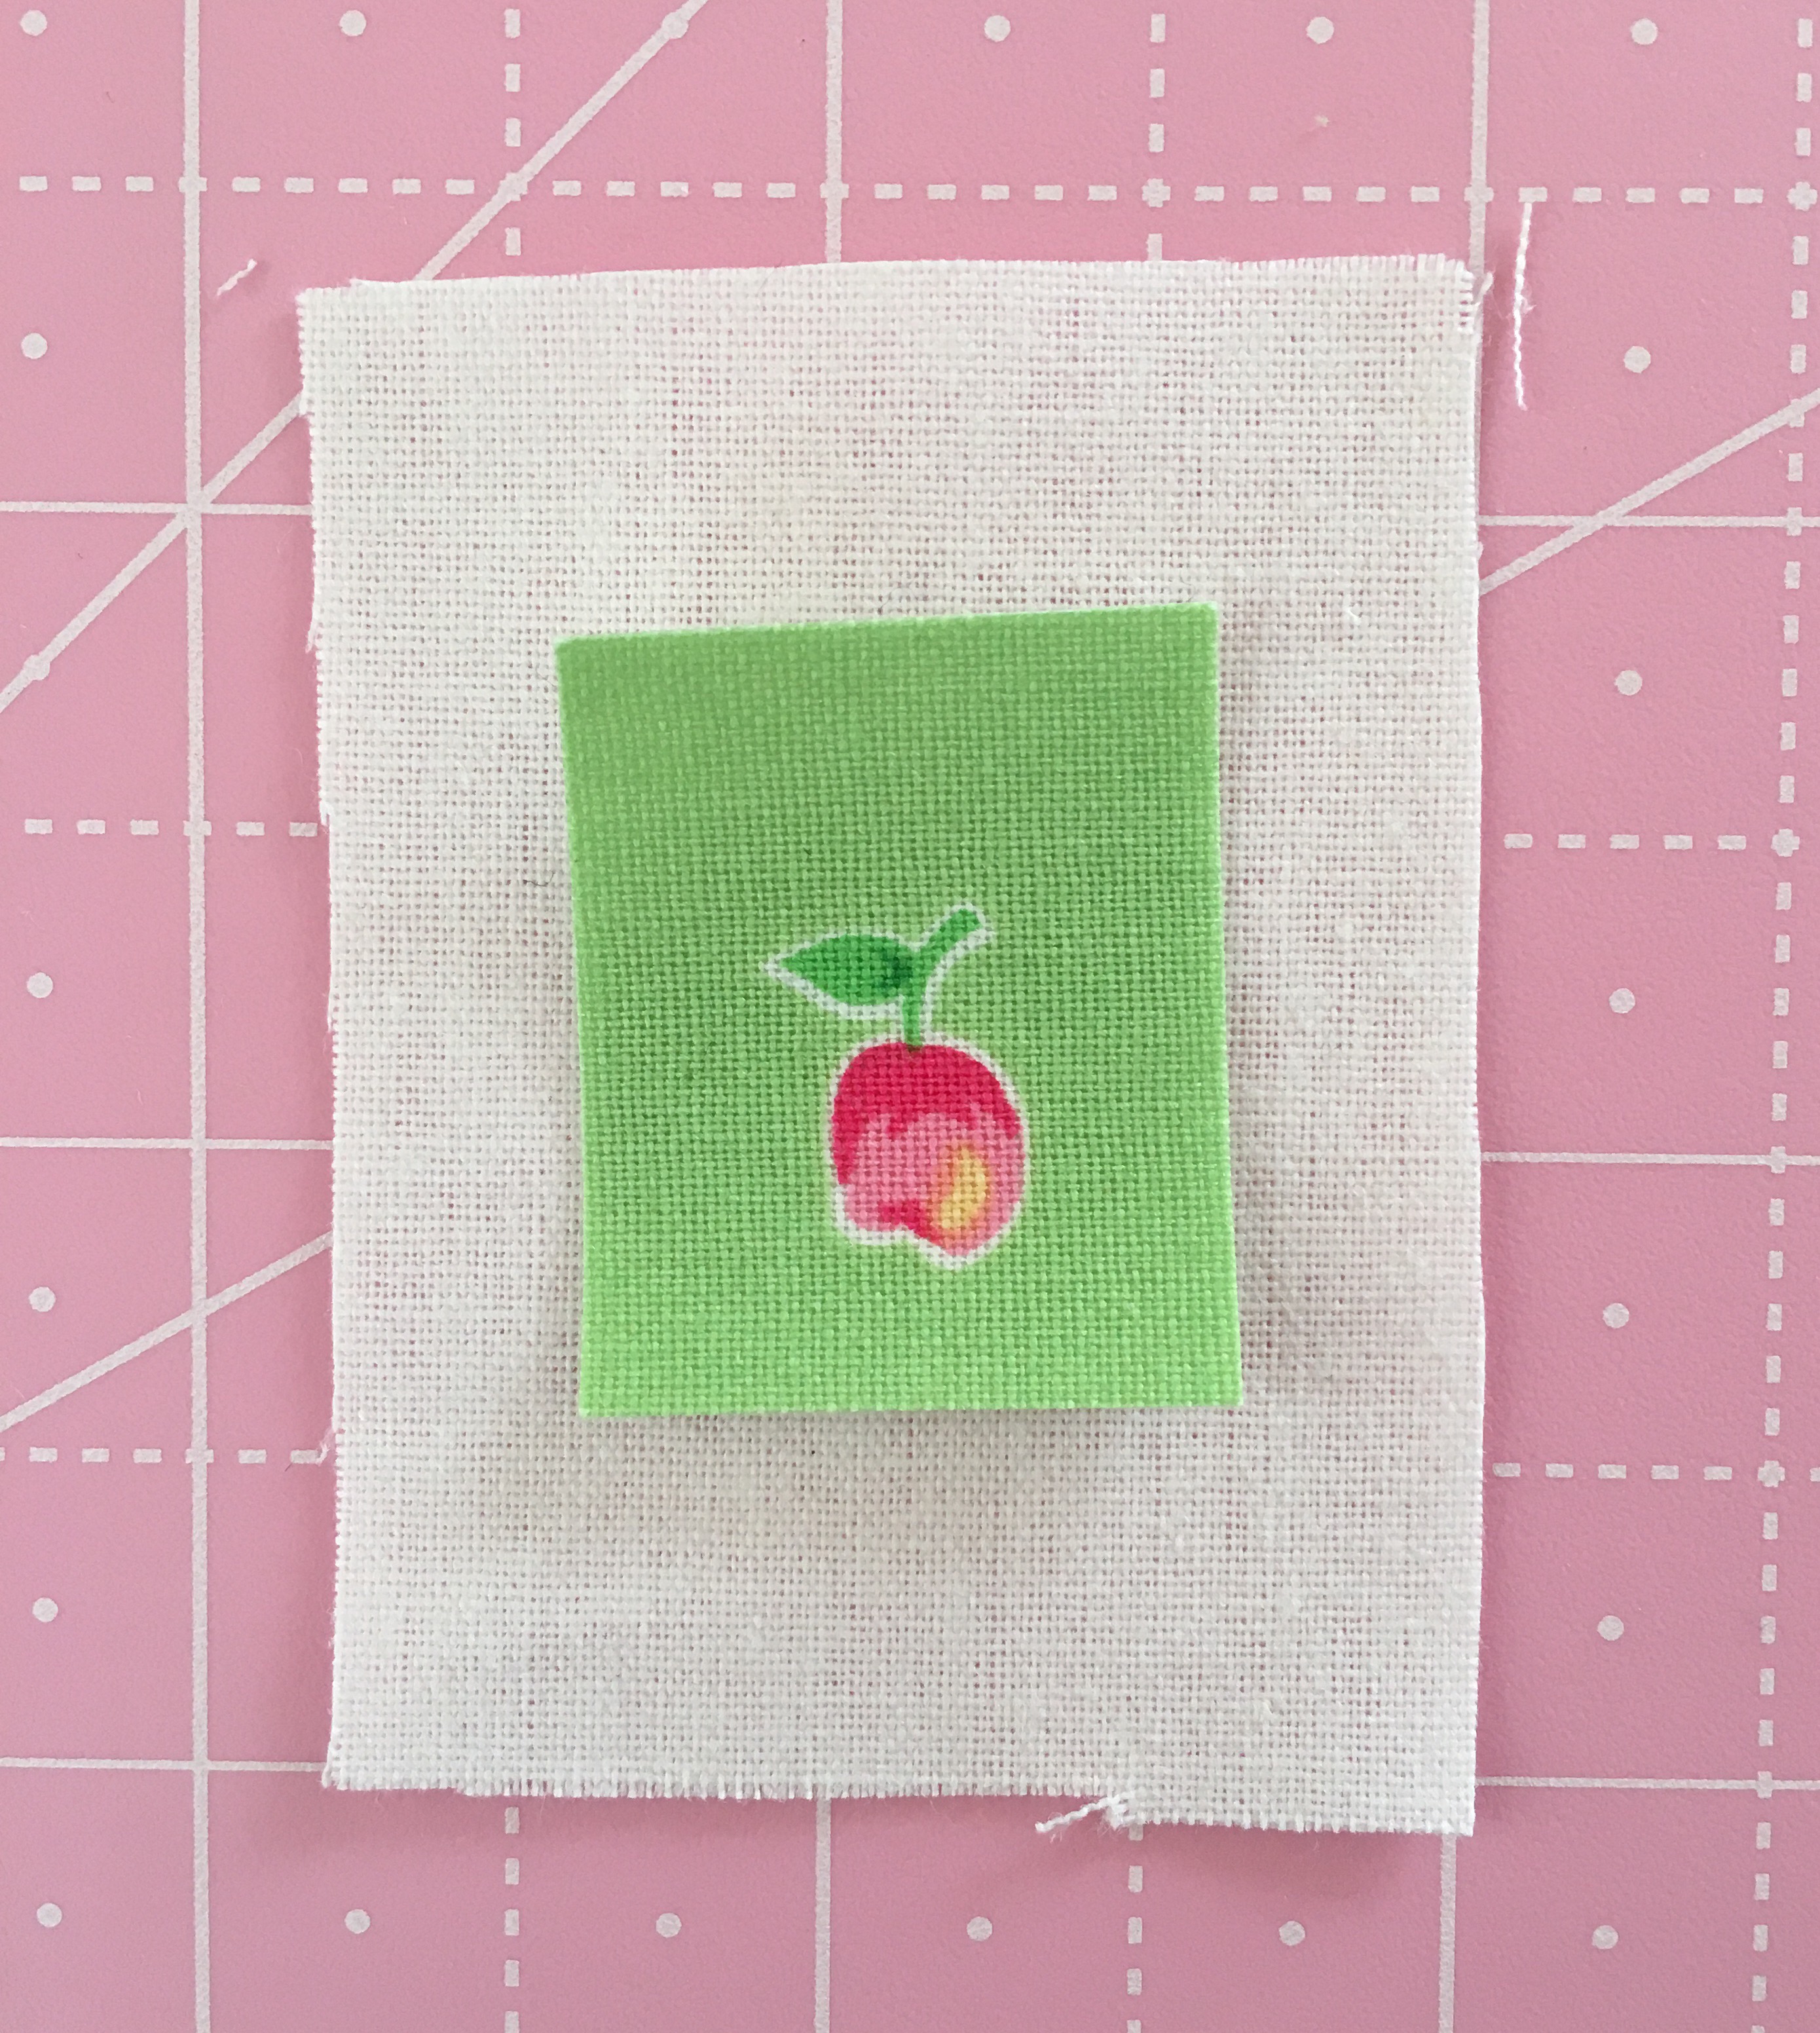
5. Place on Background
Lay your fussy‑cut piece on a light background fabric (I like homespun or soft cotton). Fuse again, using no steam to stick it in place.
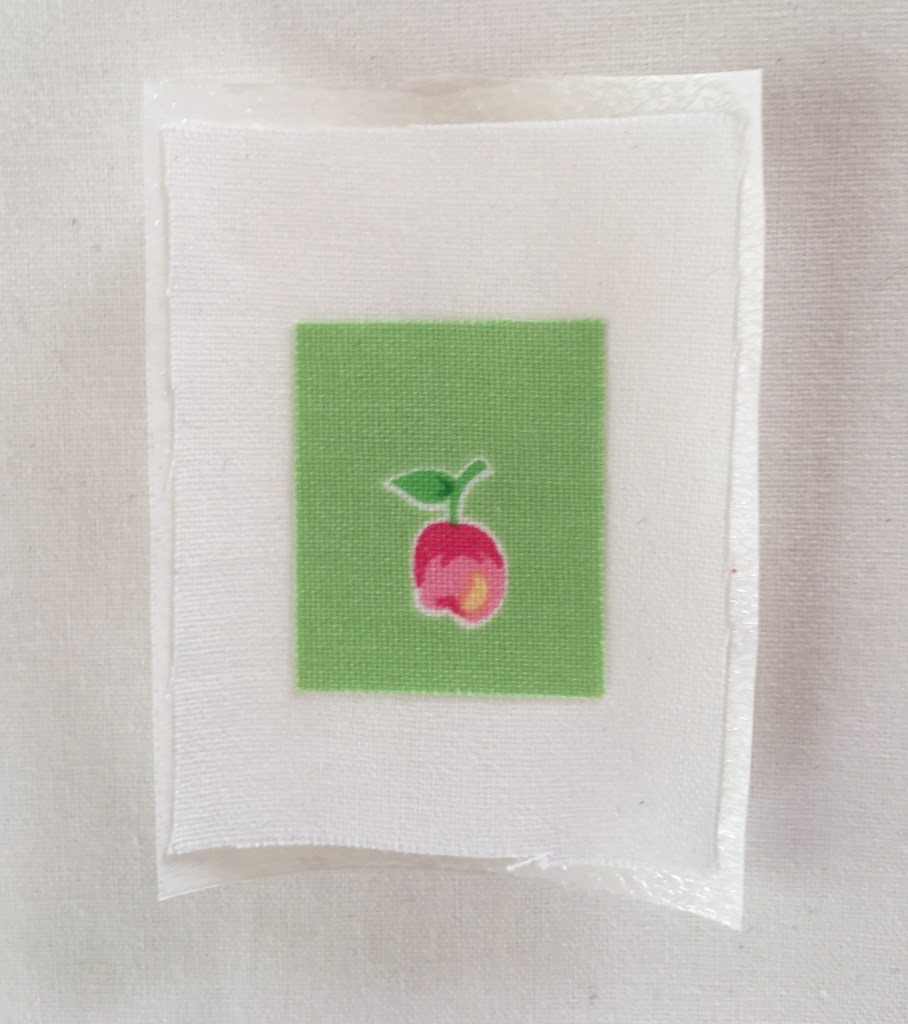
7. Fuse Again
If I know my postage stamp will be stitched onto a bag or pouch front, I like to add one more layer of fusible web to the back. This makes it easy to fuse the stamp straight onto the main fabric and stops it from shifting while I sew around the edges.
8. Square It Up
Trim the background so there’s at least ¼” all around.
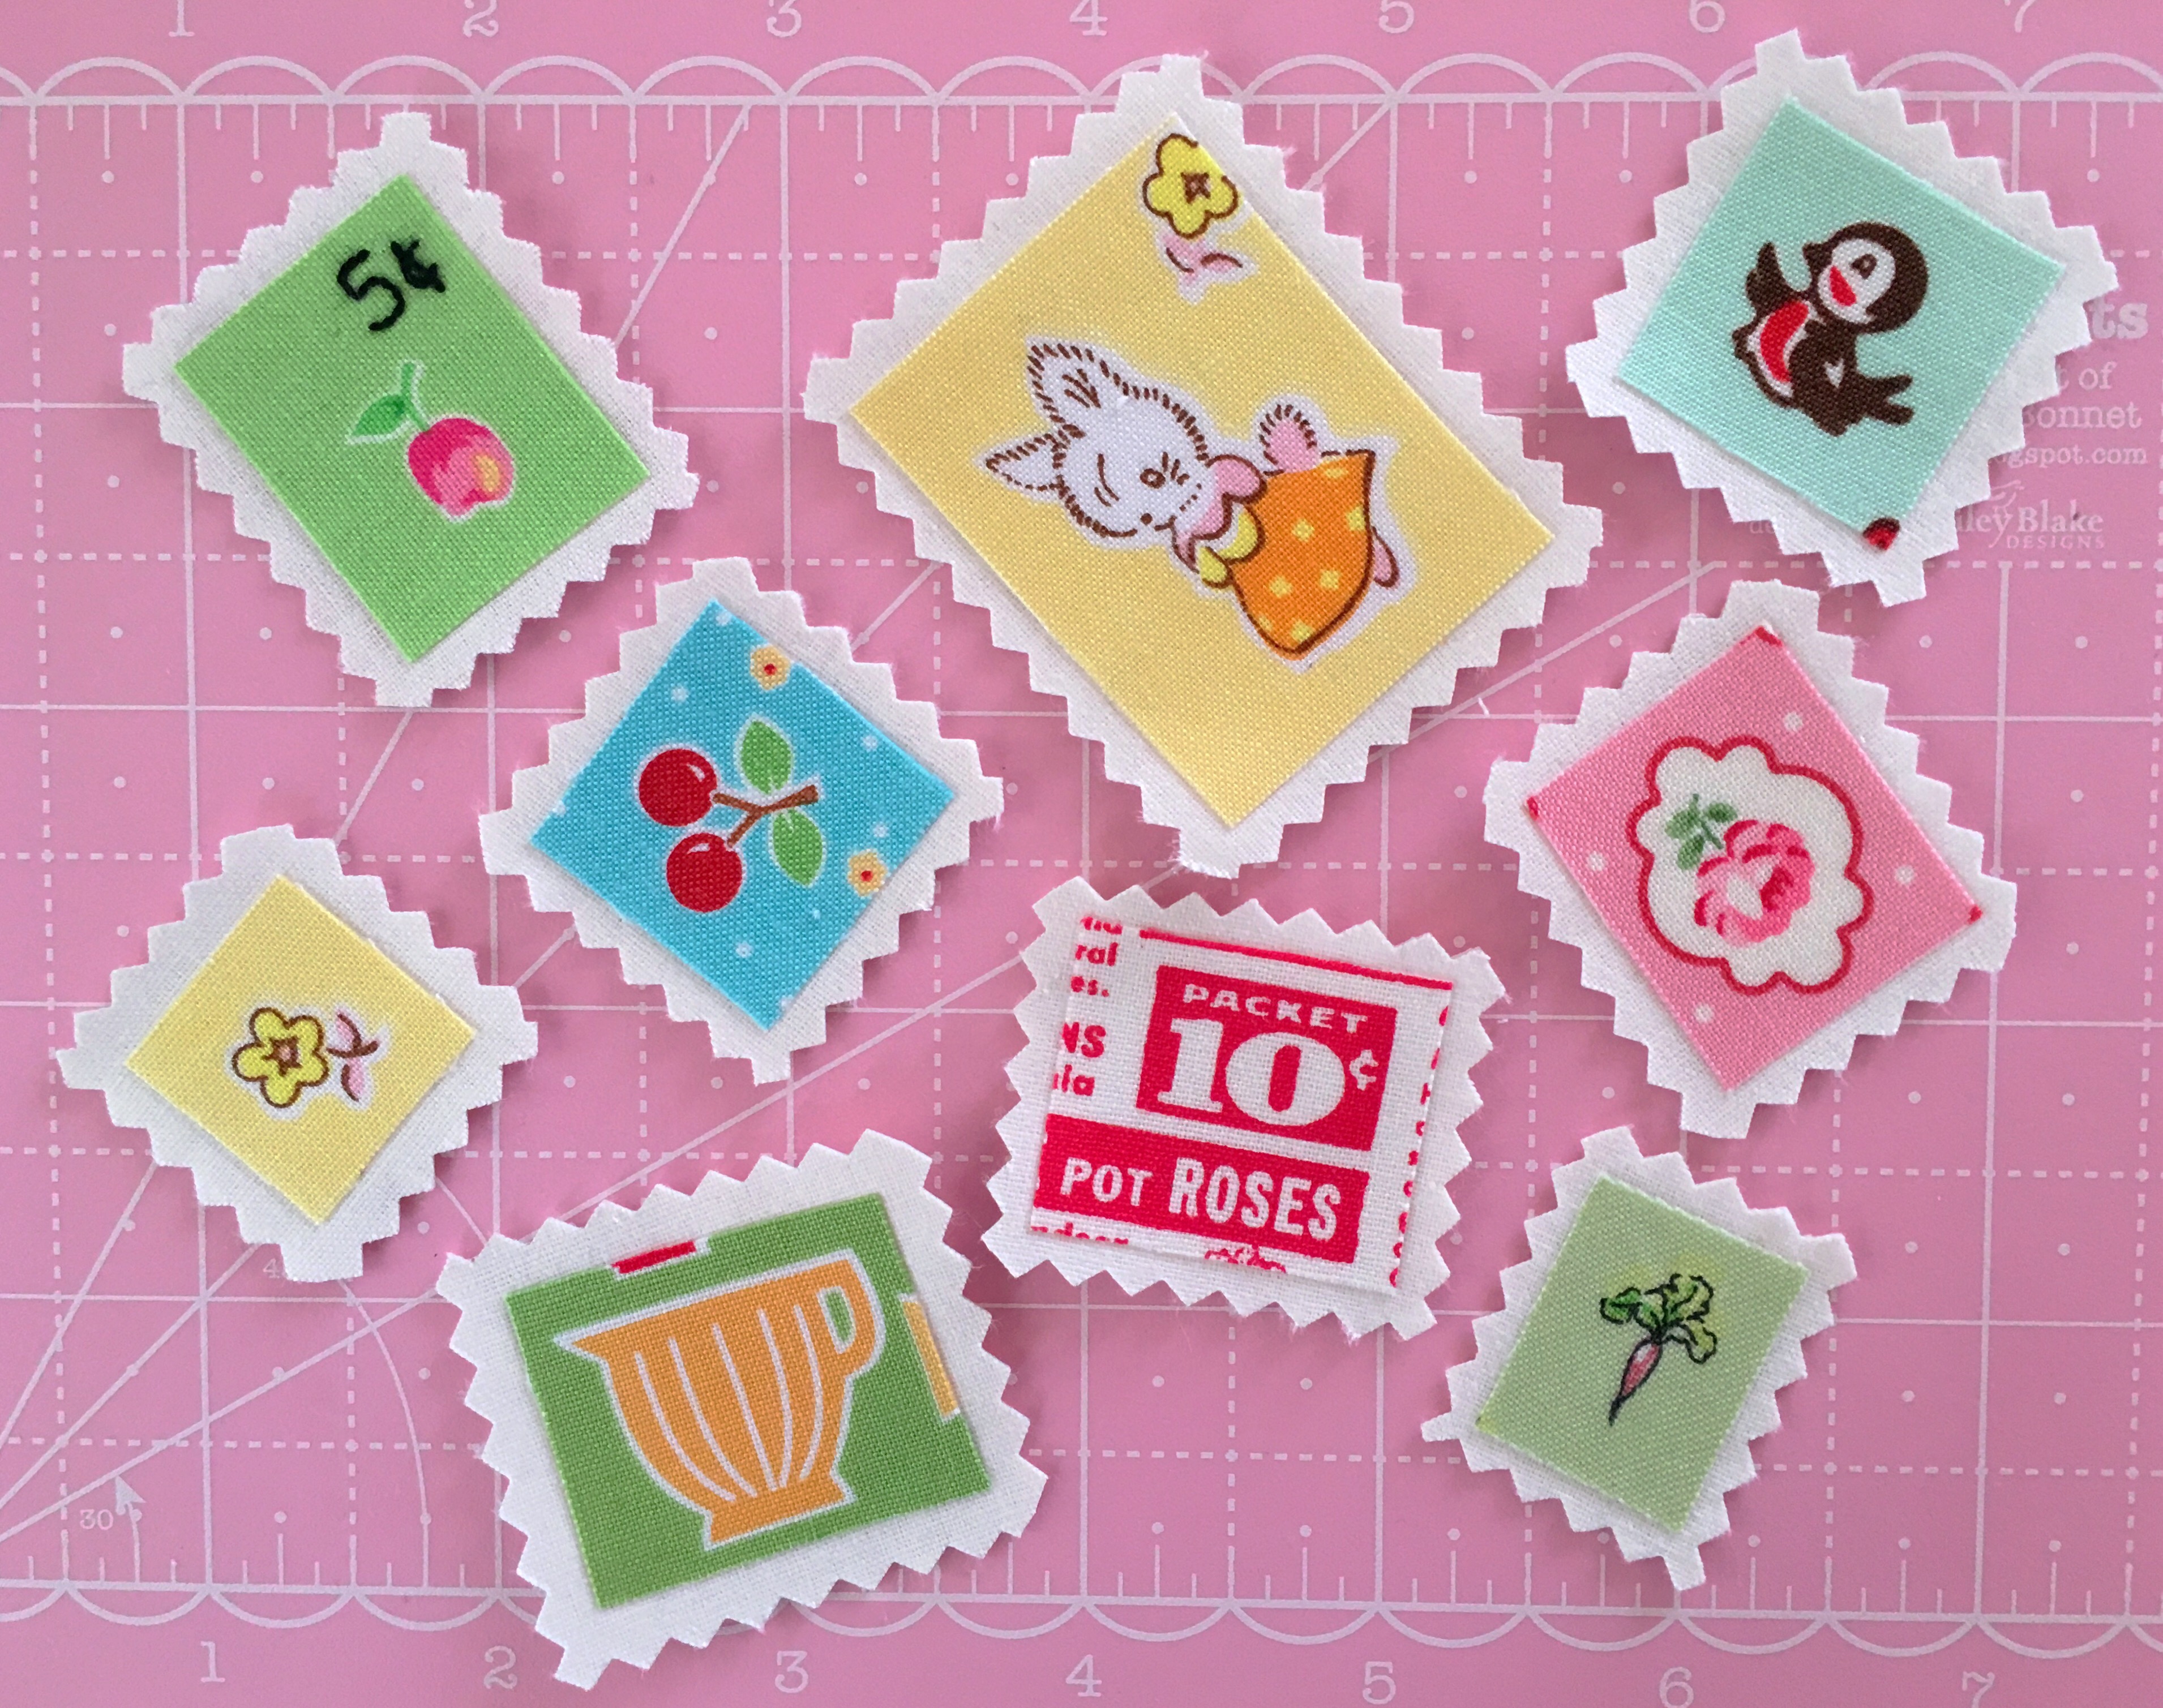
9. Add Detail
Use your pinking shears to cut a little zig‑zag edge — this gives that postage stamp feel.


10. Use or Stitch
Your postage stamp piece is now ready to add to your project!
- Fuse it onto a zipper pouch front and stitch around the edge
- Combine several into a patchwork panel for a bag pocket
- Create a grid of stamped squares for a modern look
How to Use Them on Bags and Pouches
Fabric postage stamps are a flexible embellishment. Try:
- Arranging several stamps into a grid panel before attaching to a pouch
- Accent pieces on bag fronts or tote pockets
- Feature blocks on a quilted clutch or tote
They’re especially great as a small test piece before you tackle larger patchwork sections – and they eat up tiny scraps you might otherwise never use.
Pro Tip
Pick a consistent colour palette for your application to keep the look modern and cohesive, especially if you want these pieces on a bag or pouch you’ll carry often. Geometric prints, minimalist palette motifs, or high‑contrast solids can all elevate the modern feel.
Want to Go Further?
Once you’ve made a few postage stamps, try turning them into a patchwork panel and then sew up a Basic Boxy Pouch — it’s a great way to put both skills into practice!
Happy sewing, Kellie X.
© Copyright 2019, Ma & Me Designs.

Sounds like fun. A real cute idea. Gonna try it. I have lots of scraps that would work for stamps.
It is super fun Sandra, I hope you have a fun ❤️.