
Pencil Bookmark Tutorial
Back-to-school season has always had a little bit of magic, hasn’t it? My children aren’t school-aged just yet, but I still remember the excitement from my own childhood – wandering the aisles filled with notebooks, folders, pens, pencils, glue sticks and all the fun school supplies in between. That feeling never really goes away!
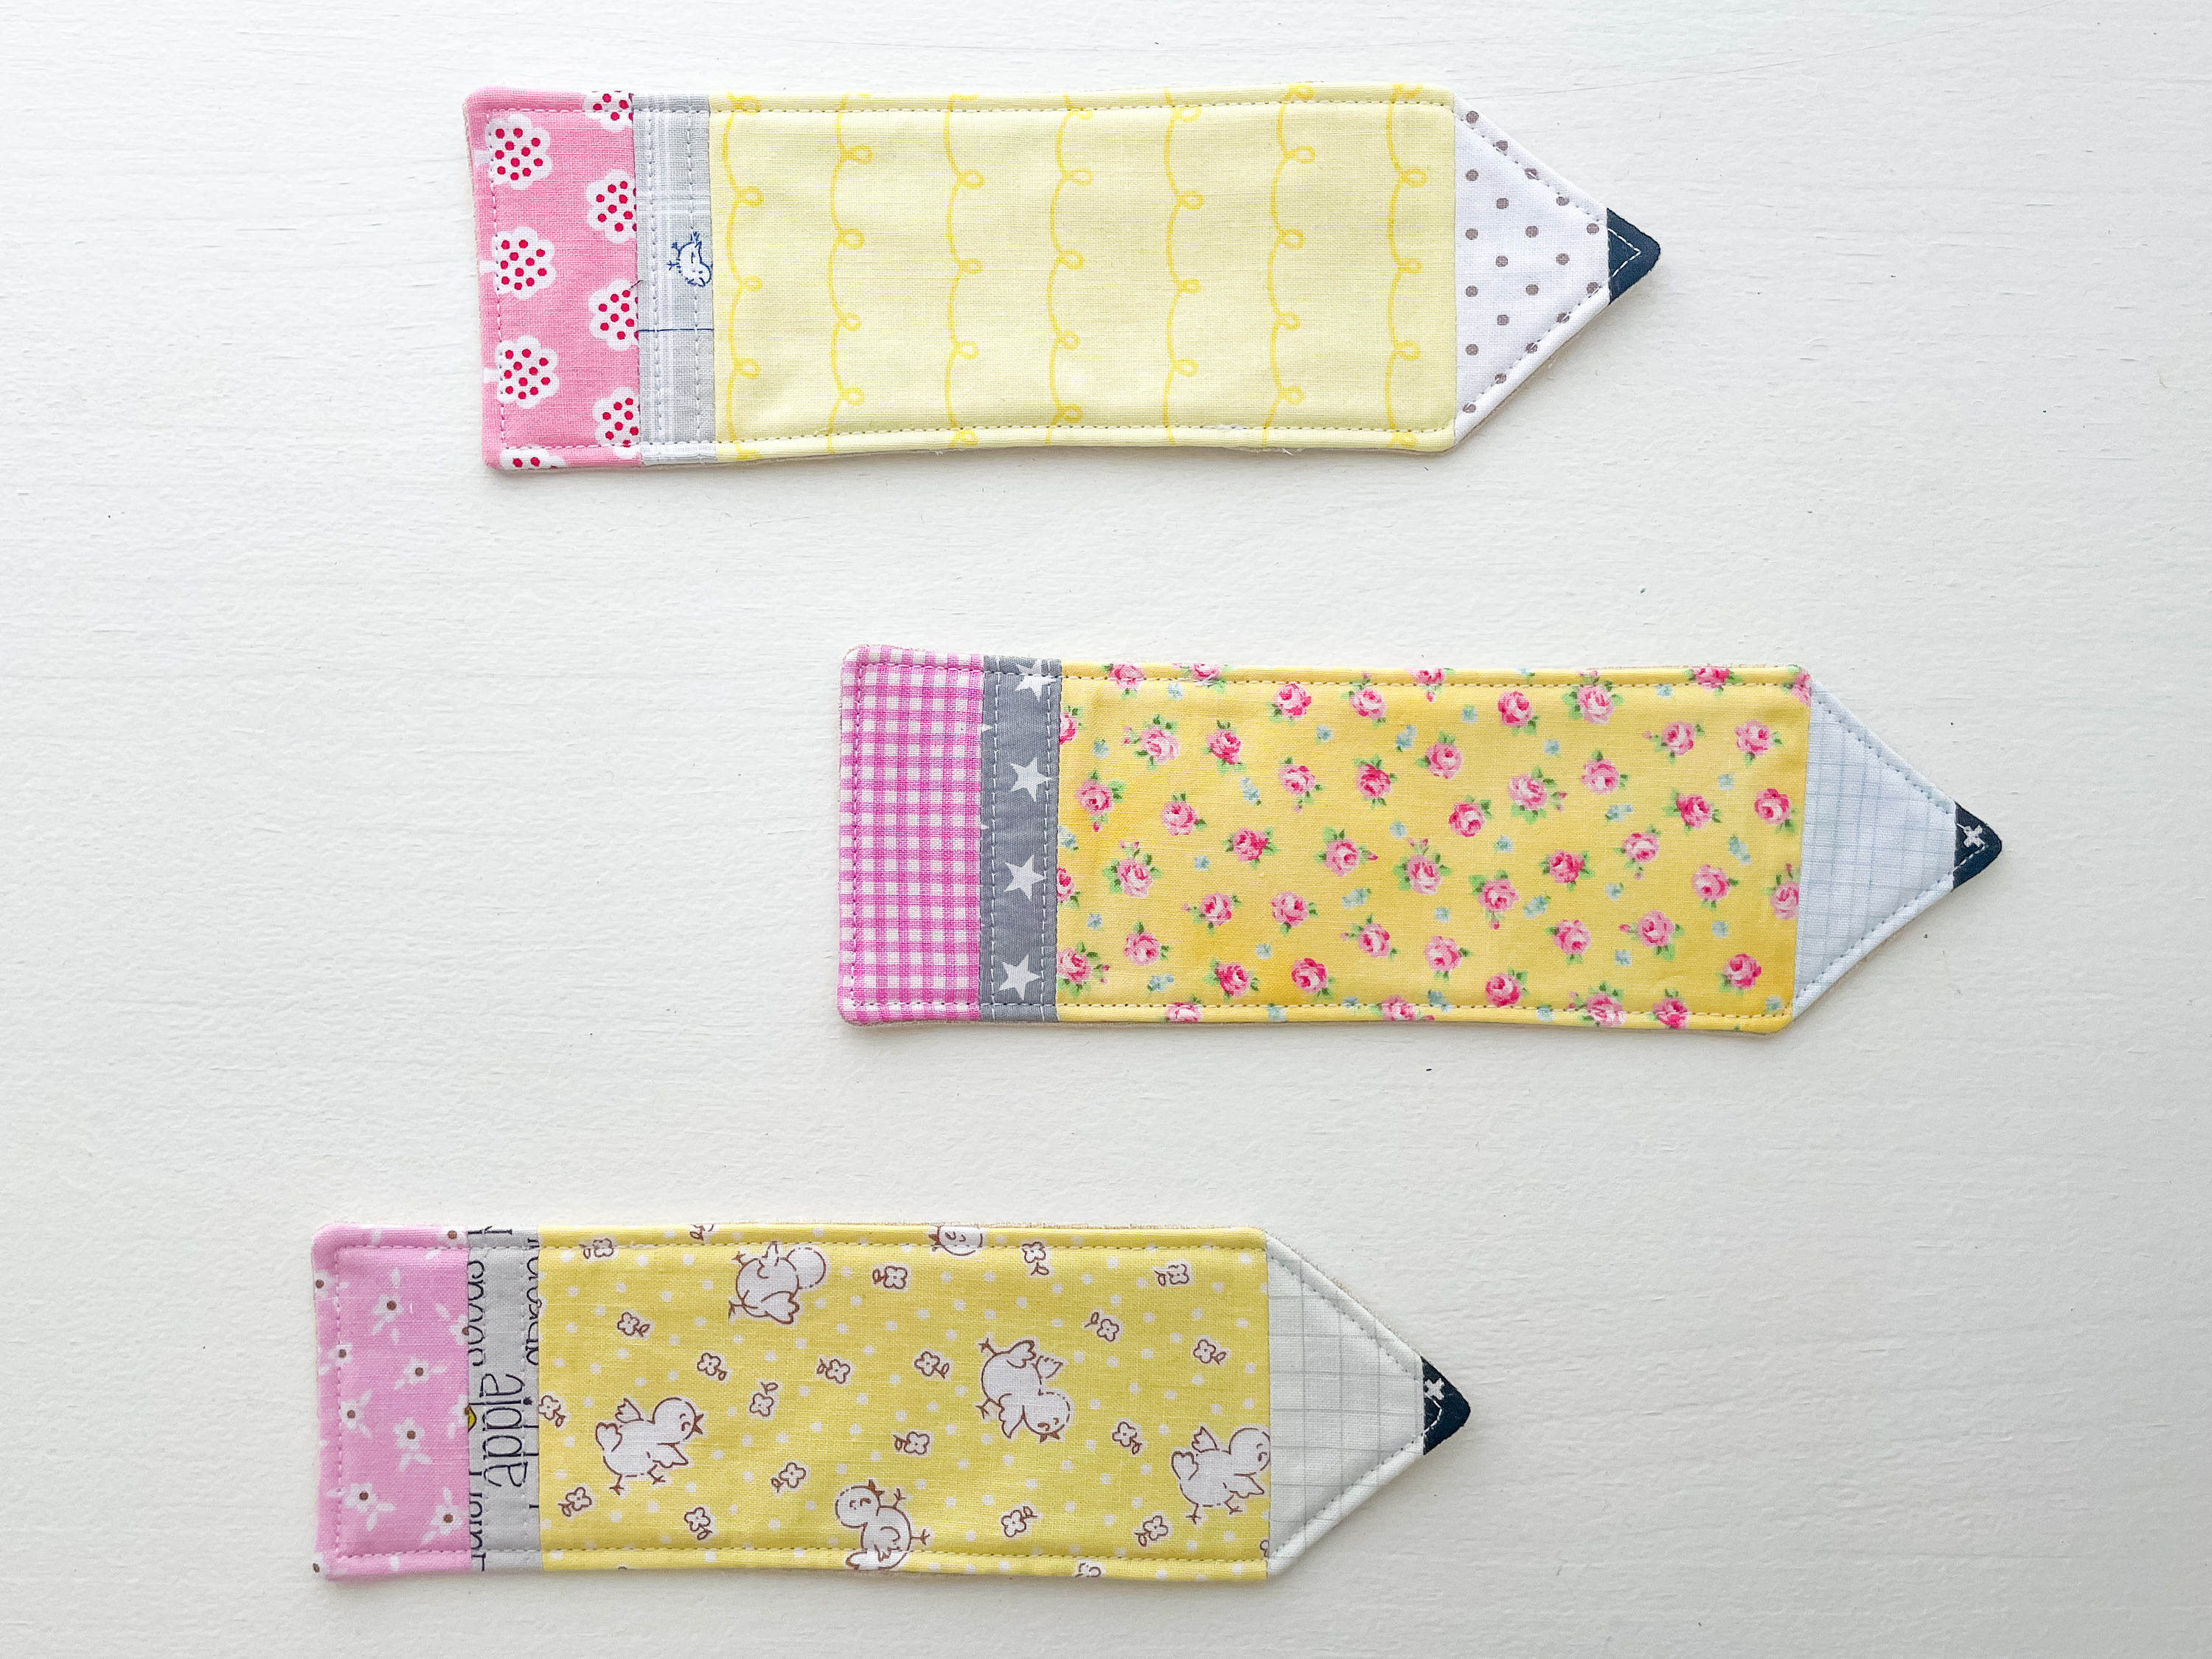
Lately, a couple of sewing patterns I’ve been working on have sent me on a fun, school-themed creative roller-coaster, which inspired me to put together this FREE pencil bookmark tutorial. In this step-by-step tutorial, I’ll show you how to make a pencil-shaped fabric bookmark and how to customise it to suit your own style or colour palette.
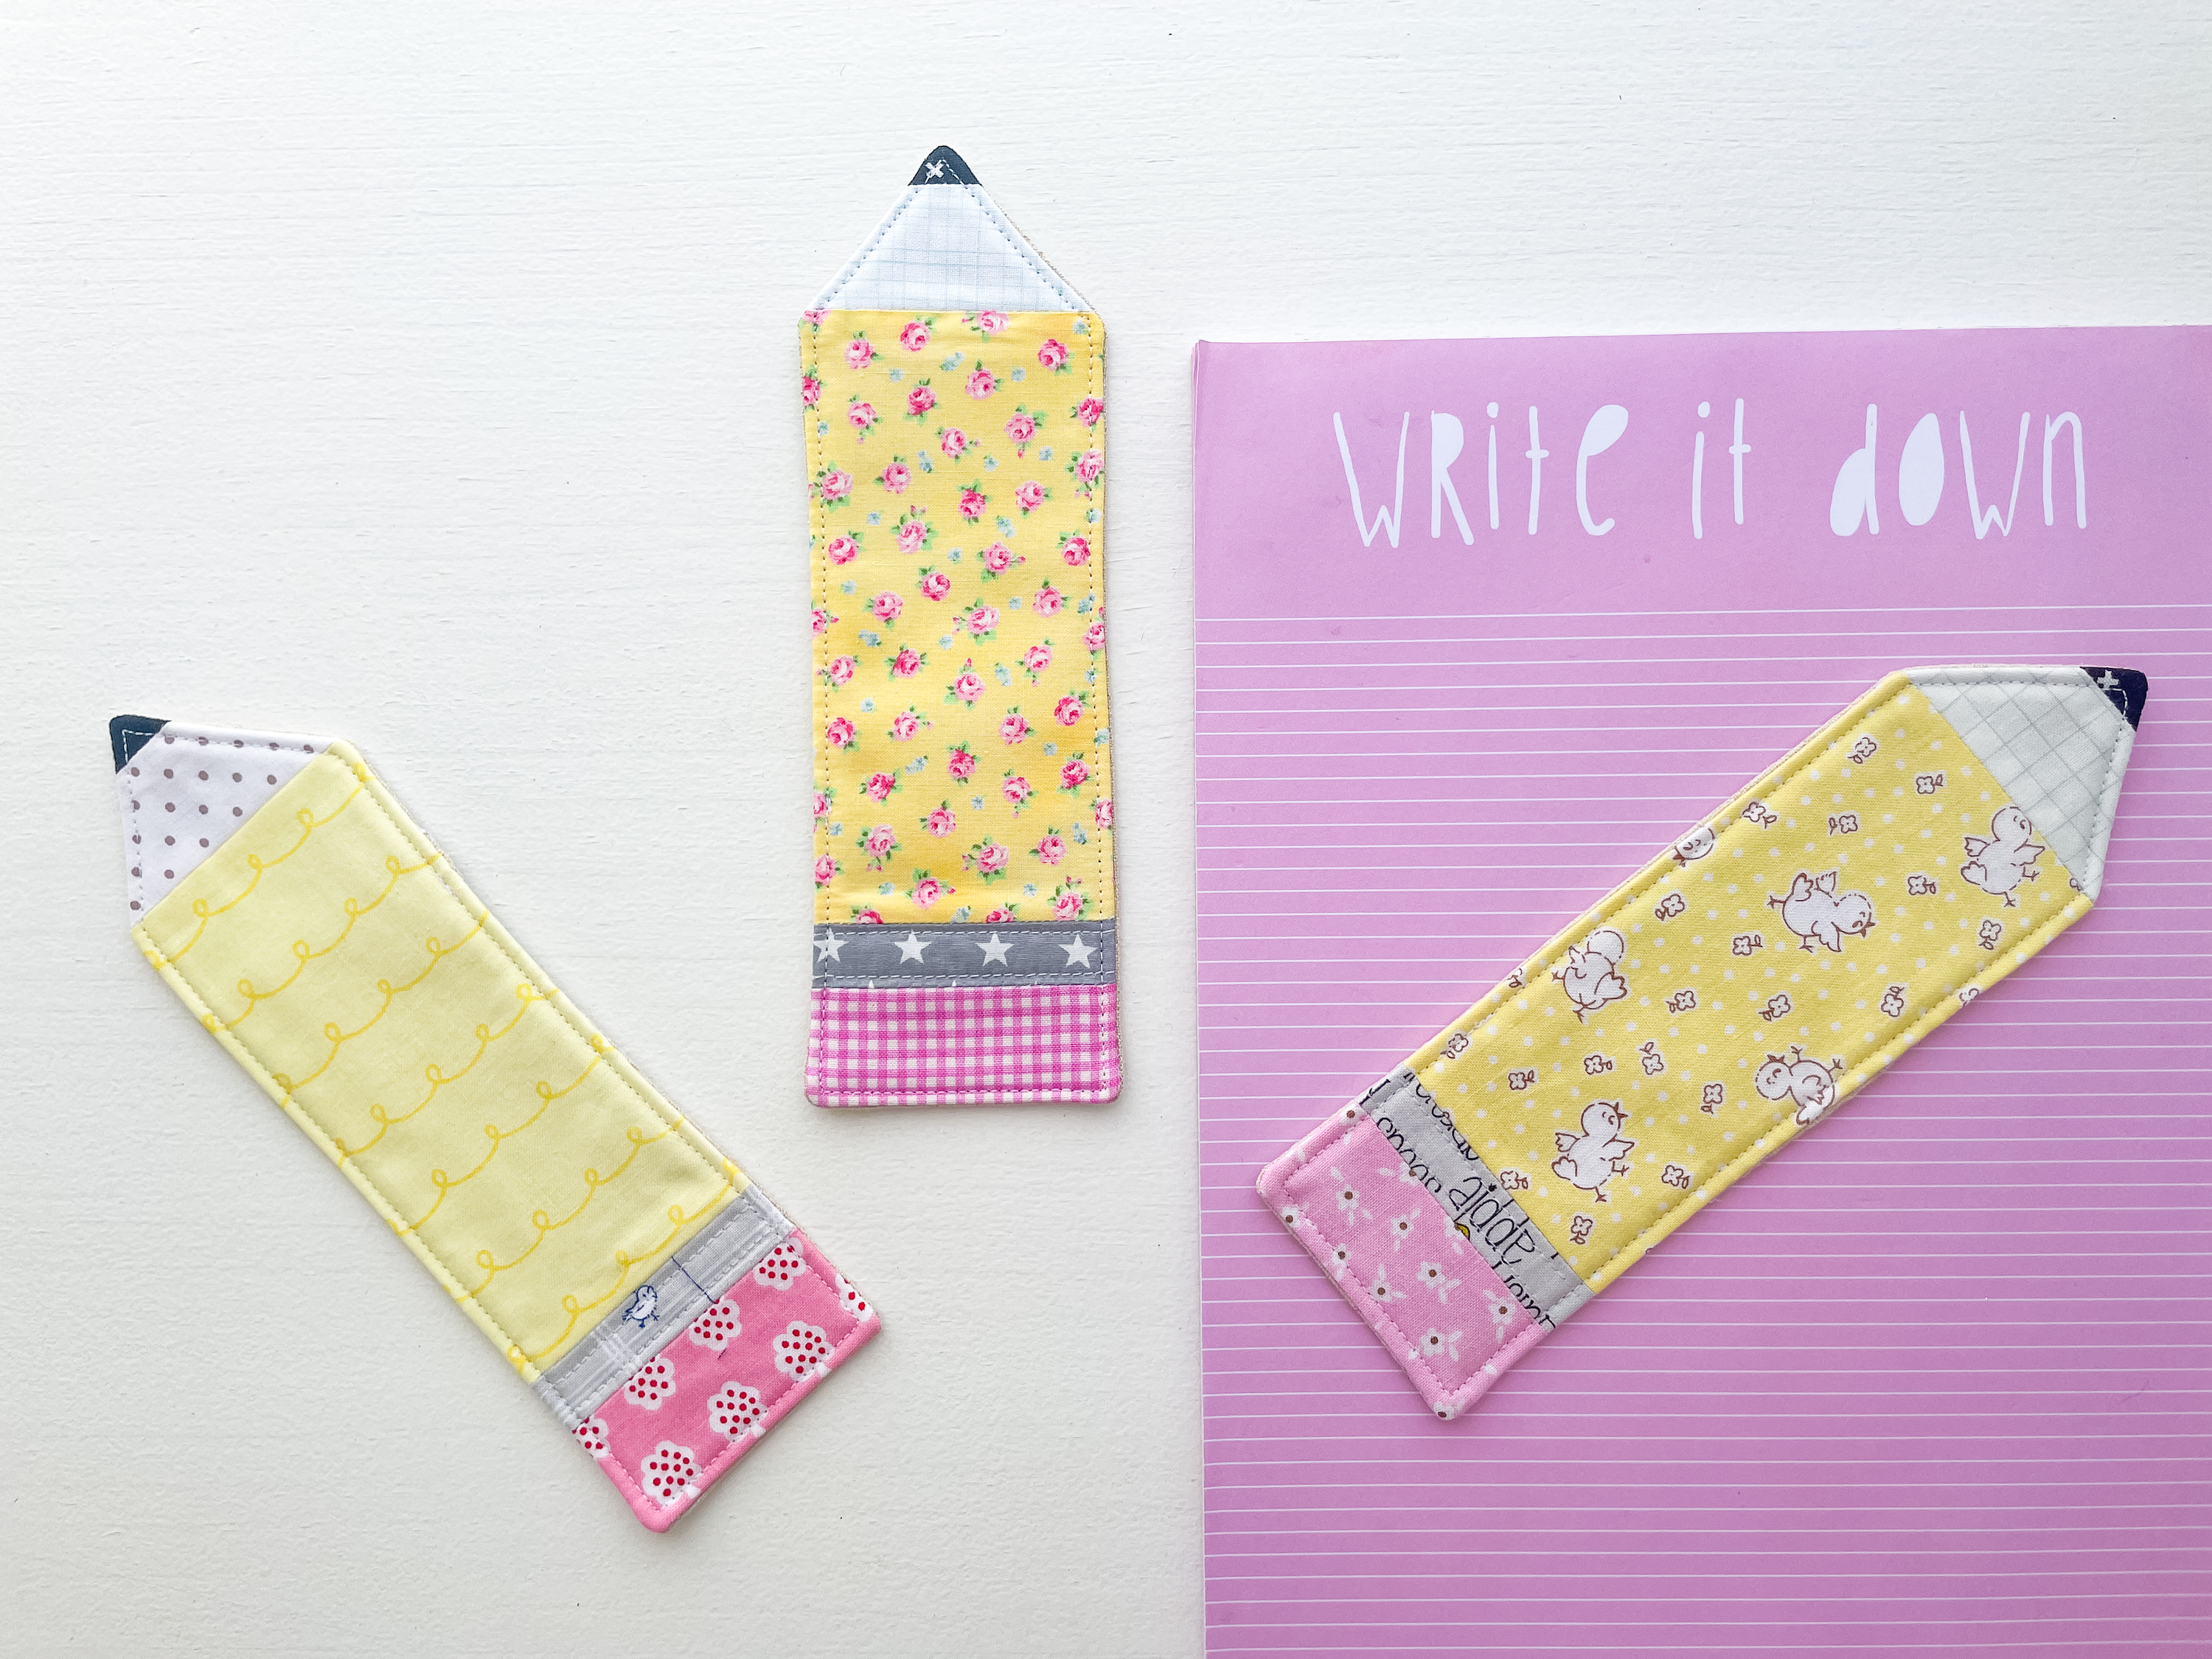
These pencil bookmarks aren’t just practical – they also make adorable handmade back-to-school gifts, teacher gifts, or even a cute schoolhouse-themed bunting for a classroom or sewing space. If you give this tutorial a try, I’d absolutely love to see your finished pencil bookmarks — be sure to share them with me!
Let’s get to it!
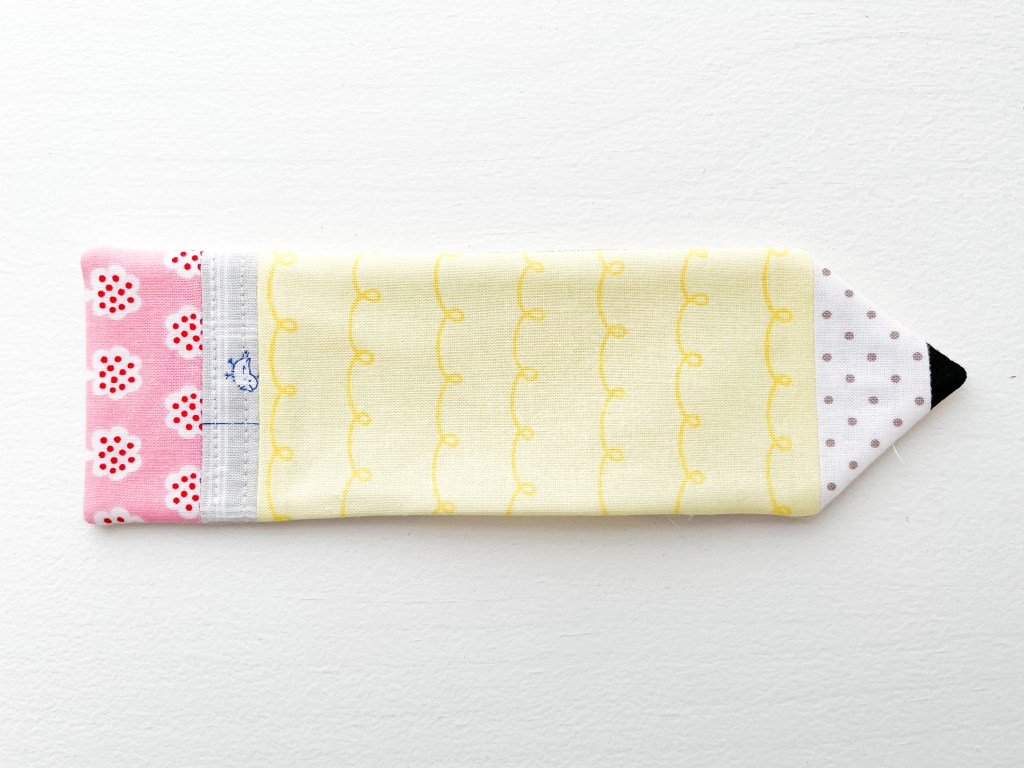
Finished size 8″ (long)x 2½” (wide)
Supplies
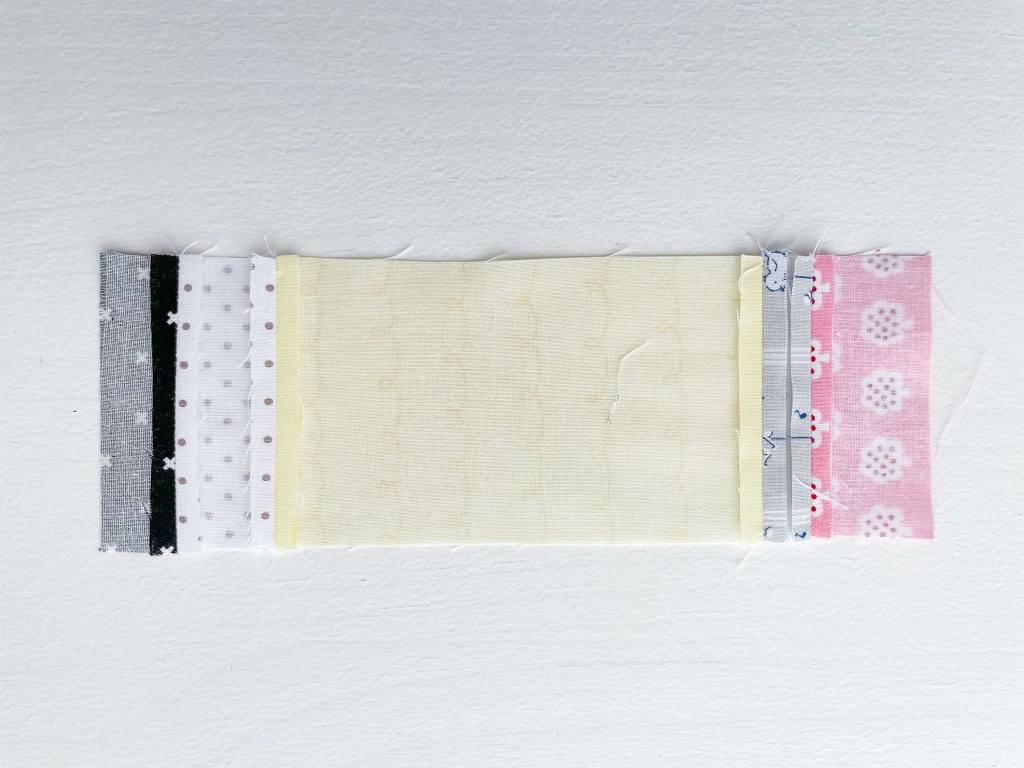
- 1” x 3” Black fabric for the pencil lead
- 1½” x 3” Cream/low volume fabric pencils exposed wood
- 5½” x 3”Yellow fabric for the pencil body
- 1” x 3” Grey fabric for the pencil rubber holder
- 1½” x 3” Pink fabric for the pencil rubber
- 8½” x 3” Backing fabric (I used natural linen)
- 8½” x 3” Lightweight fusible fleece
- 8½” x 3” SF101 interfacing
- Basic sewing supplies
Pencil Bookmark Instructions
- Cut the fabric for your pencil according to that indicated above. Now if you wish to make a pencil that isn’t a typical yellow lead pencil you can change up the colours by choosing a different coloured print for the yellow body and changing the colour of the pink rubber to white/ low volume. If you wish to make a coloured pencil, you can change the black lead to one that matches the colour you choose for the body.
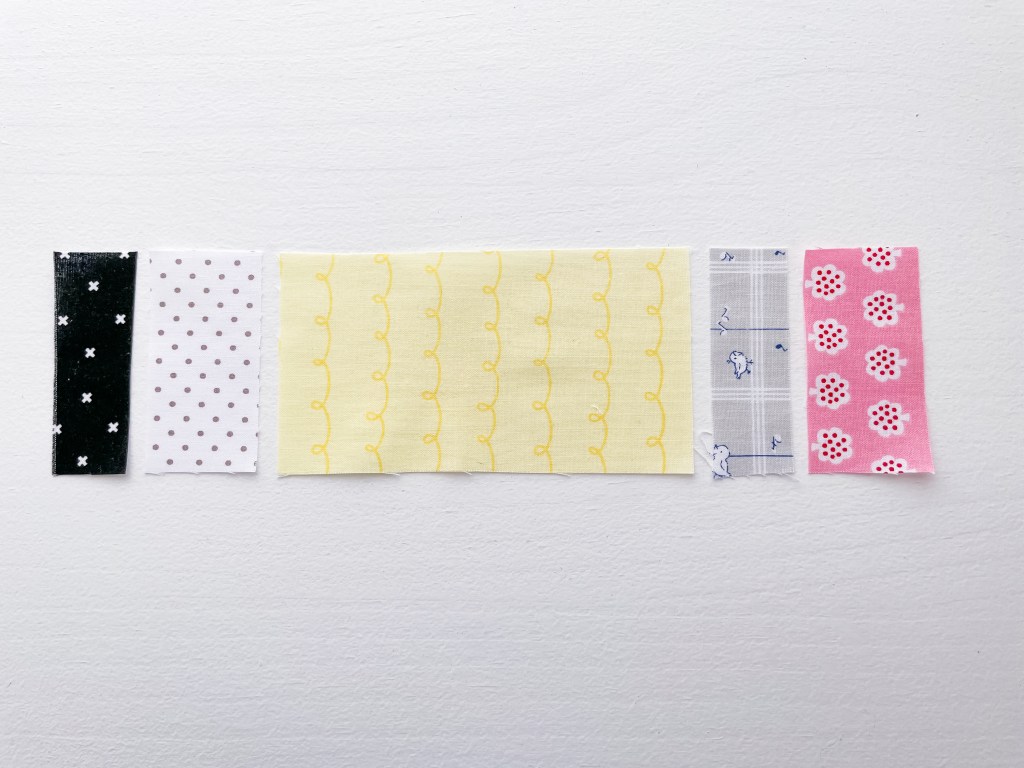
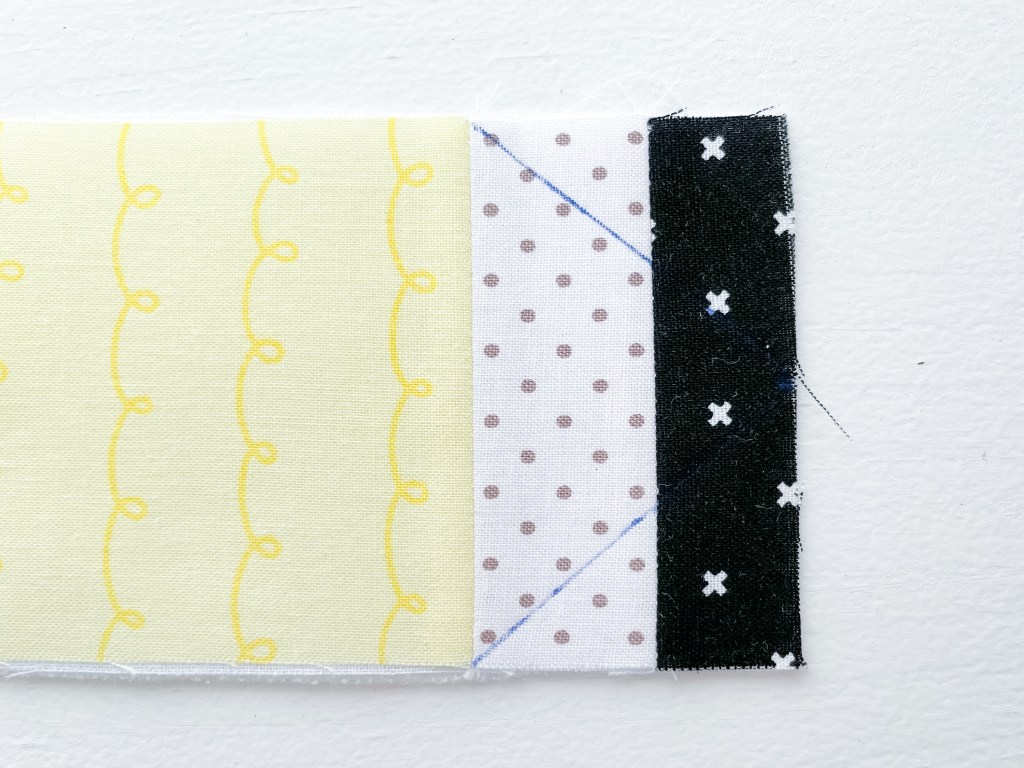
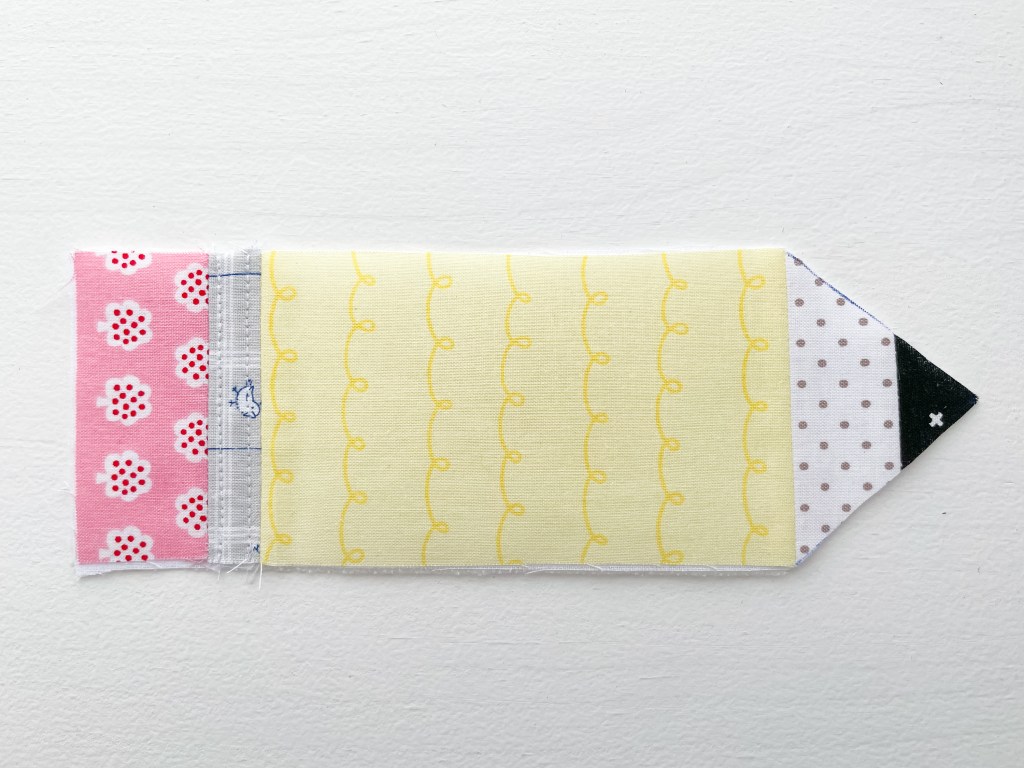
2. Join your pencil pieces along the 3” side in the order shown below. Black-cream-yellow-grey-pink. Remember to secure your stitches at the start and finish
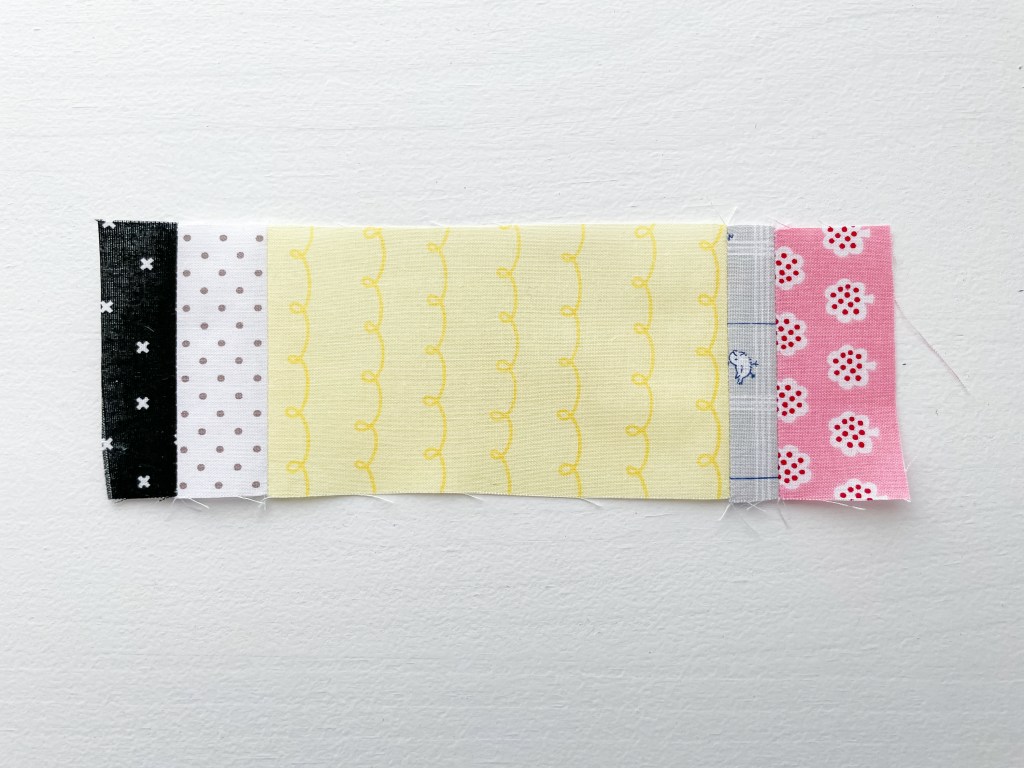
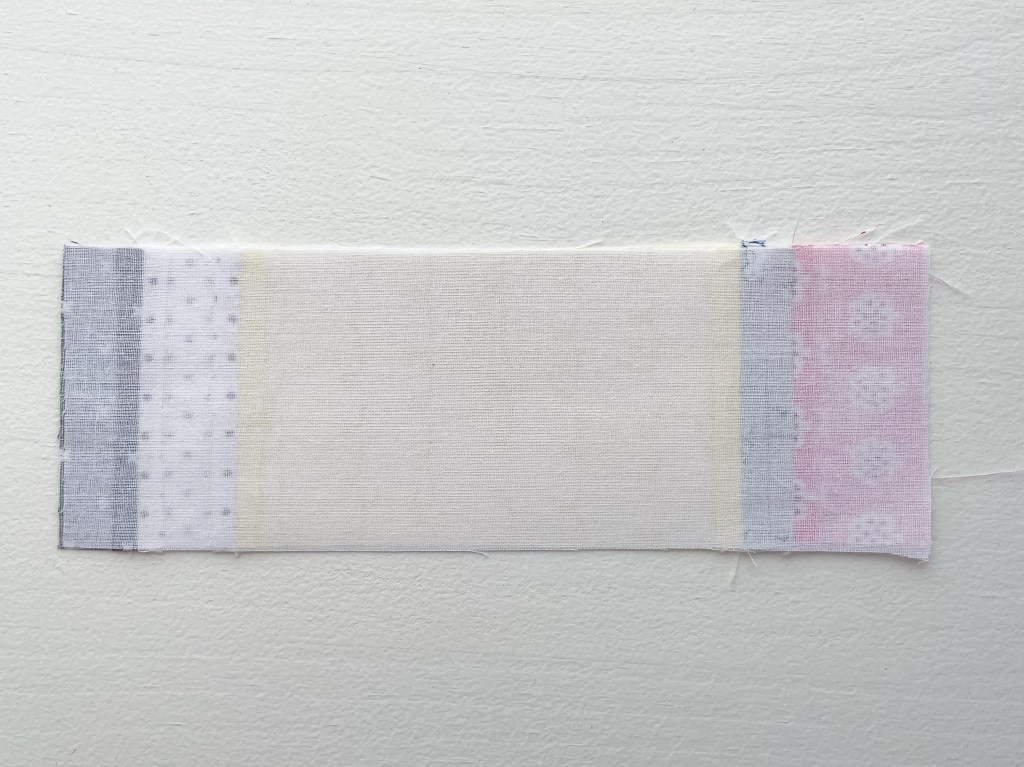
3. Press your seams OPEN with a hot iron.
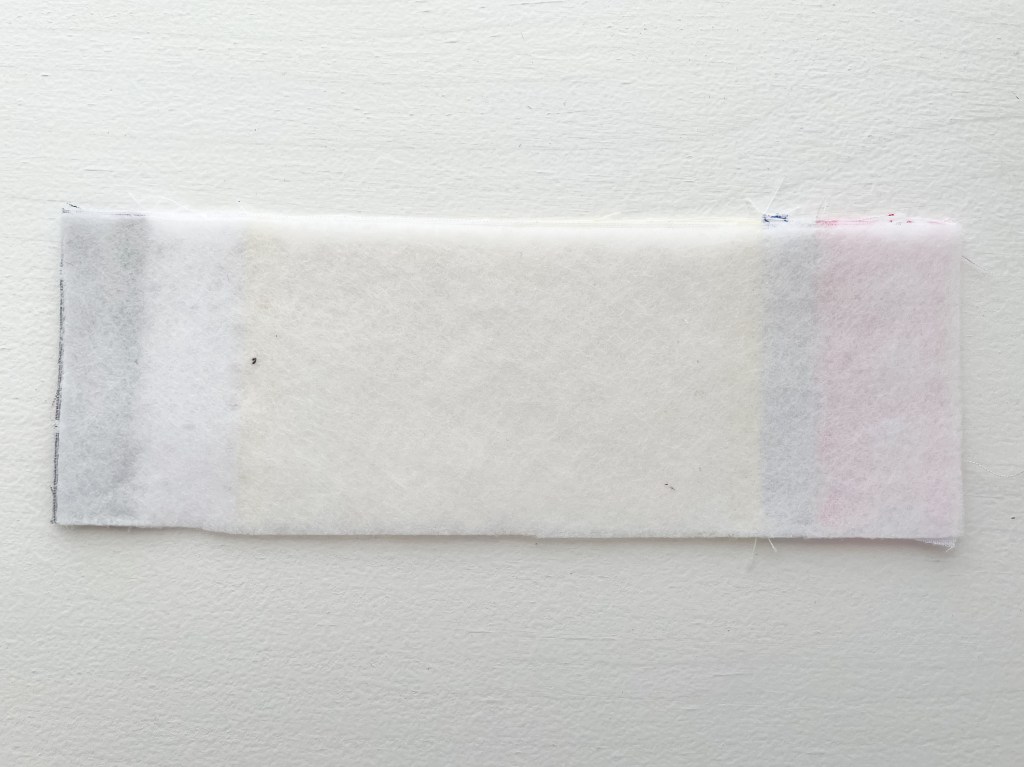
4. Fuse the piece of SF101 to the wrong side of the pencil, following the manufactures instructions. Then add the fusible fleece on top of the SF101, again following the manufacturer’s instructions.
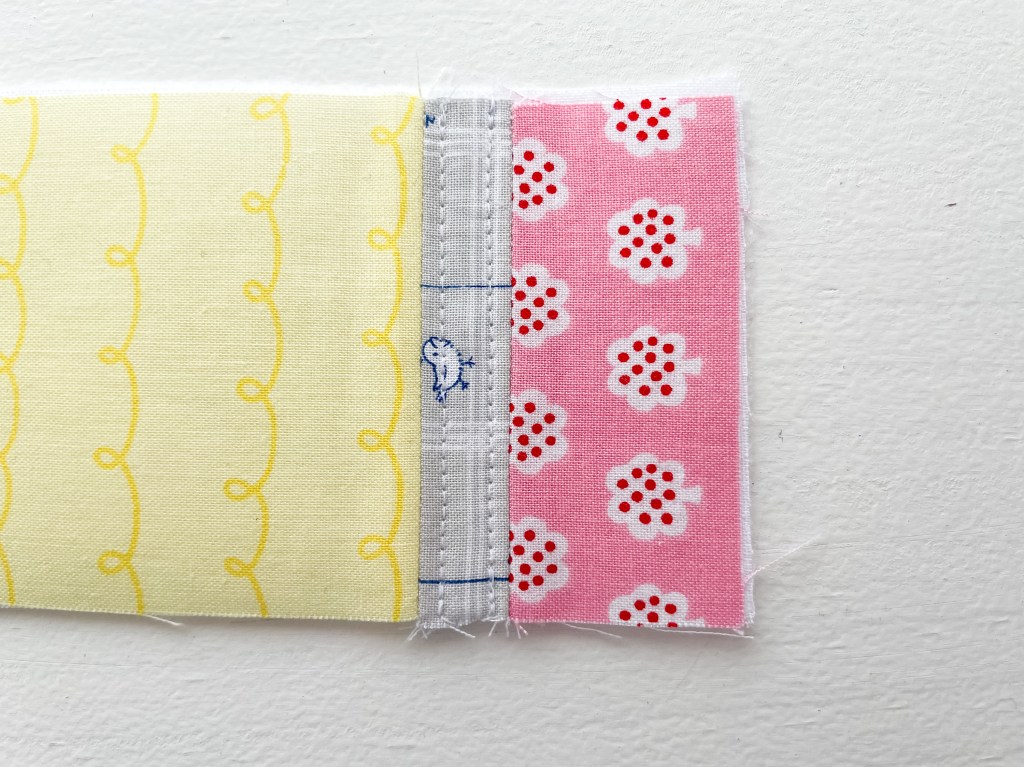
5. Add some top stitching to the grey fabric to make it look more like a metal rubber holder of a pencil. Use a stitch length of 3.0 and stitch about ⅛” from the seam lines.
6. To make a pencil point, make a mark at the centre ( 1½”) of the outside edge of the back fabric. Then line your ruler from this centre mark to the point on the bottom of the pencil or the seam where the cream/low volume fabric meets the yellow fabric. Draw a line with an erasable marker. Repeat this step on the opposite edge to create a point.
7. Cut along the two lines you have just created with a small pair of scissors. Your pencil now has a nice point.
8. Place the pencil backing in front of you right side up. followed by the pencil right side down. Pin or clip in place.
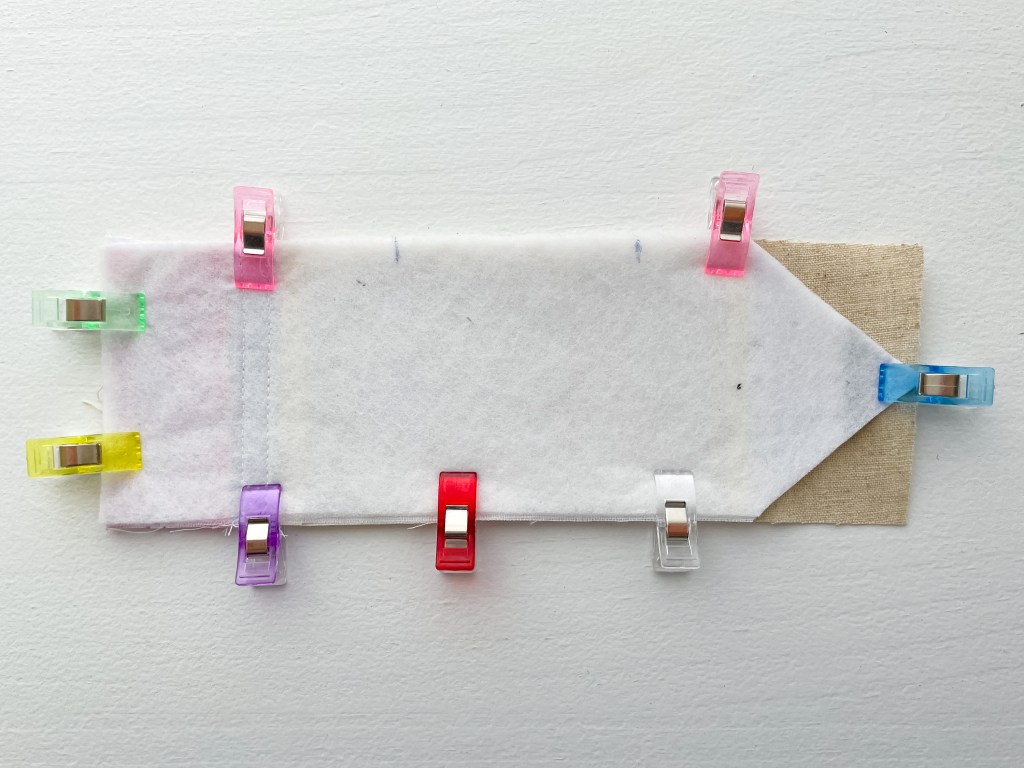
9. Sew around the outside of the pencil using a ¼” seam allowance, leaving a 2½” opening along one side in the middle of the pencil body (yellow).
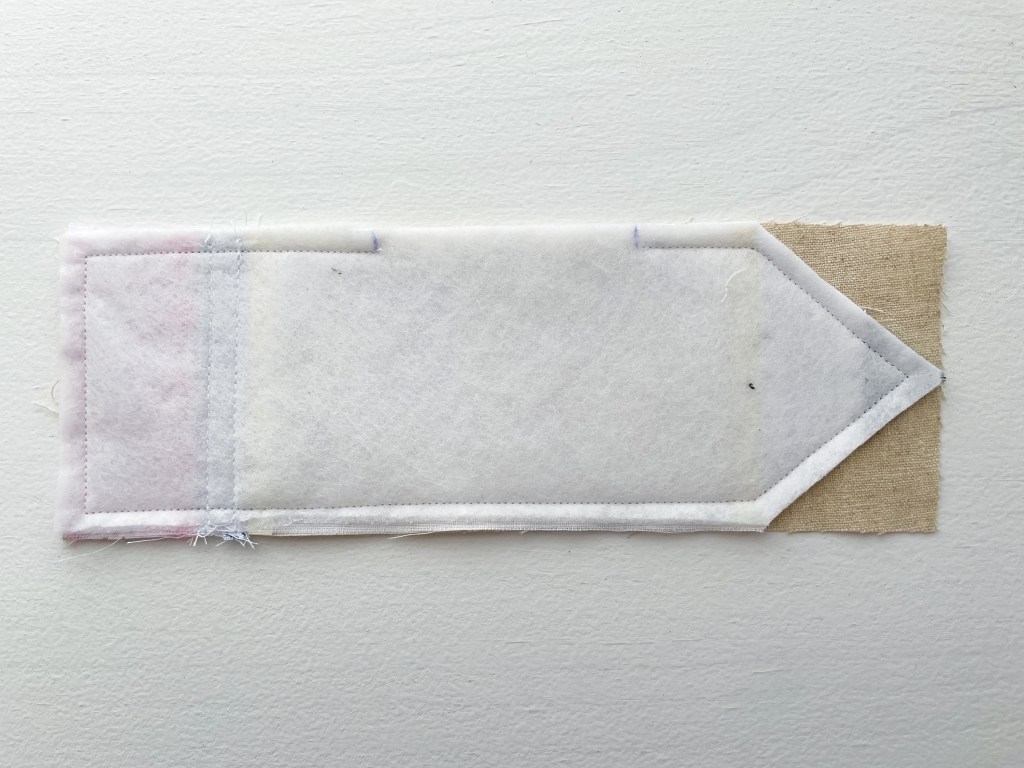
10. Trim away the excess backing fabric, plus the excess fabric from the point and corners of the pencil. Be careful not to cut through your stitches.

11. Turn the pencil right way out and press.
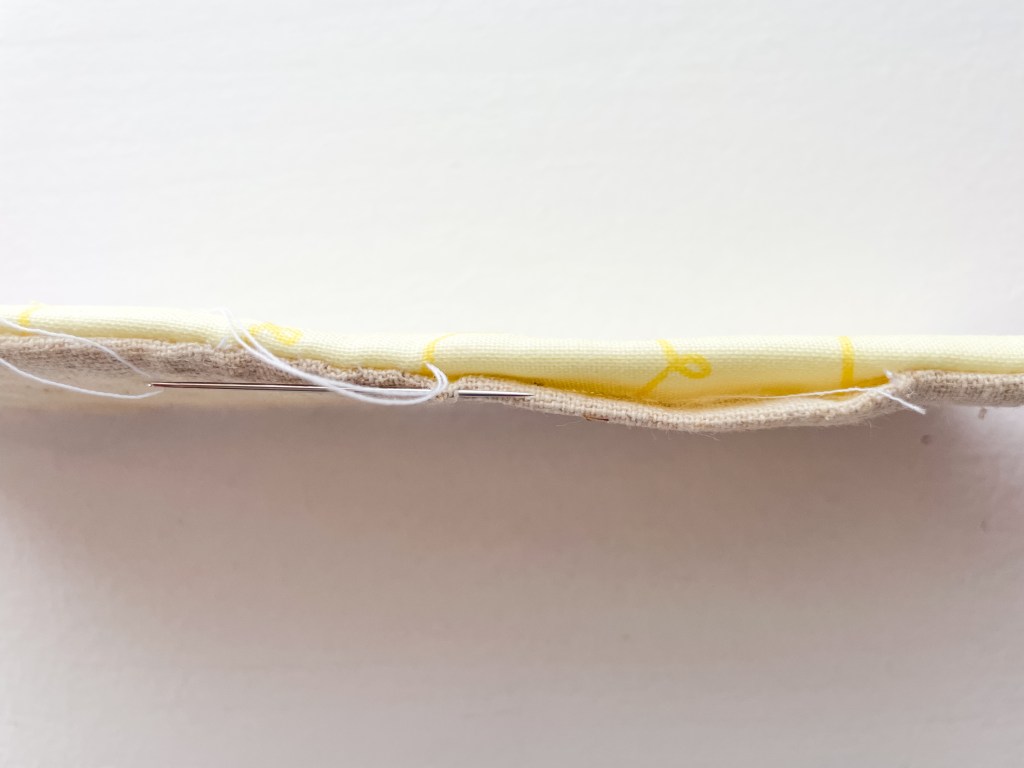
12. Sew the opening closed using a ladder/invisible stitch.
13. Top stitching around the edge of the pencil using a stitch length of 3.0
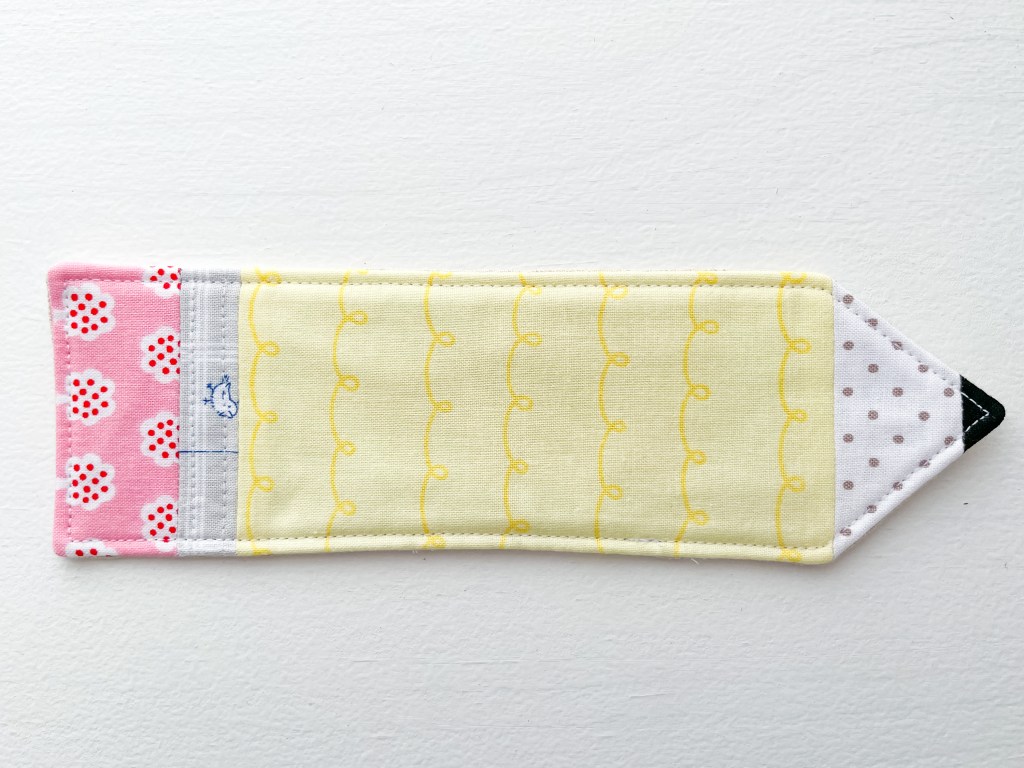
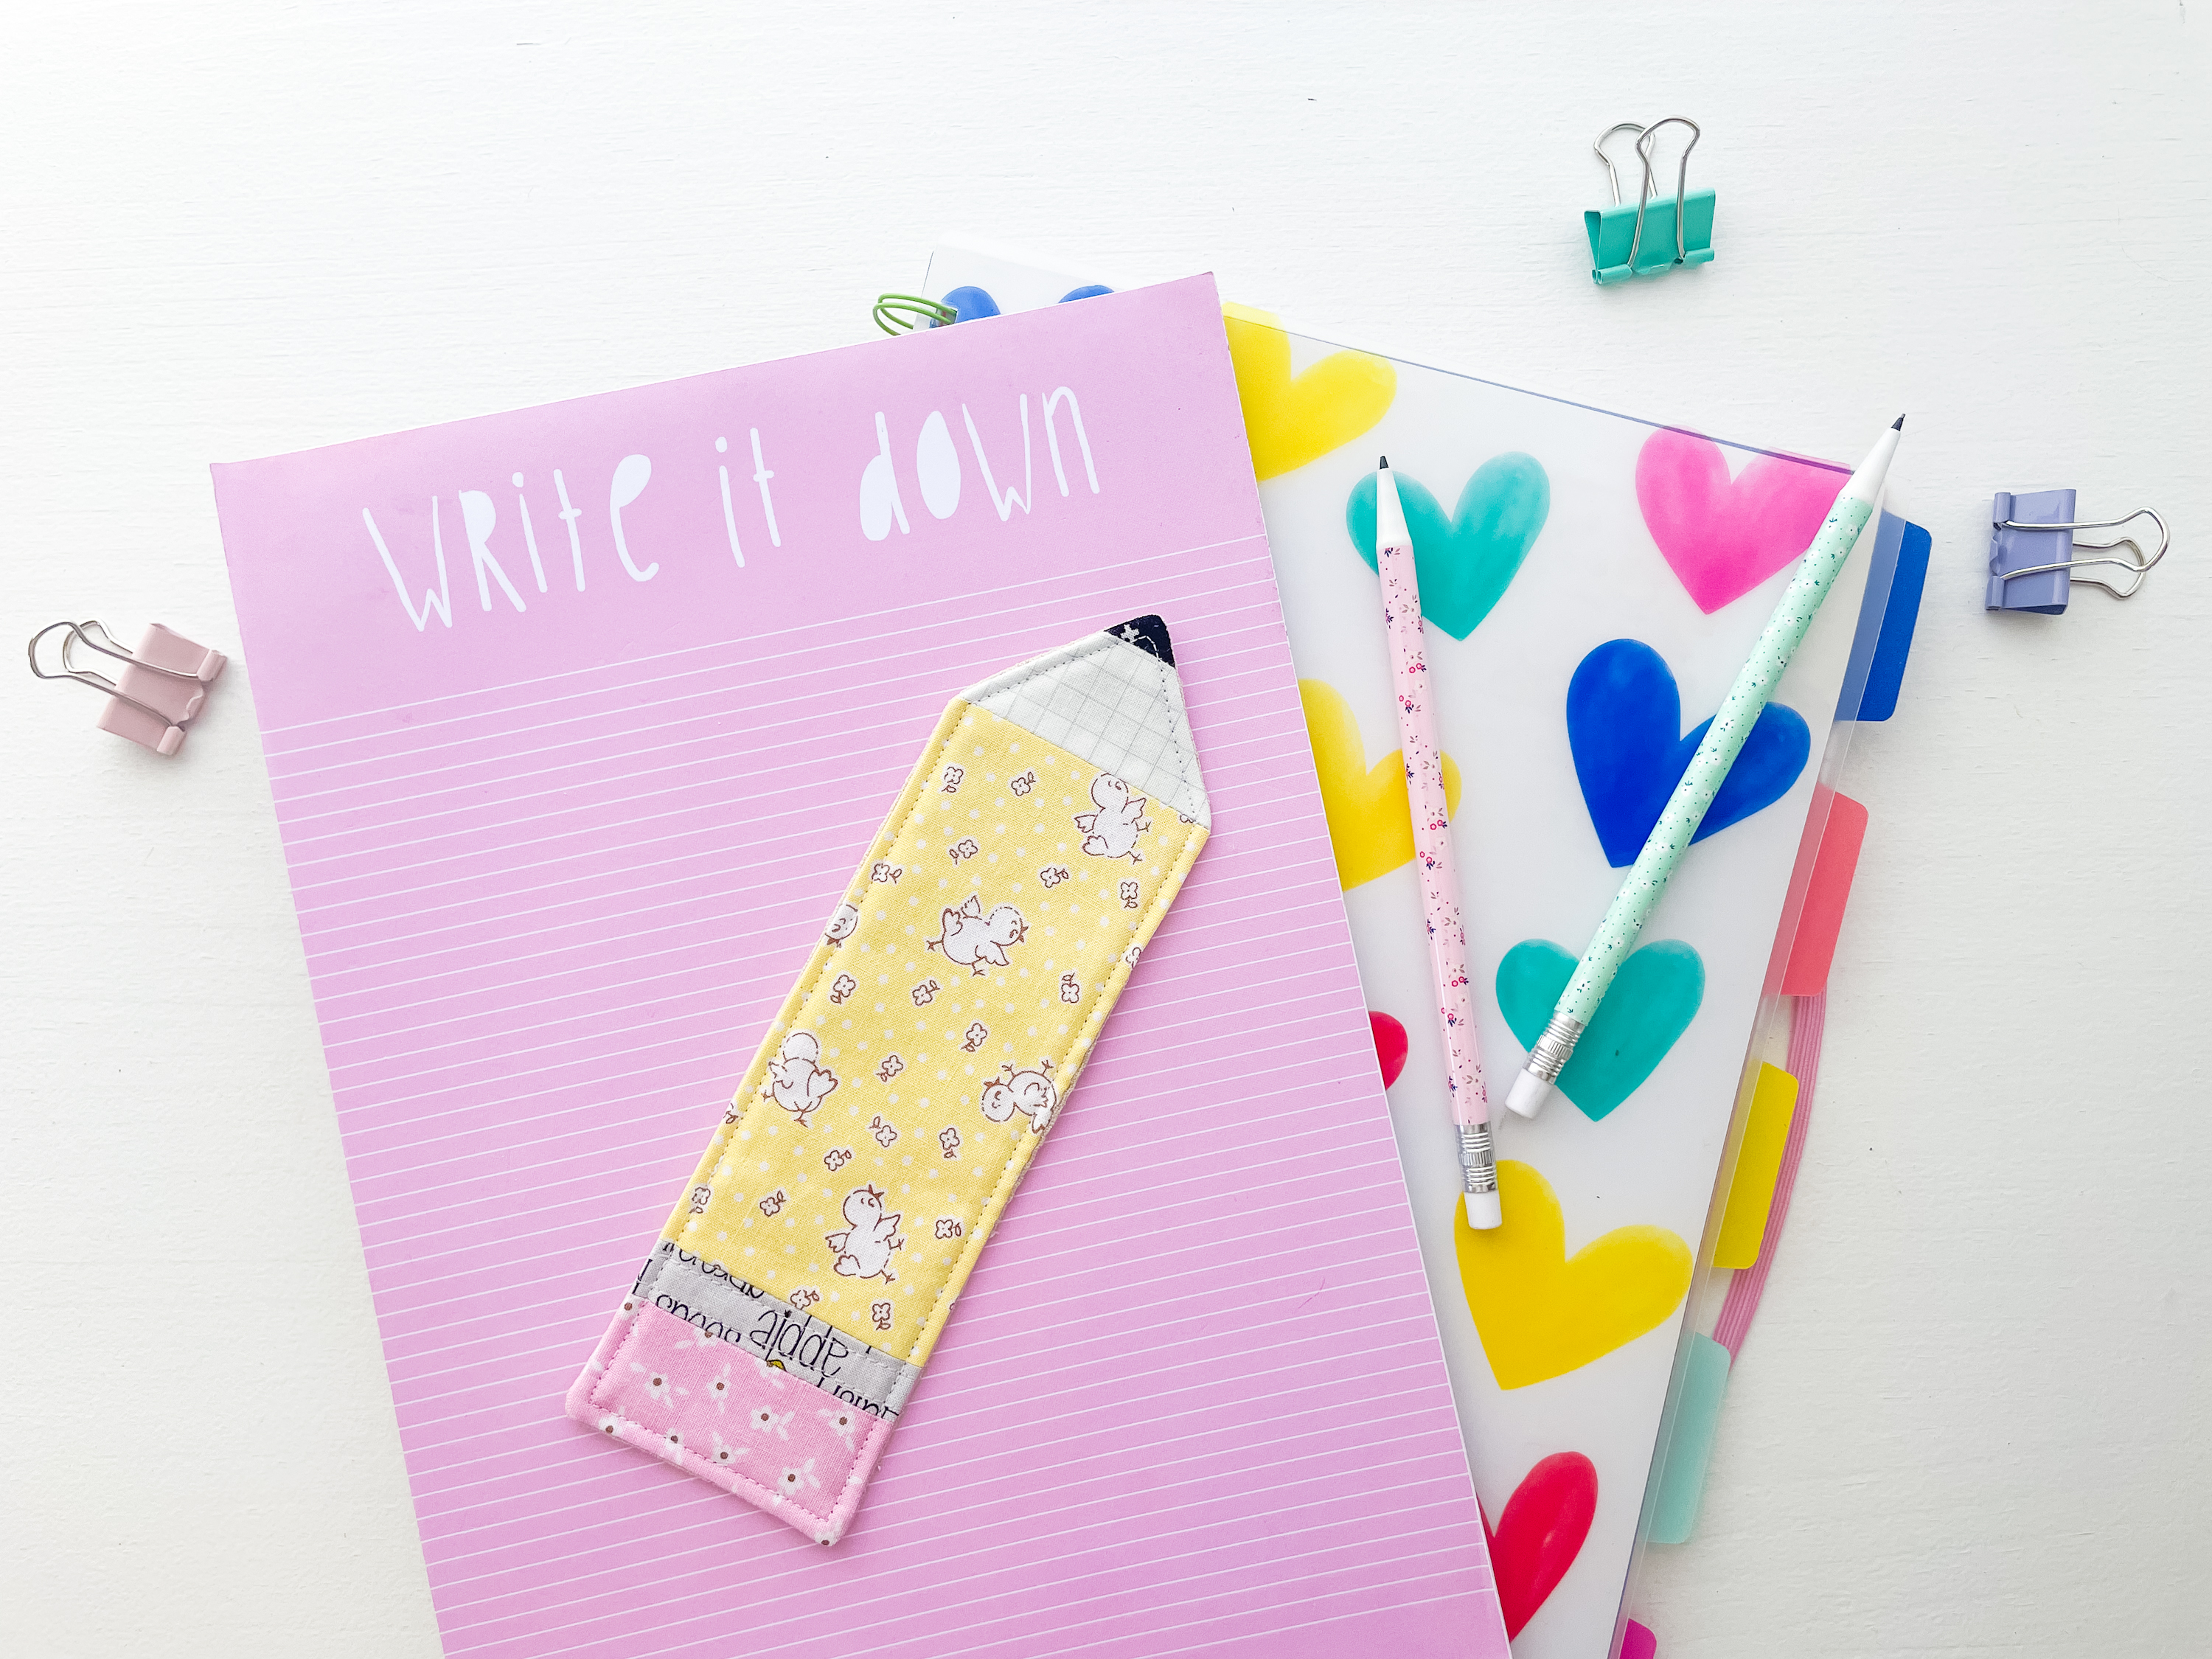
You’ve now finished your cute pencil bookmark – a fun and practical sewing project that’s perfect for back-to-school, stationery lovers, or as a thoughtful handmade gift for a special teacher. I hope you enjoyed making this free pencil bookmark pattern as much as I did!
For an extra sweet teacher gift, pair this bookmark with my Apple Patch Mug Rug or Apple Pouch – together they make the perfect handmade set.
This pattern is for personal use only. If you make a pencil bookmark using this tutorial, I’d absolutely love to see (and share!) your creations. Please tag me on Instagram so I can admire your work.
Don’t forget to check out my Etsy shop and blog for more fun sewing patterns and tutorials.
Happy Sewing, Kellie x.
© Copyright 2022, Ma & Me Designs.
