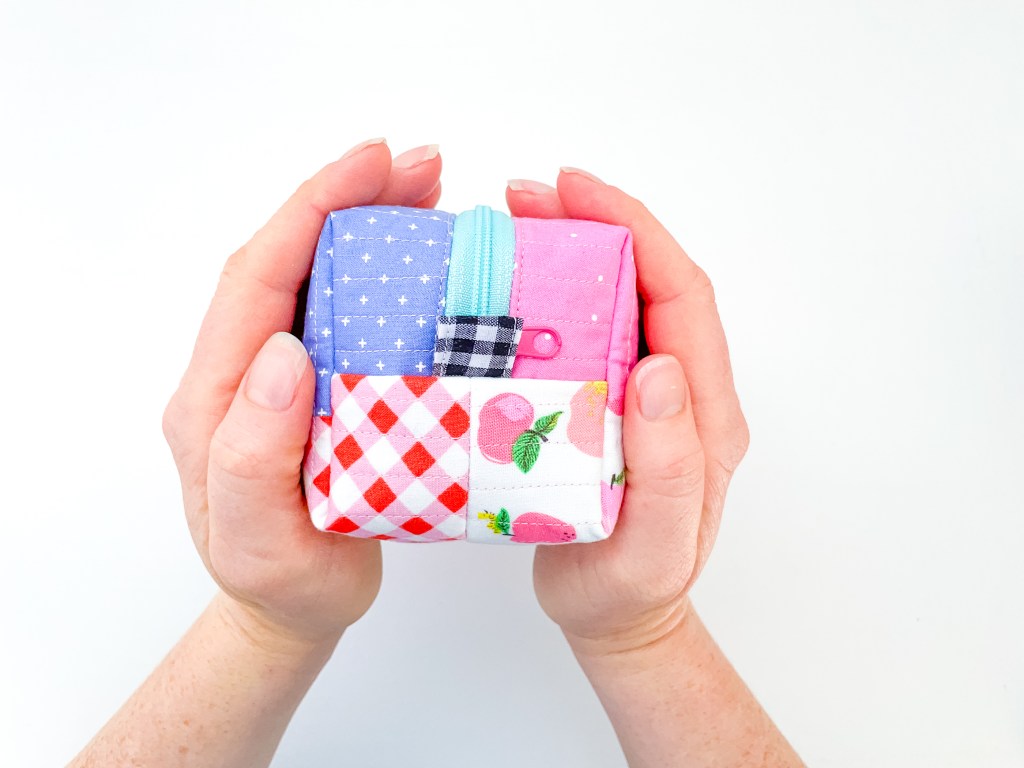
Quilty goodness meets super cute boxy zipper pouch… Yep, you read that right – meet the Basic Boxy Pouch.
Not another boxy pouch you might say, well let me tell you why this one is totally different from all the other boxy pouches out there – trust me you need it.
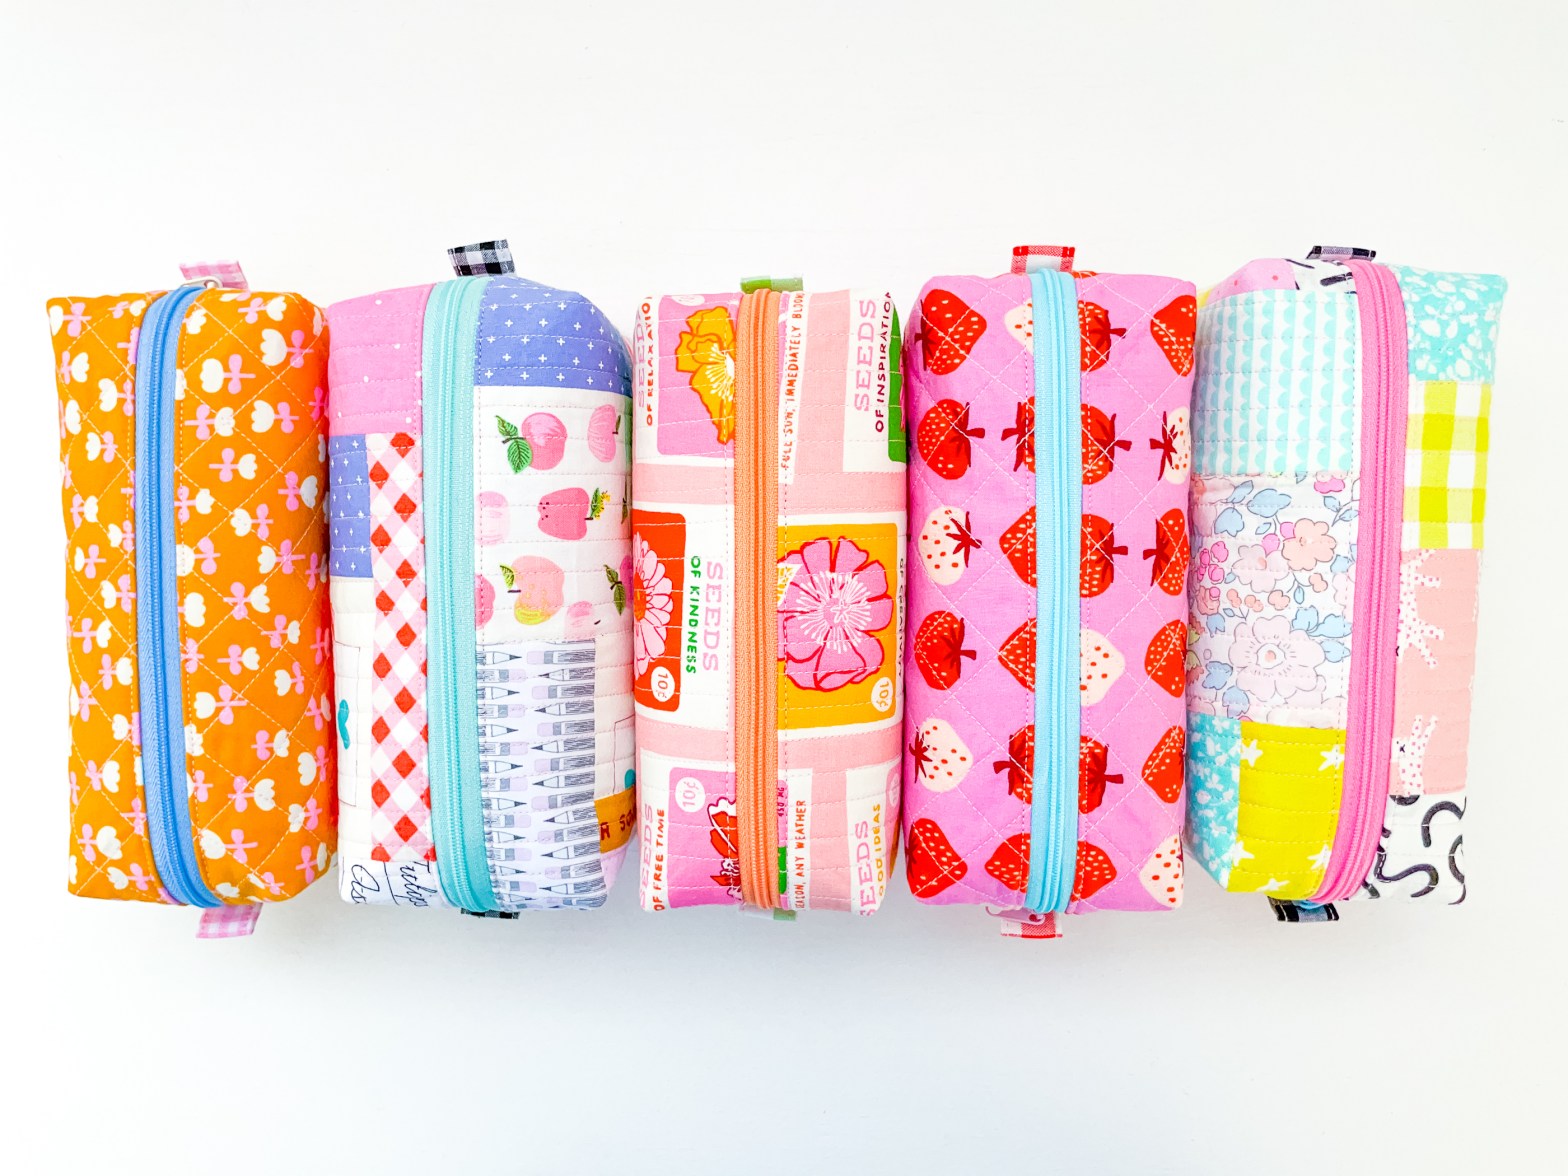
Look at all those pouches lined up in a row. One pattern, so many possibilities. The Basic Boxy Pouch pattern is the best all-rounder and will become a staple in your pattern library. Everyone needs a go-to boxy pouch pattern, especially for last-minute gifts.

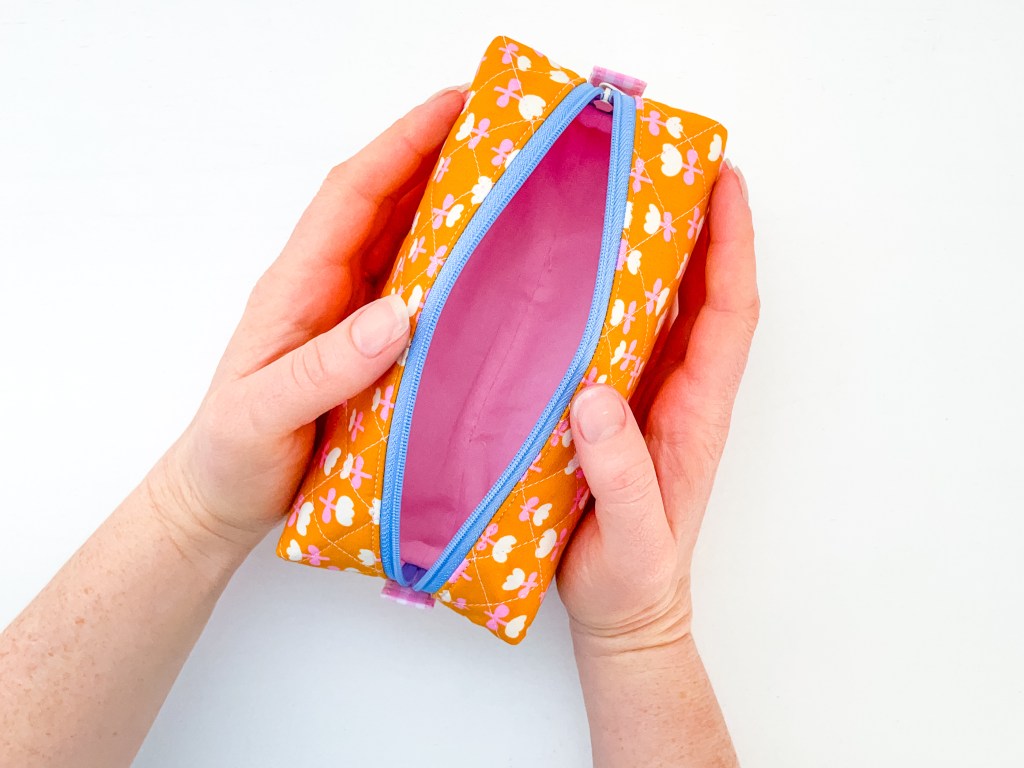
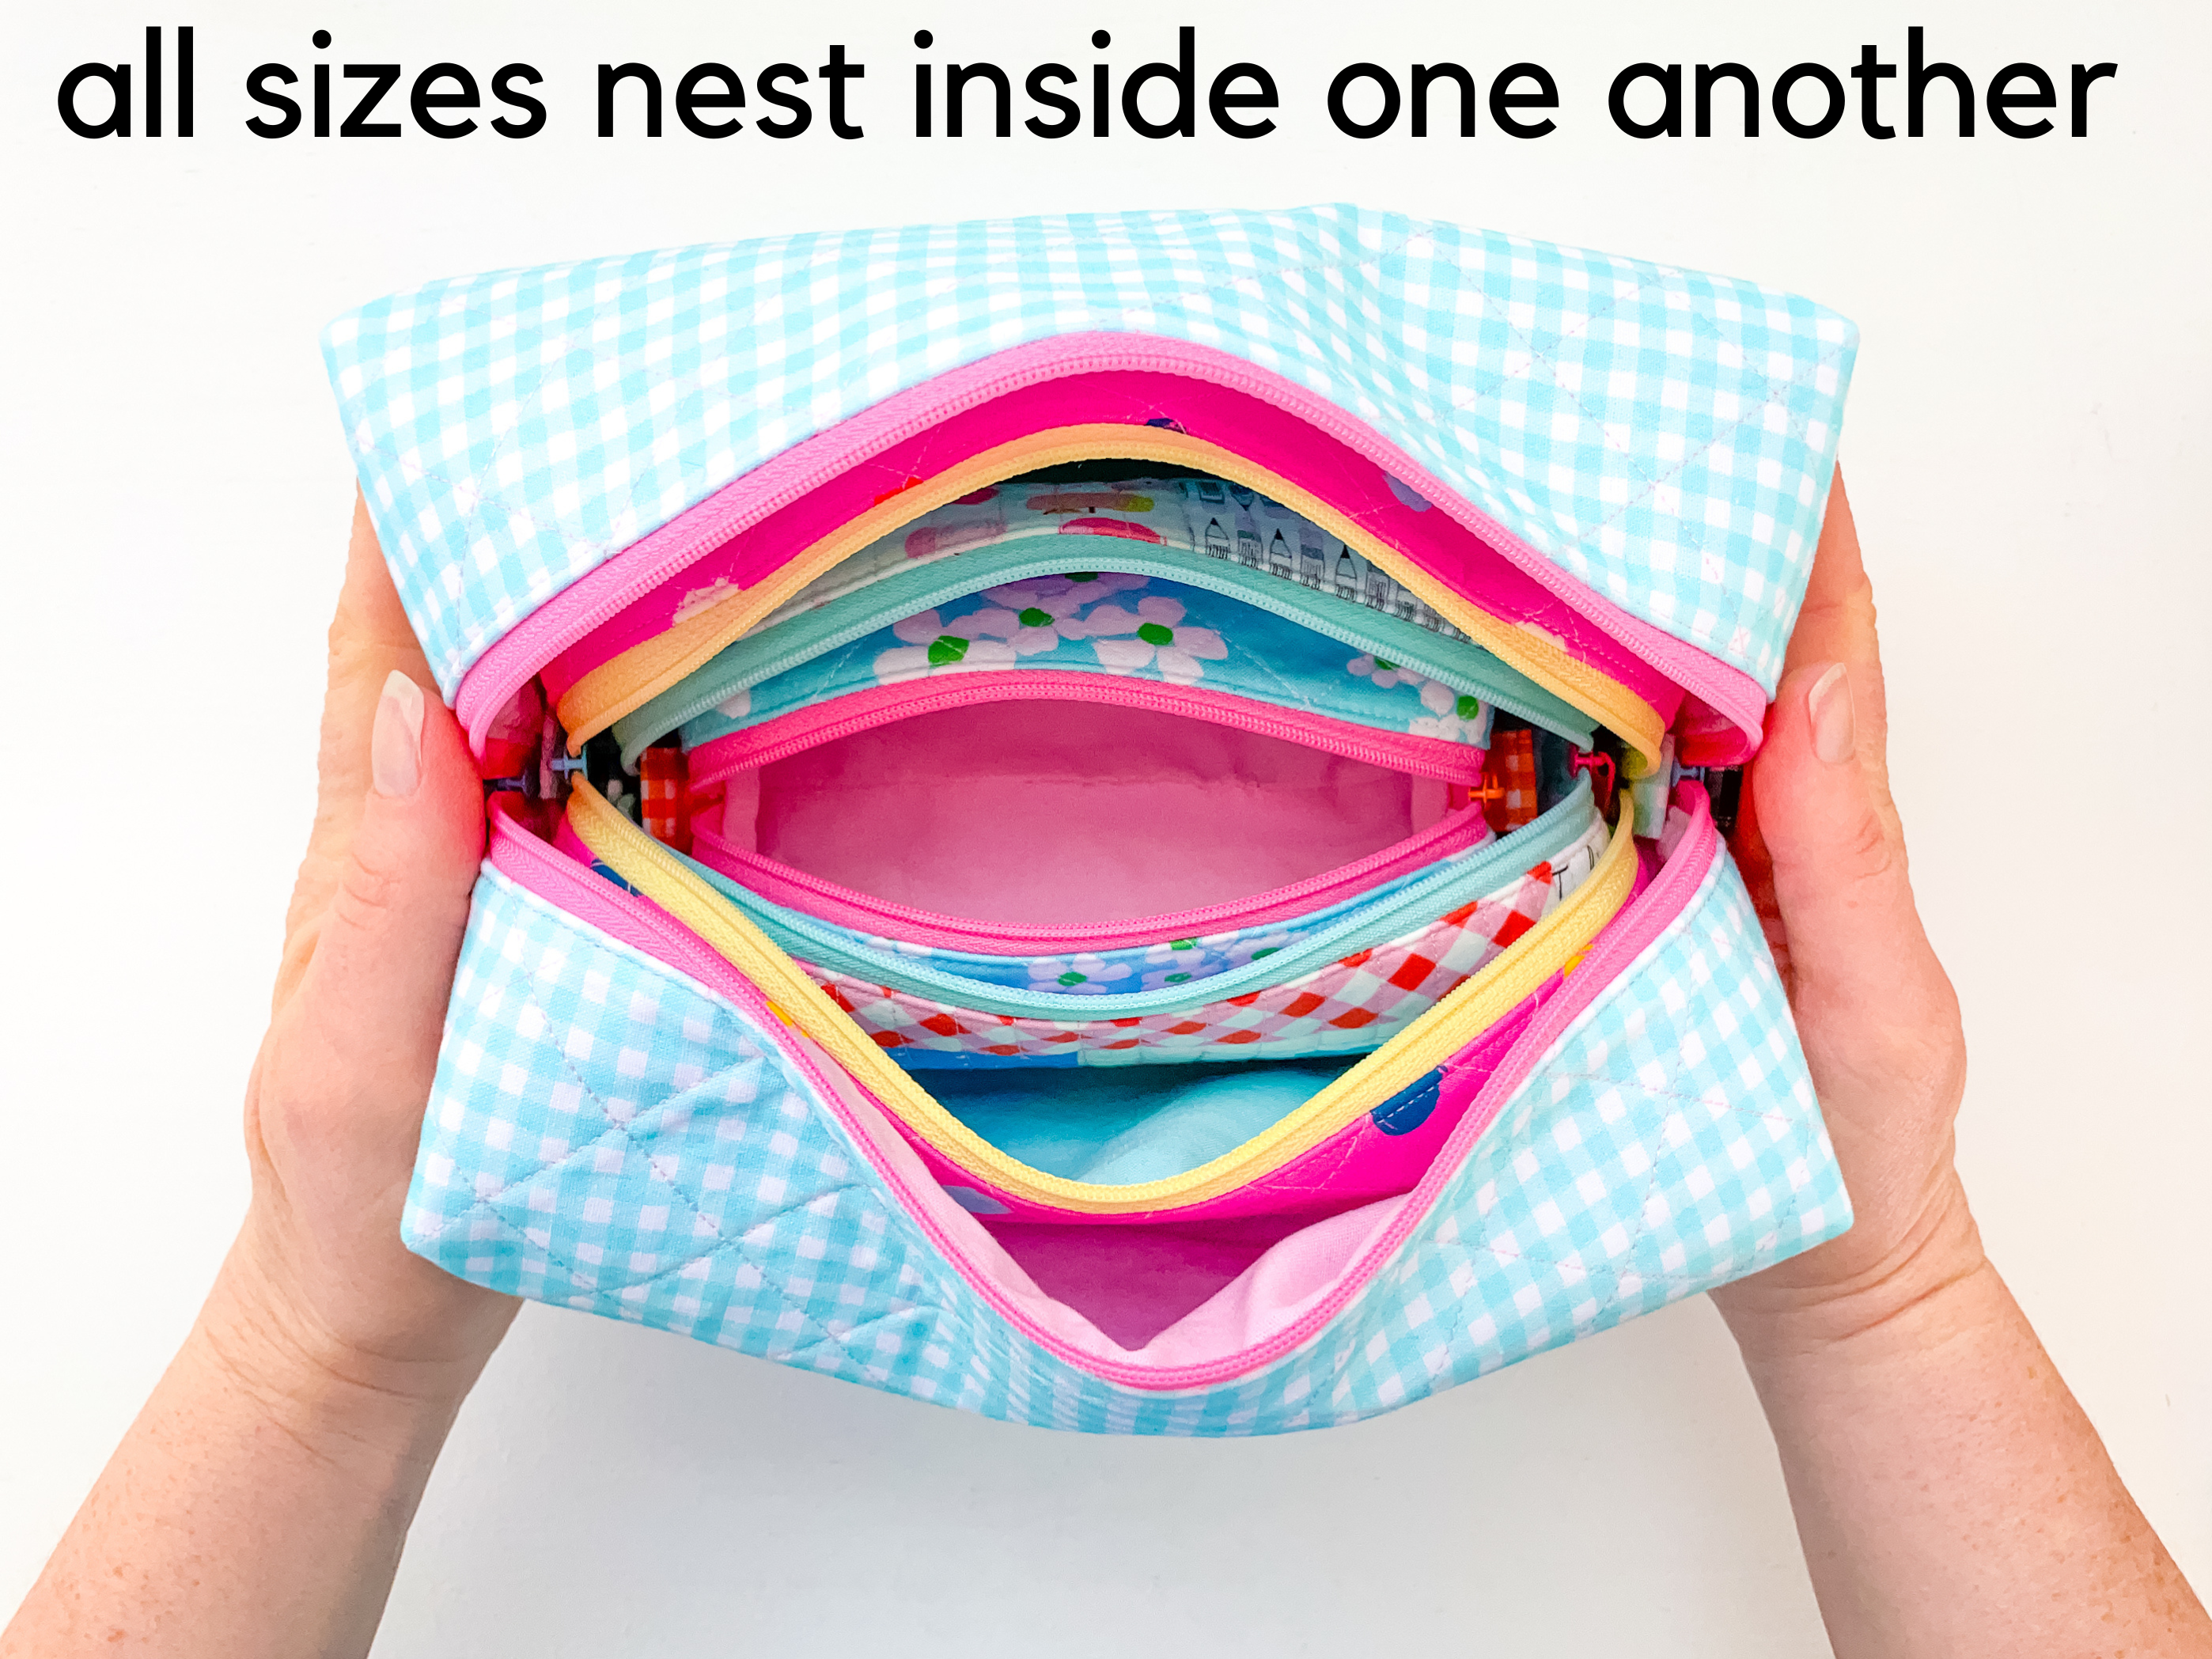
Now let’s get to the best parts… Not only is it fully lined with NO BINDING and NO RAW EDGES, yes, no pesky binding to finish the inside of your pouch. It opens wide and stands up on its own – completely empty. The unique way in which the seams are finished adds structure to the pouch and helps it hold its shape. It has the same effect as binding but without all the fuss.

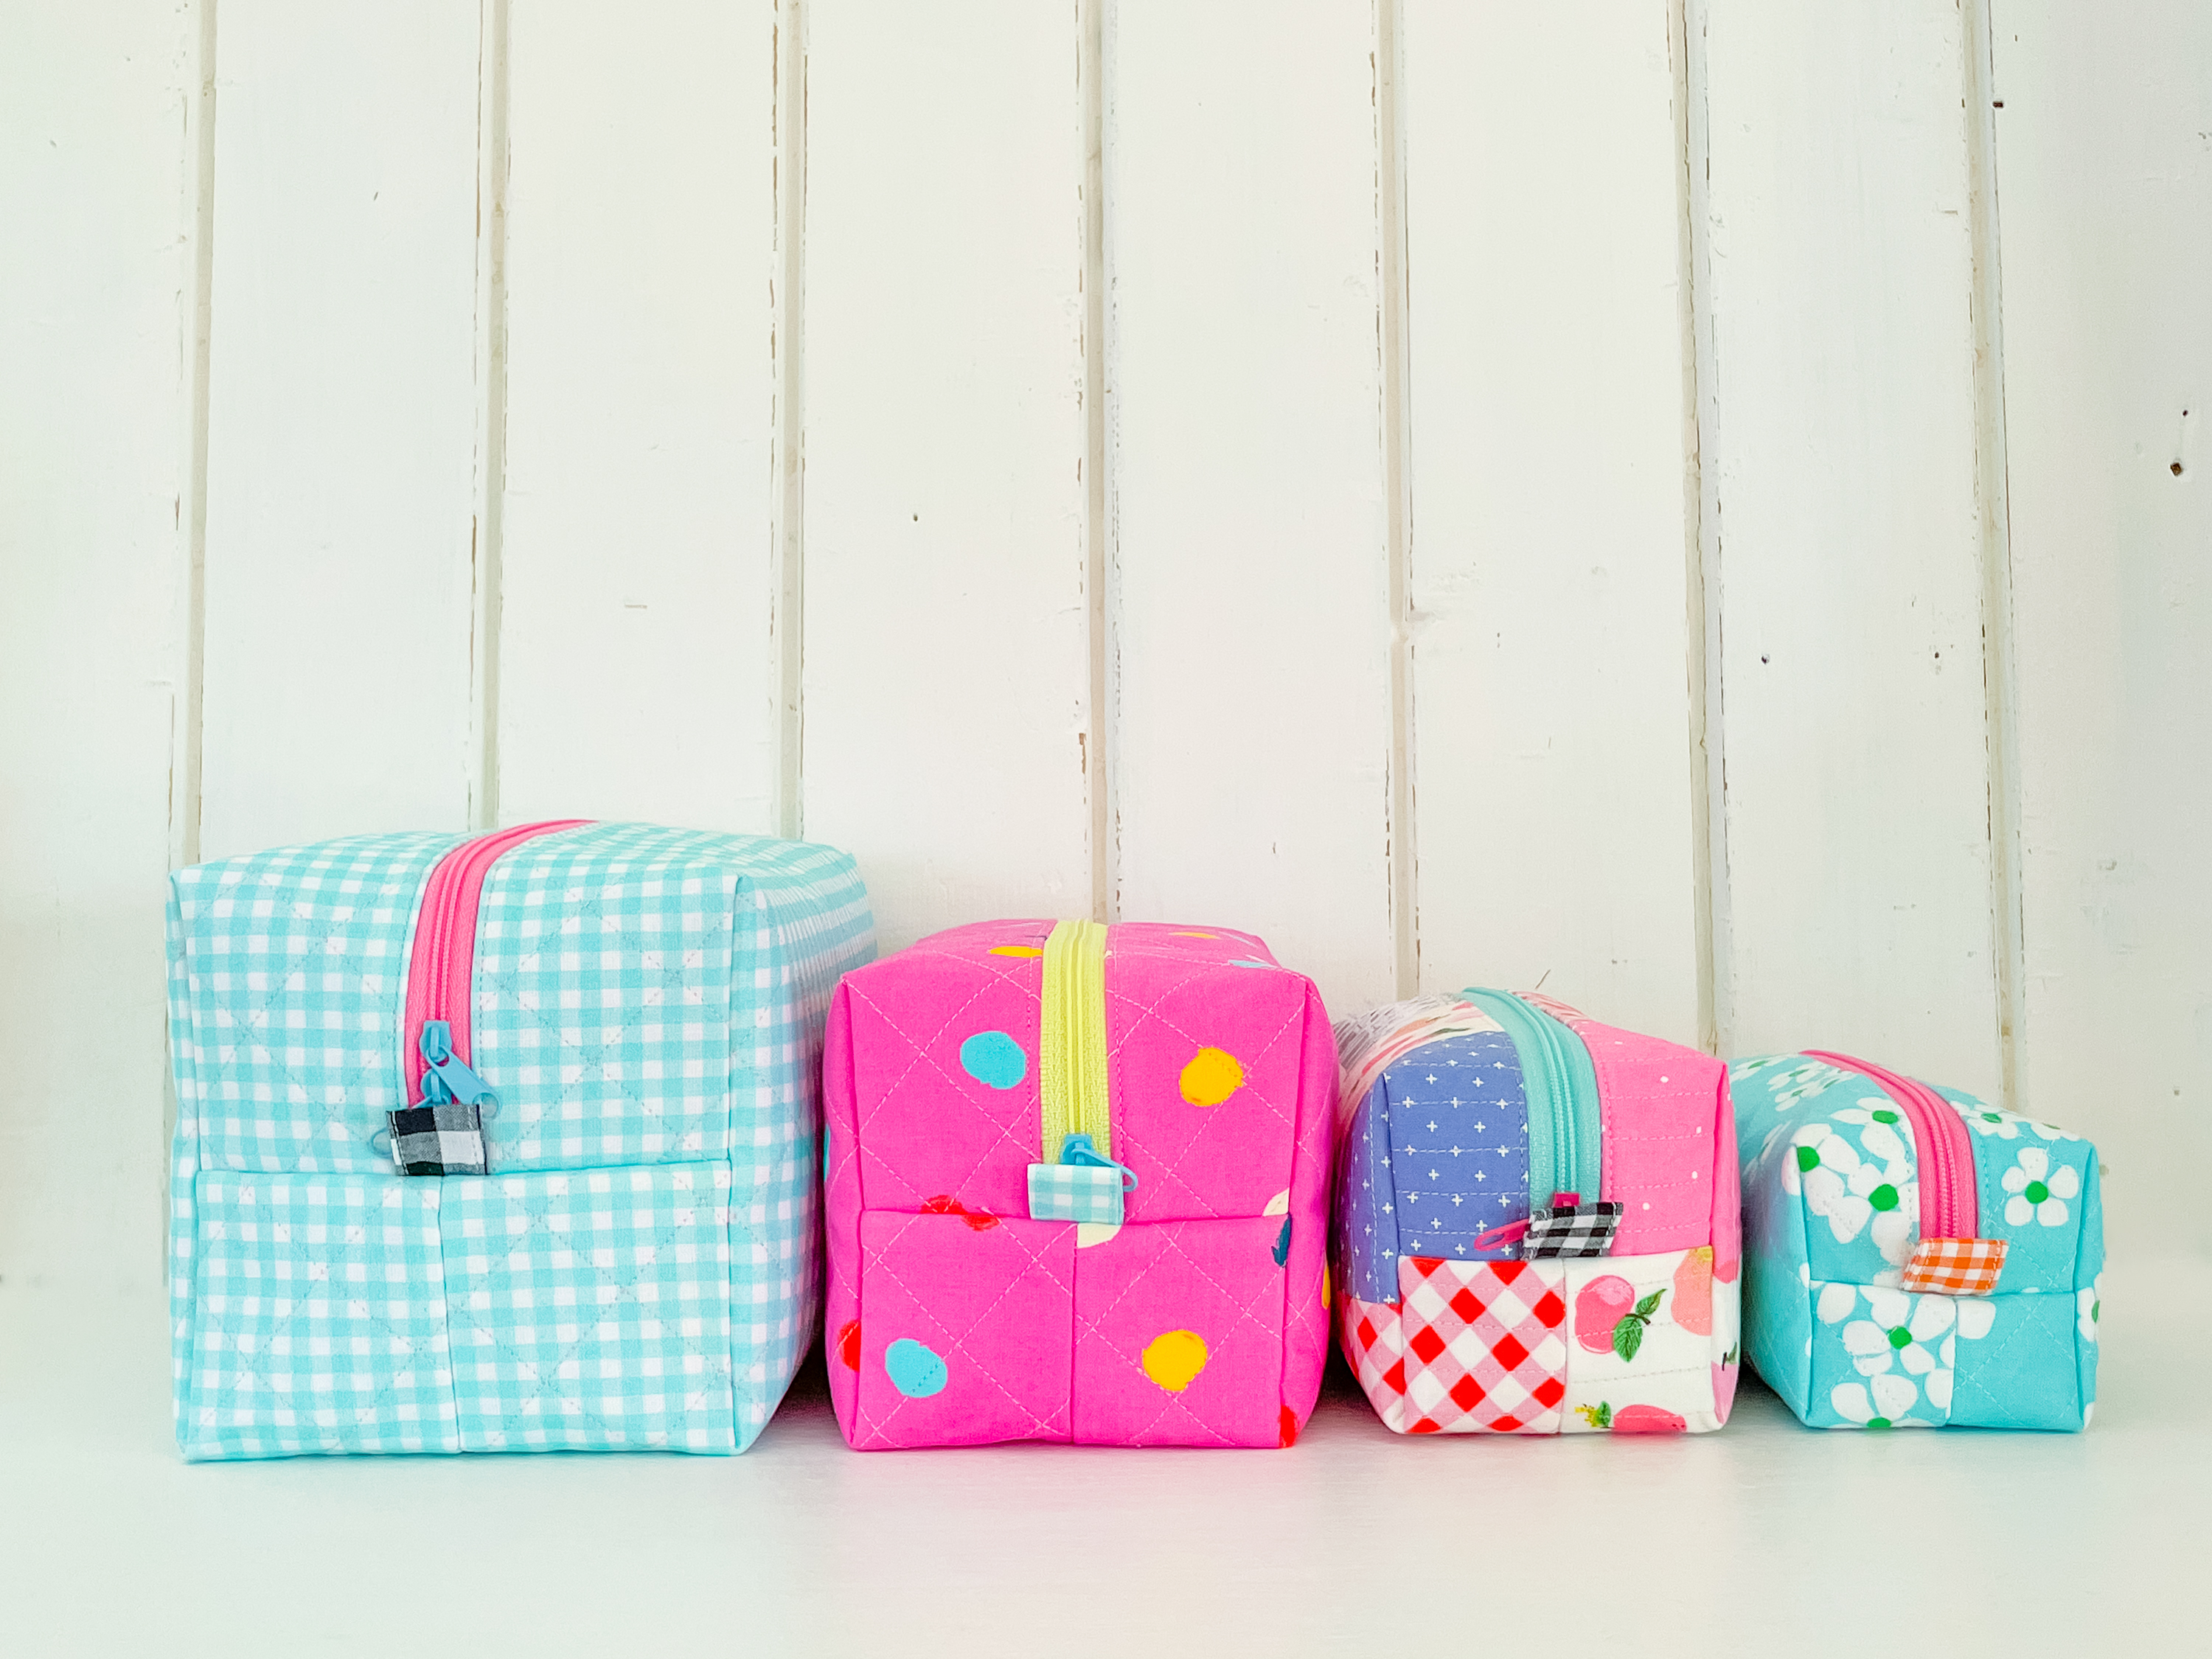
It comes in 4 sizes perfect for all your needs. When designing this pattern, I made it my mission to bring you practical sizes that could be used in everyday life. Not just cute, but super functional too. The XL size makes a great toiletry bag, with plenty of room. In fact, when I designed this pattern, I purposefully added the XL size because every boxy toiletry bag I own is way too small.
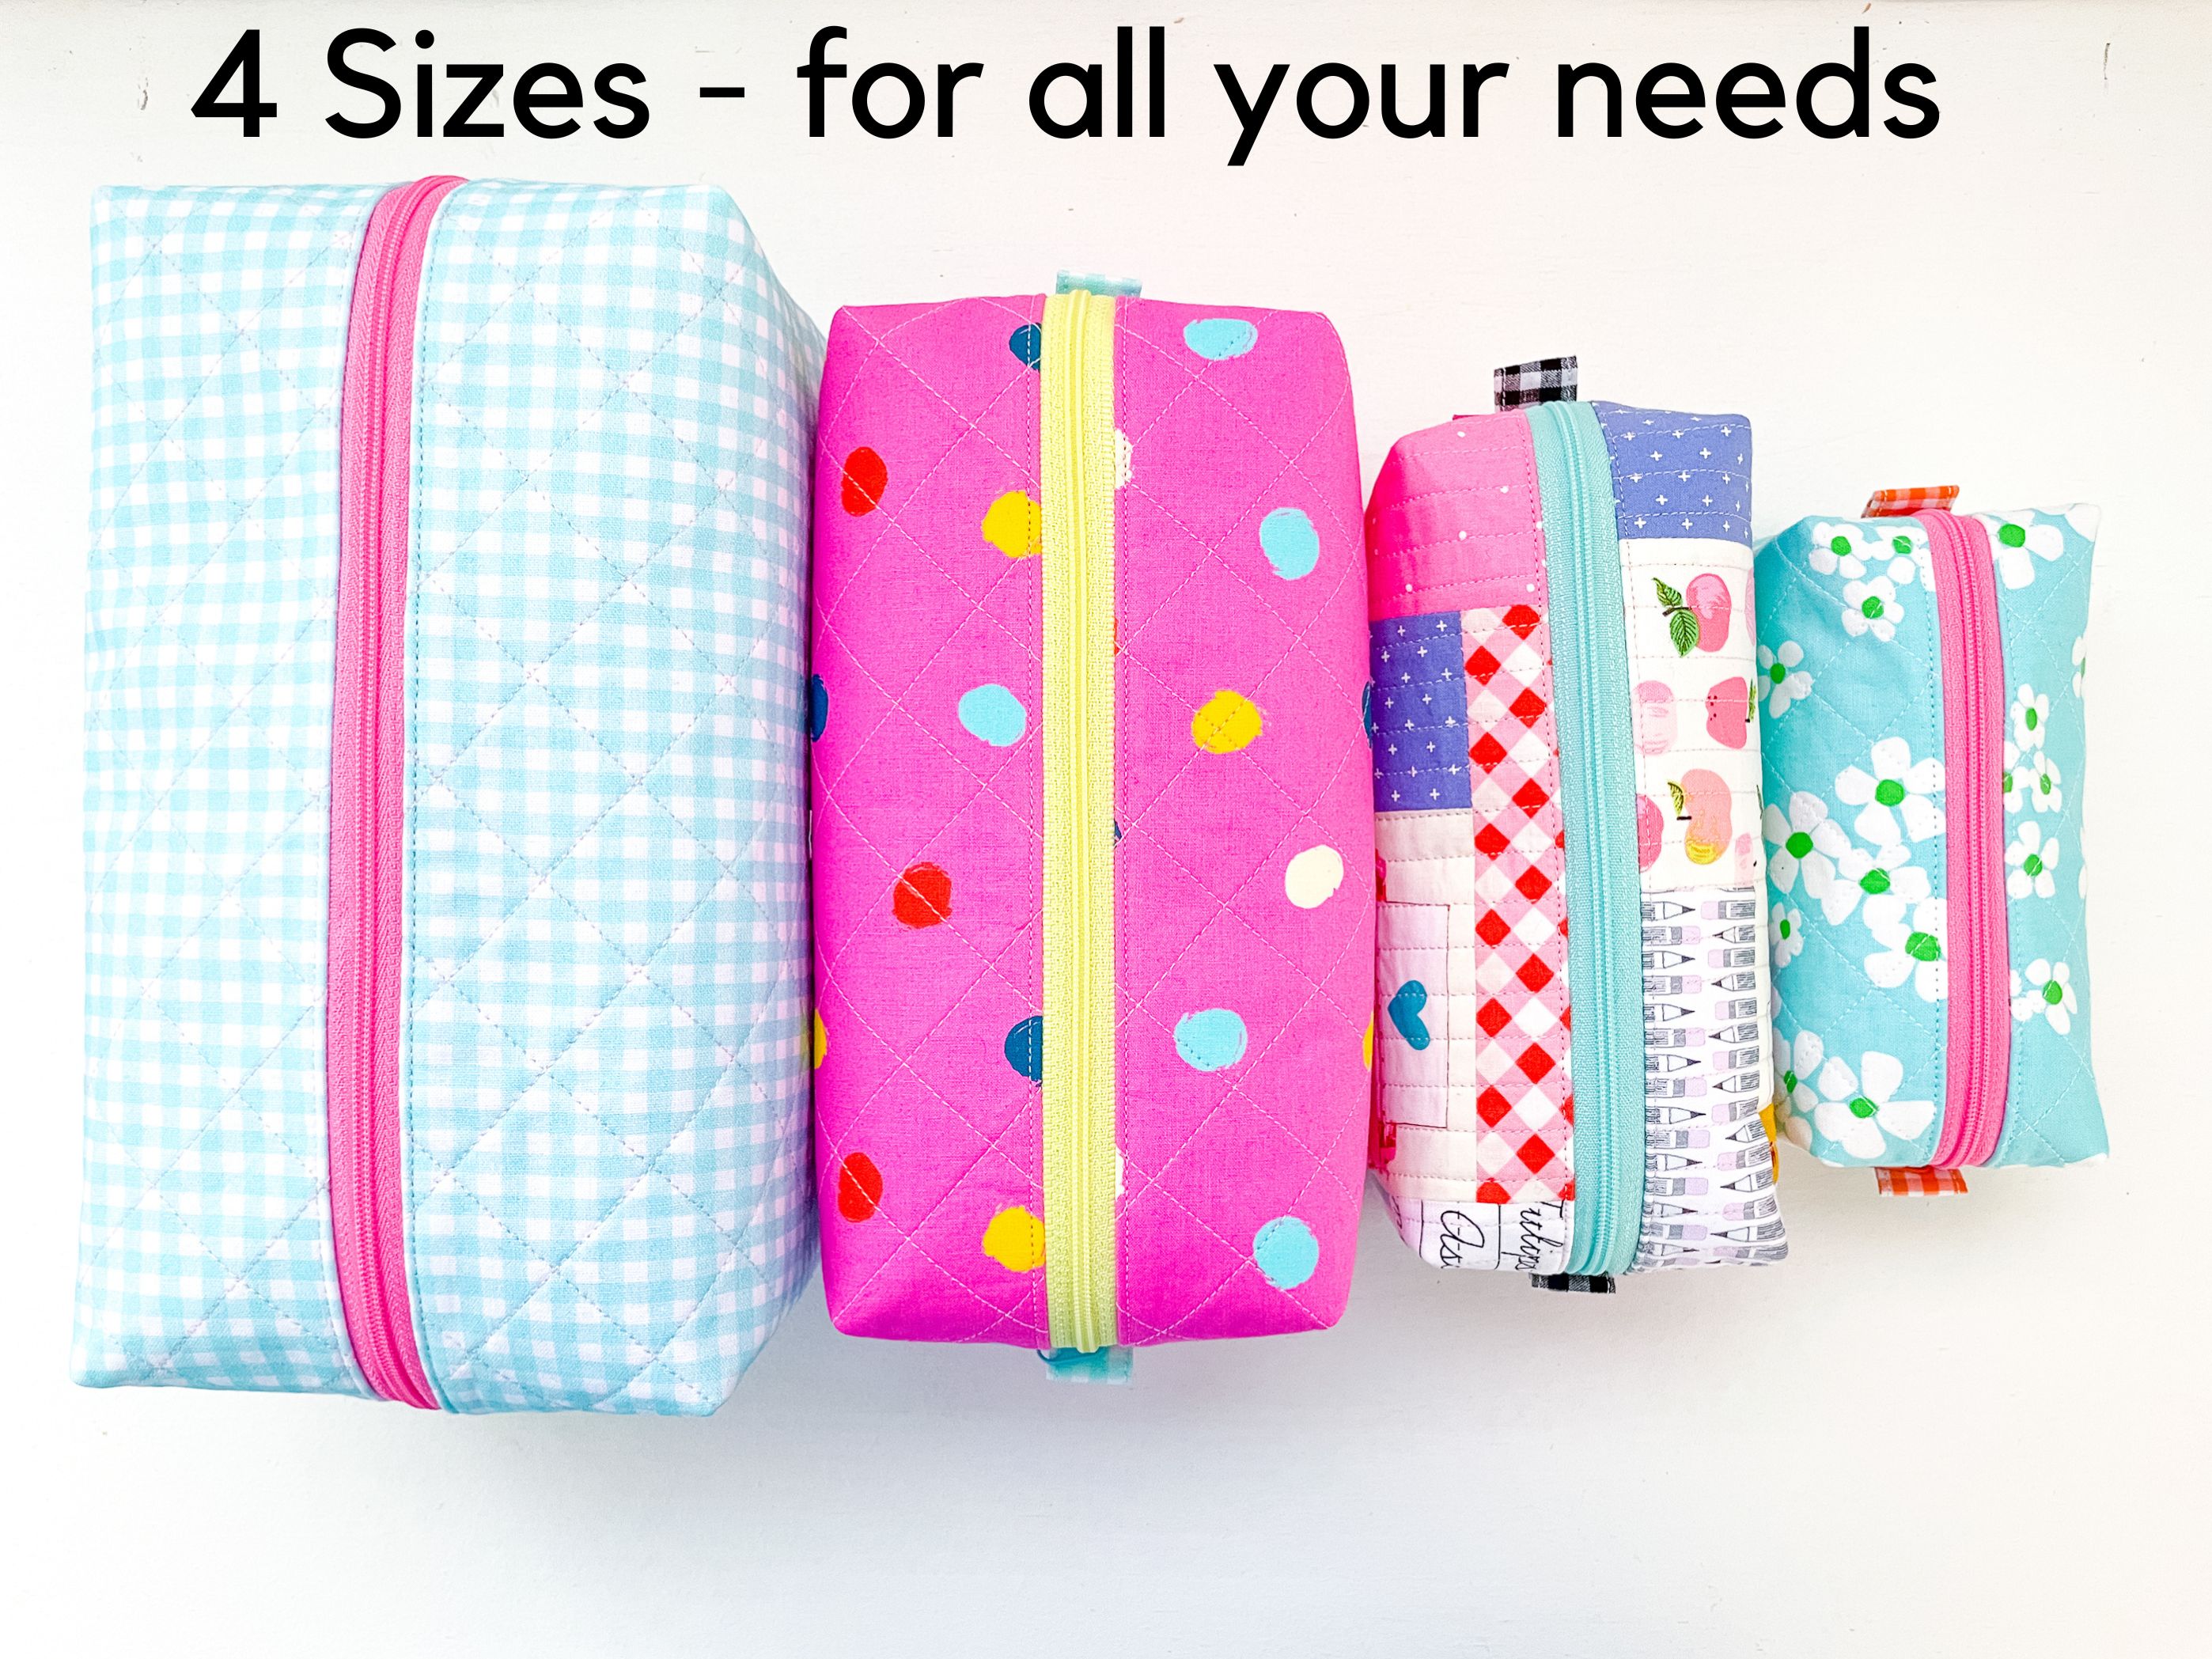
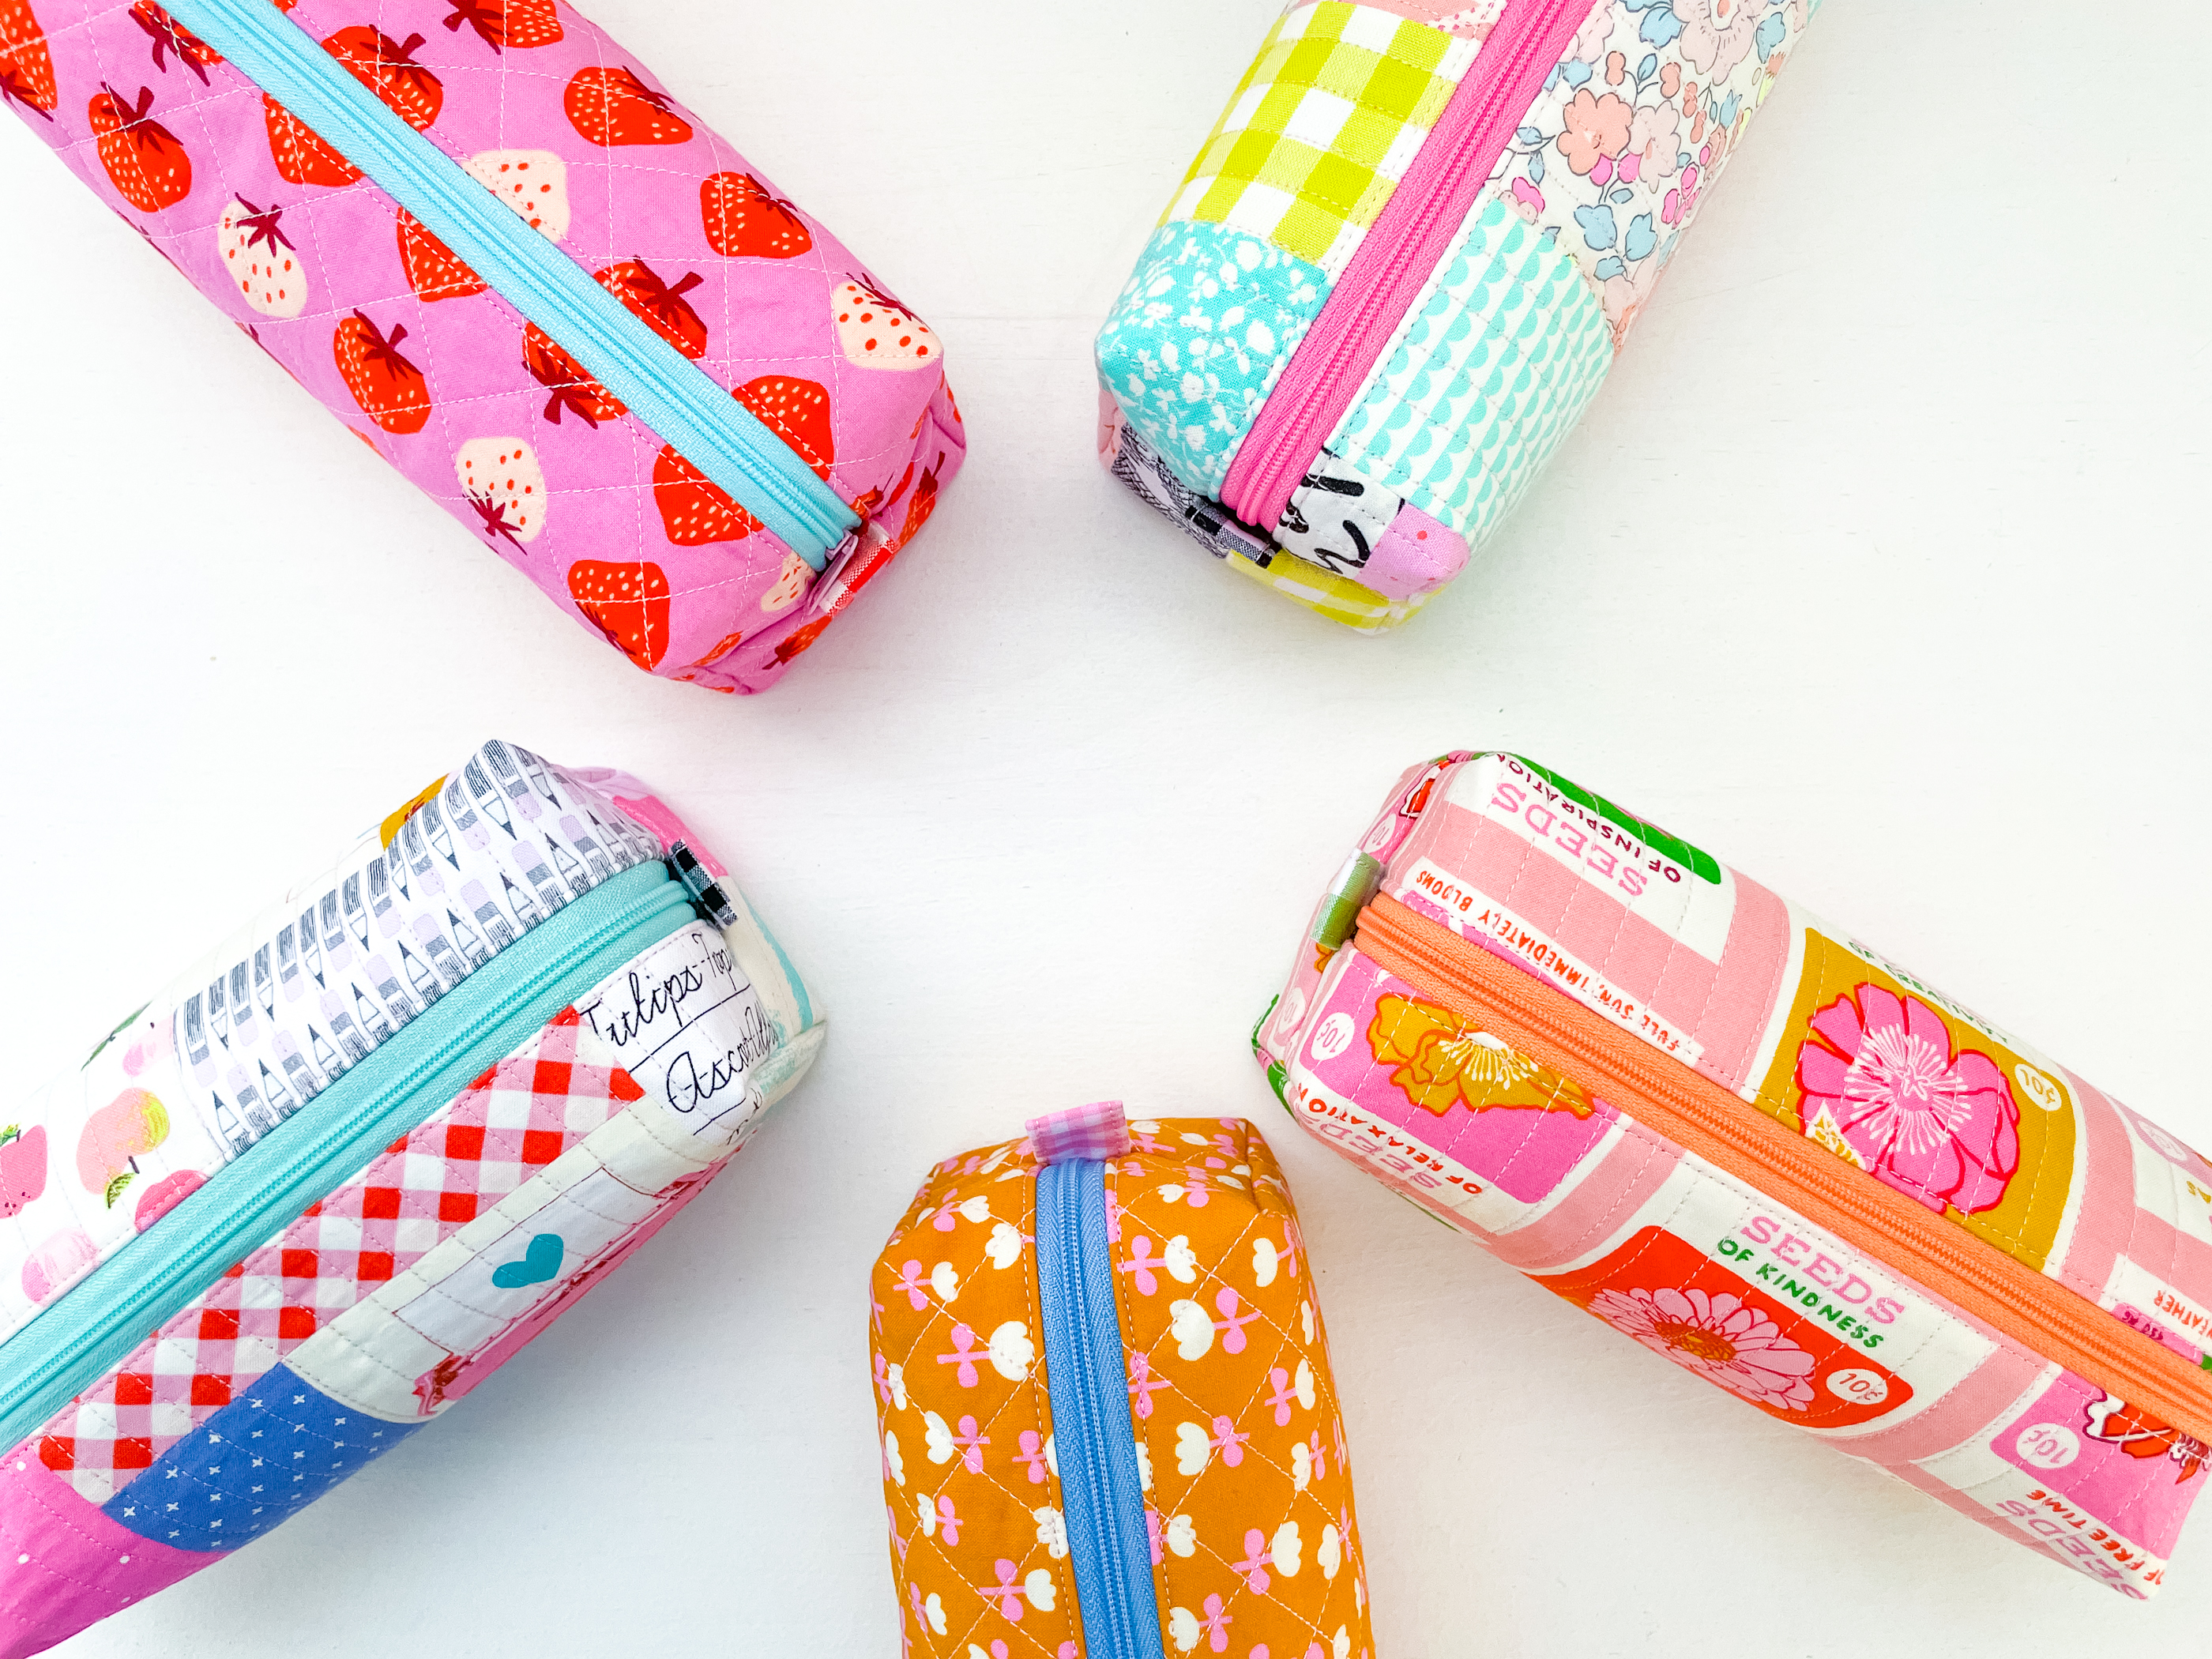
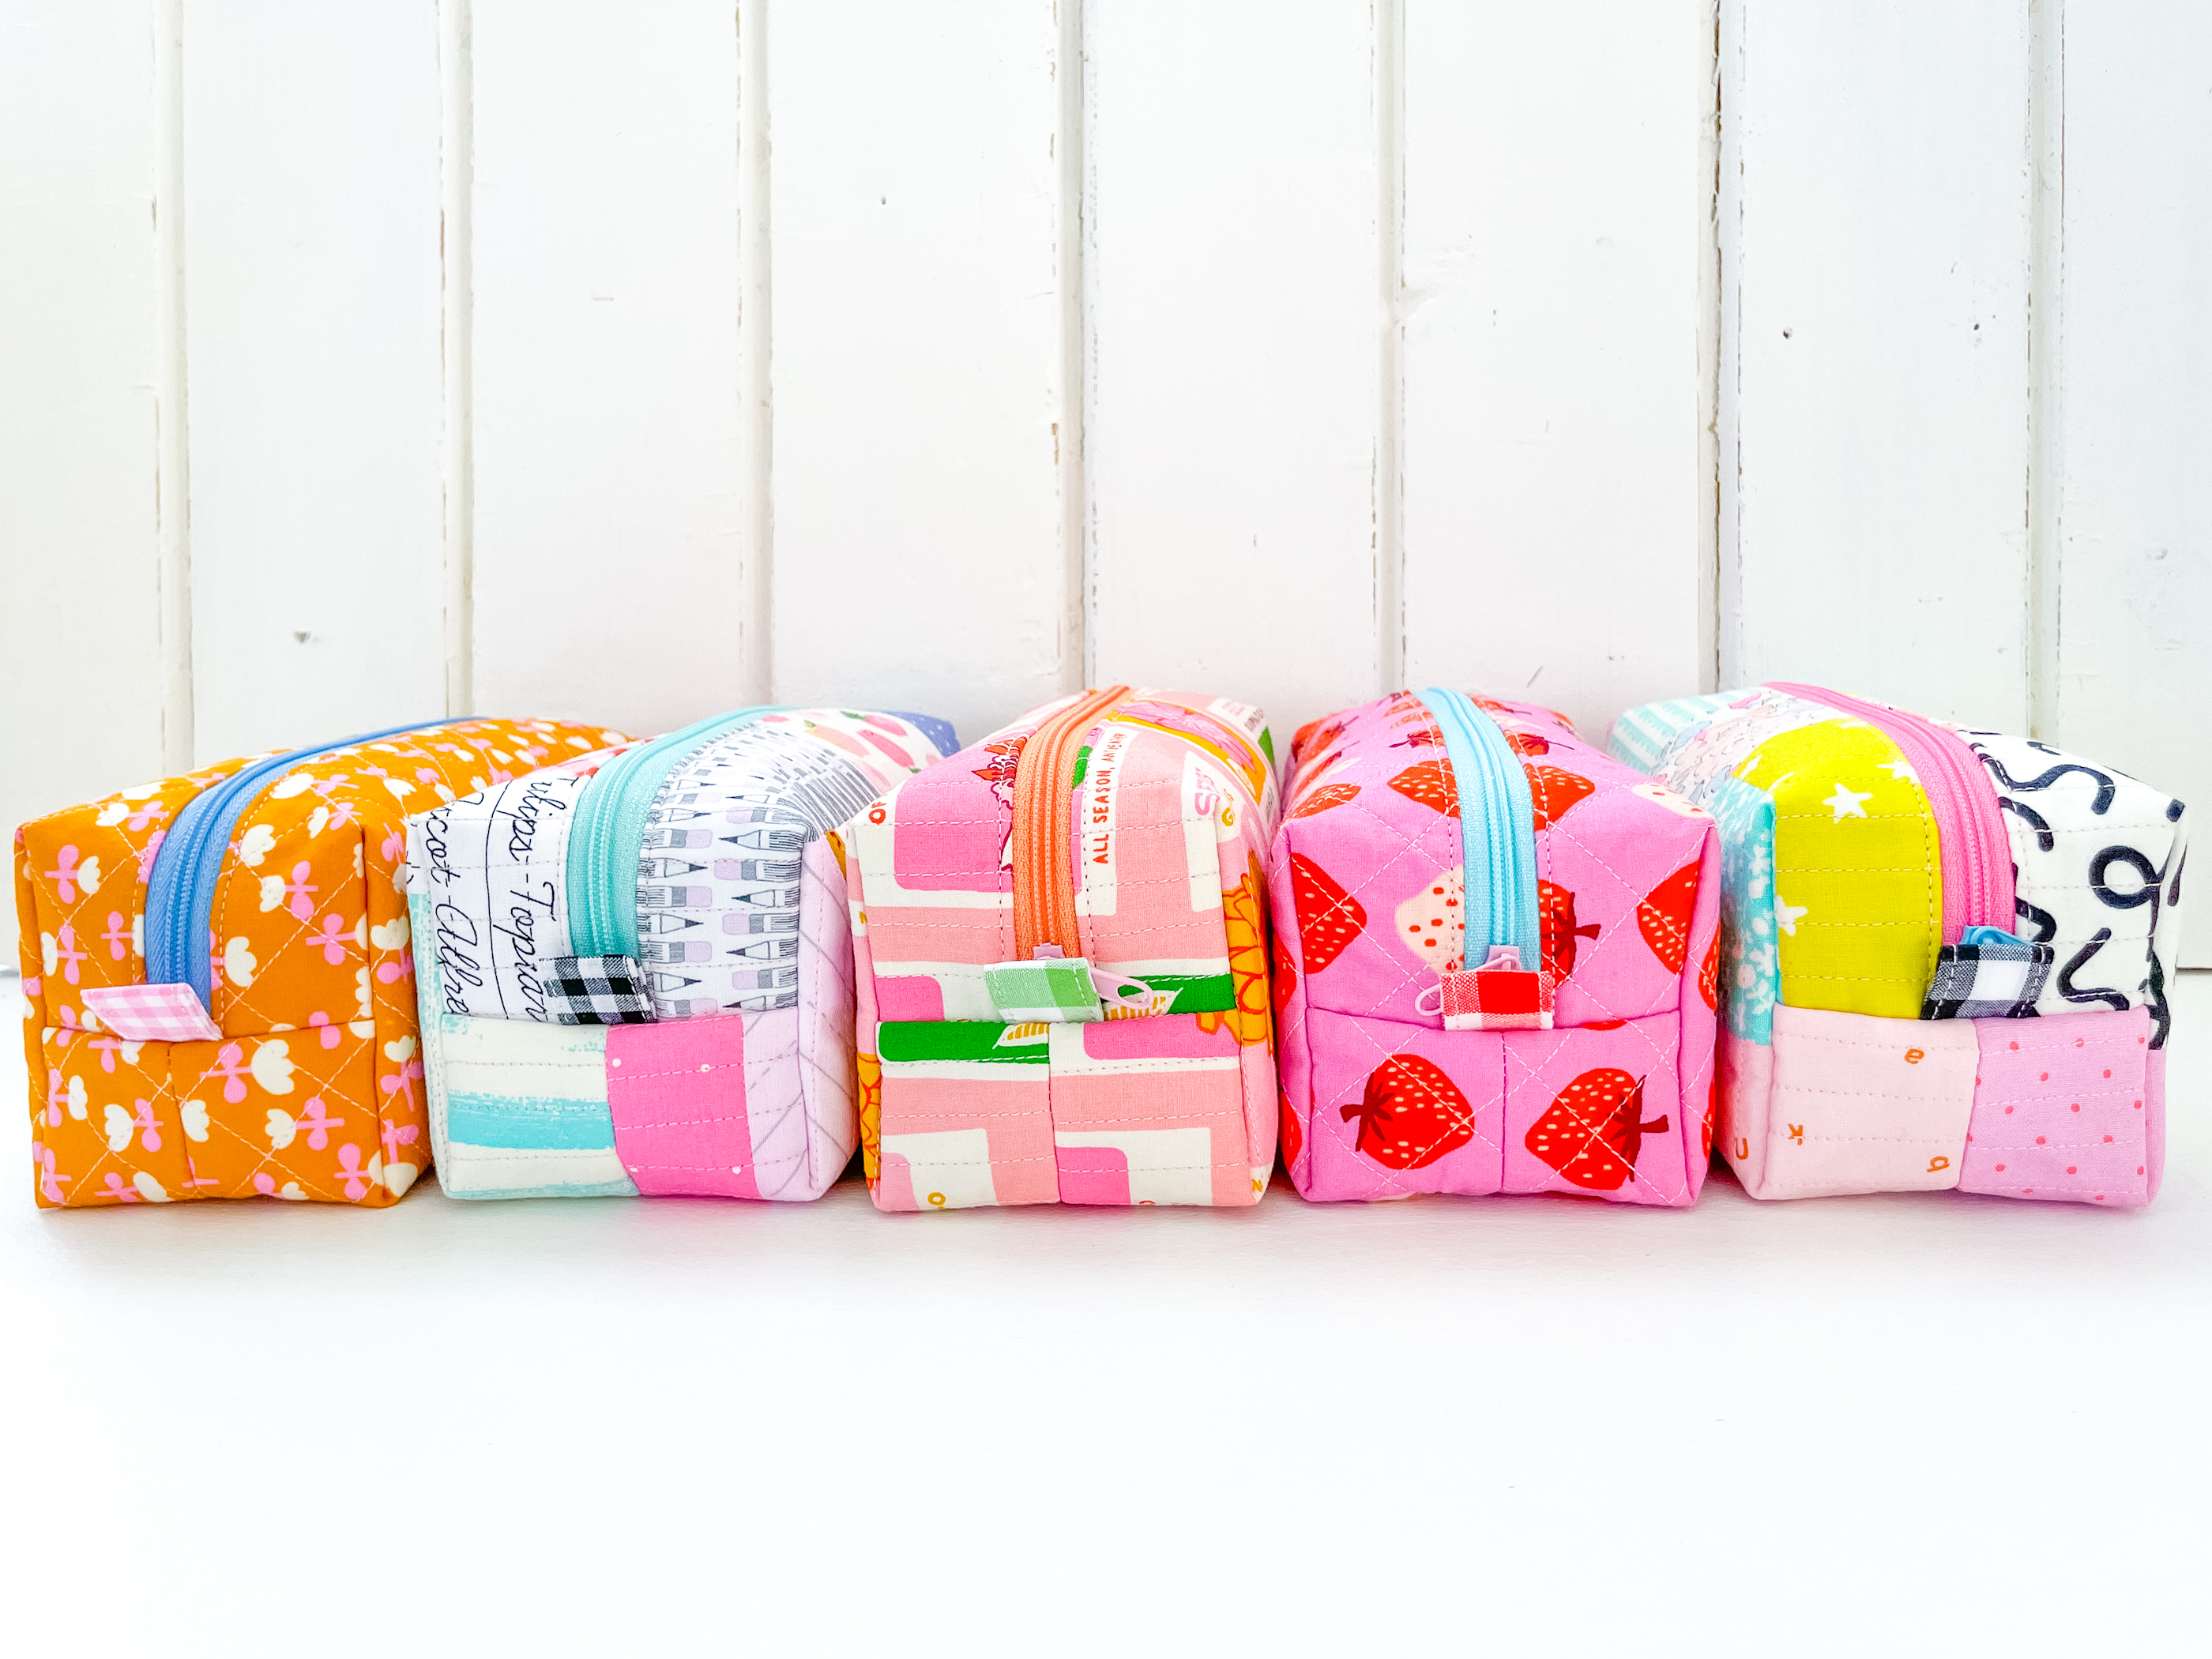
All sizes can be either quilted or non-quilted and made with whatever piecing techniques your heart desires. The first 3 sizes (S, M, L) are all fat-quarter friendly. The largest size (XL) requires a slightly larger cut of fabric (1/2 yard) to complete if making it whole cloth – but oh so worth it for all that room…or you could just dive right into that overlooked scrap basket of yours and scrappy piece the exterior.
So let’s talk about the pattern, shall we?
You get a 24-page step-by-step sewing pattern loaded with tips and full-colour photos at every single step. I’m there to hold your hand every step of the way if that’s what you need. Plus, you get an exclusive video tutorial for those who need a little extra help on boxing those corners. I also share how I press my pouch at the end so you can get great finish too.
The pattern comes with full-size templates that are ready to print or there are instructions if you wish to use the measure-and-cut method. There is no need to print the pattern unless you wish to do so, which means you can download it and start sewing straight away! In your pjs if you wish.
And a few things you’ll need…
- Basic Boxy Pouch Pattern you can find in my shop
- Your favourite fabric – the first 3 sizes are fat quarter friendly, but you can also use whatever piecing you like. Hit your scrap basket if you fancy. Dig out your paper pieces and make an EPP one or use some orphan quilt blocks too. Go wild and have fun.
- Interfacing – The pattern calls for fusible fleece (Vilene H630 or Pellon 987F) and Medium-weight woven fusible interfacing (Pellon SF101)- however I do have notes in the pattern for alternatives and what you can use instead or if you don’t have any. Just remember though, if you want the same finish as me, you need to use the same interfacing.
- Zippers – You can use either standard size 3 (dress) zippers or the larger size 5 zippers for this pattern. I have given instructions for both. If your nuts about those cute zippers with the roundy pulls I use here is where you can get some:
- Basic sewing supplies – Iron (pressing is very important), rotary cutter and cutting mat, small sharp scissors, Sewline glue pen (please, please get one if you don’t have one- it’s a game changer) and a seam turner.
So what are you waiting for?
You can find the pattern here in my Etsy store.
If you make one, please share it with me. I’d love to see your work. Use the hastags #basicboxypouch or #maandmedesignspattern on Instagram.
Any questions or comments please feel free to contact me or leave a comment below. I’m only ever an email away.
Happy sewing, Kellie. Xx.