
Wrist Strap Tutorial
Wondering how good it would be to add a wrist strap to your Basic Boxy pouch? especially for all those moments you needed it to be hands free, or just because it would be super handy. Like who else wants to hang theirs right up there on a hook and admire their amazing bag making skills (I know I do)?

But then the thought of buying hardware and the logistics of the whole ordeal was a no go? Well, what if told you there was a super simple way to add a handy wrist strap to your Basic Boxy Pouch – no hardware required? Plus, it’s 100% scrap friendly too. Yep, you heard that right! No shopping required just some scrap basket/ stash diving.

I’m going to show you how simple it is in this tutorial. Let’s go!

Just a couple of things before we start….
Your going to cut your fabric into different length strips that are 3″ wide.
The width of the fabric is going to be how wide your finished strap is and the length of the strips is how long it will be. So you might want to think about fabric direction. I always cut mine so the “width” measurement (3″) is technically the “height” of the fabric when its sitting in front of me. That means anything directional is running across the length of the strap.
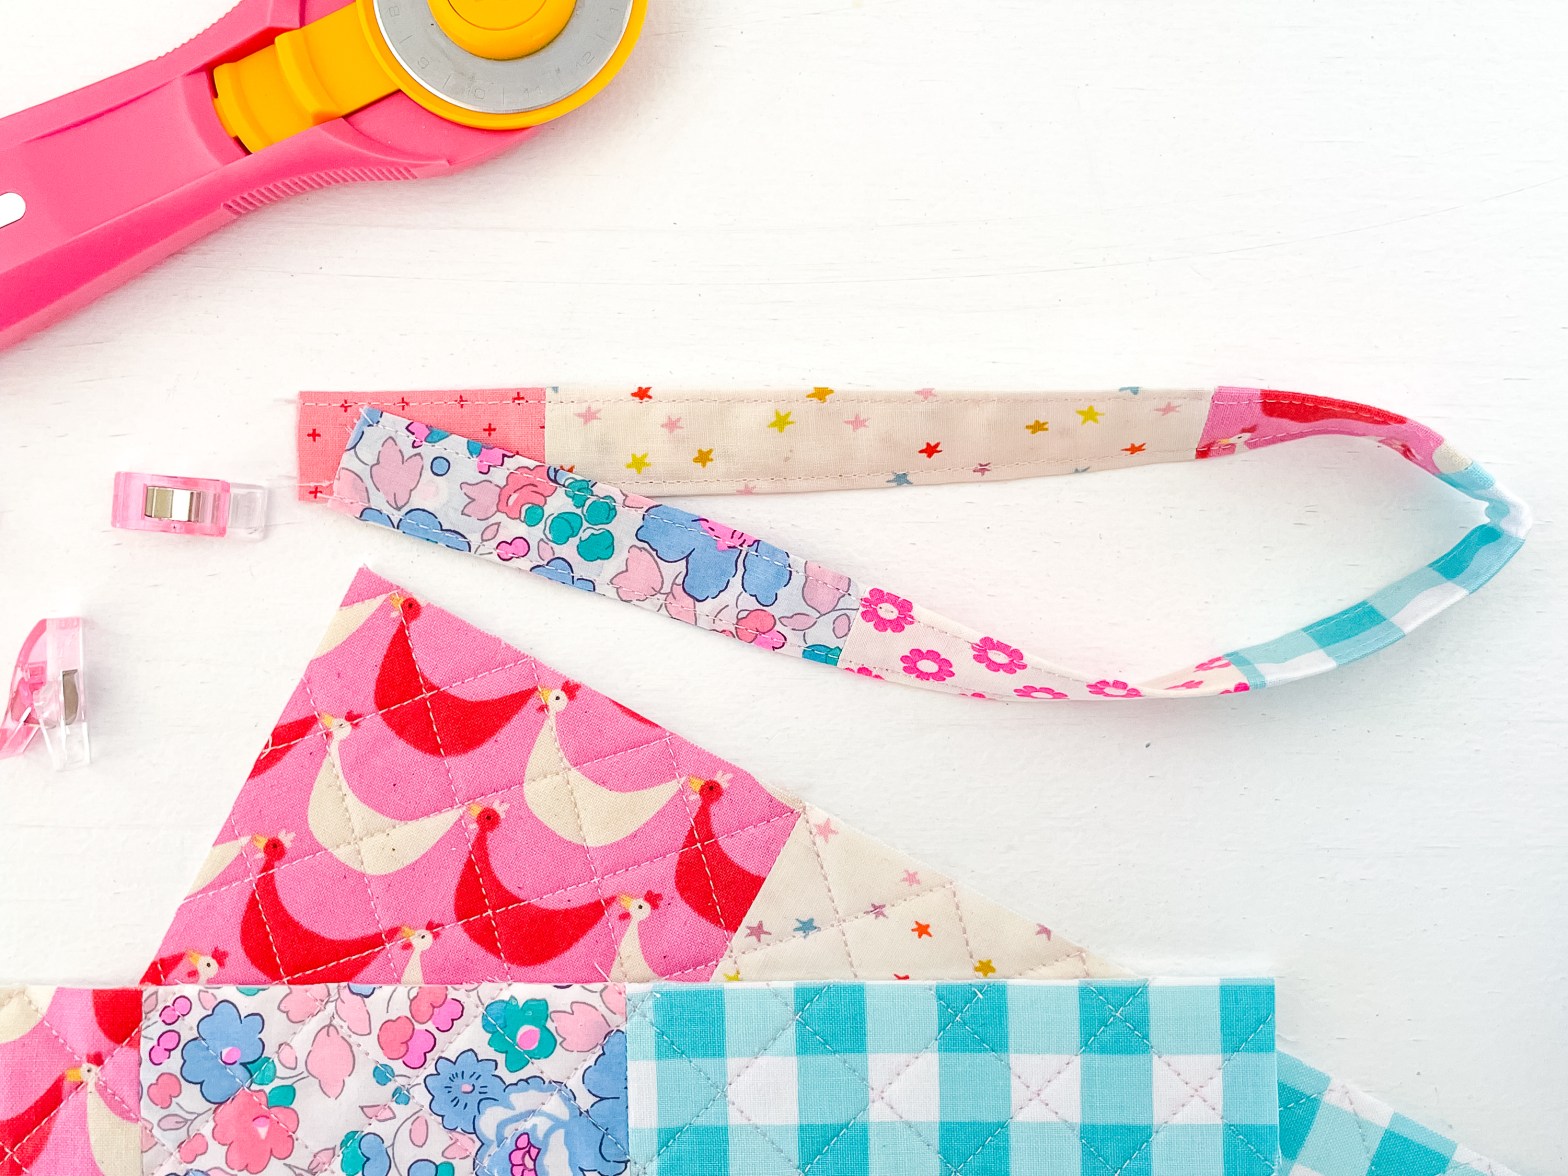
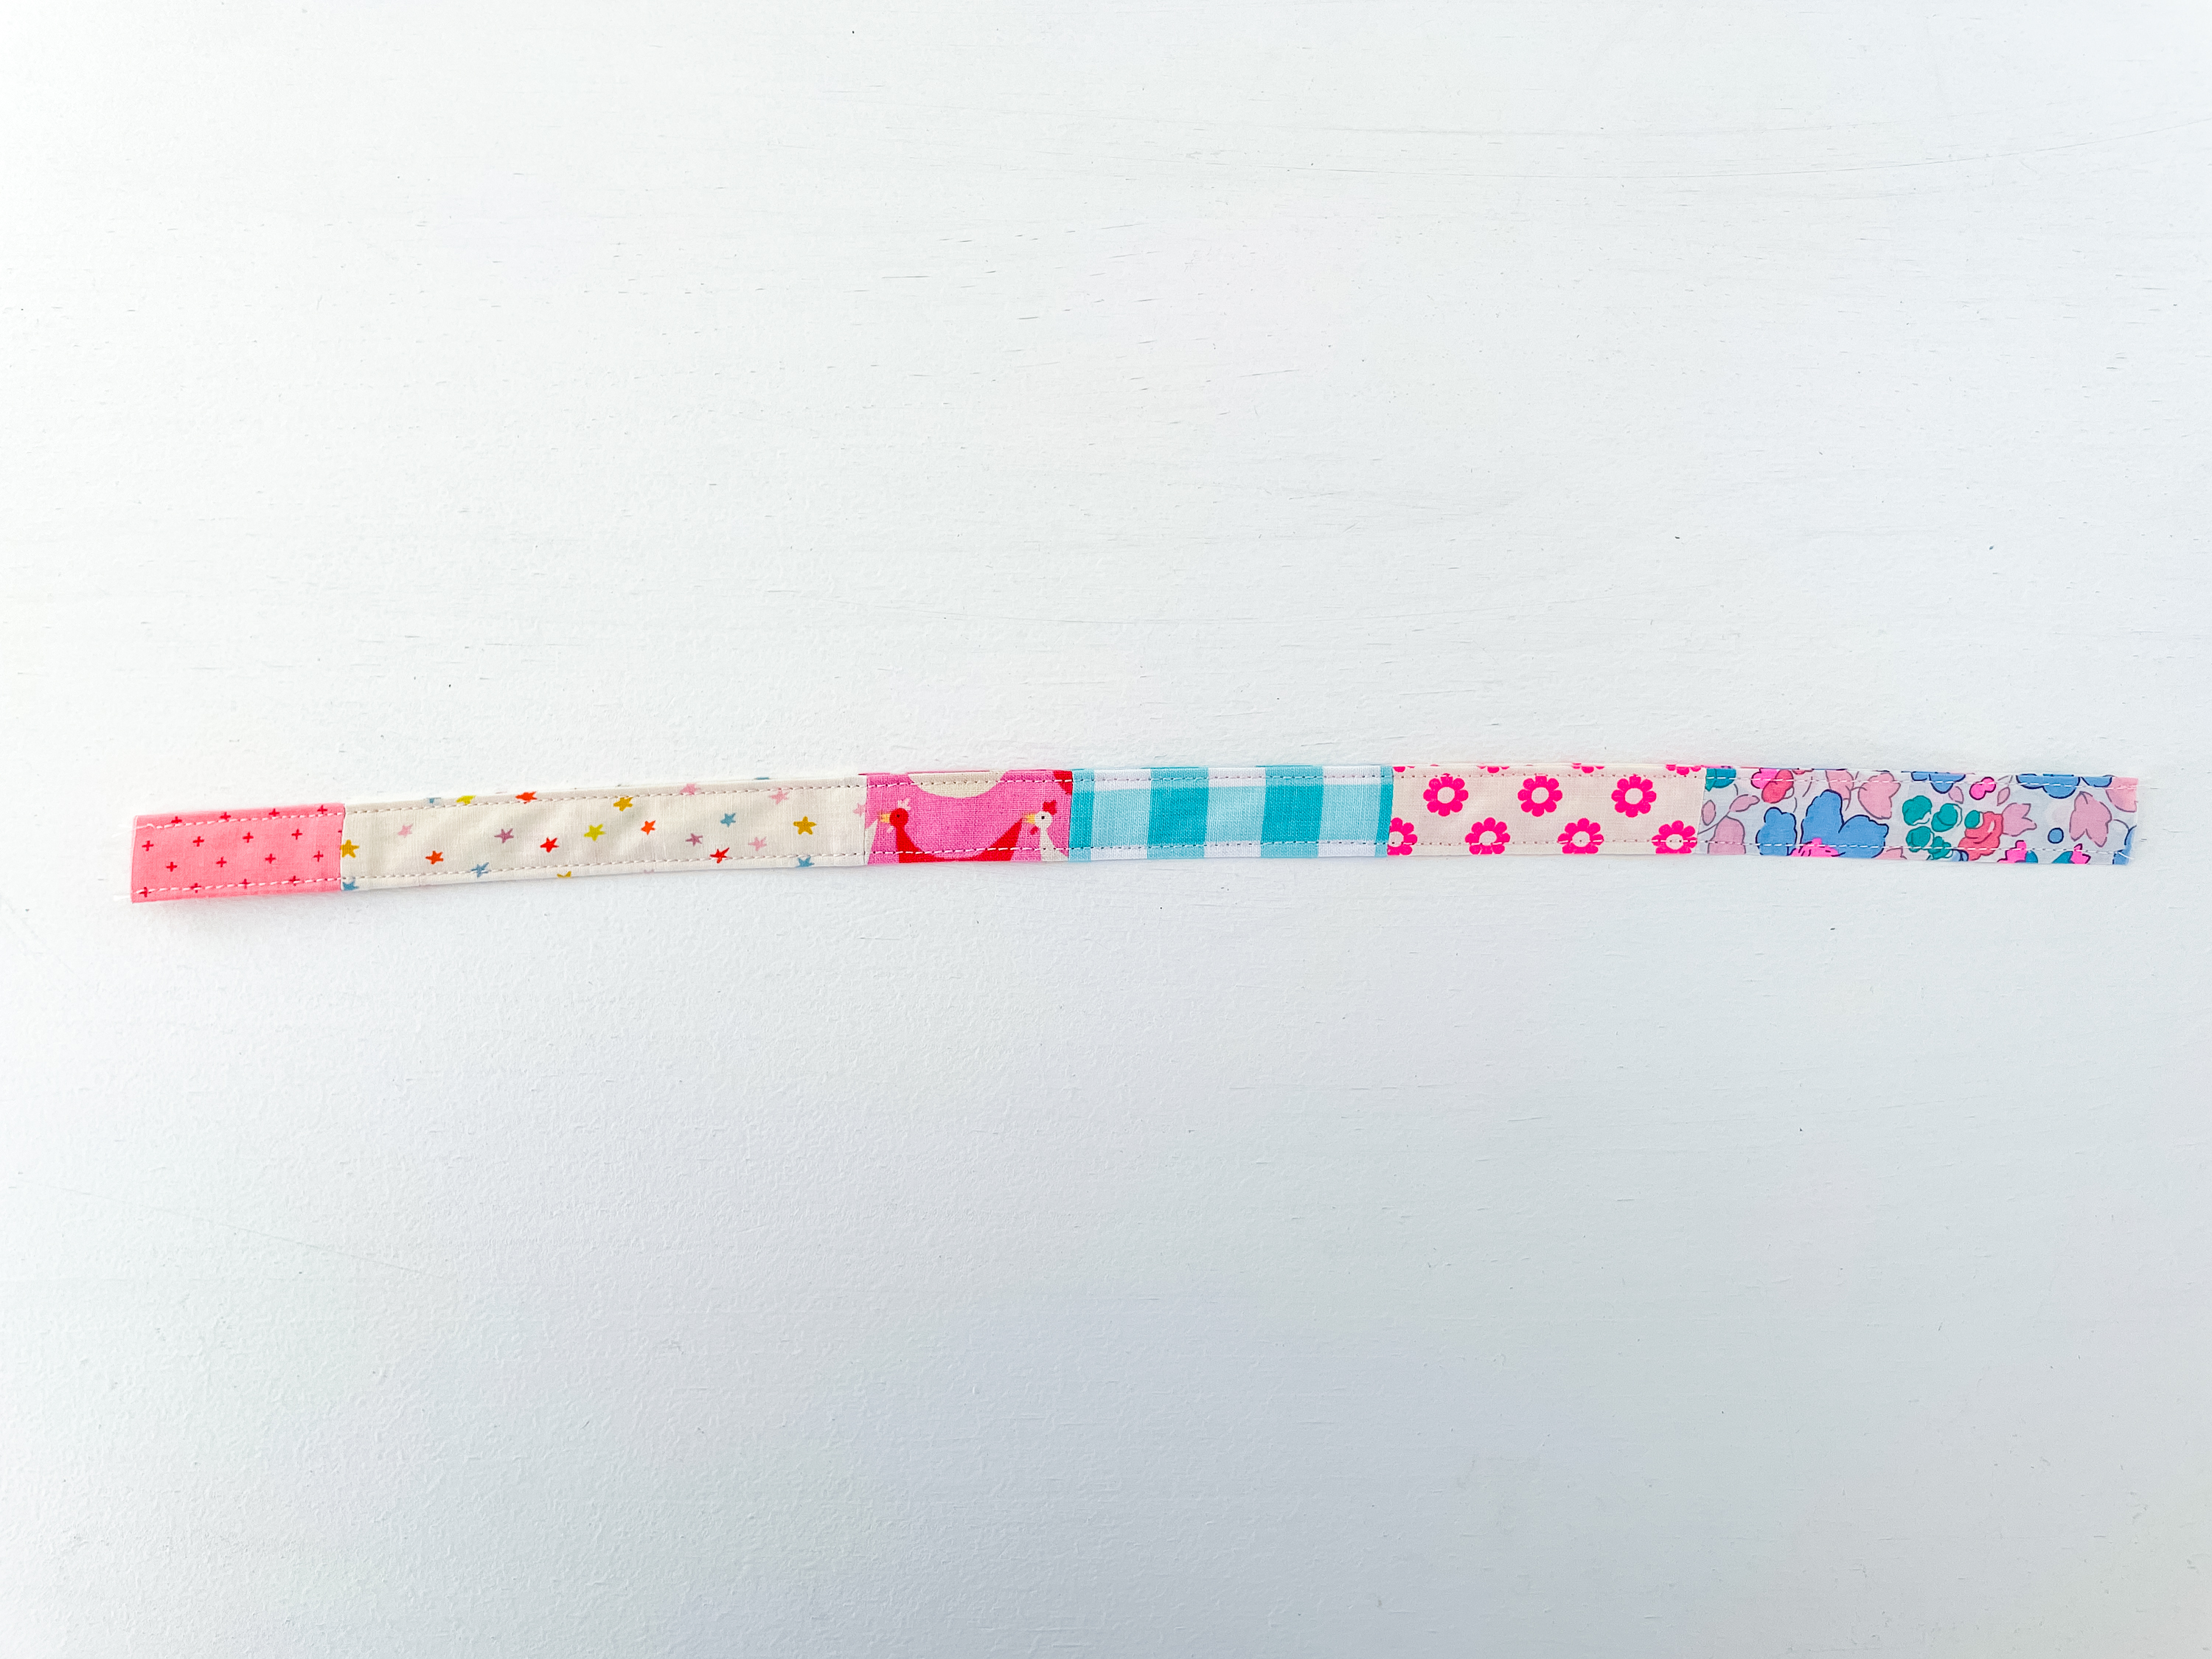
So the finished size of the strap will be ¾” wide and 15½” long (or 7½” when it’s folded in half and sewn into your pouch).
You can adjust the length of the strap here if you wish. You might want to make something slightly shorter for smaller hands. However, the size I’ve given is a good all round size for big or small hands.
Supplies
- One piece of fabric 3″ wide/high x 15½” long or scraps that are 3″ high/wide x various lengths sewn together to make one piece that is 3″ x 15½”.
- Iron
- Binding clips
- Sewing machine plus the usual quilting supplies (rotary cutter, ruler etc)
Instructions
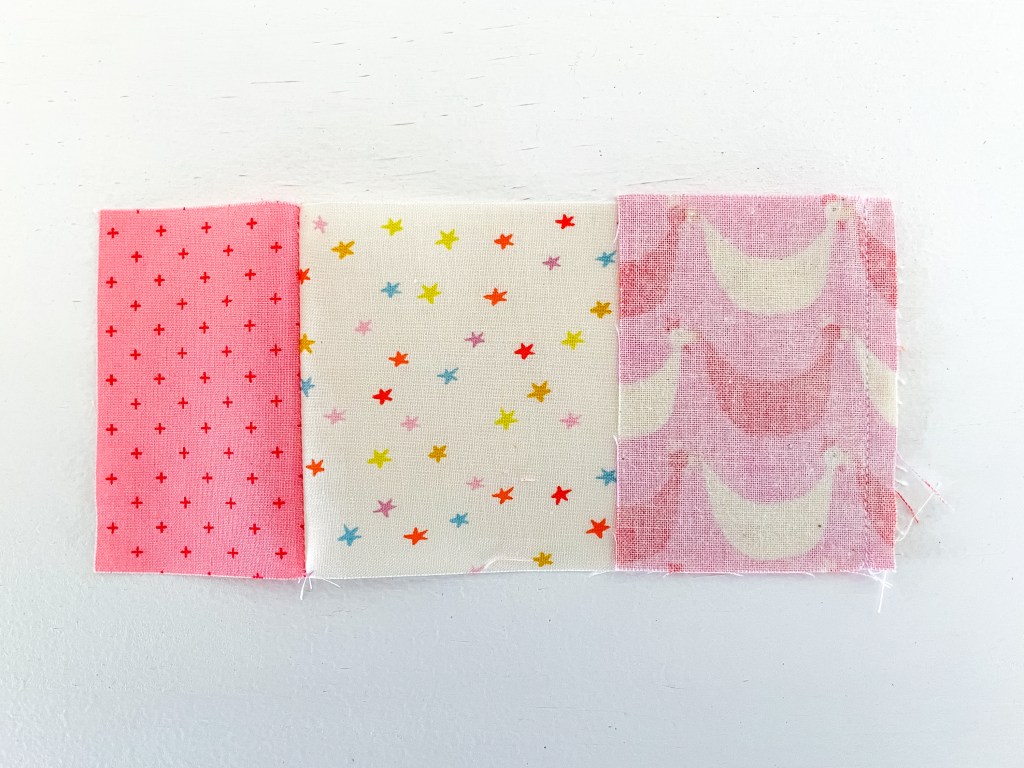
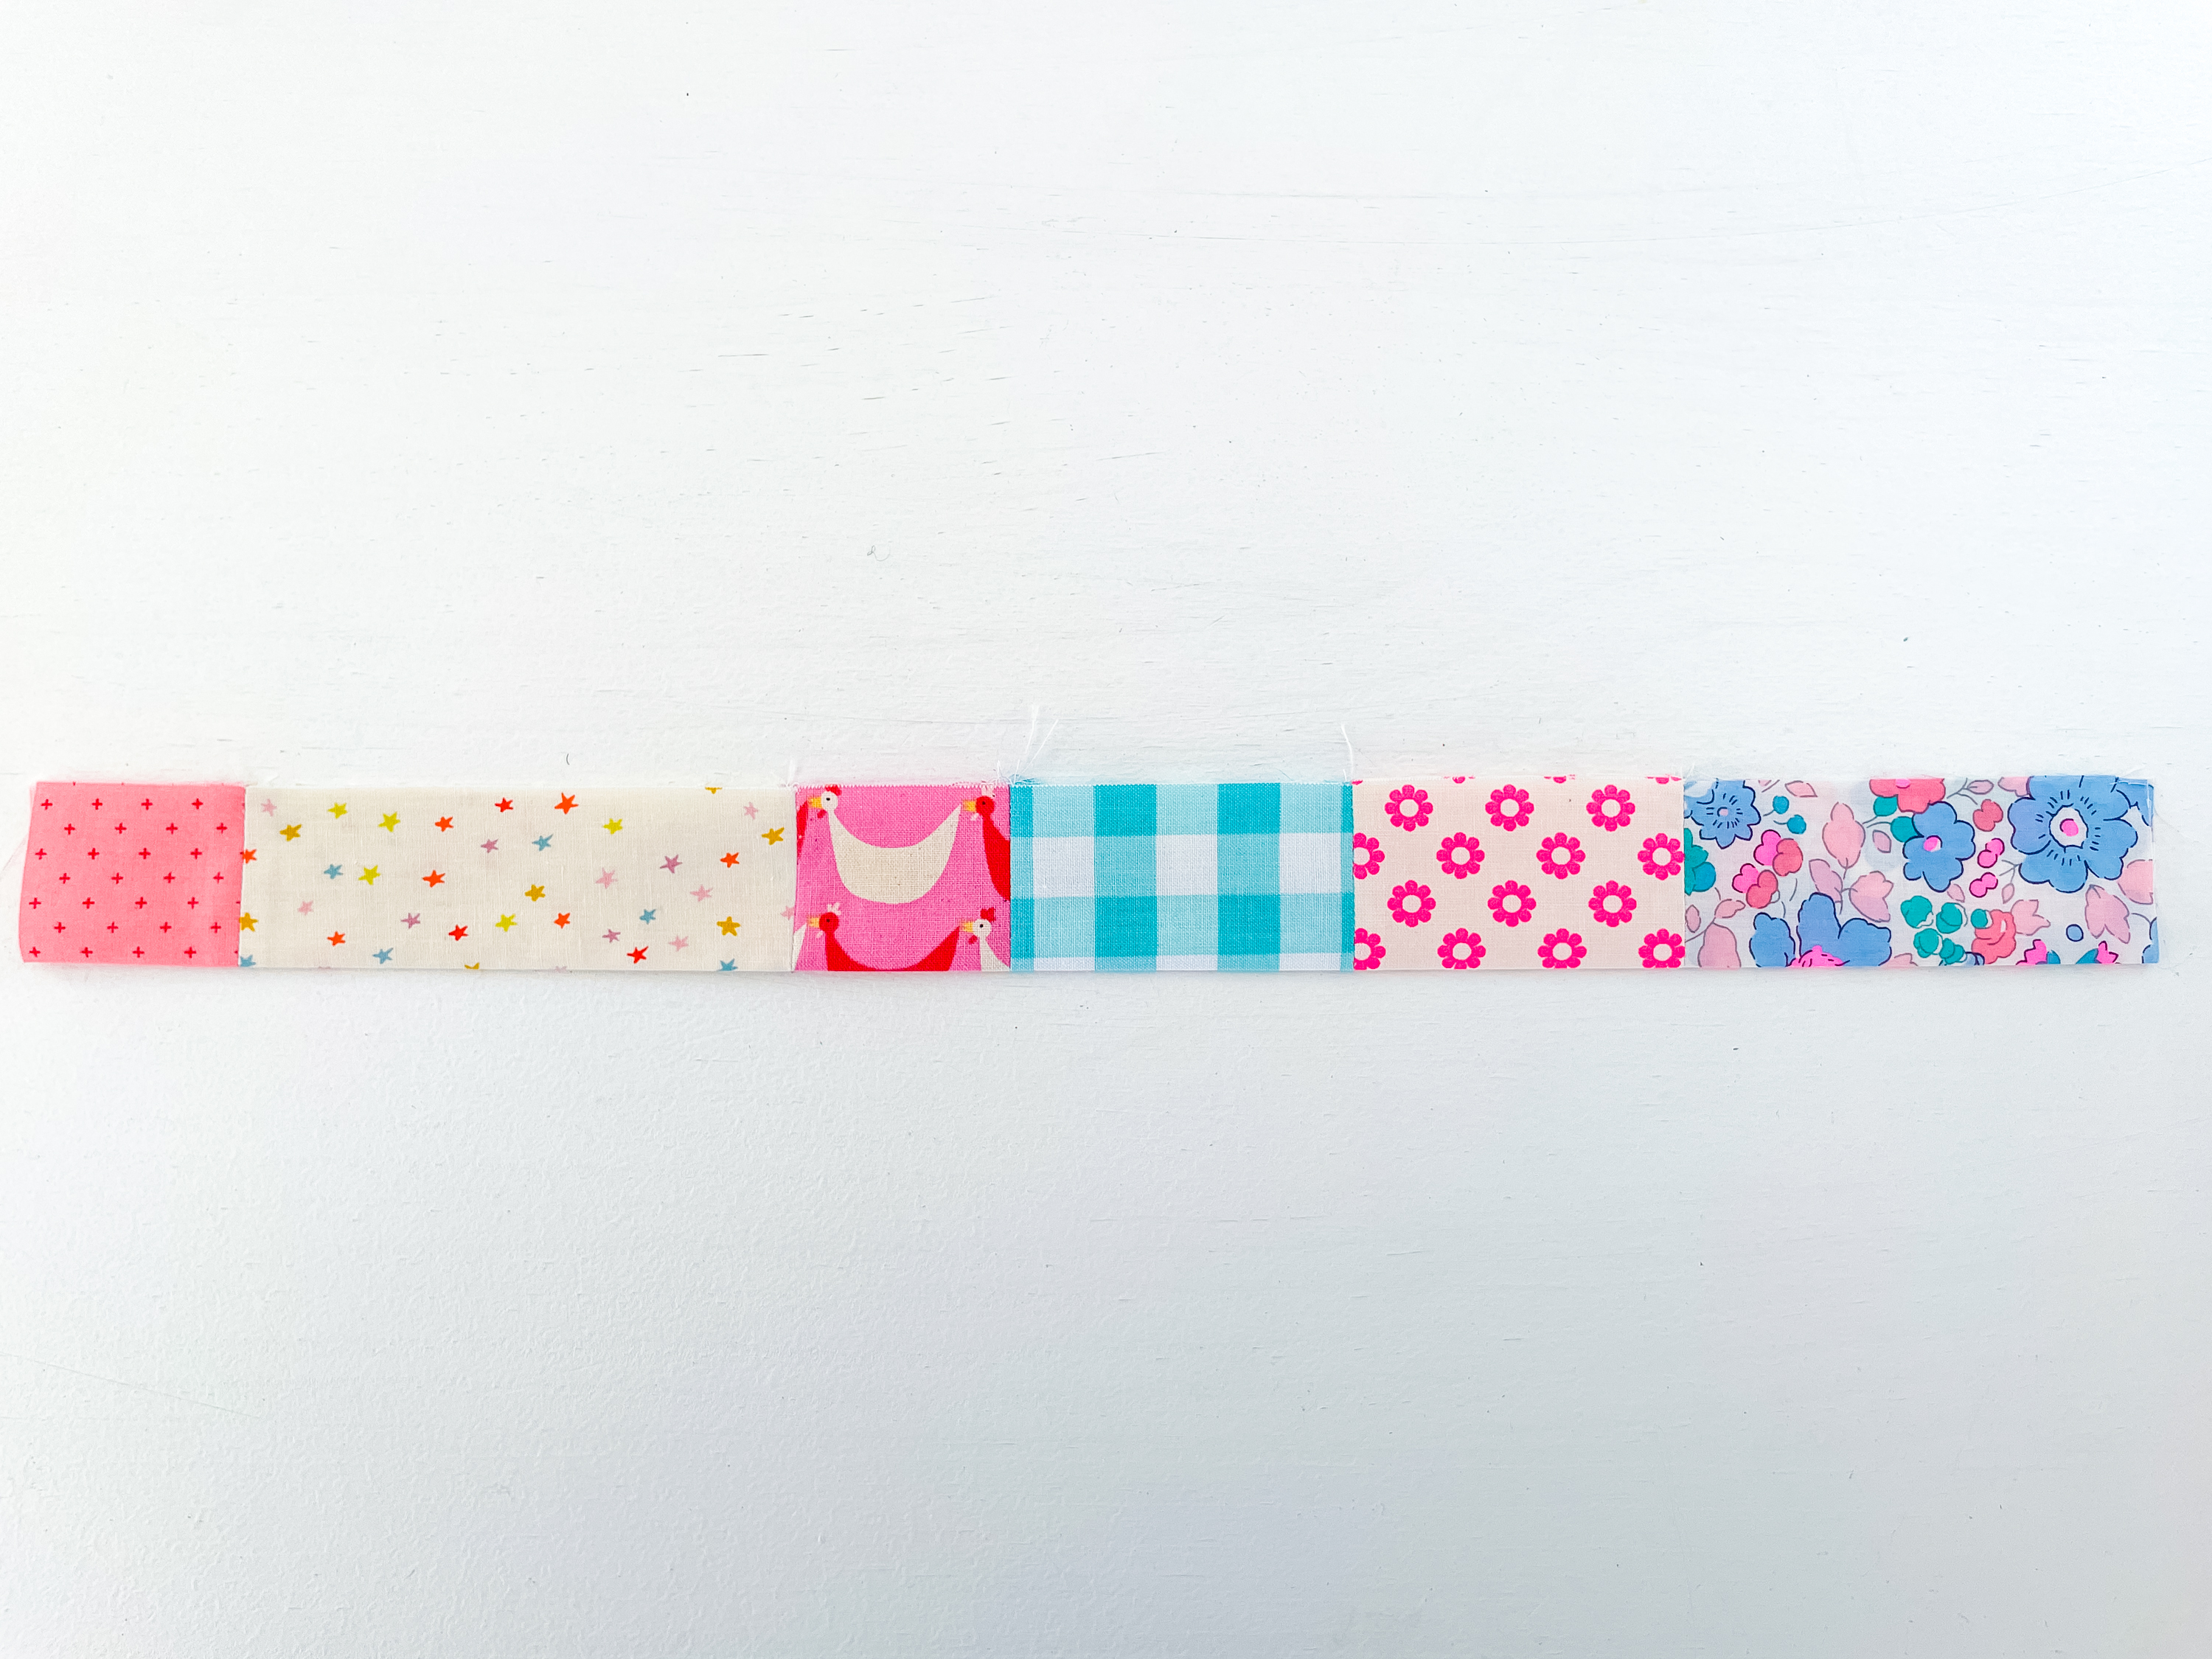
1. Gather your fabric scraps and cut them into pieces that are 3″ high x various lengths. I’ve coordinated my fabric to match my pouch. I’ve got 6 different prints each ranging in size from 3″ x 2″ to 3″x 5″. Press fabric strips.

2. Sew the fabric strips together along the 3″ side with a ¼” seam allowance. Remember to secure your stitches at the start and end of the seam.

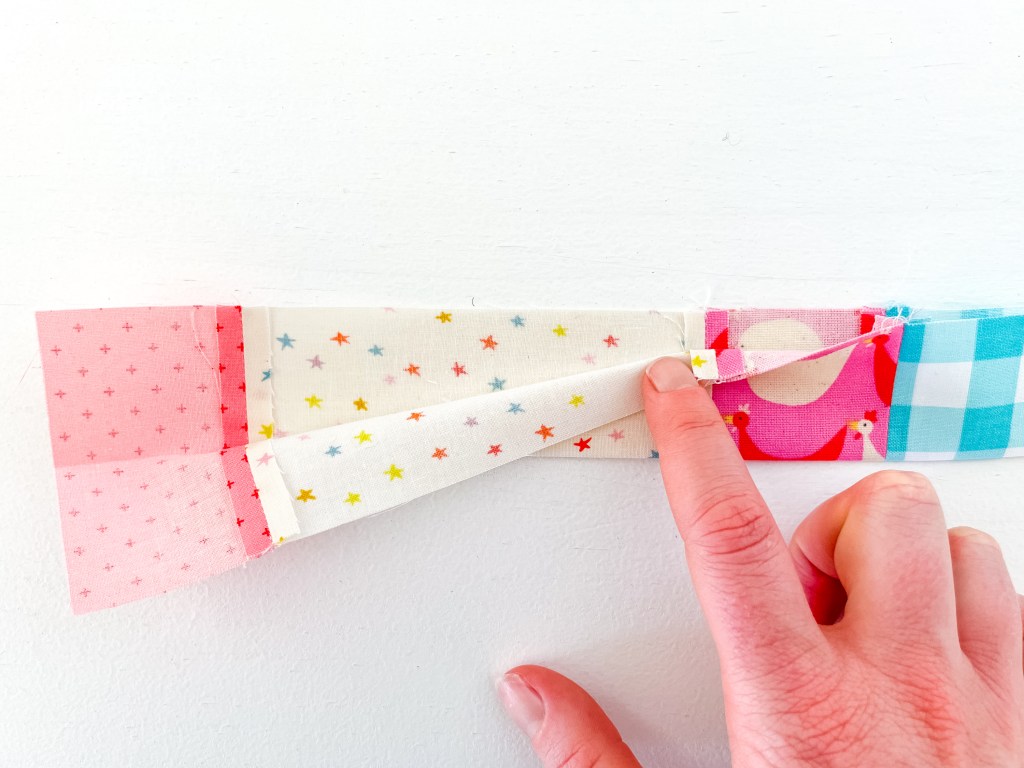
3. Press your seams open. You should now have a piece of fabric that is long enough for your wrist strap. Check the length of your strap and trim it to 15½” if needed.


4. Now to make the strap we need to do some pressing. Take the strap fabric and fold it in half lengthwise, wrong sides together and press. You are folding it in half so the two long 15½” edges meet.
5. Unfold the strap so it is flat again and bring the long 15½” edges in so they meet the centre crease (wrong sides together). Press again.

6. Refold the strap in half again, so now the raw edges are in the middle. Press once more.
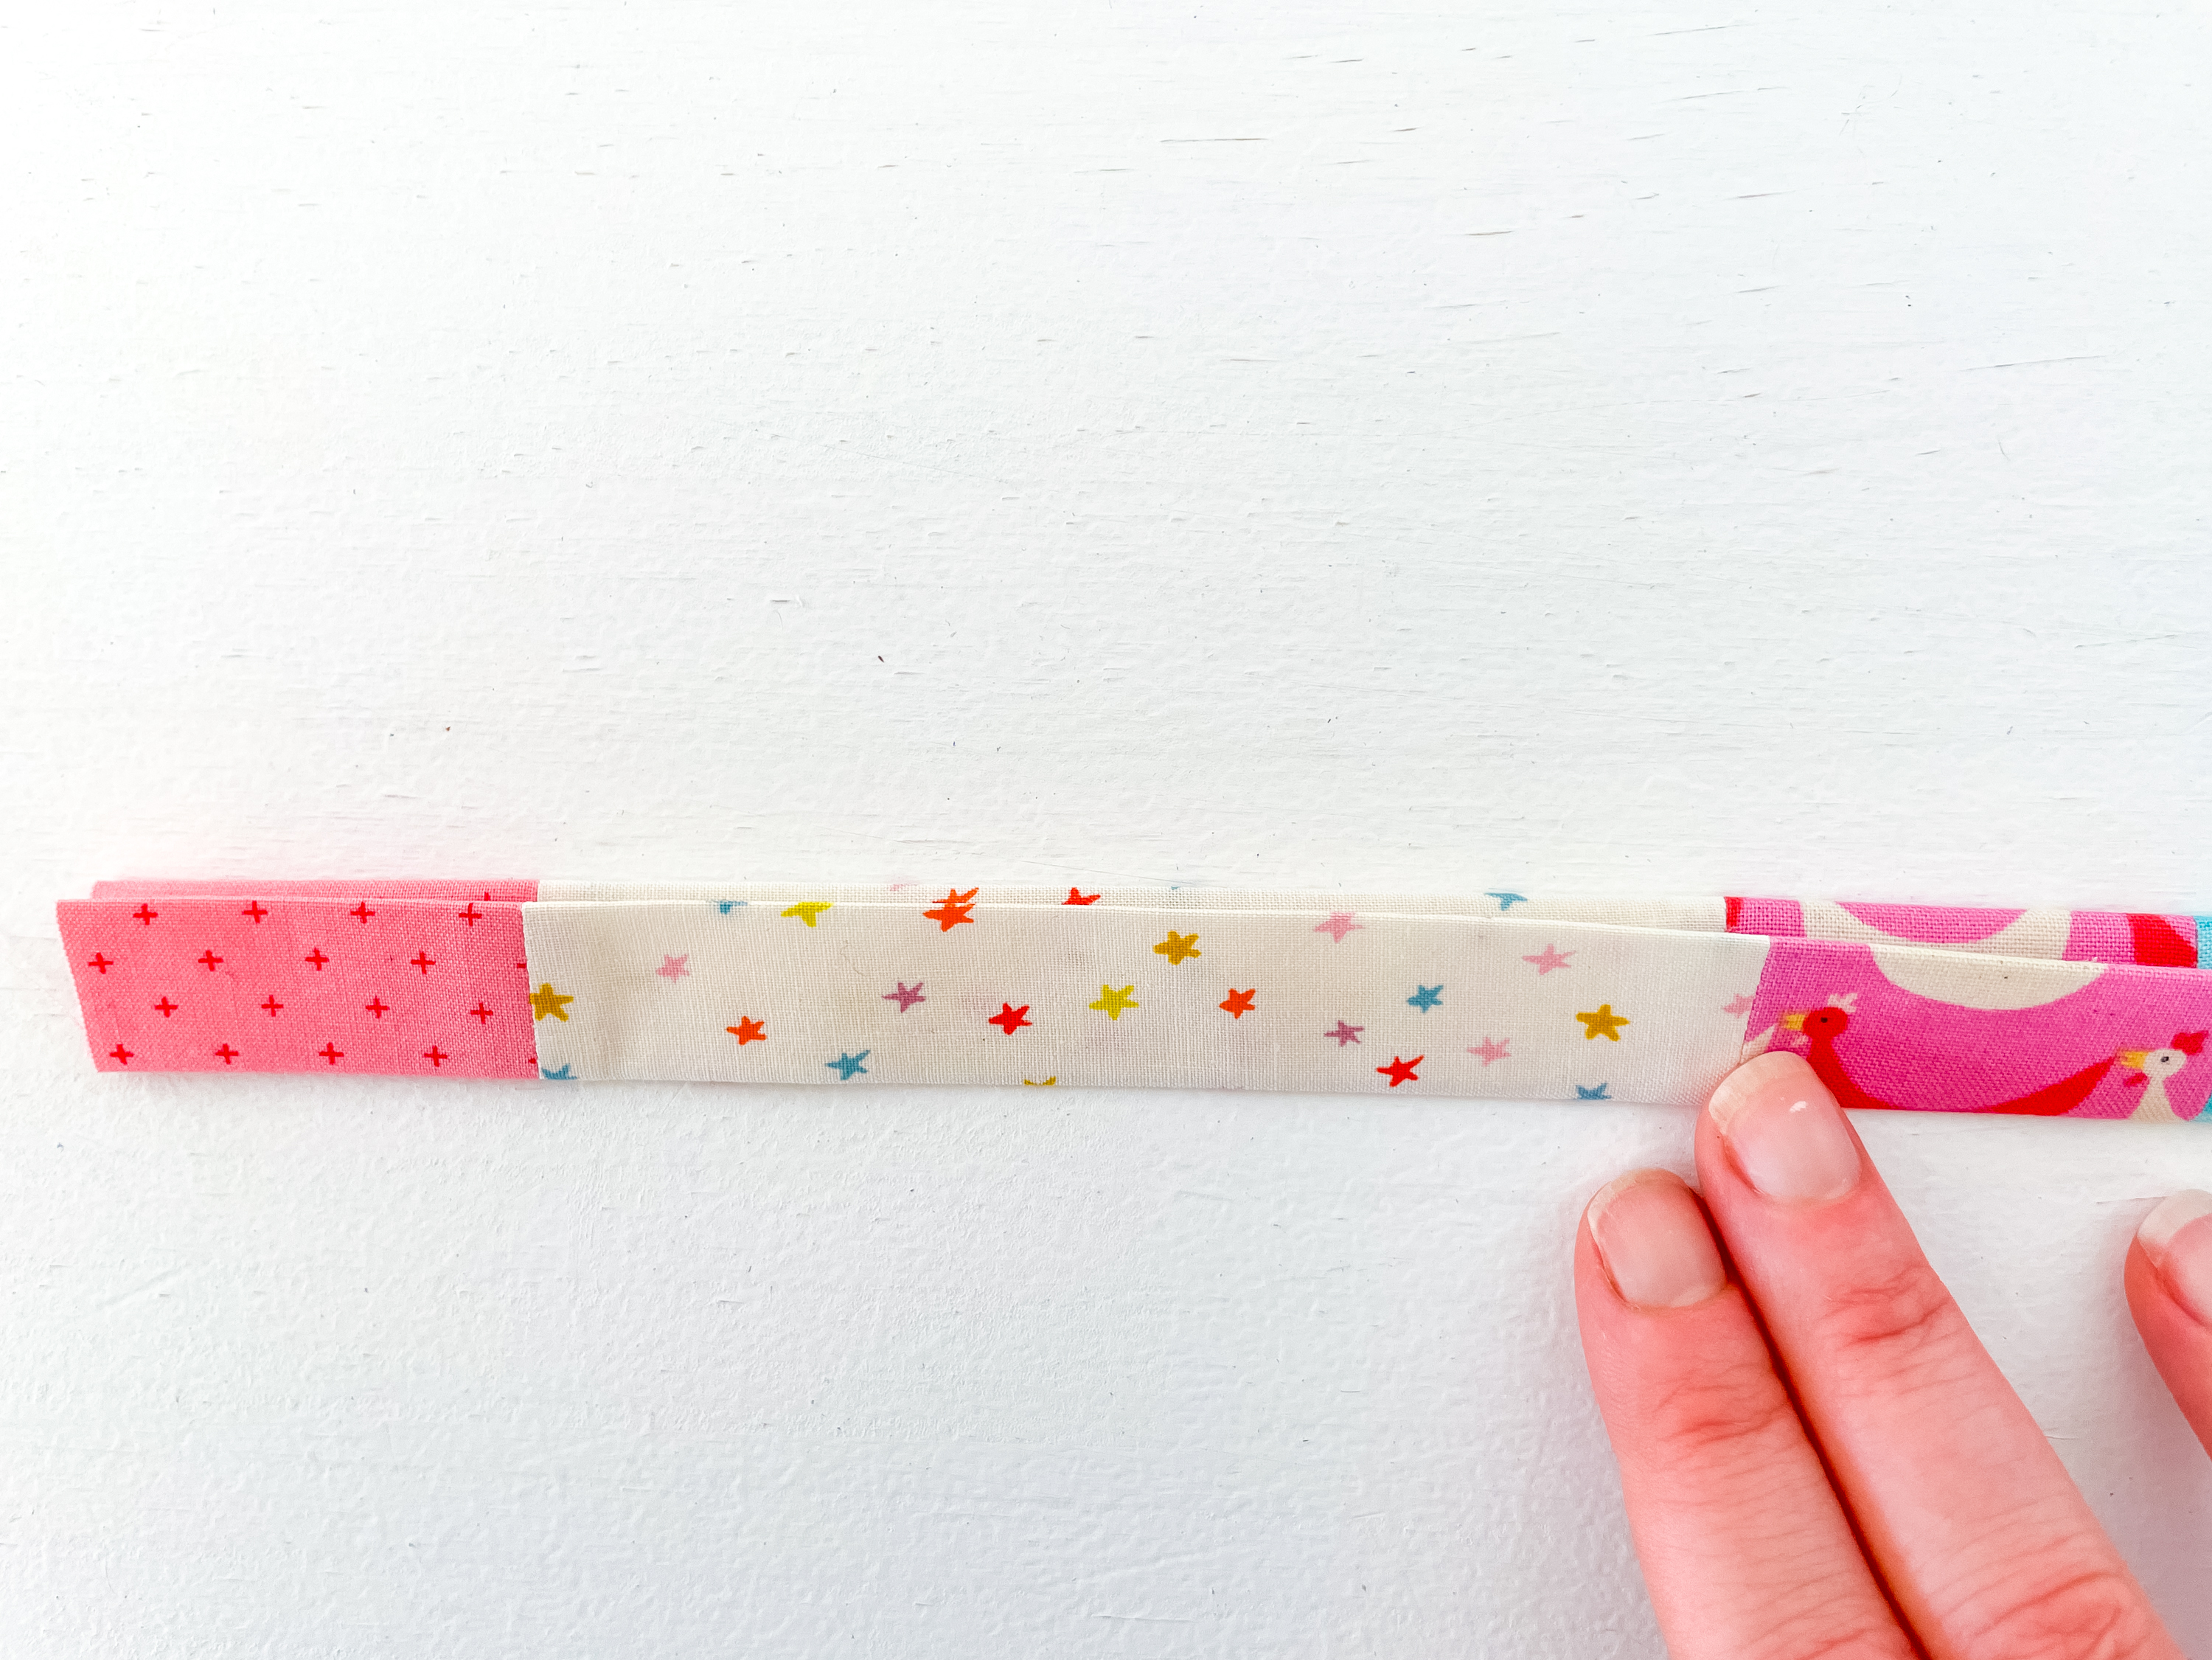
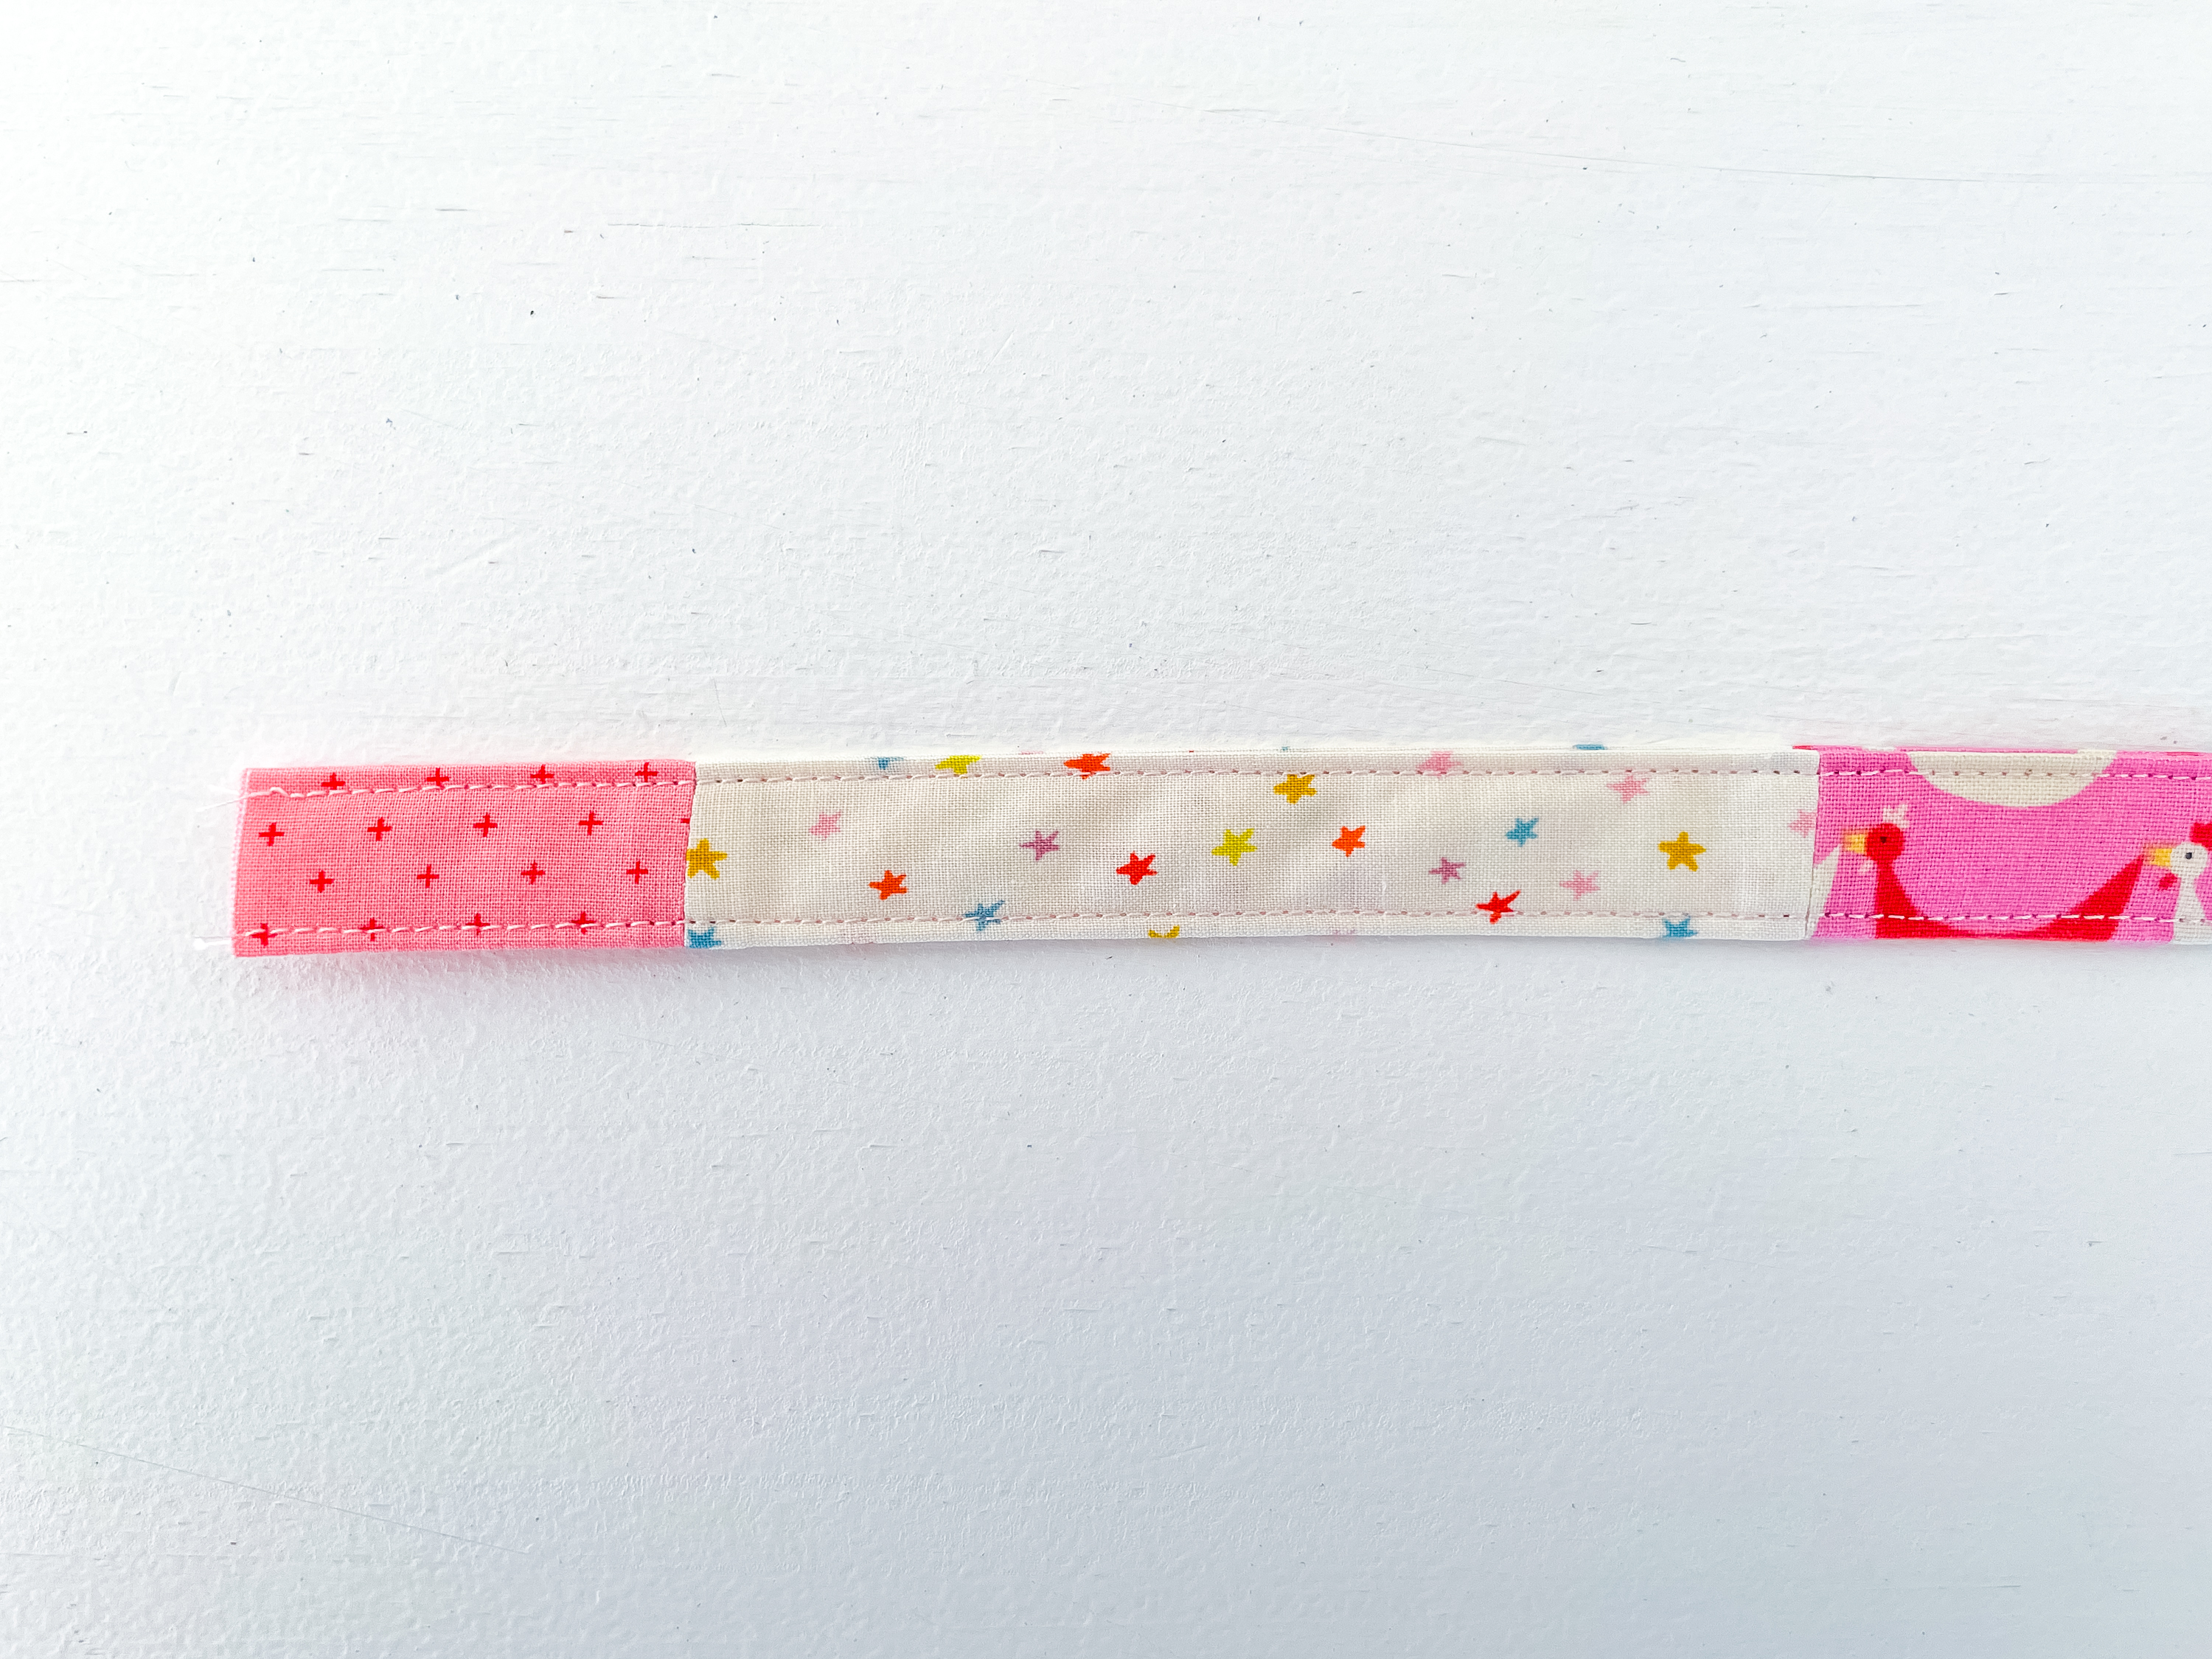
7. Your strap should now be ¾” wide by 15½” long and the only raw edges should be on the ¾” ends. Clip the open edge of the strap together so they are nice and even.

8. Top stitch along both the long edges of the strap an ⅛” from the edge, using a stitch length of 3.0.
Now we are going to add it to our Basic Boxy Pouch. We do this by leaving out one of the pouch tabs and replacing it with the wrist strap instead. Super easy, you just add it exactly like you would one of the tabs at the appropriate steps.
9. Now take the strap and fold it in half so the raw ends meet.

10. Position it, so it is directly over the top of the zipper, aligning the raw edges of the tab with the raw edges of the zipper and baste in place. You can find the Basic Box Pouch Pattern here.

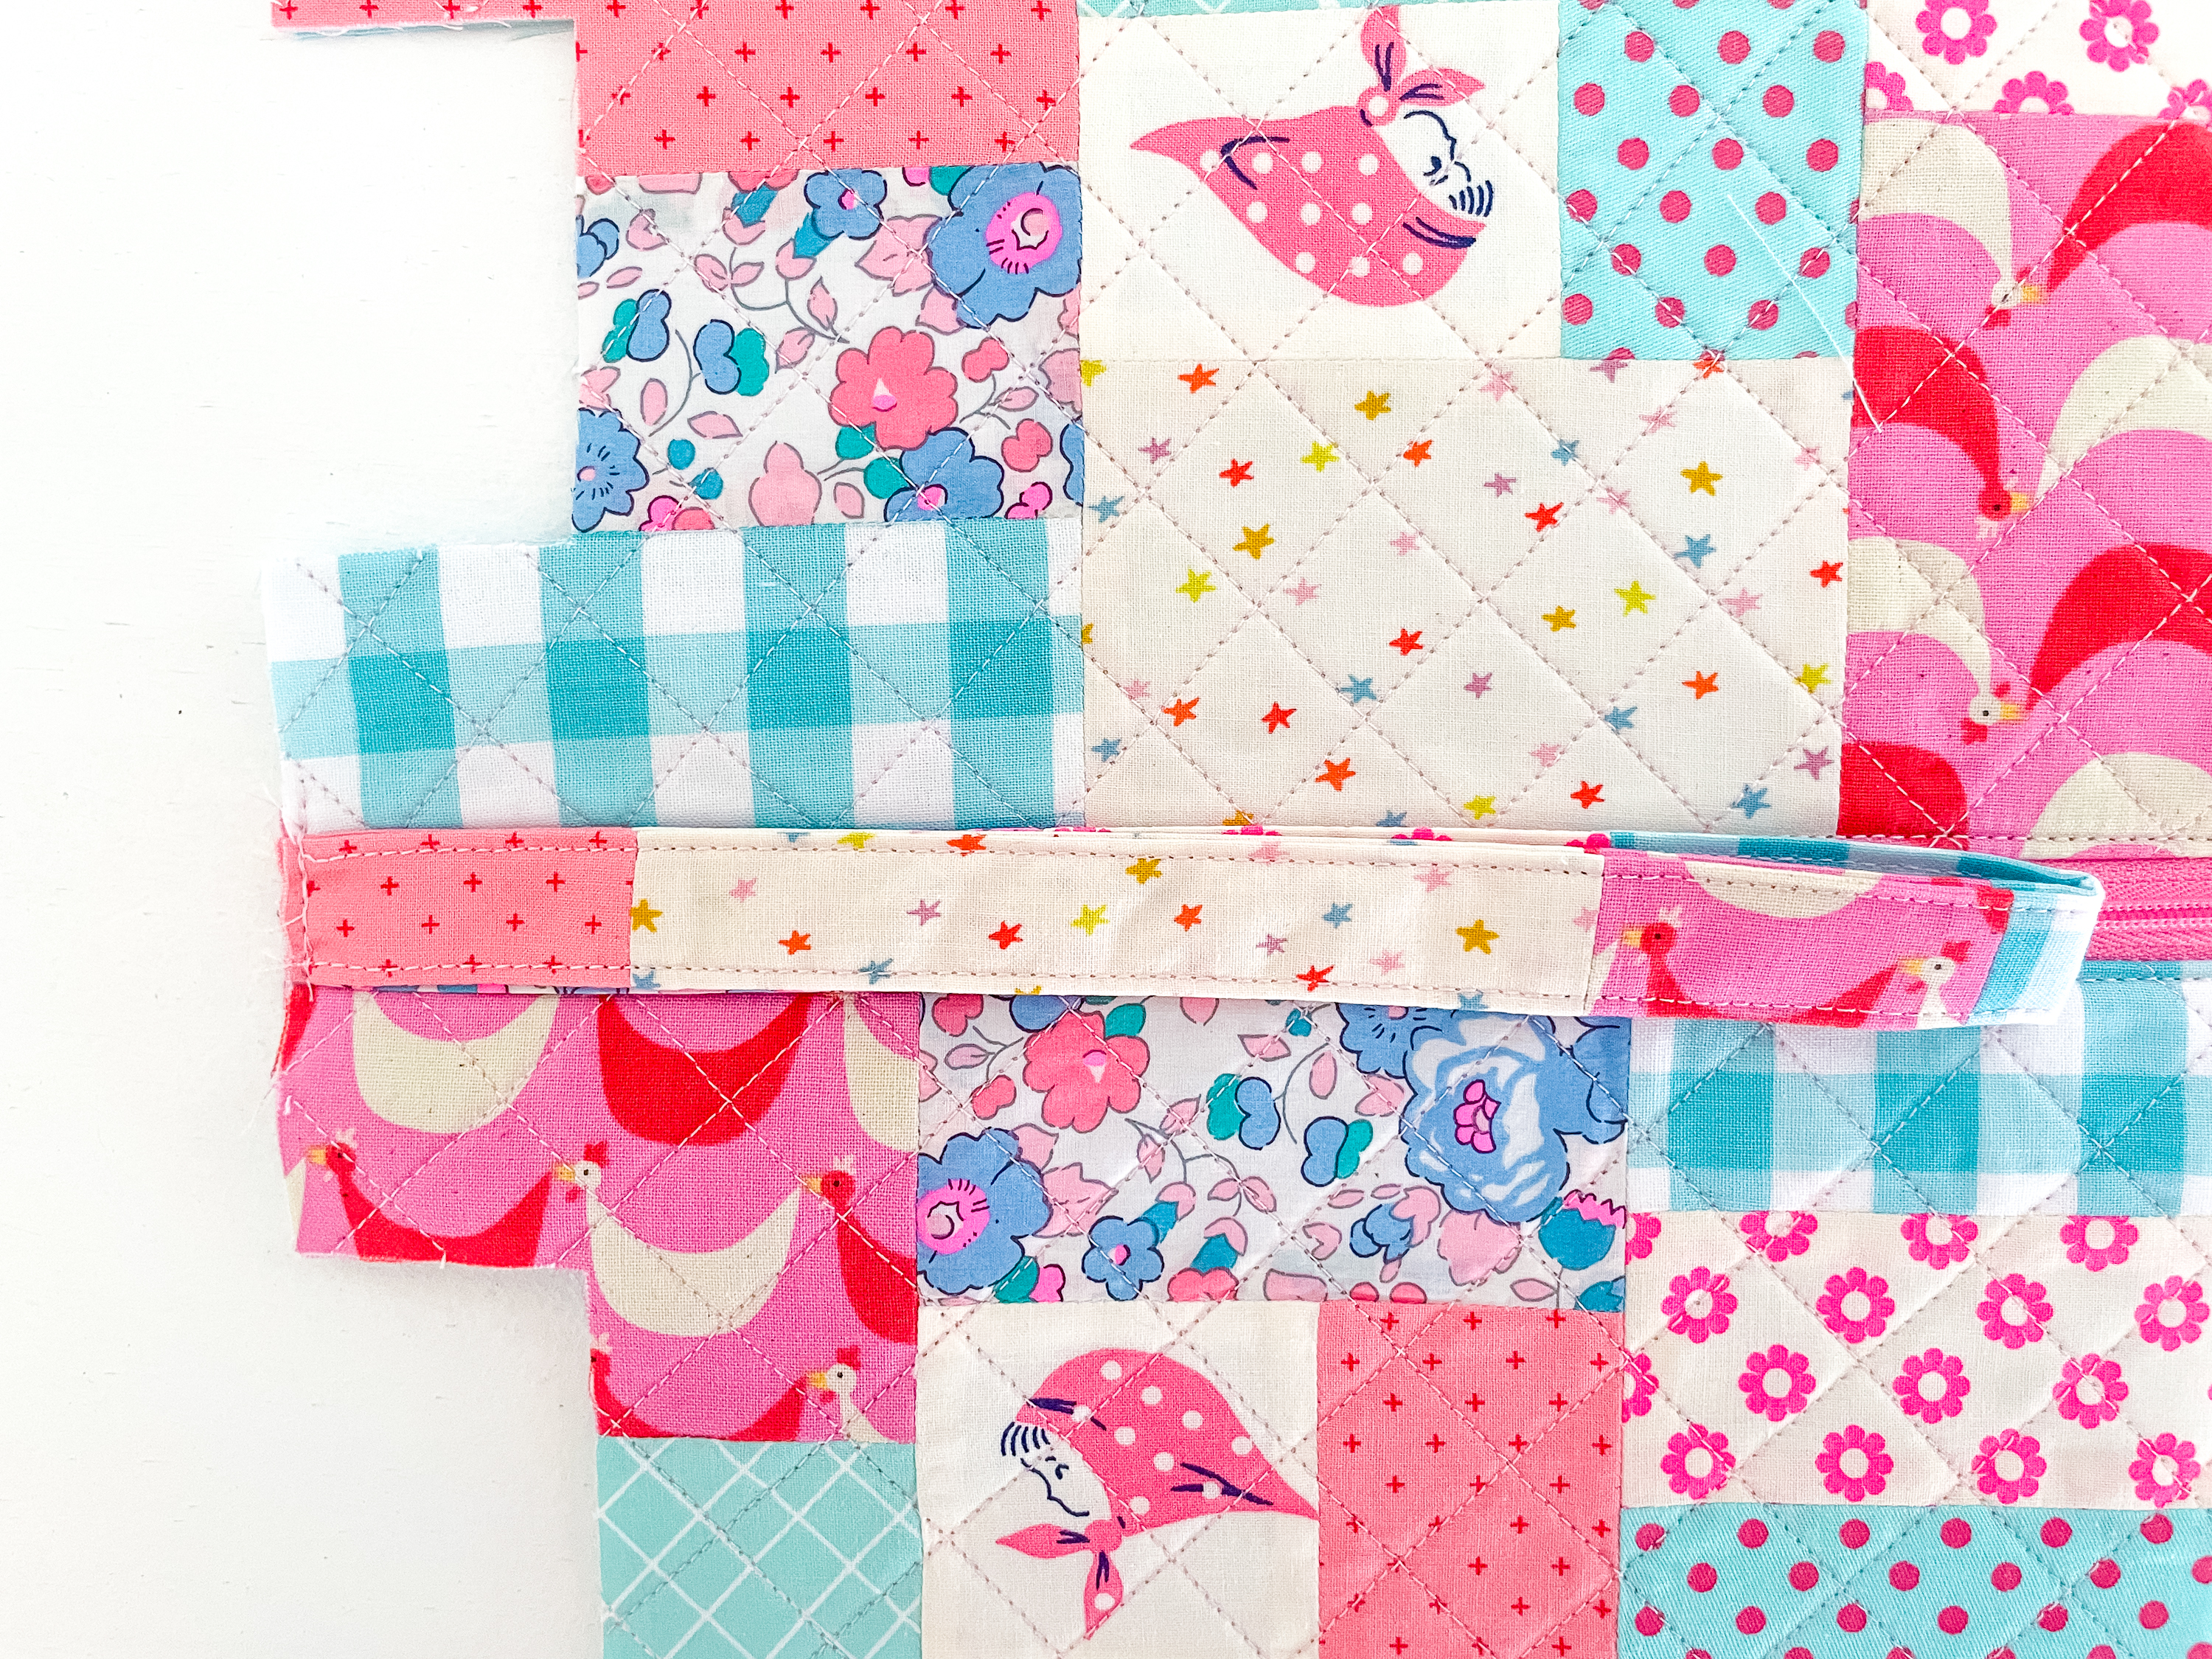
Continue with the pattern. Being aware of where the strap is so you don’t sew it into any of the seams.

And that my friends is how you make the easiest wrist strap ever. No hardware required. In fact you can add it to any pouch you wish. Just sew it into the side seam just below the zipper and your good to go. Just like with my Emergency Clutch pattern.


I hope you enjoy adding super simple scrappy wrist straps to all your zipper pouches. as always, I love to see and share your makes. So please tag me on Instagram or Facebook.
Happy sewing, Kellie. x

© Copyright 2024, Ma & Me Designs.
