How to Customise Zippers for Pouches
One of my favourite ways to level up a handmade bag is with a custom zipper. Changing the slider or mixing zipper colours is a small detail, but it makes a big impact – and it’s easier than you might think. Even a simple whole-cloth pouch can pop instantly with a custom zipper – minimal effort, maximum style!
Zippers can feel a little intimidating, especially when you start talking about sliders, stops, and sizes. But here’s the thing: once you understand how a zipper works, customising them becomes surprisingly simple (and kind of addictive!). In this tutorial, I’ll show you how to customise #3 nylon coil zippers by swapping sliders and mixing colours, so you can create zippers that perfectly match your bag projects.
Before we jump in, we’ll start with a quick look at the anatomy of a zipper – because confidence always comes from understanding the basics.
Anatomy of a Zipper
Ready to take the mystery out of zippers? Let’s break down the anatomy of a nylon coil zipper so you’ll know exactly what each part does – and why it matters when swapping sliders or adding a pop of colour to your pouch.
Understanding these basics will give you confidence and make customising your zippers much easier – plus, it’s the secret to creating bags and pouches that look polished and professional.
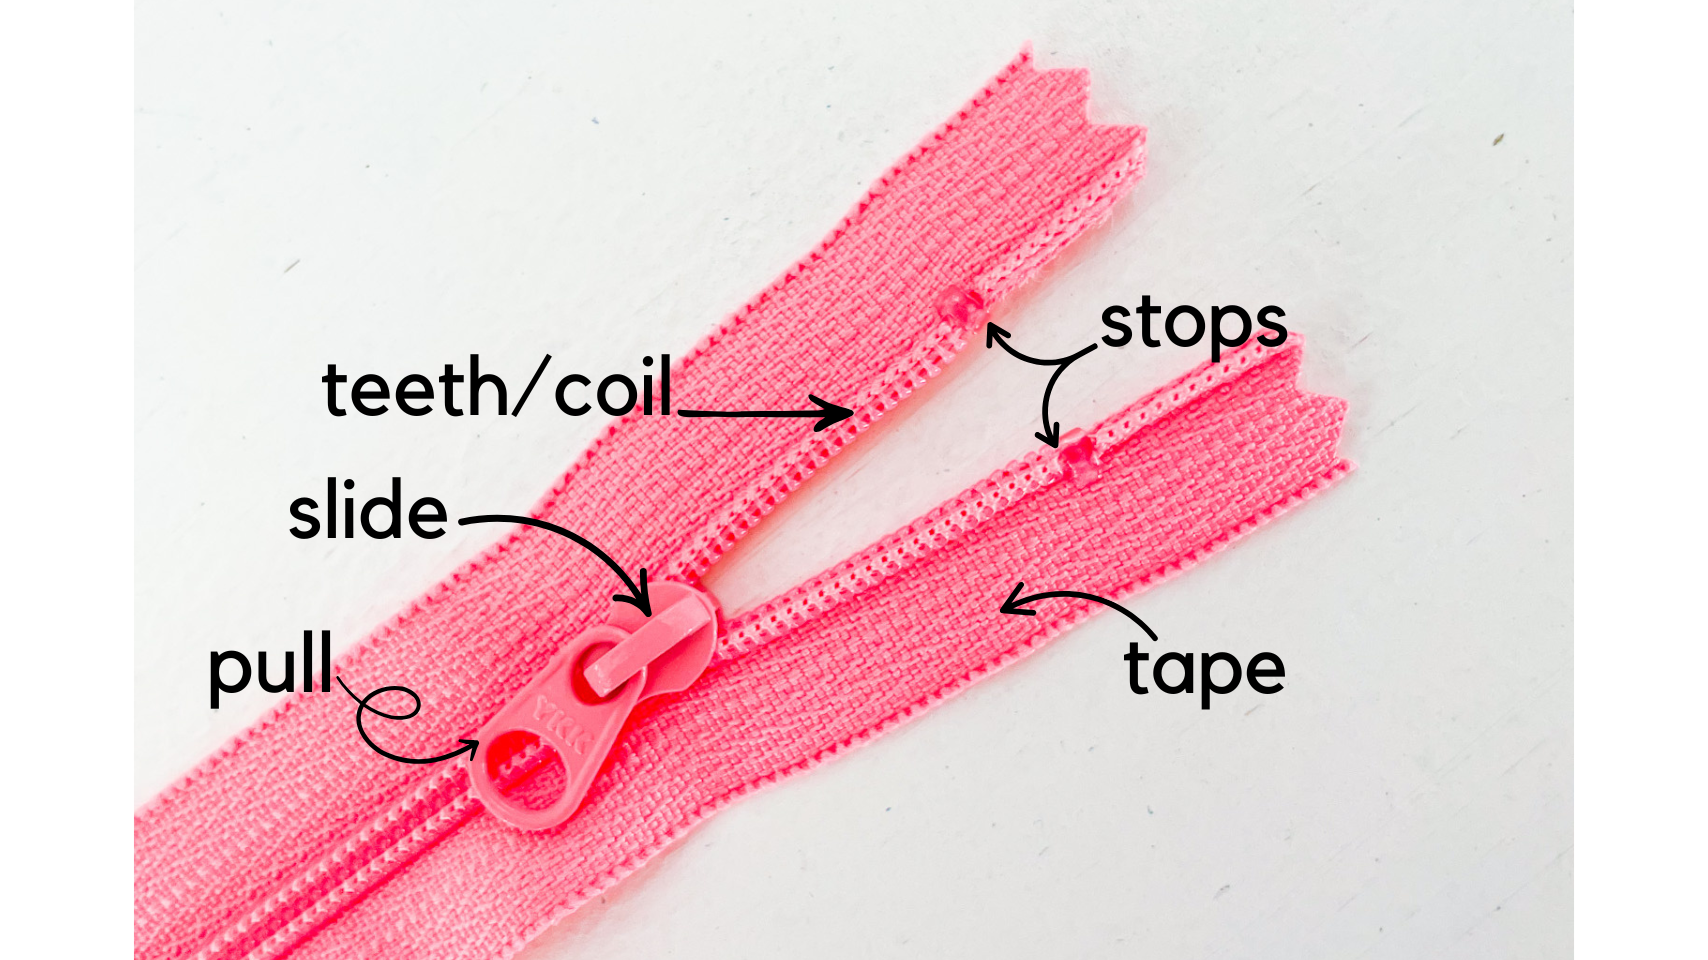
Zipper Tape
This is the fabric part of the zipper – the foundation that gets sewn into your bag. Nylon tape is smooth, flexible, and easy to work with, making it perfect for both patchwork and whole-cloth projects.
Nylon Coil ( Zipper Teeth)
The nylon coil interlocks to open and close your zipper. Flexible, durable, and forgiving, nylon coil zippers are my favourite for most bag projects, especially #3 zippers, which I use for almost everything.
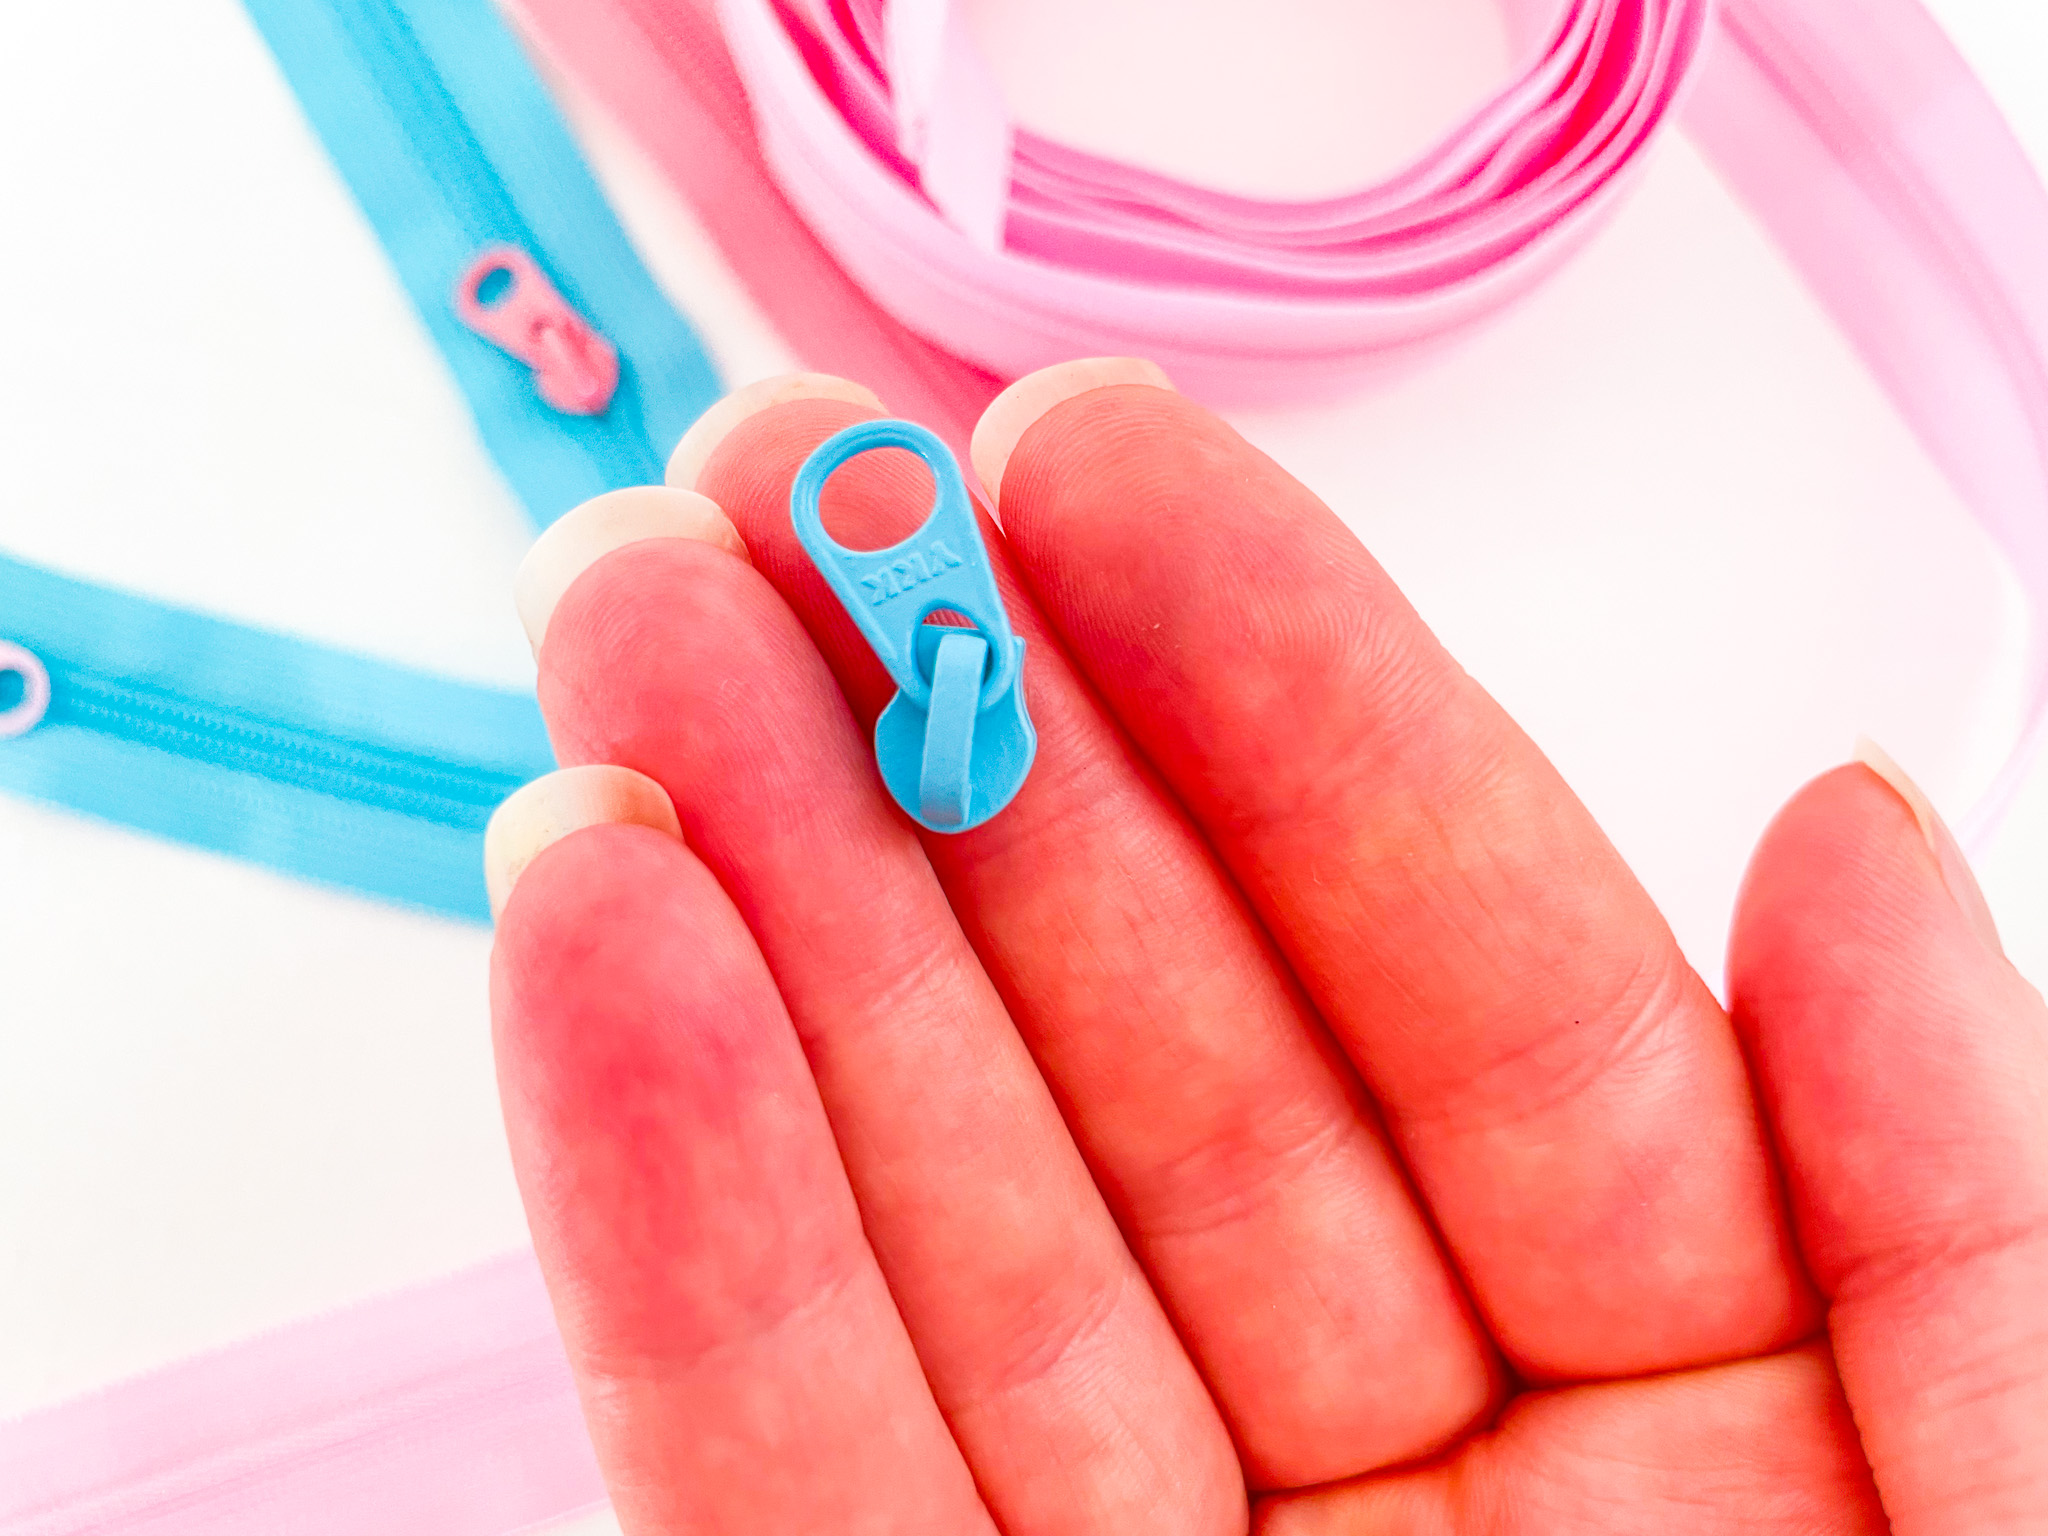
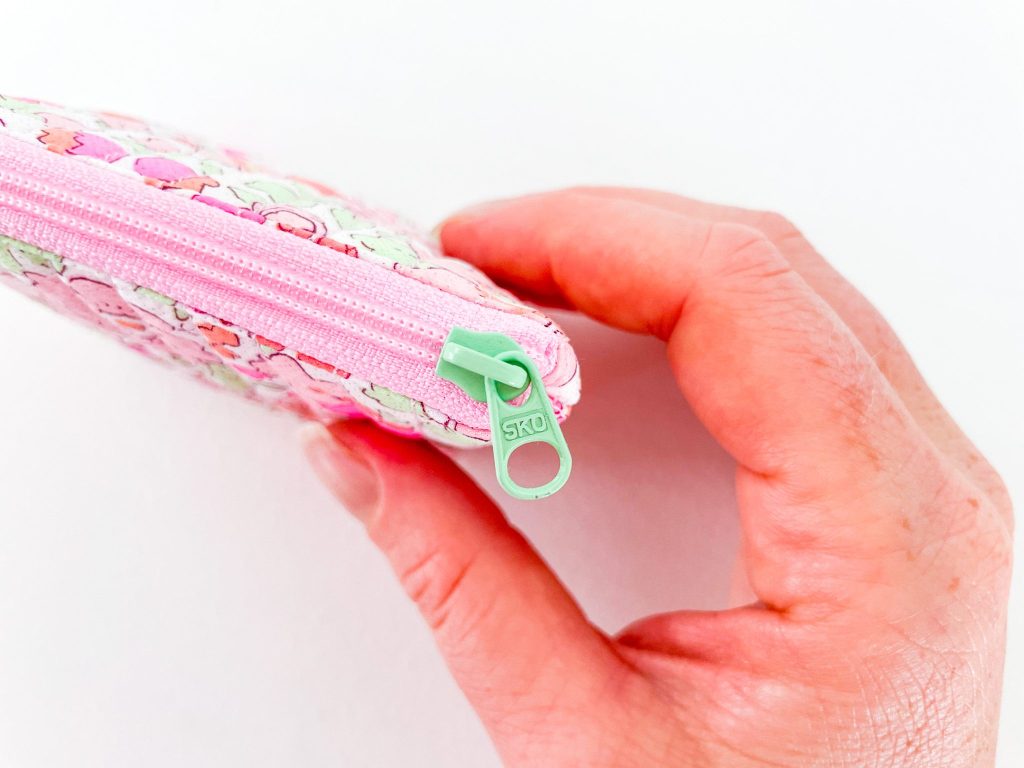
Slider & Pull Tab
The slider is the magic piece that opens and closes your zipper, and the pull tab is the part you grab to zip. In most bag projects, including this tutorial, the slider and pull tab move together as a unit, which is exactly what we’ll be swapping to customise your zipper. Generally, I refer to them as the zipper pull because they stay together as one unit and don’t get separated.
Things to notice:
- Sliders must match the zipper size (#3 or #5)
- Pull tabs come in lots of shapes and finishes – swapping them gives your bag an instant personality boost
- The slider + pull tab combo is what makes a zipper functional and stylish
Stops
Stops are tiny metal or plastic pieces that prevent the slider from sliding off.
- Top stops keep the slider from coming off the top
- Bottom stops stop it at the base
In this tutorial, we’ll remove the stops as part of the customisation process.
Nylon Zipper Sizes (What Those Numbers Mean)
Nylon coil zippers come in different sizes, and the number refers to the width of the coil (teeth) in millimetres when the zipper is closed. Tape width varies too, which can affect how a zipper fits your pattern.
- #3 zipper → approx. 3 mm coil, narrow tape; my go‑to for most small to medium bags, pouches, and project bags
- #4.5 zipper → approx. 4–4.5 mm coil, medium tape; often used for handbags, easy to sew, with comfortable pulls
- #5 zipper → approx. 5 mm coil, wider tape; chunky and sturdy, best for larger or heavy-duty bags
Important Tip: Always check the measurements for your pouch or bag! Matching the zipper size to your pattern ensures a smooth finish and perfect fit. The wrong size zipper can put many patterns way off.
Customising Your Zipper: Step-by-Step
Now that you know the parts of a nylon zipper and how to choose the right size for your project, it’s time to get hands-on! In the following tutorial, we’ll swap sliders and pull tabs between zippers to create a custom look that pops – even on a simple whole-cloth pouch.
Think of it as giving your zipper a little personality: new colour, new slider, and a perfect fit for your bag. All you need is a pair of scissors and a bit of patience, and you’ll have a zipper that looks store-bought, but is completely handmade.
Plus, you can use this same method to make your own double-pull zippers. No need to panic if you don’t have them on hand – just whip one up in no time!
Things you’ll Need
- Scissors – the non-fabric kind, of course 😉
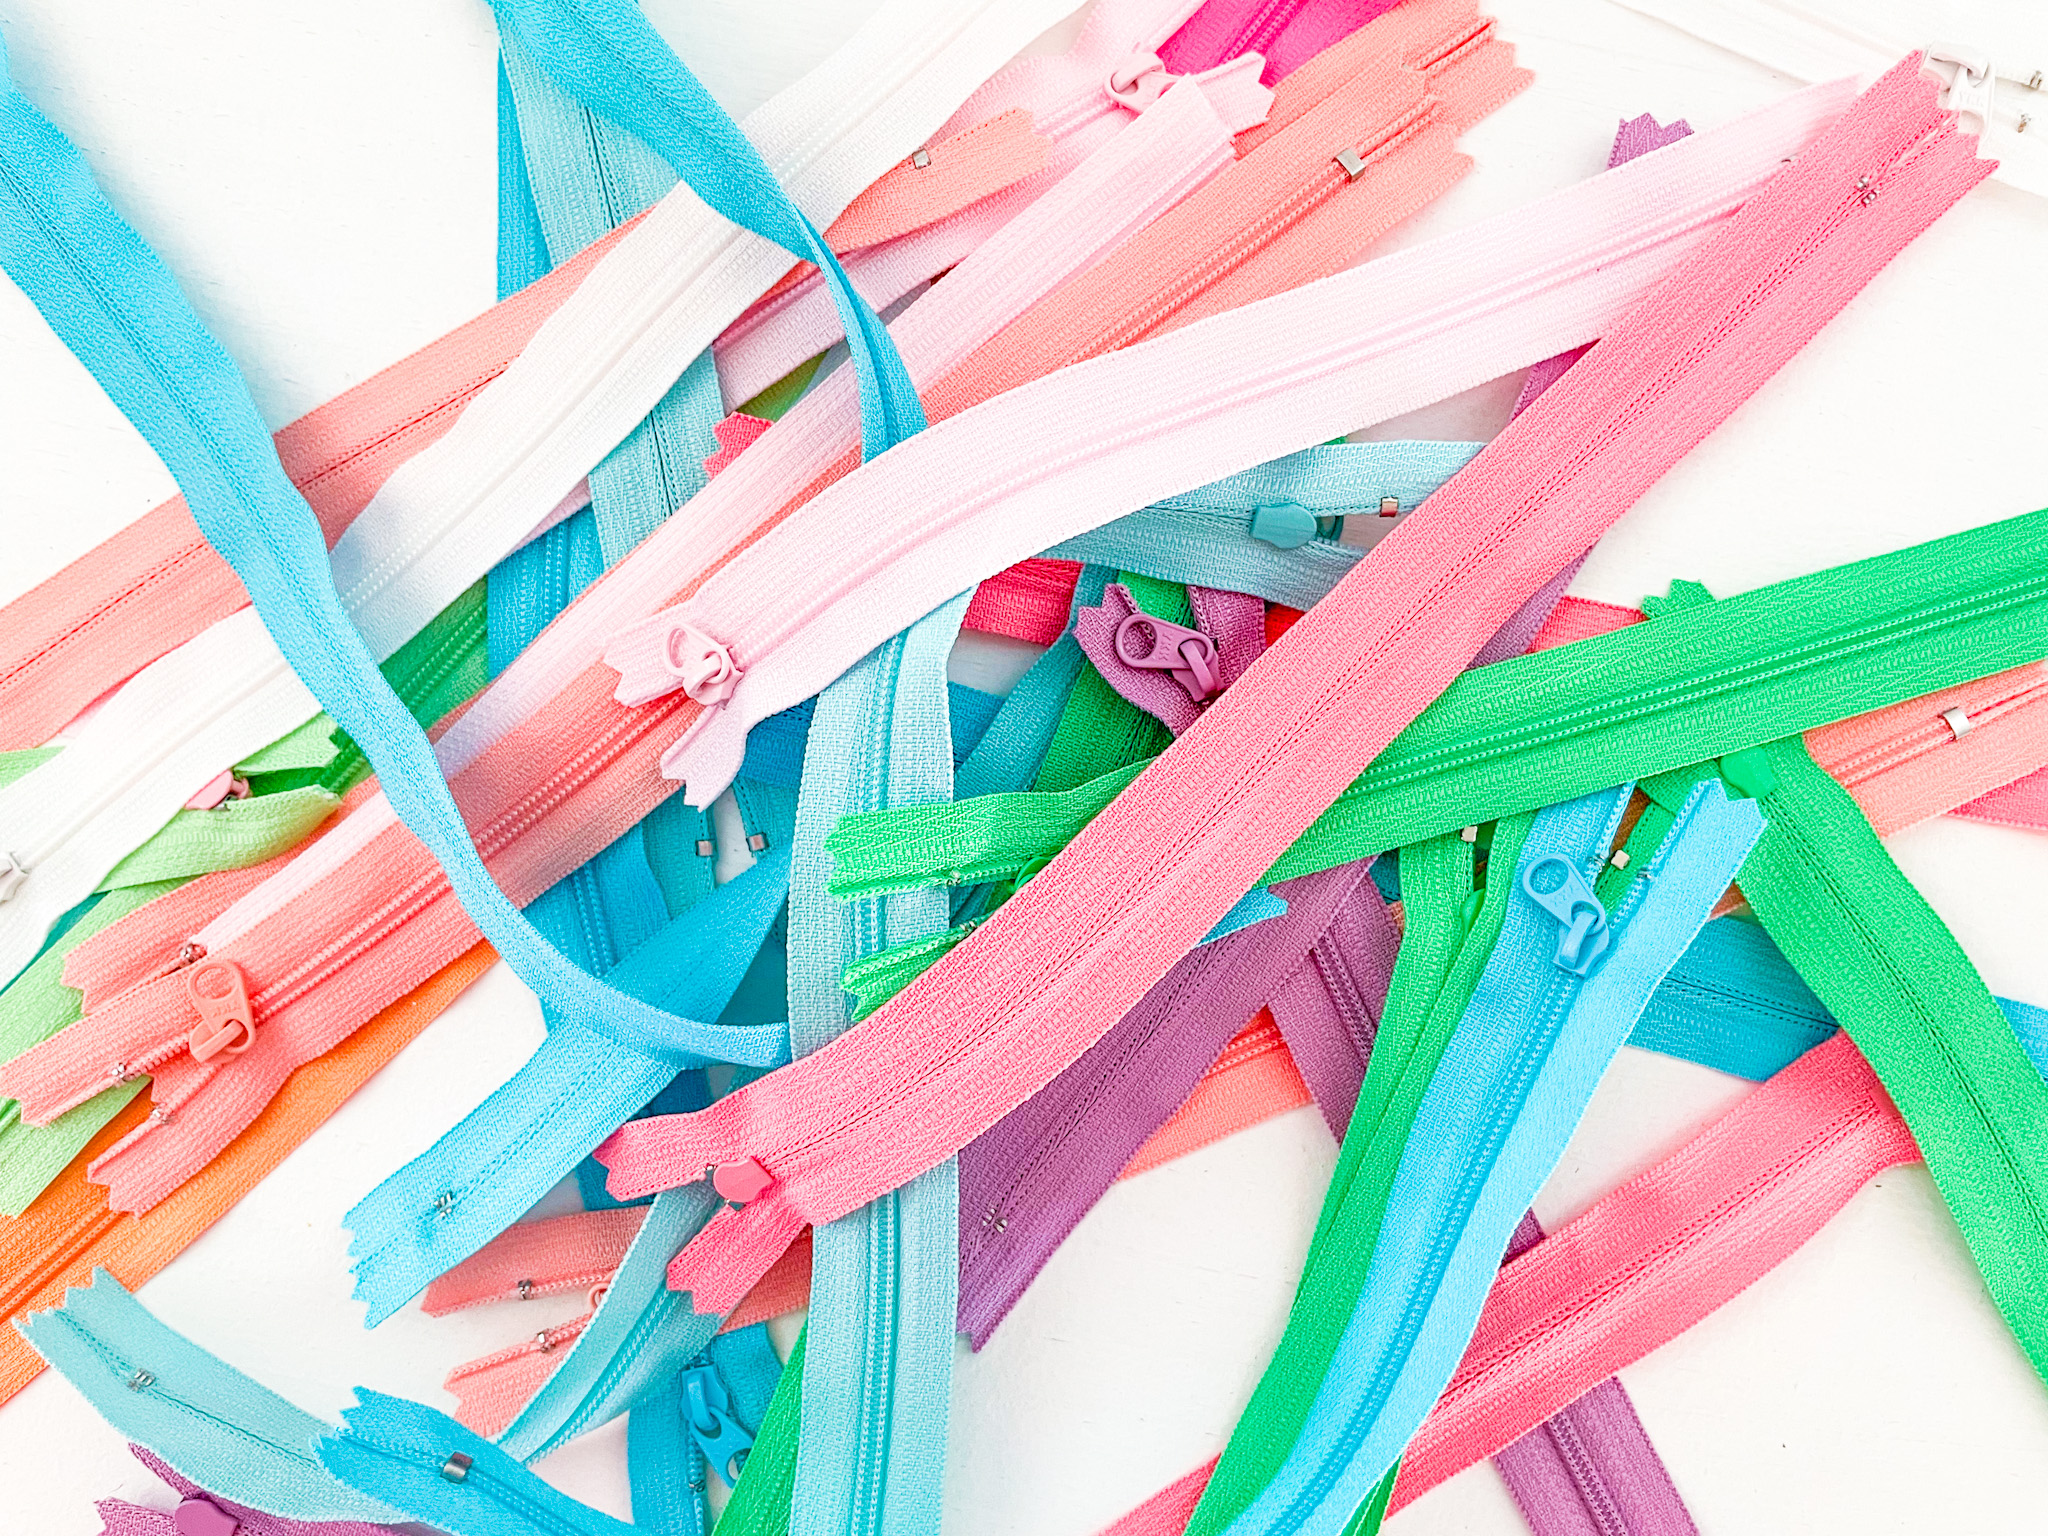
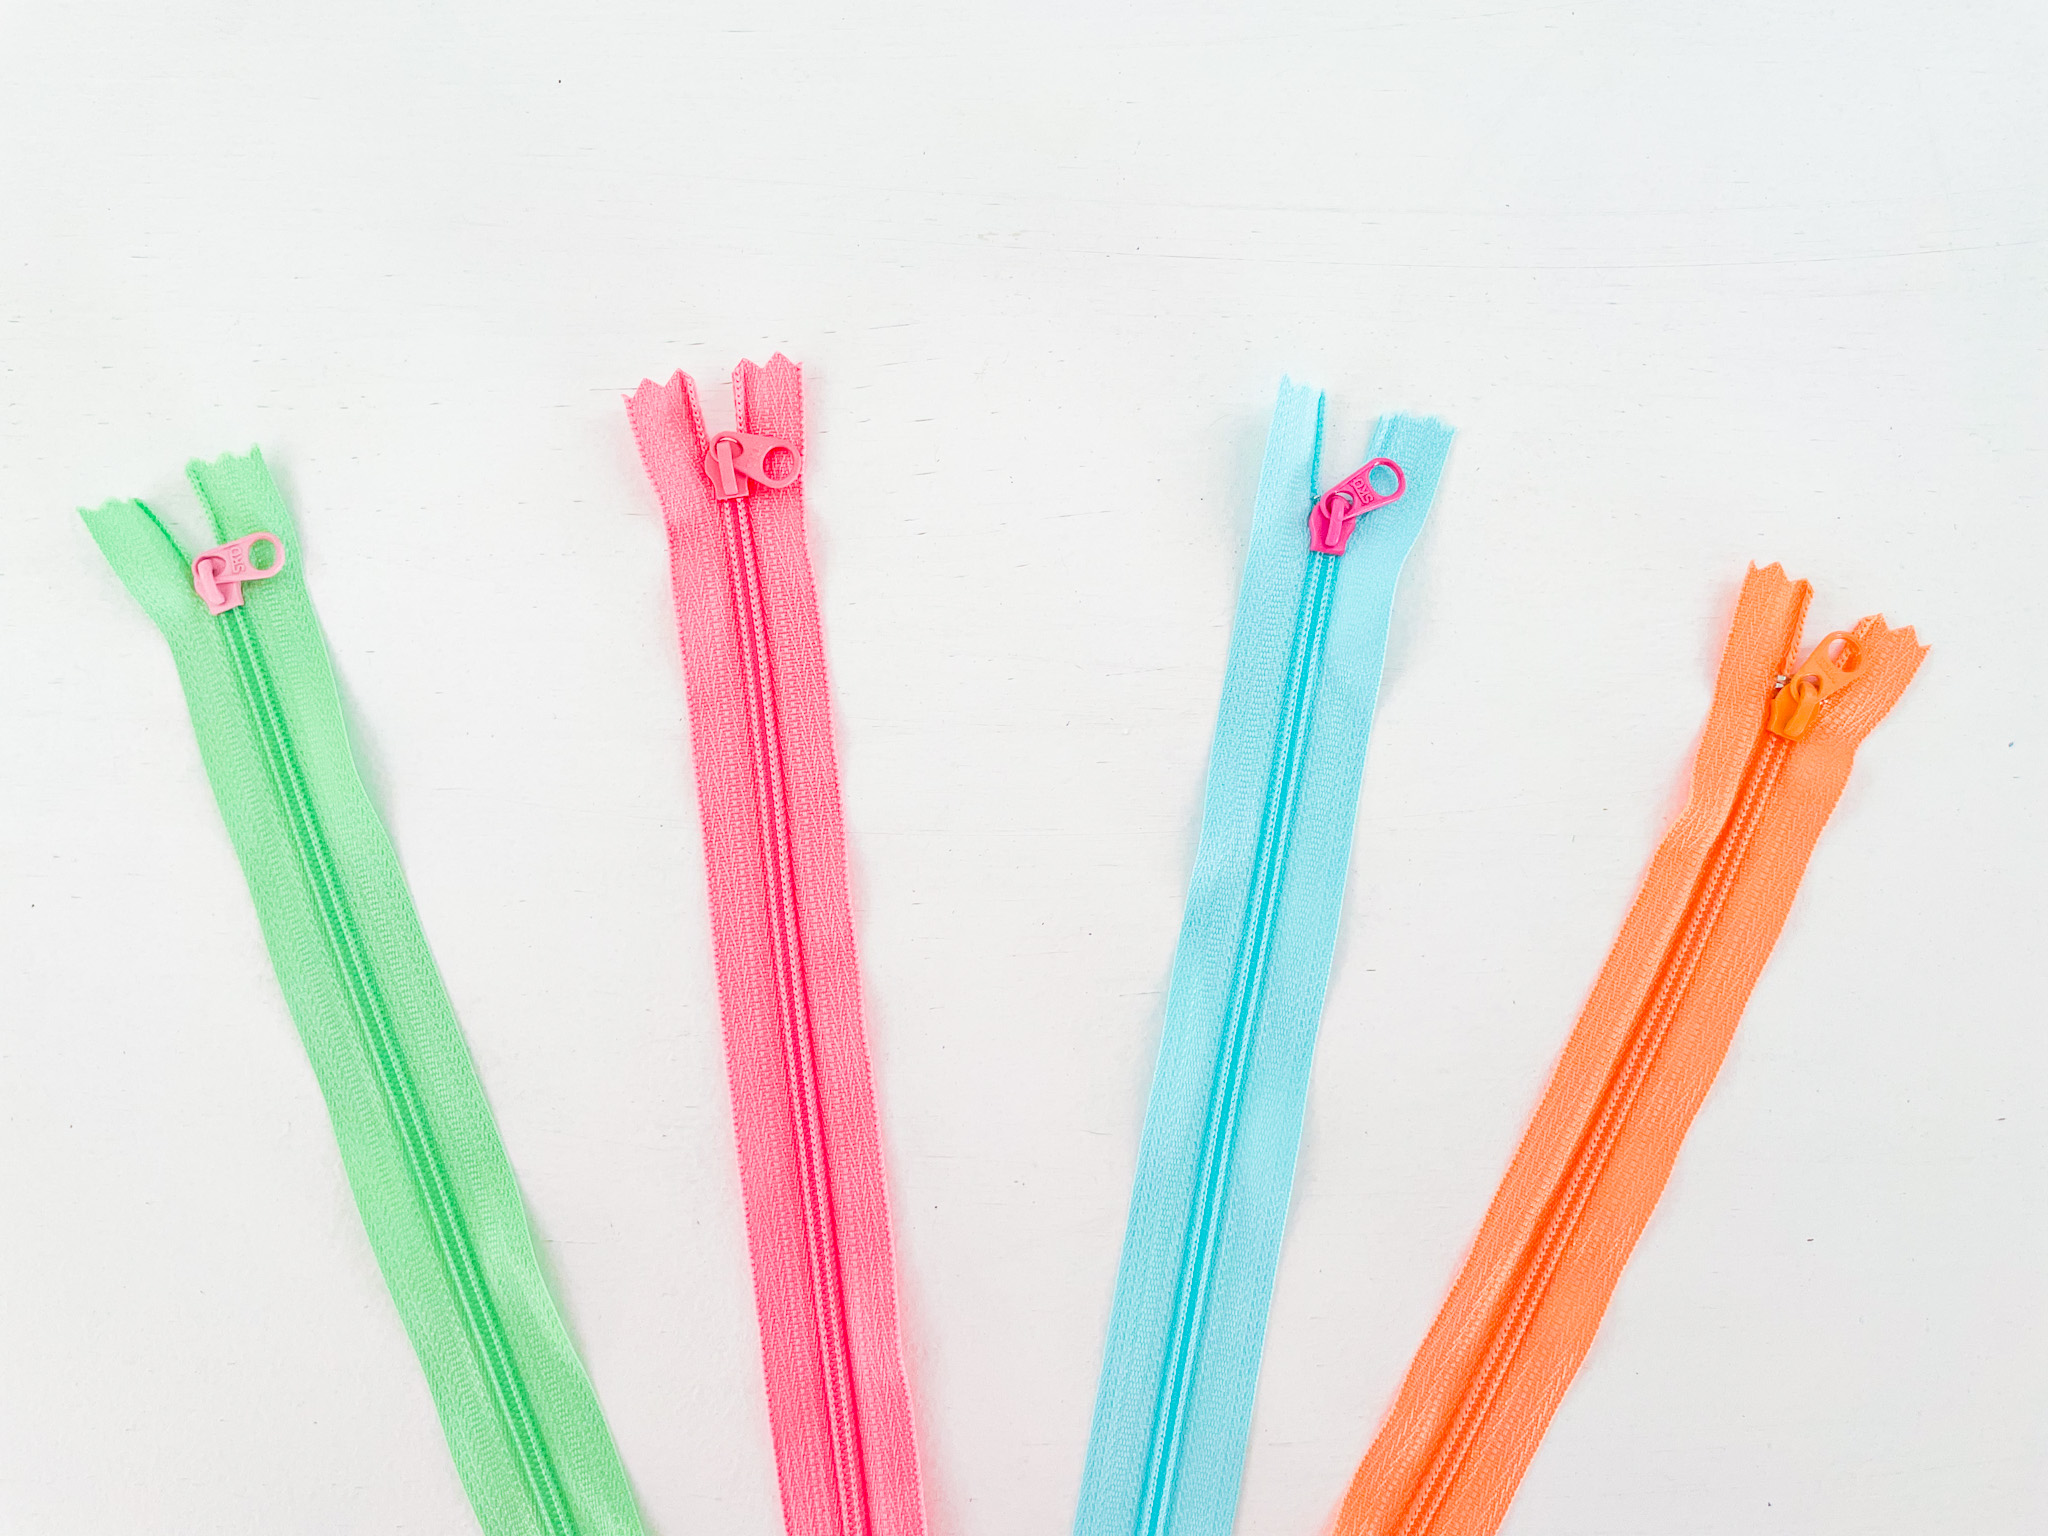
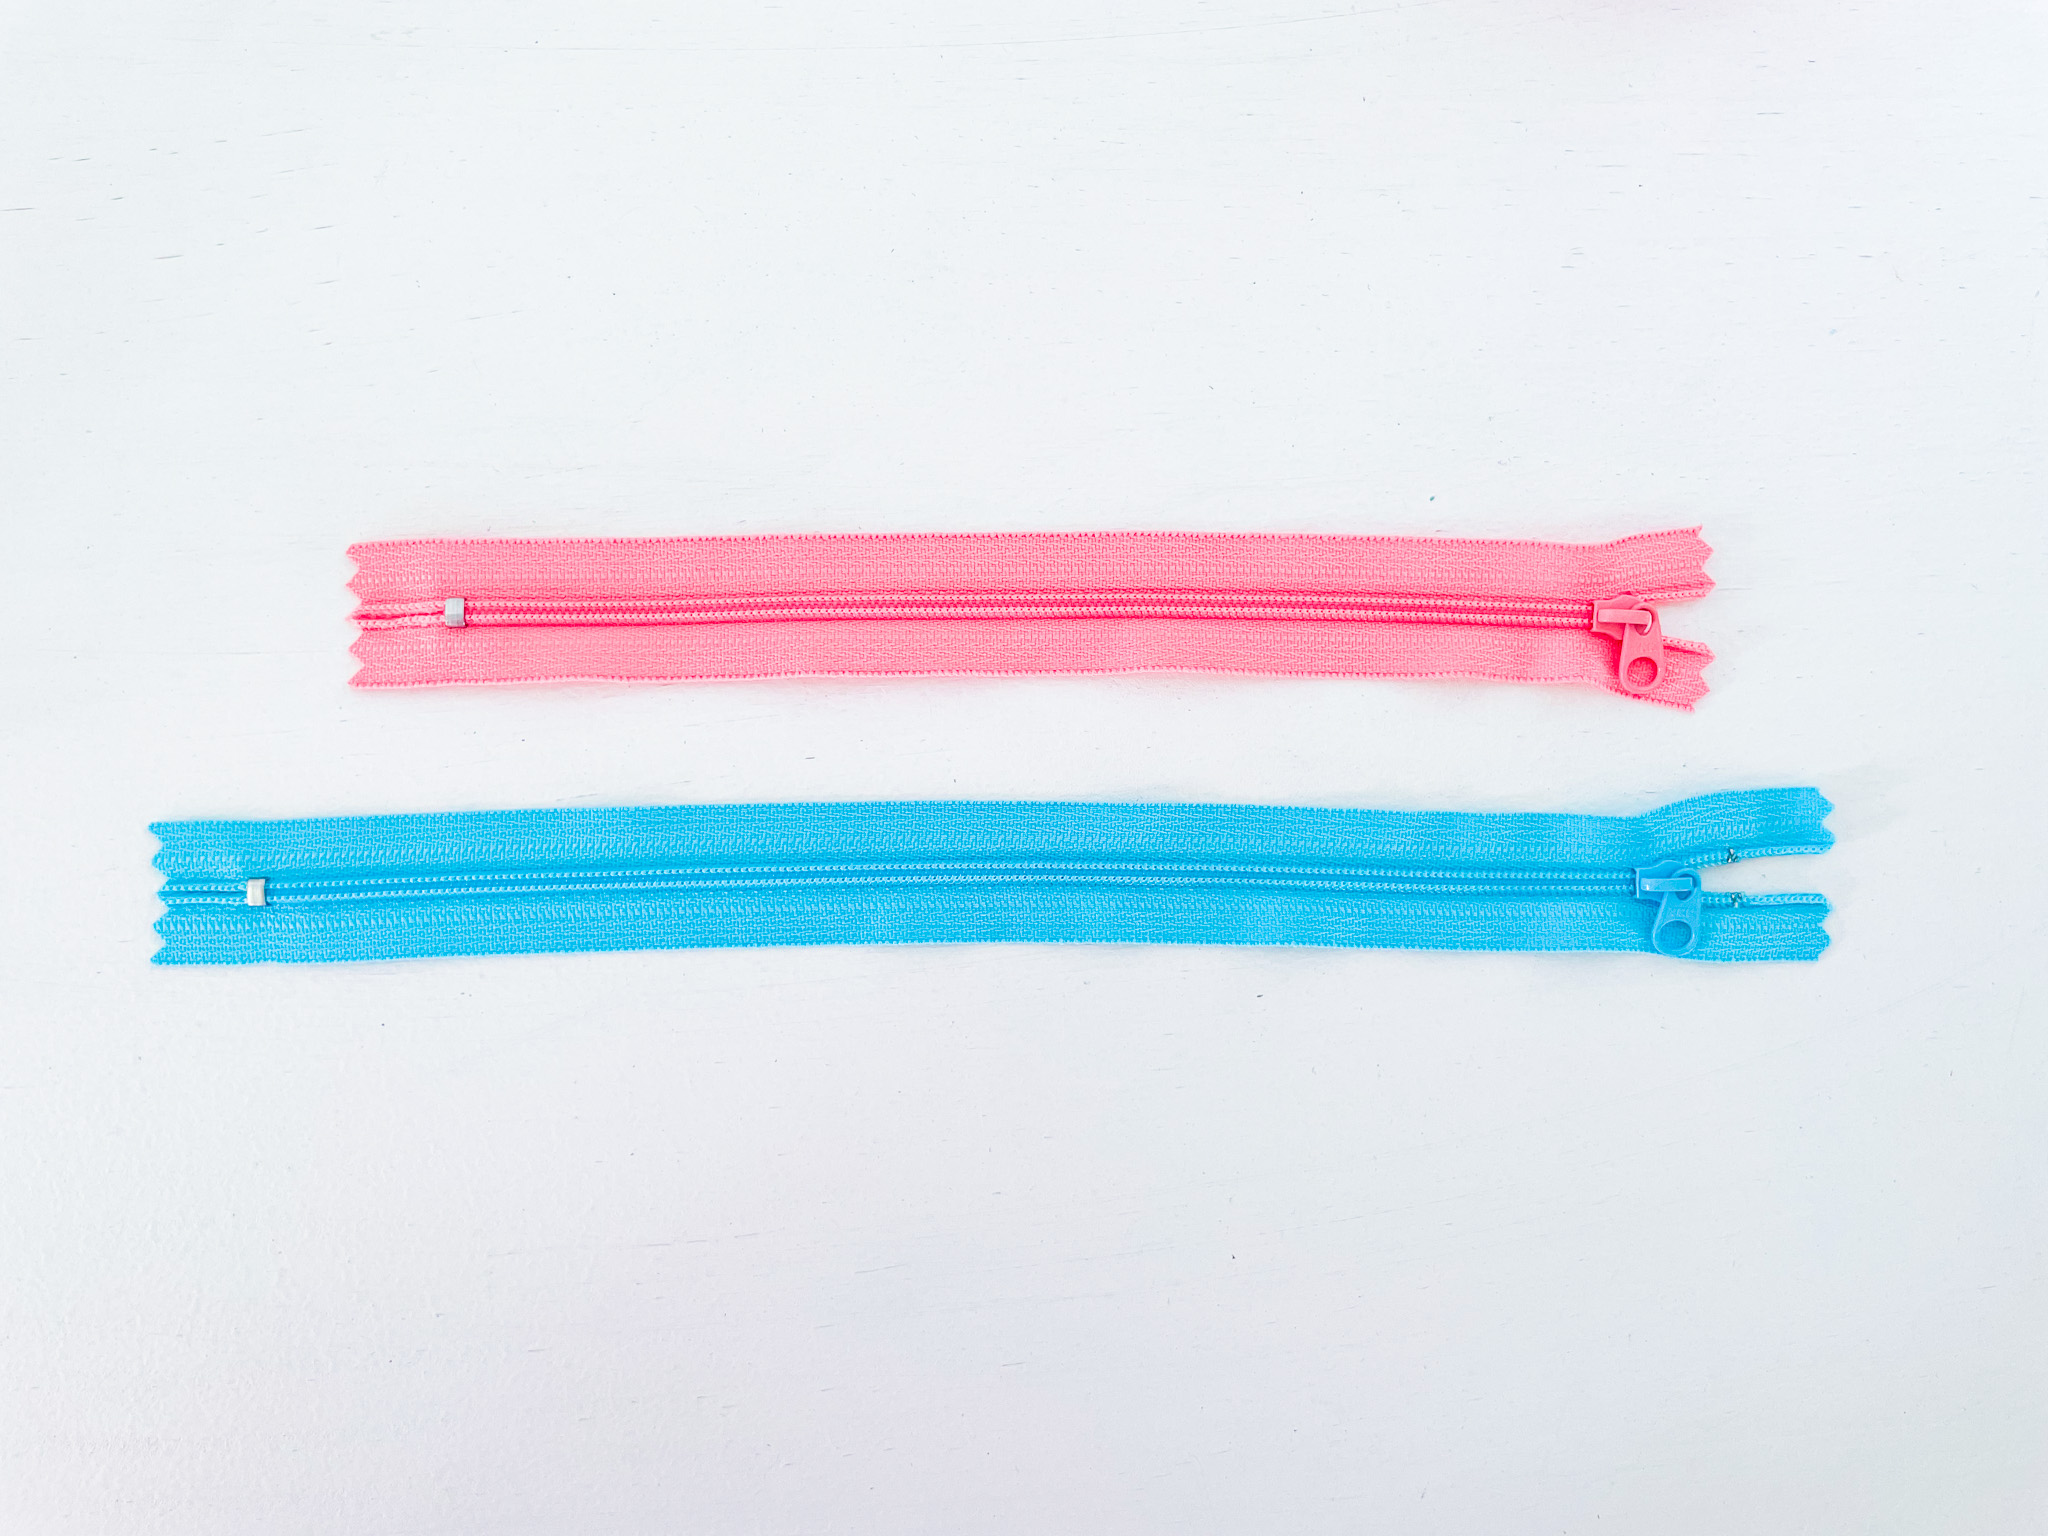
- Nylon coil zippers in your favourite colours. (Must be the same size)
Tip: It’s best if they’re longer than your project needs, so you have plenty of room to work. Pick colours that make your zipper really pop — even a whole-cloth pouch can look amazing with a fun, contrasting zipper!
Custom zipper Instructions
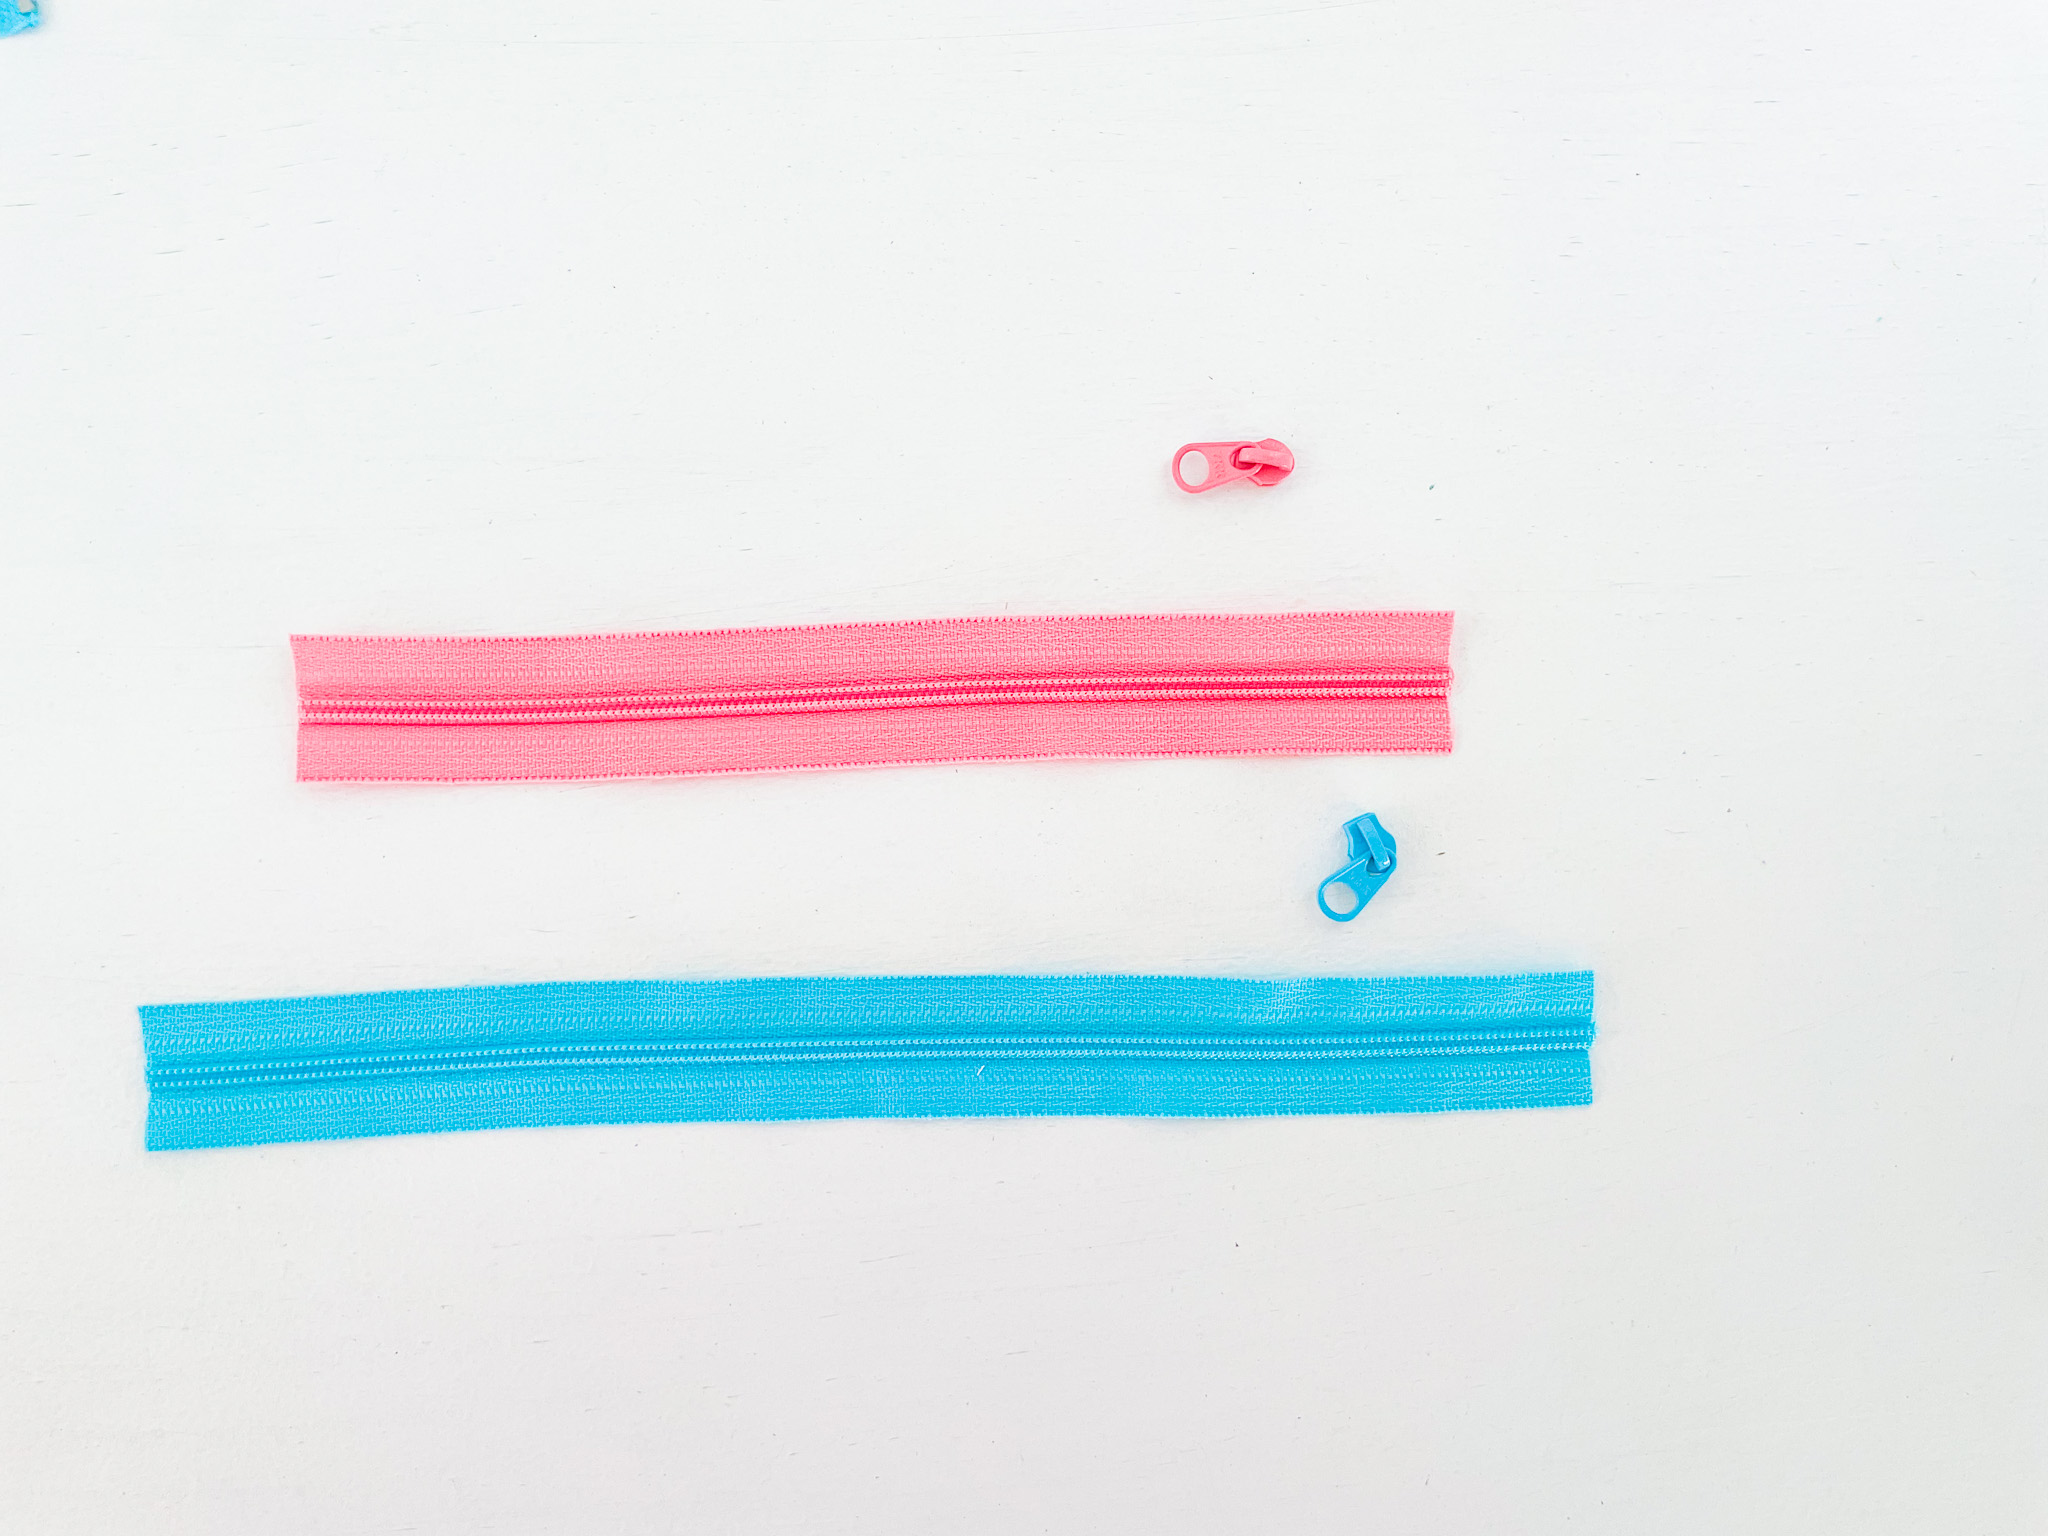
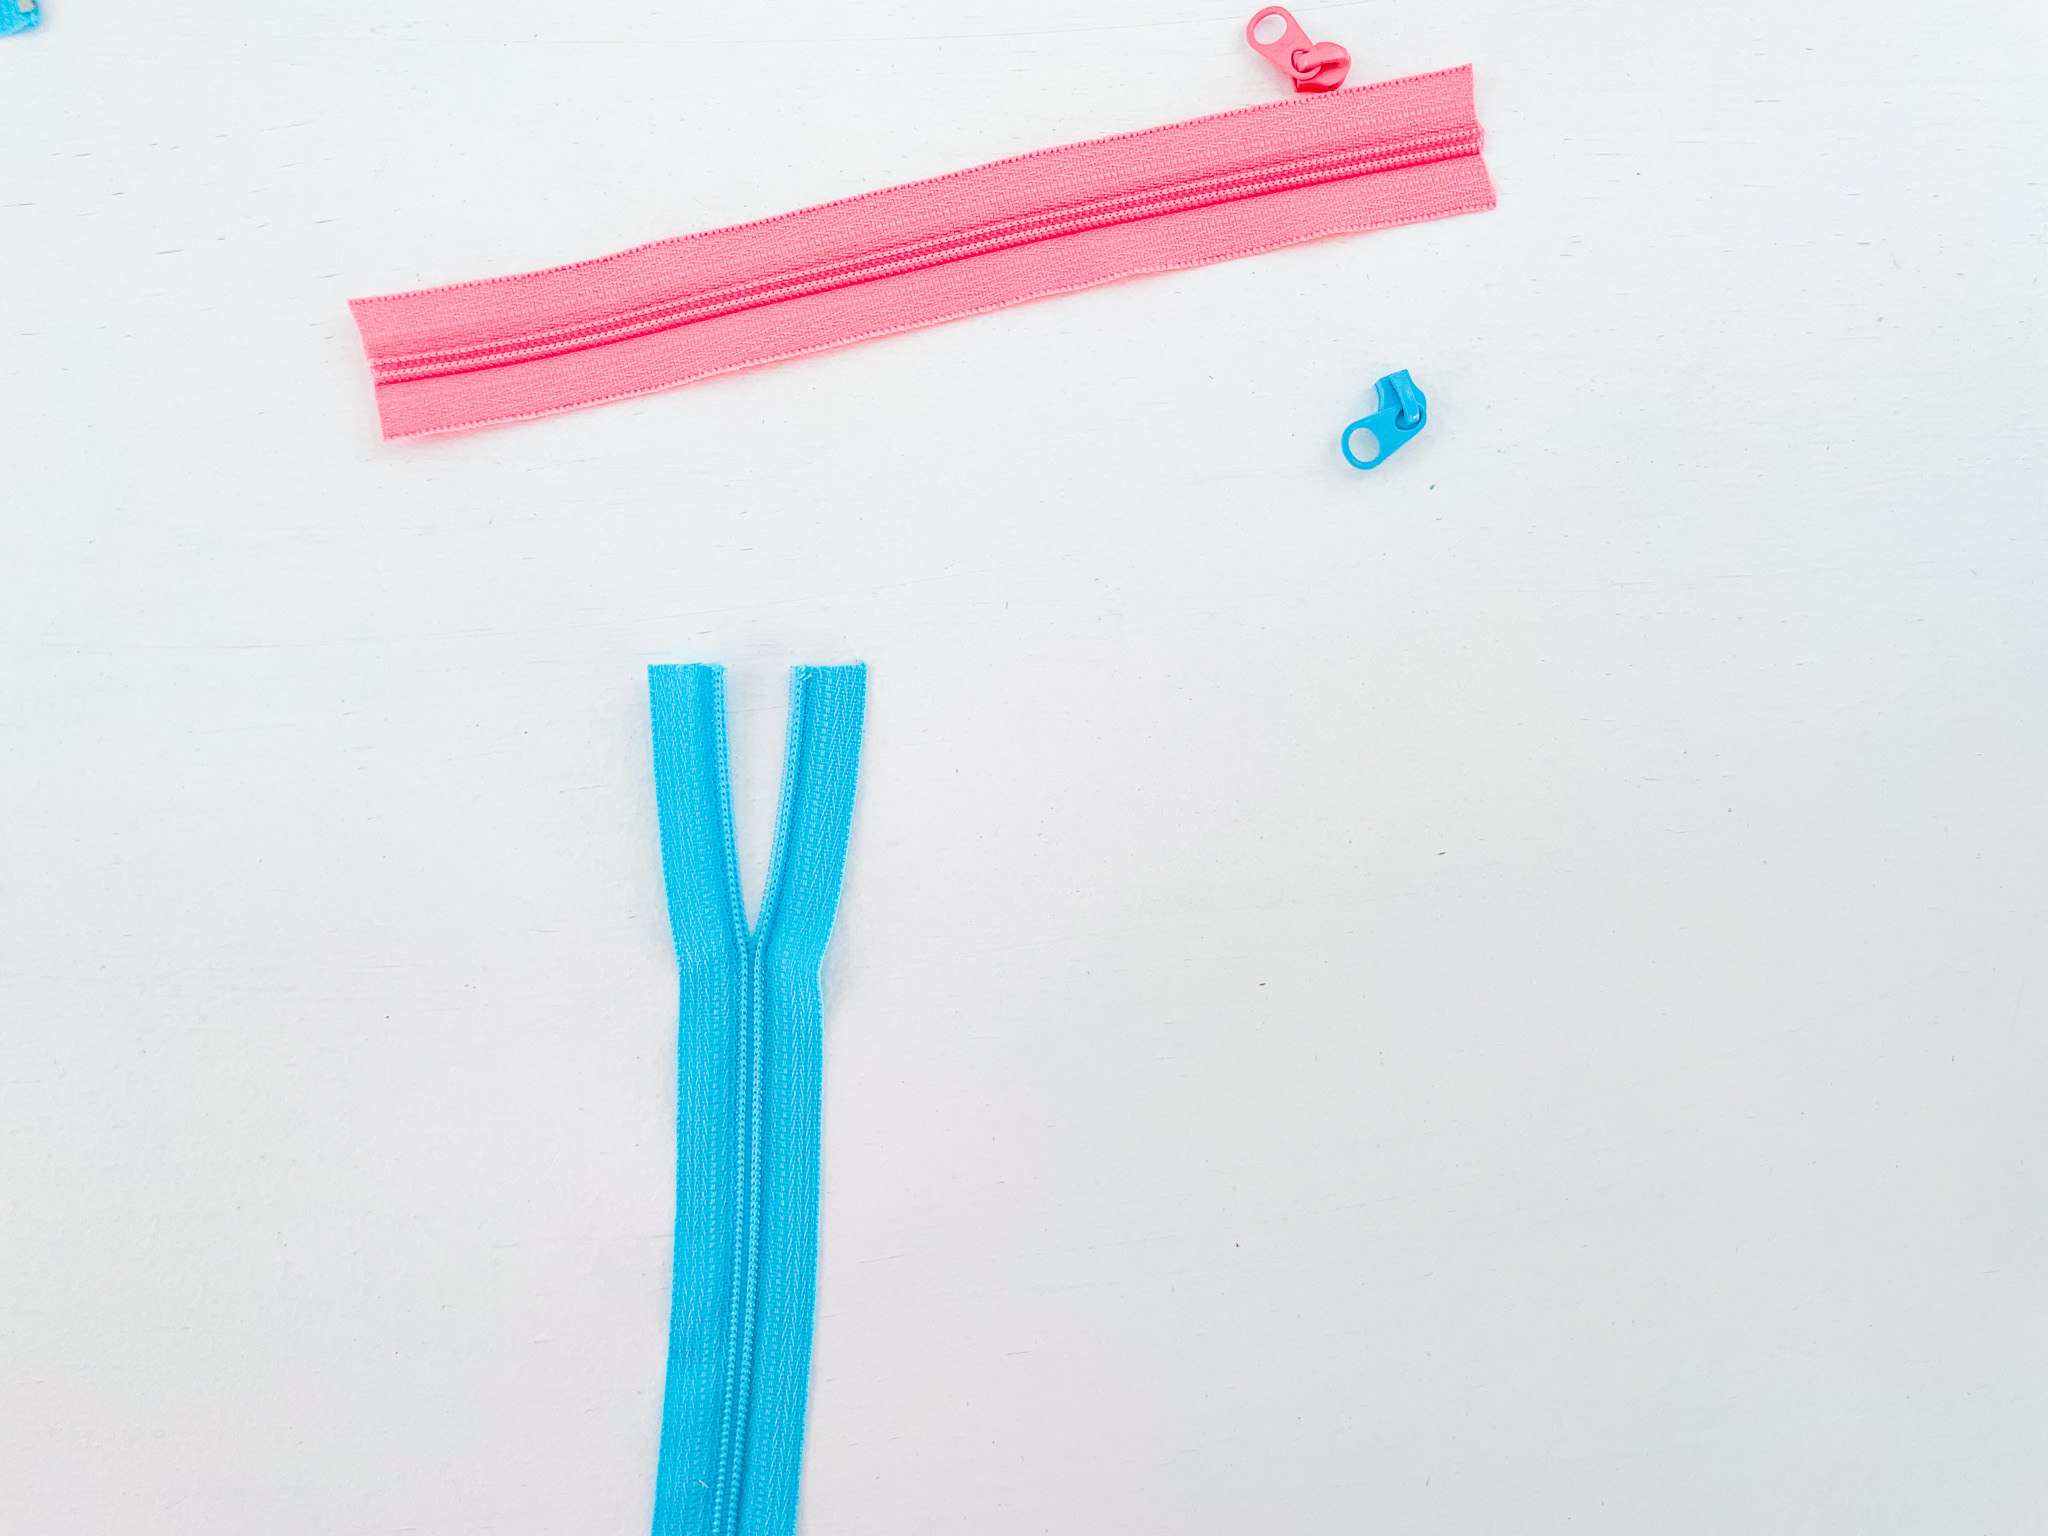
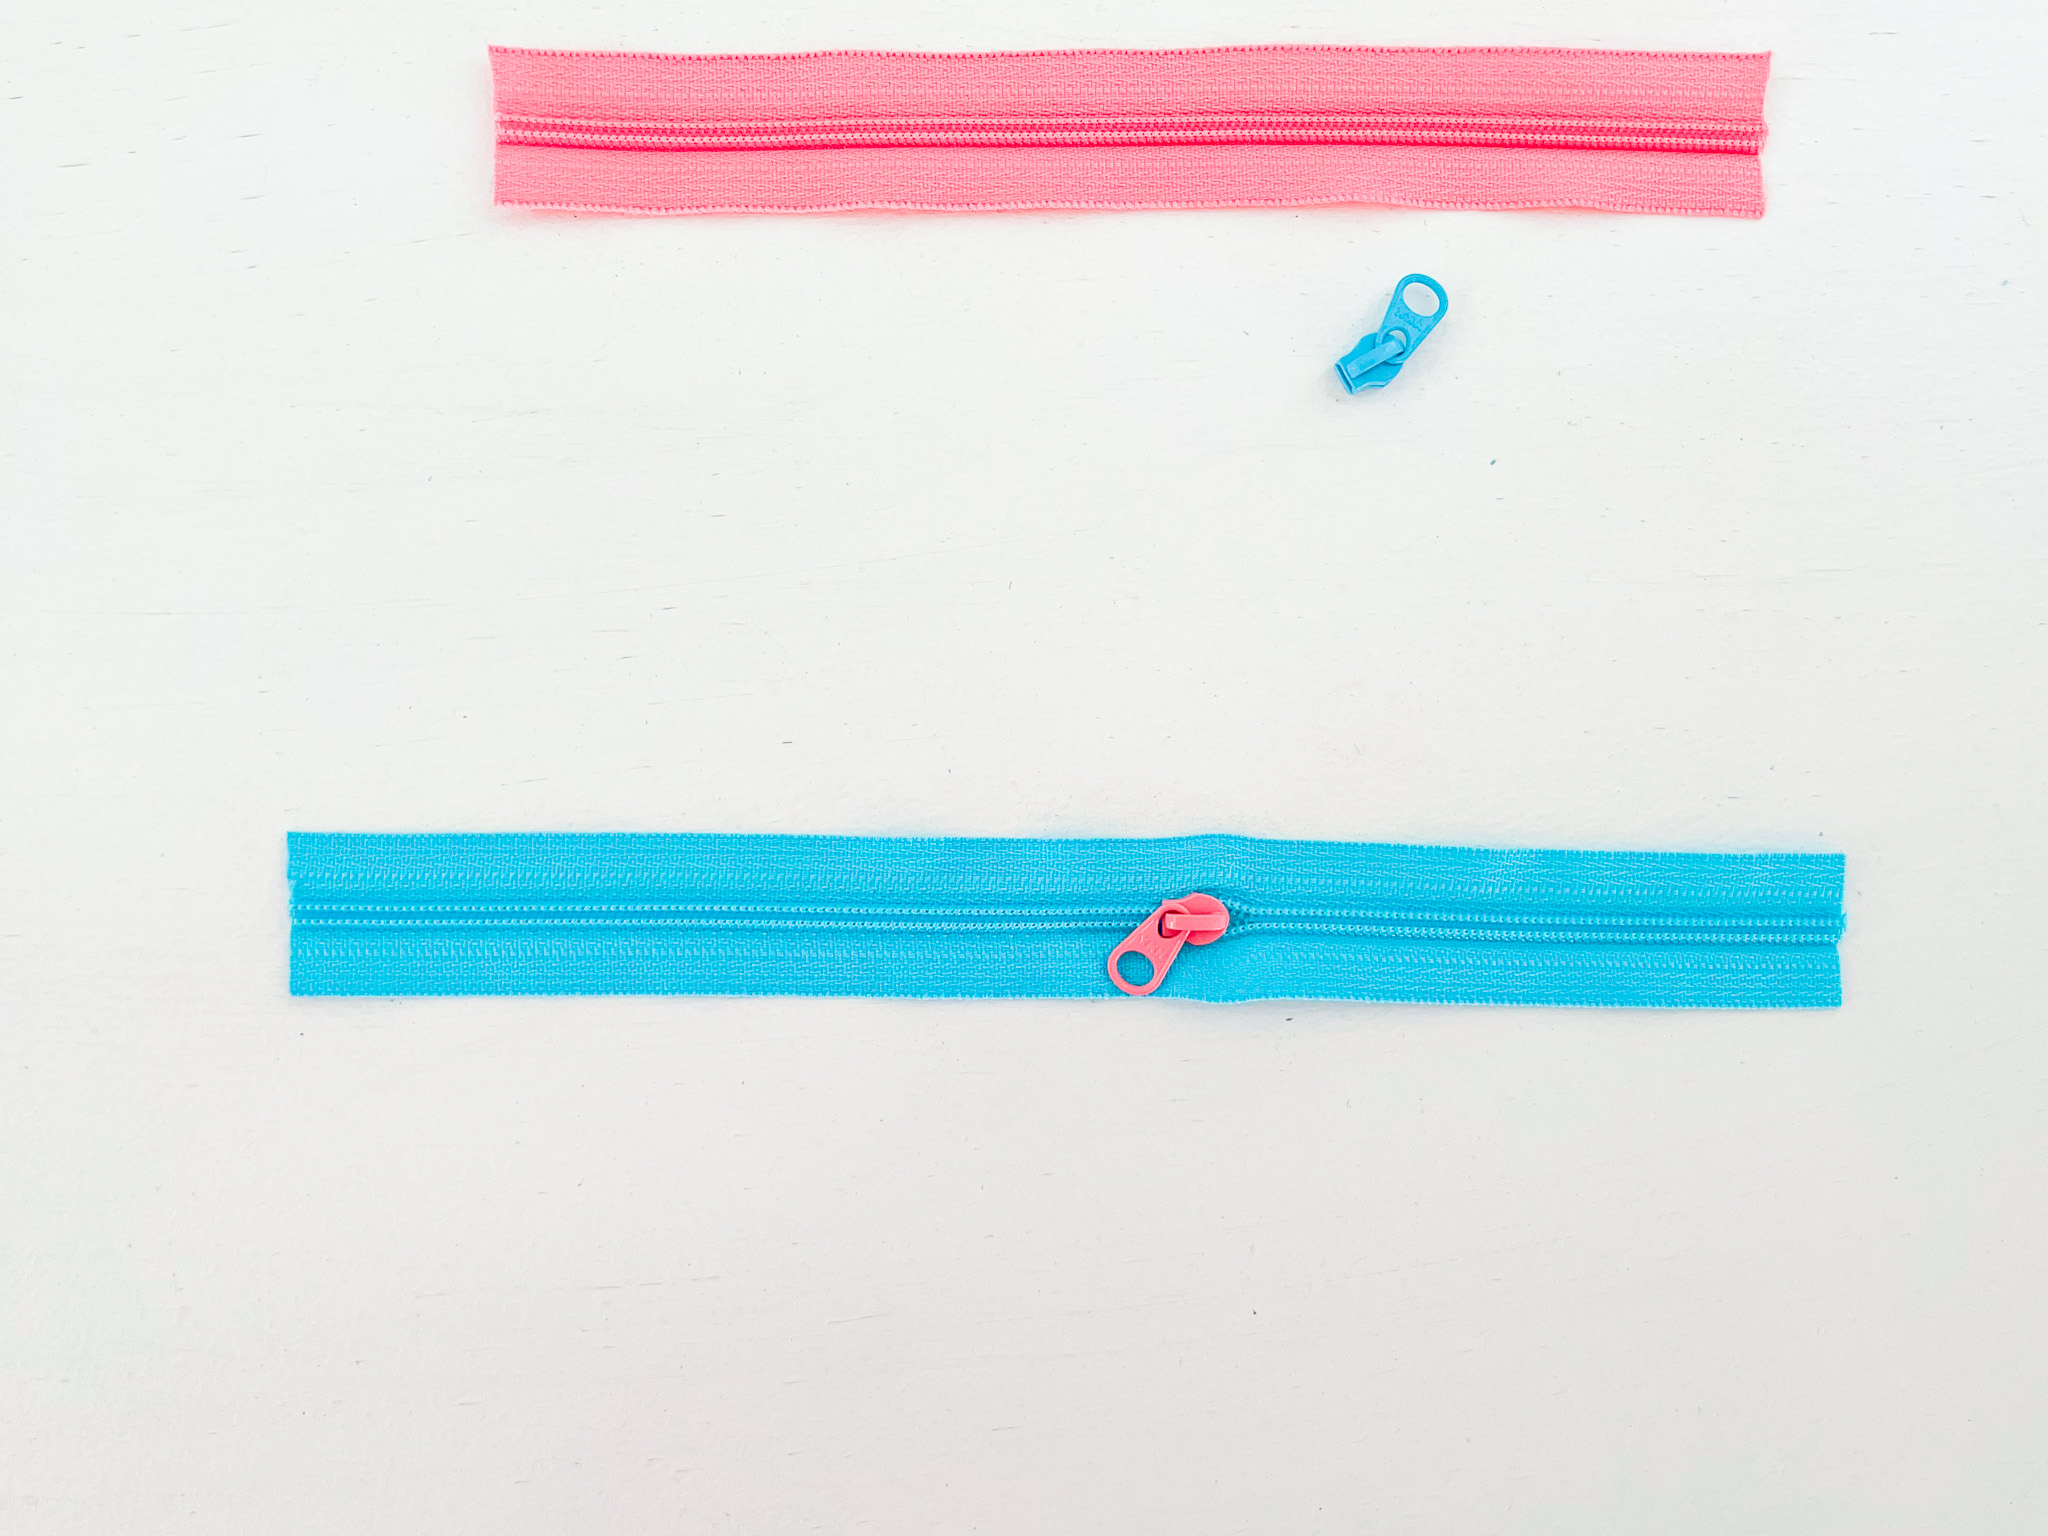
1. Take the two zippers you want to swap pulls between. I’m going to be making a blue zipper with a pink pull. Use scissors to cut off the stops at each end of the zipper. You may need to move the zipper pull out of the way a little to do this.
2. Slide the slider + pull tab combo off each zipper. Keep them handy – these are what you’ll be swapping.
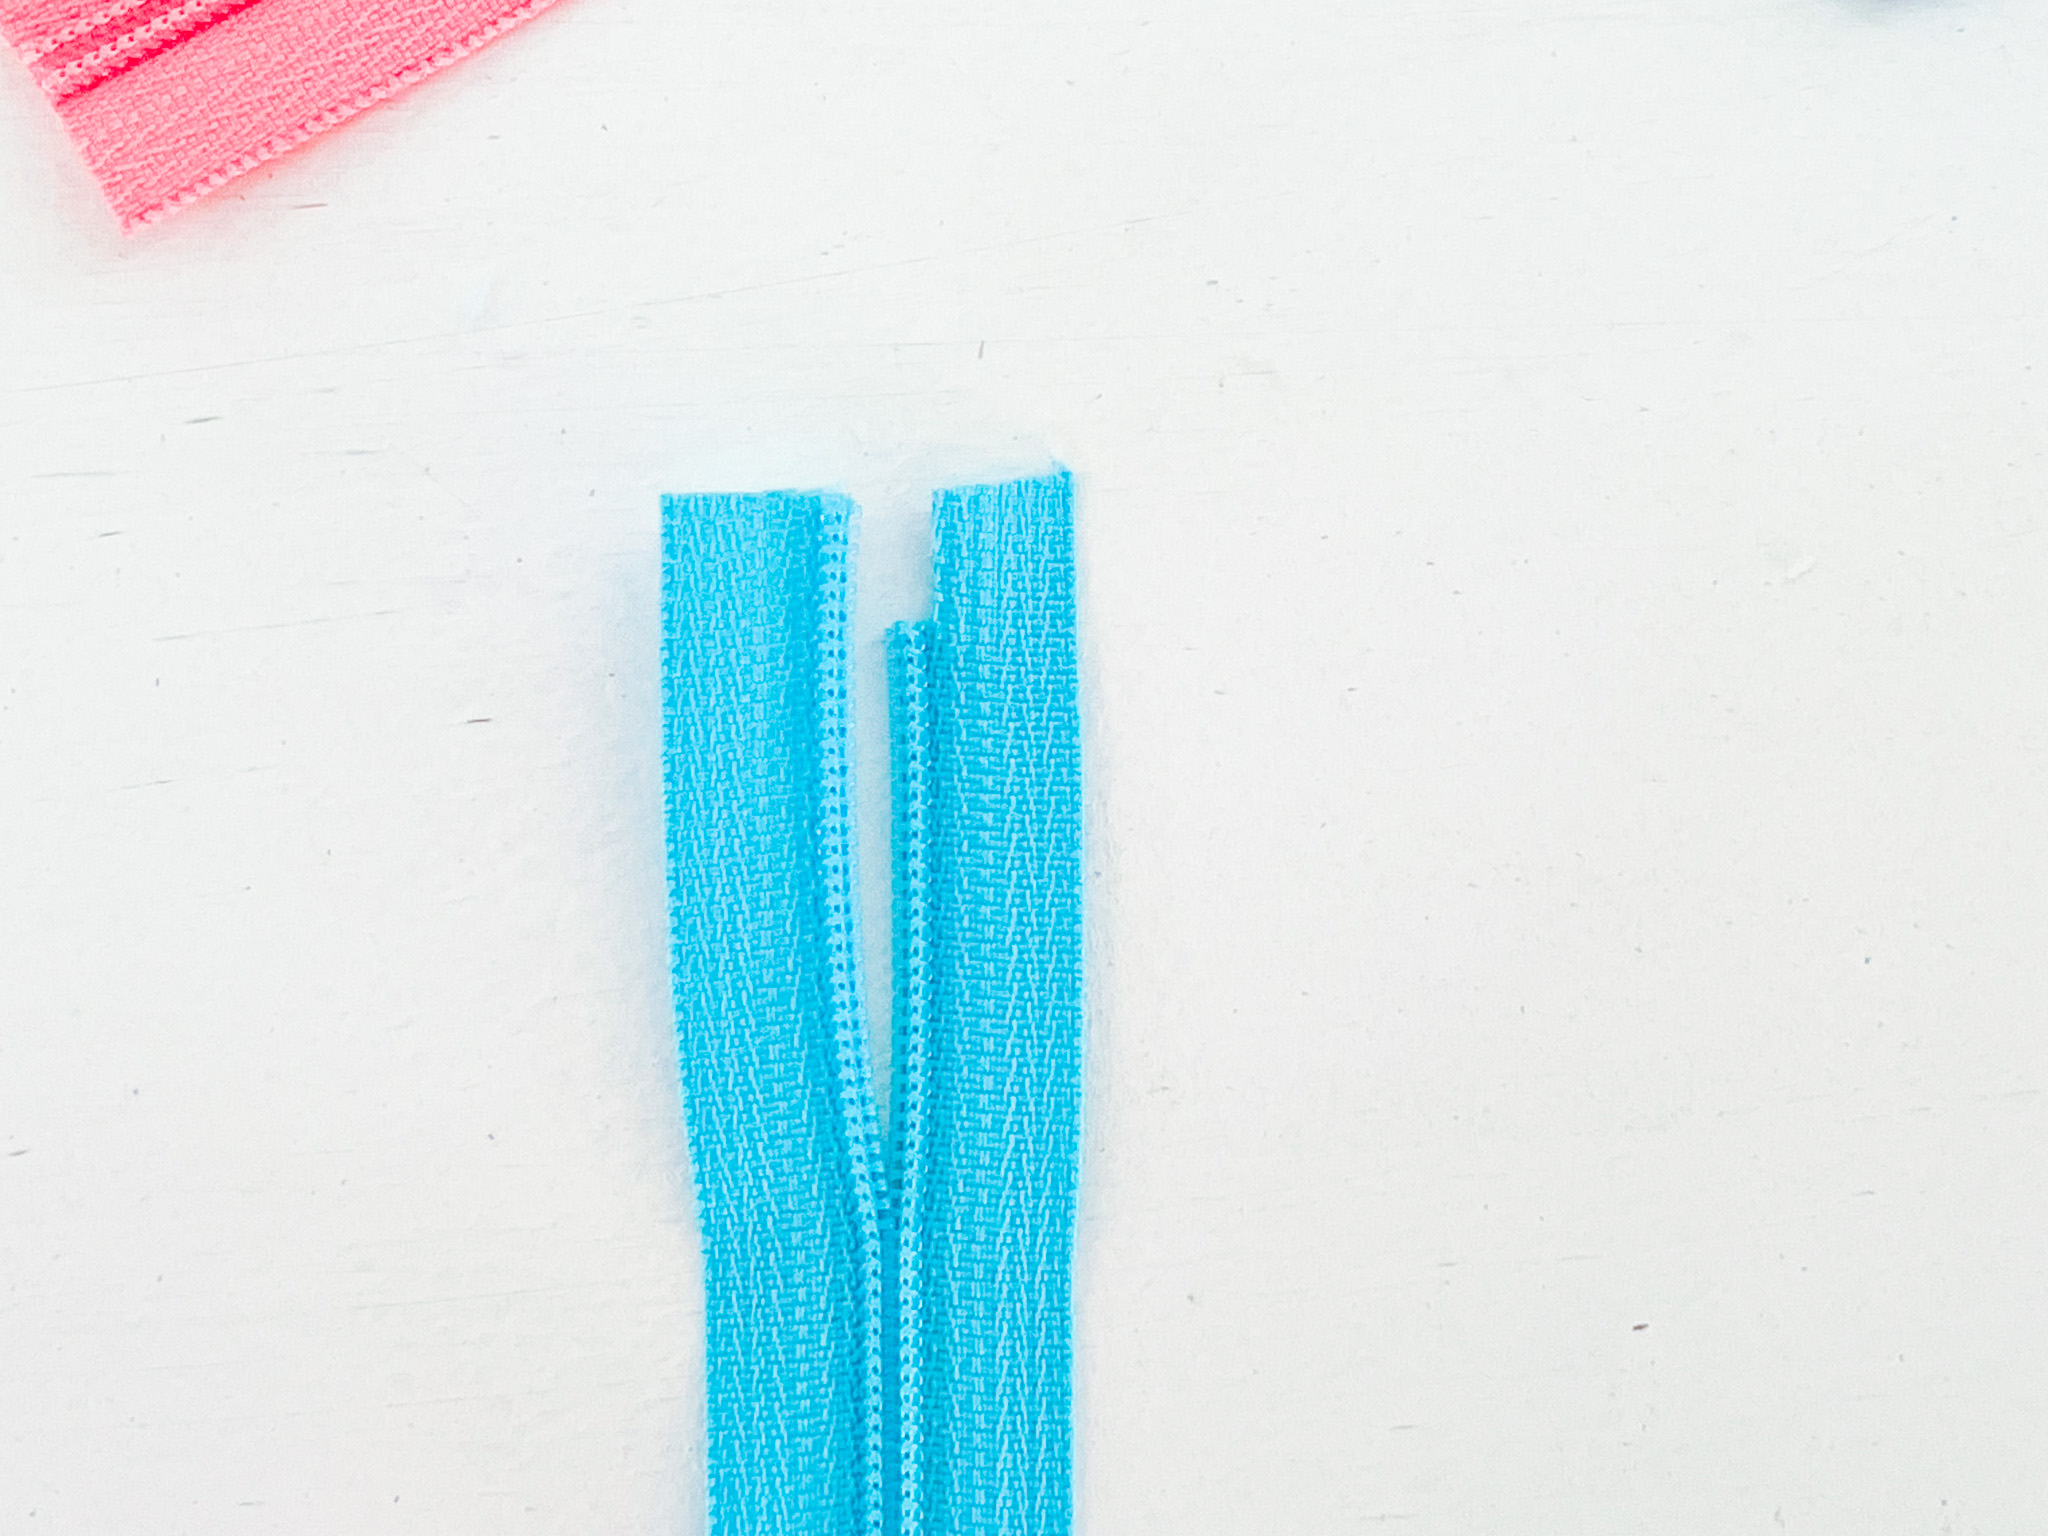
3. Gently separate the ends of the zipper tape so it’s ready for the slider installation. It’s easiest if you can keep most of the zipper teeth together, not separated.
4. Now a fun little trick to make instillation easy…Carefully cut away about half an inch of the teeth on one side of the tape only. This makes it much easier to slide the slider on evenly.
5. Start by putting the slider onto the side where you didn’t cut the teeth. Make sure the larger, open end of the slider goes on first – this is the open side. The thinner bits at the back of the slider squeeze the teeth together to close the zipper.
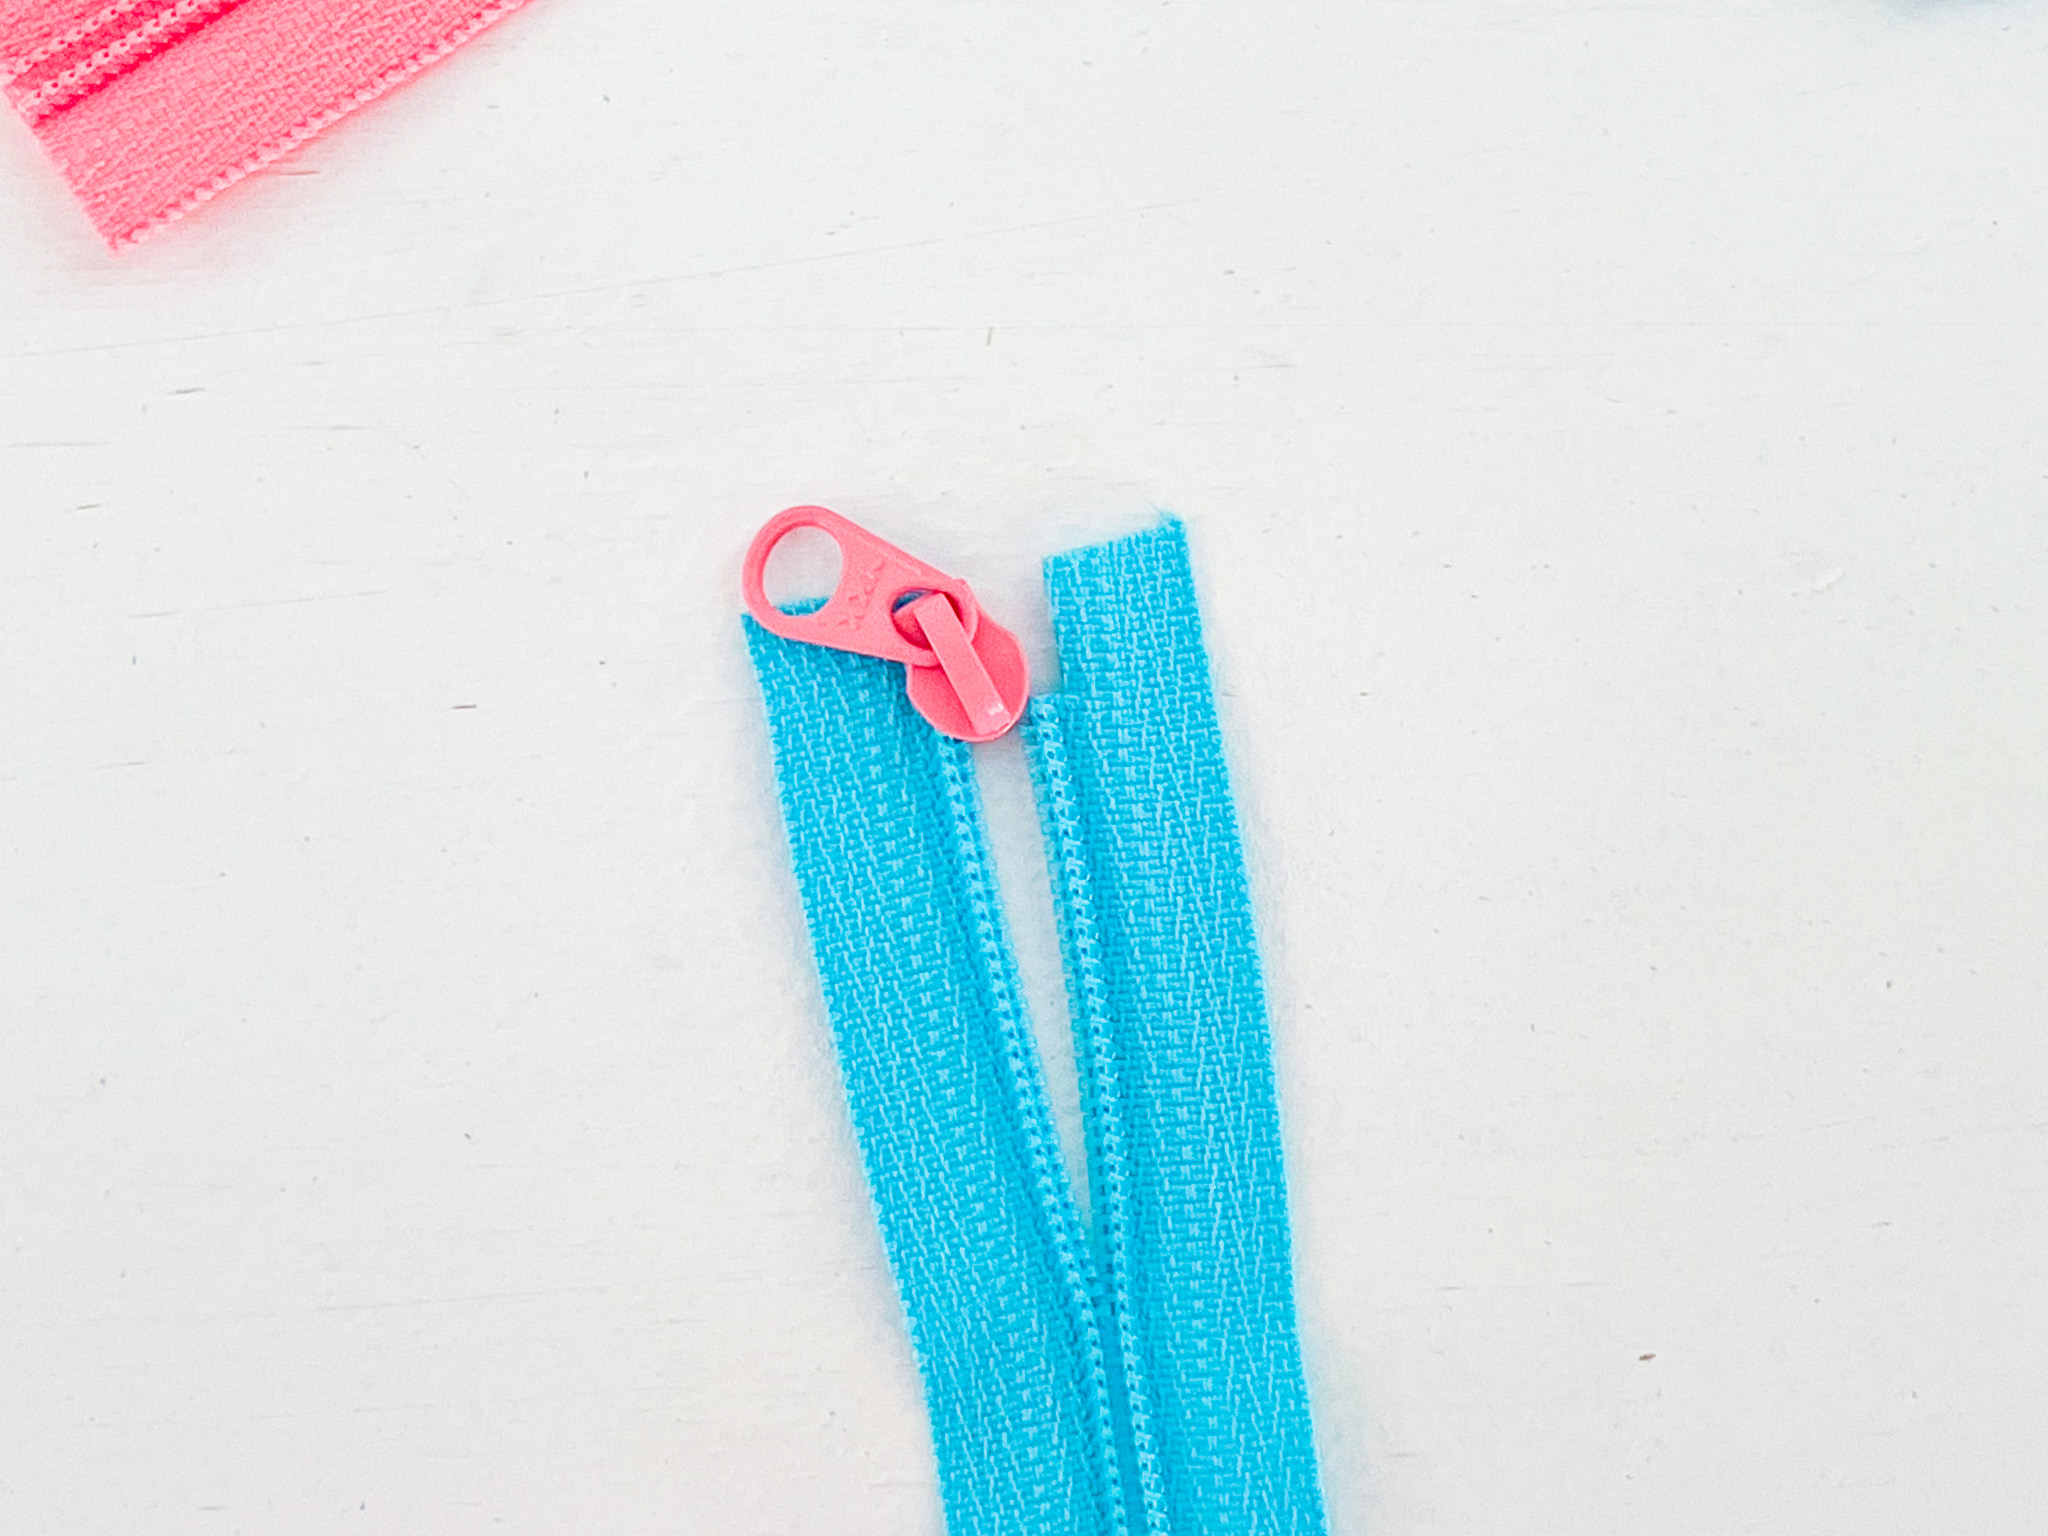
6. Now, thread the other side of the zipper tape through the slider so that both ends are sitting even. Once both sides are in, gently pull the slider onto the zipper so it grips and closes the teeth.

7. Check that the teeth are aligned and the slider moves smoothly. You can always redo it if you need to.
Now if you want to make a double pull zipper, you do steps 3-7, adding the second pull to the opposite end of the zipper tape – it really is that easy.
If you have trouble visualising it, here’s a video to help.
And that’s it -you’ve just customised your own zipper! Once you’ve done this a couple of times, it becomes second nature, and you’ll start seeing zippers as another fun design detail instead of something to stress about.
Swapping sliders, mixing colours, and even creating double-pull zippers is such an easy way to add personality to your projects, especially for whole-cloth projects where the zipper really gets to shine.
Ready to try your new zipper skills? You’ll love these patterns…
- Pixie Pencil Pouch
Perfect if you want a quick make. It’s fast, beginner-friendly, and a custom zipper adds instant wow with minimal effort. - Basic Boxy Pouch
Ready for something a little more 3D and fun? This pattern is great for showing off a custom or double-pull zipper and really letting your colour choices pop.
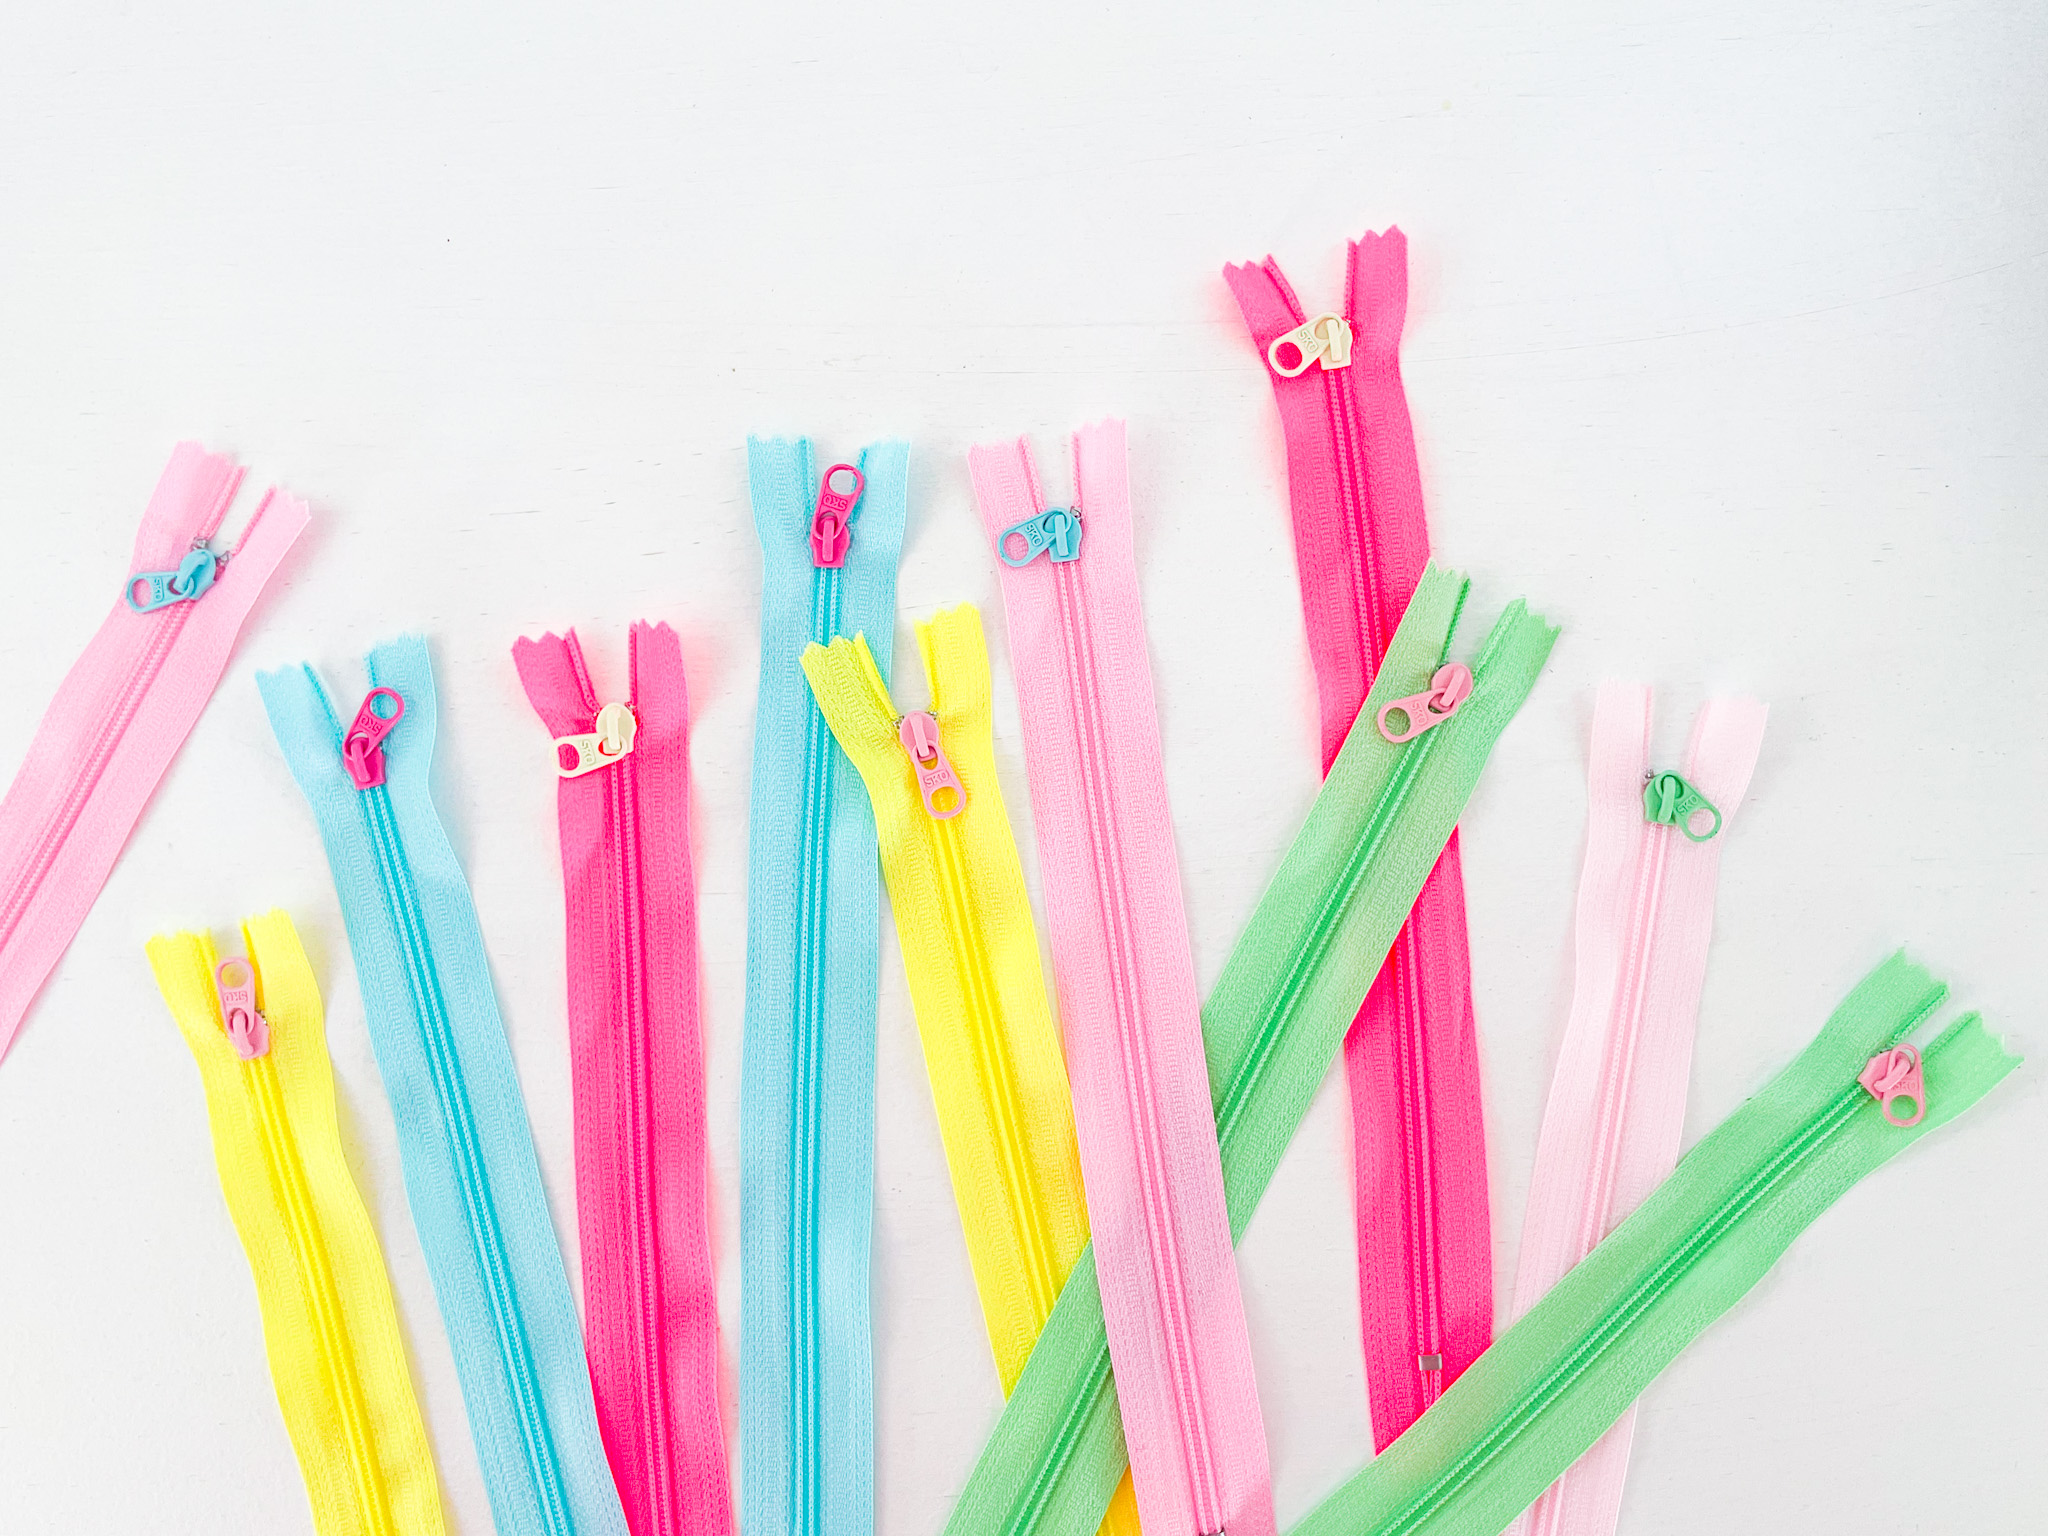
Where I Get Cute Zippers
If you’re wondering where all these fun zipper colours come from, here are a few of my go-to spots for #3 nylon coil zippers with the cute round pulls that are perfect for bag making:
- Rose Garden Patchwork has a variety of different lengths and colours. Lisa always stocks fun, colourful zippers.
- Audrey’s Fabric sells short and long round pulls for size #3 zippers separately from the zipper tape if you want to stock up on those.
Once you start customising your own zippers, you’ll never look at store-bought ones the same way again.
Happy sewing, Kellie. x