
Journal Pen Holder Tutorial
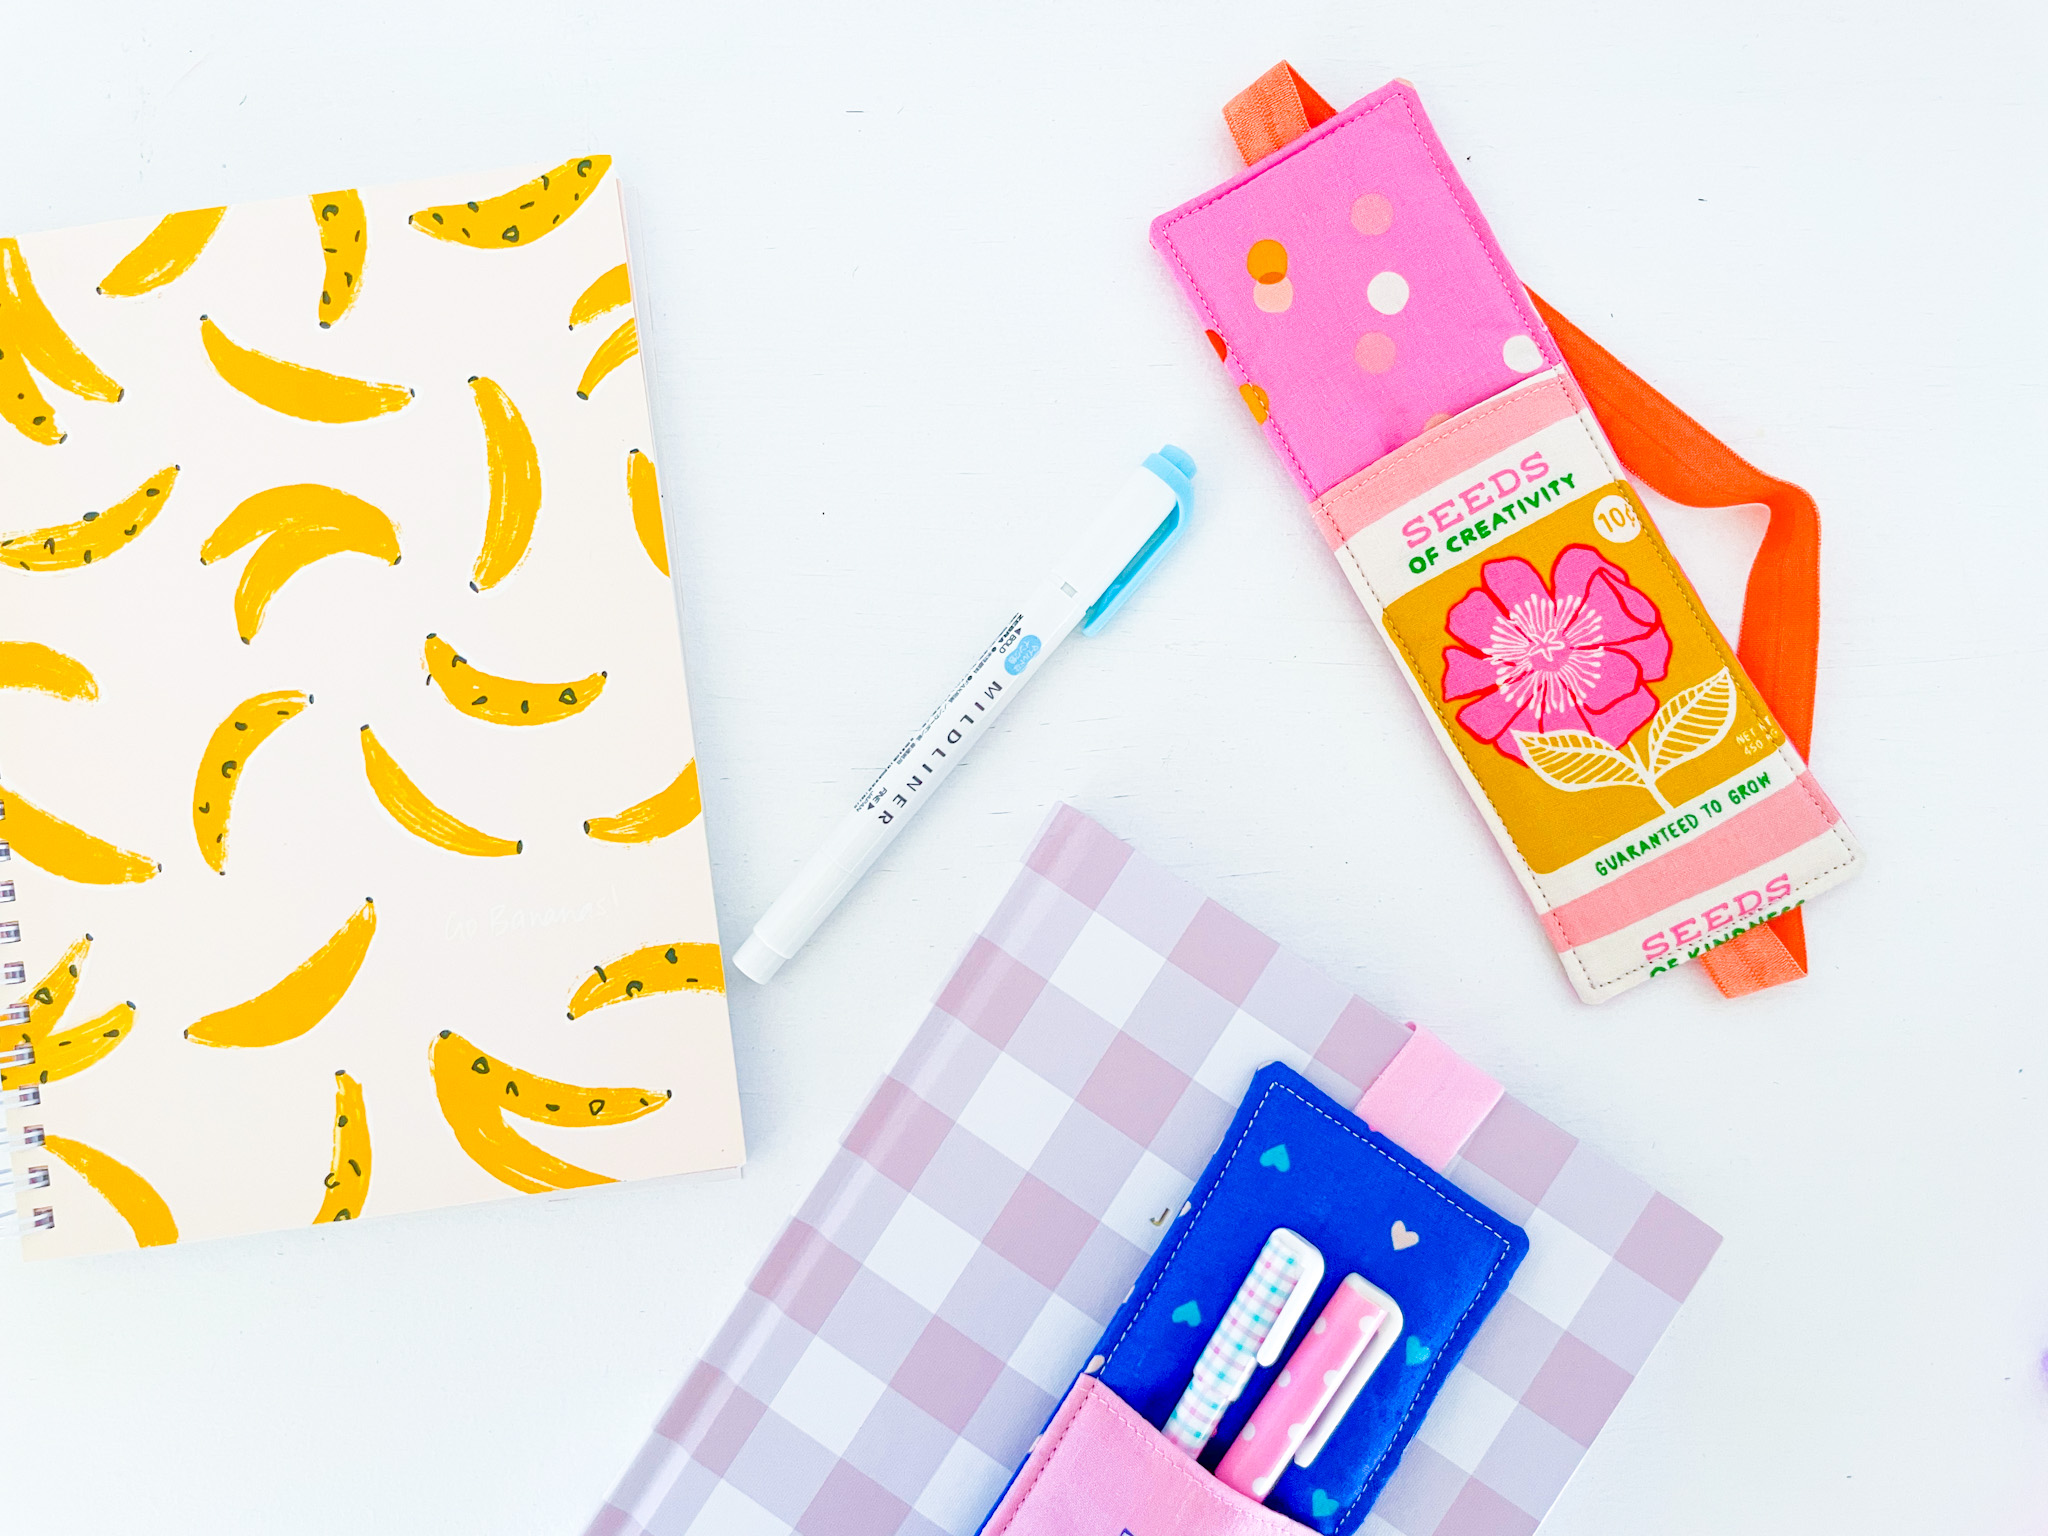
Who else grabs their journal or notebook, only to realise the pen has disappeared… again? This happens to me all the time. While I don’t keep a traditional journal, I do have a trusty notebook where I plan sewing projects and jot down pattern notes – and it always seems to be missing a pen when I need it most.

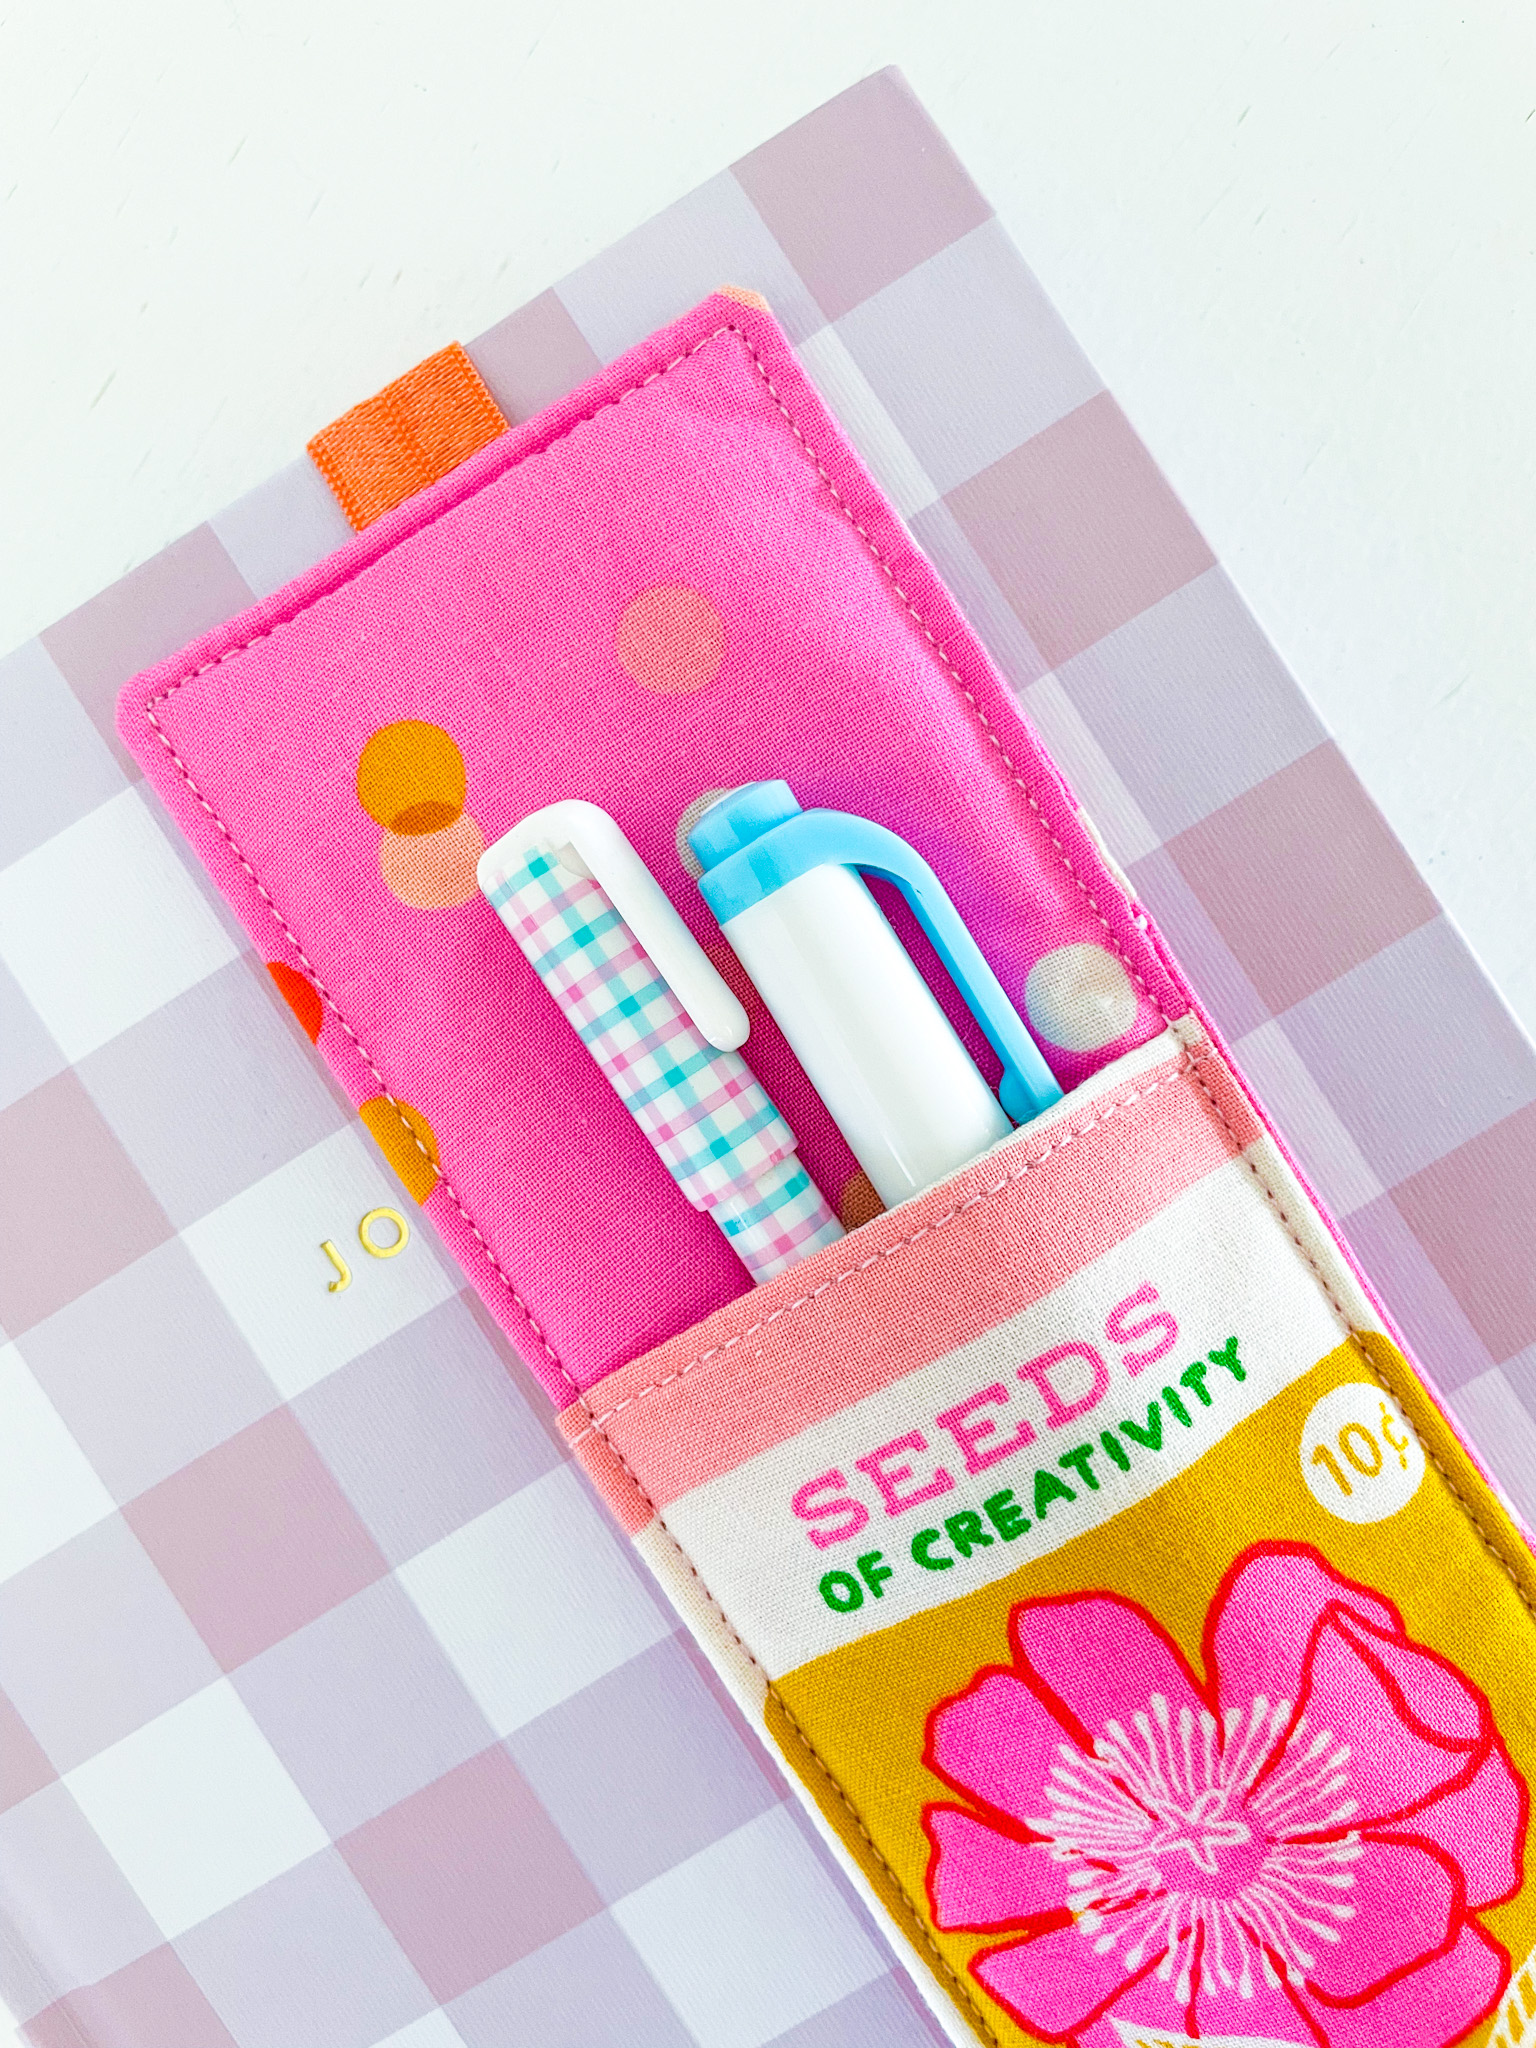
That’s what inspired me to create this journal pen holder. Designed to hold up to three pens (because one colour is never enough!), this fabric pen holder tutorial is a quick, fun sewing project that’s easy to customise to suit your style. Best of all, it makes a great handmade gift, especially when you’re short on time but still want something thoughtful and practical.
Note: Please read through all instructions before beginning. This journal pen holder is designed to fit an 8” notebook or journal, but it will comfortably stretch to fit journals up to 9”–9½”. If you’re making this pen holder for a journal that’s larger or smaller, you’ll need to adjust the elastic length accordingly.
All seam allowances are ¼” unless otherwise stated. All measurements are width x height.
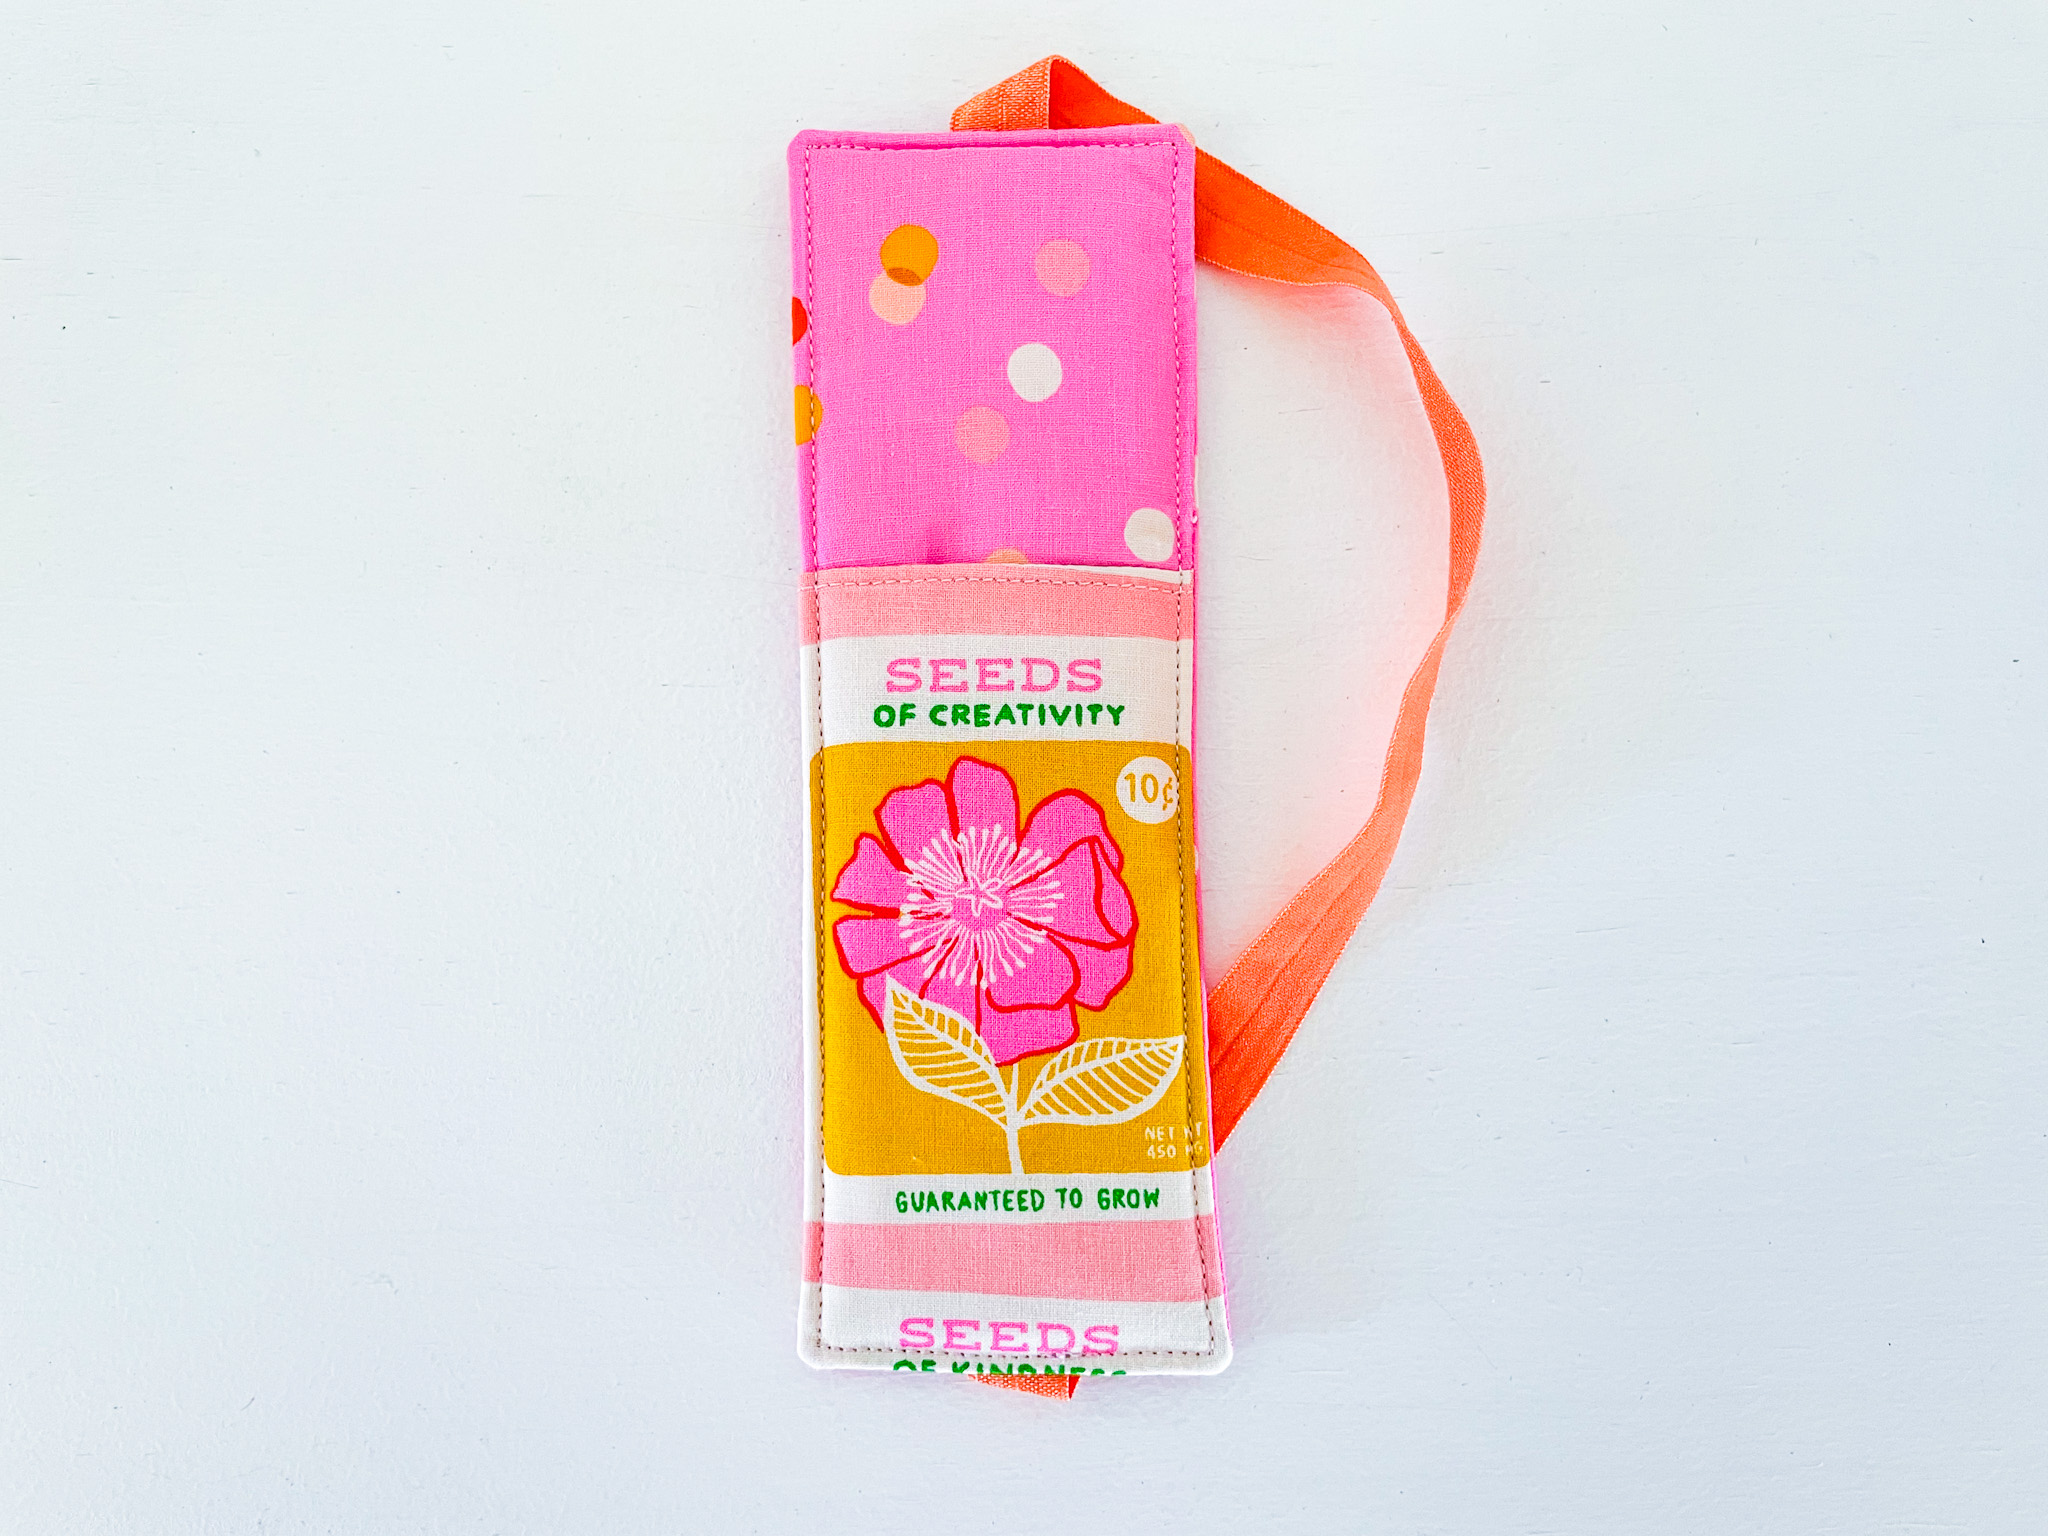
Finished size: 2½” x 7½” (not including the elastic loop)
Supplies
- (2) bookmark main body (front and back) – 3″ x 8″
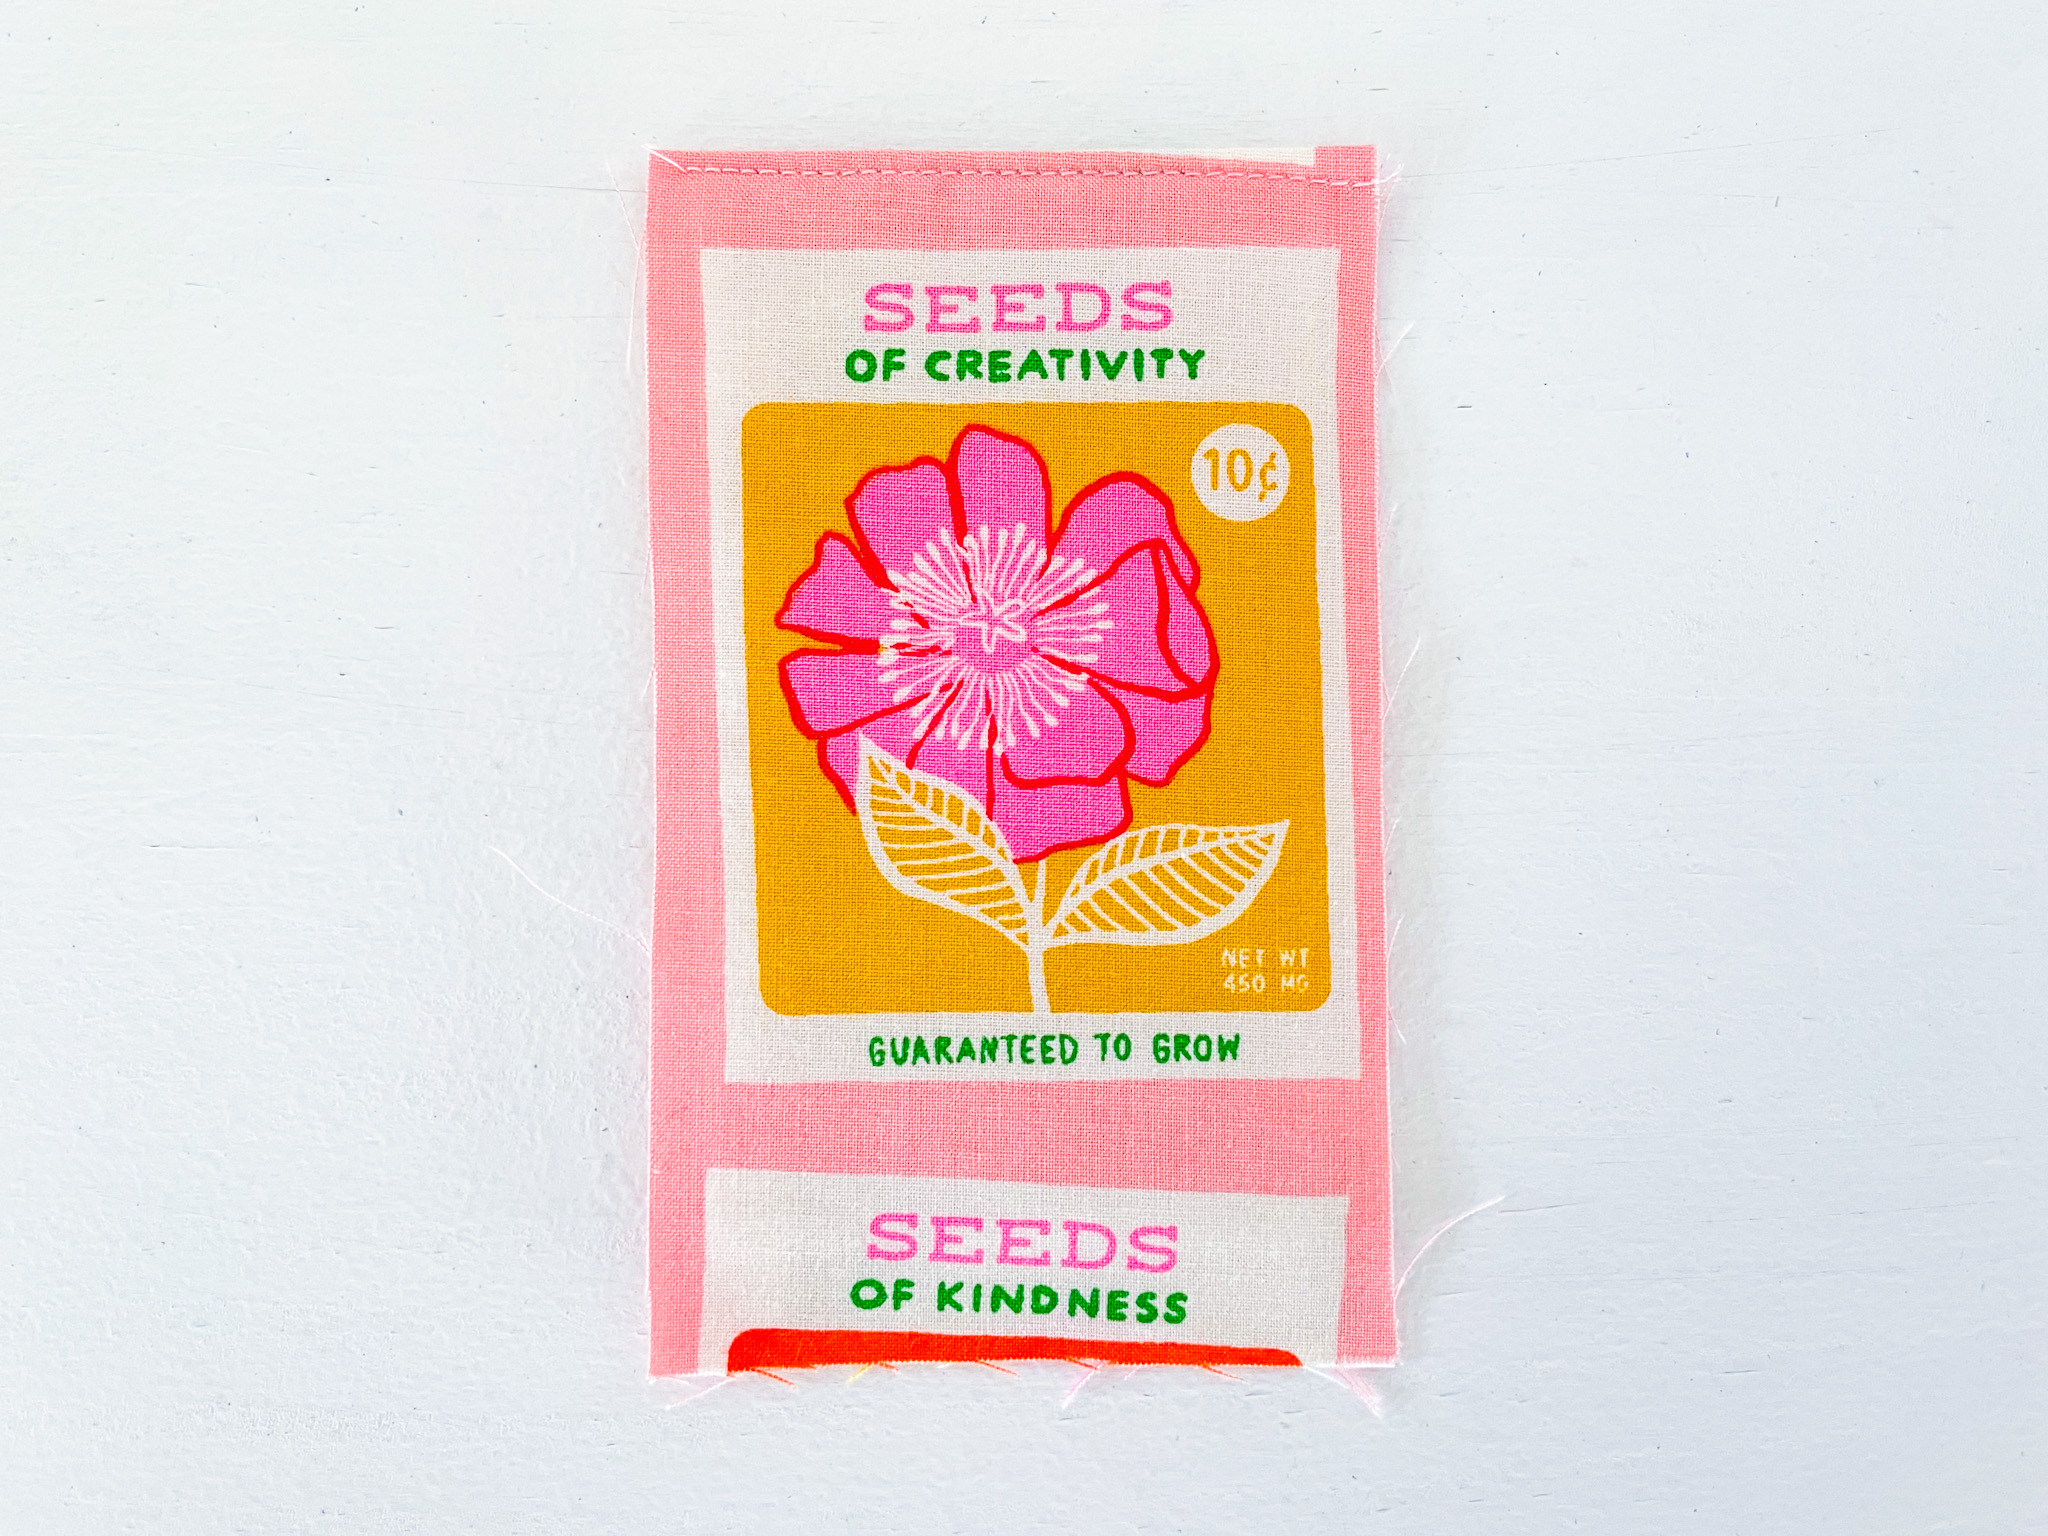
- Fabric for pocket – 3″ x 10″
- (2) lightweight fusible fleece (H630) for main body – 2½” x 7½”
- lightweight fusible fleece for pocket (H630) – 2½” x 4½“
- Elastic 12” (you can use fold-over elastic, coloured elastic etc any where from ½” to 1″)
- Basic sewing supplies
Journal Pen Holder Instructions
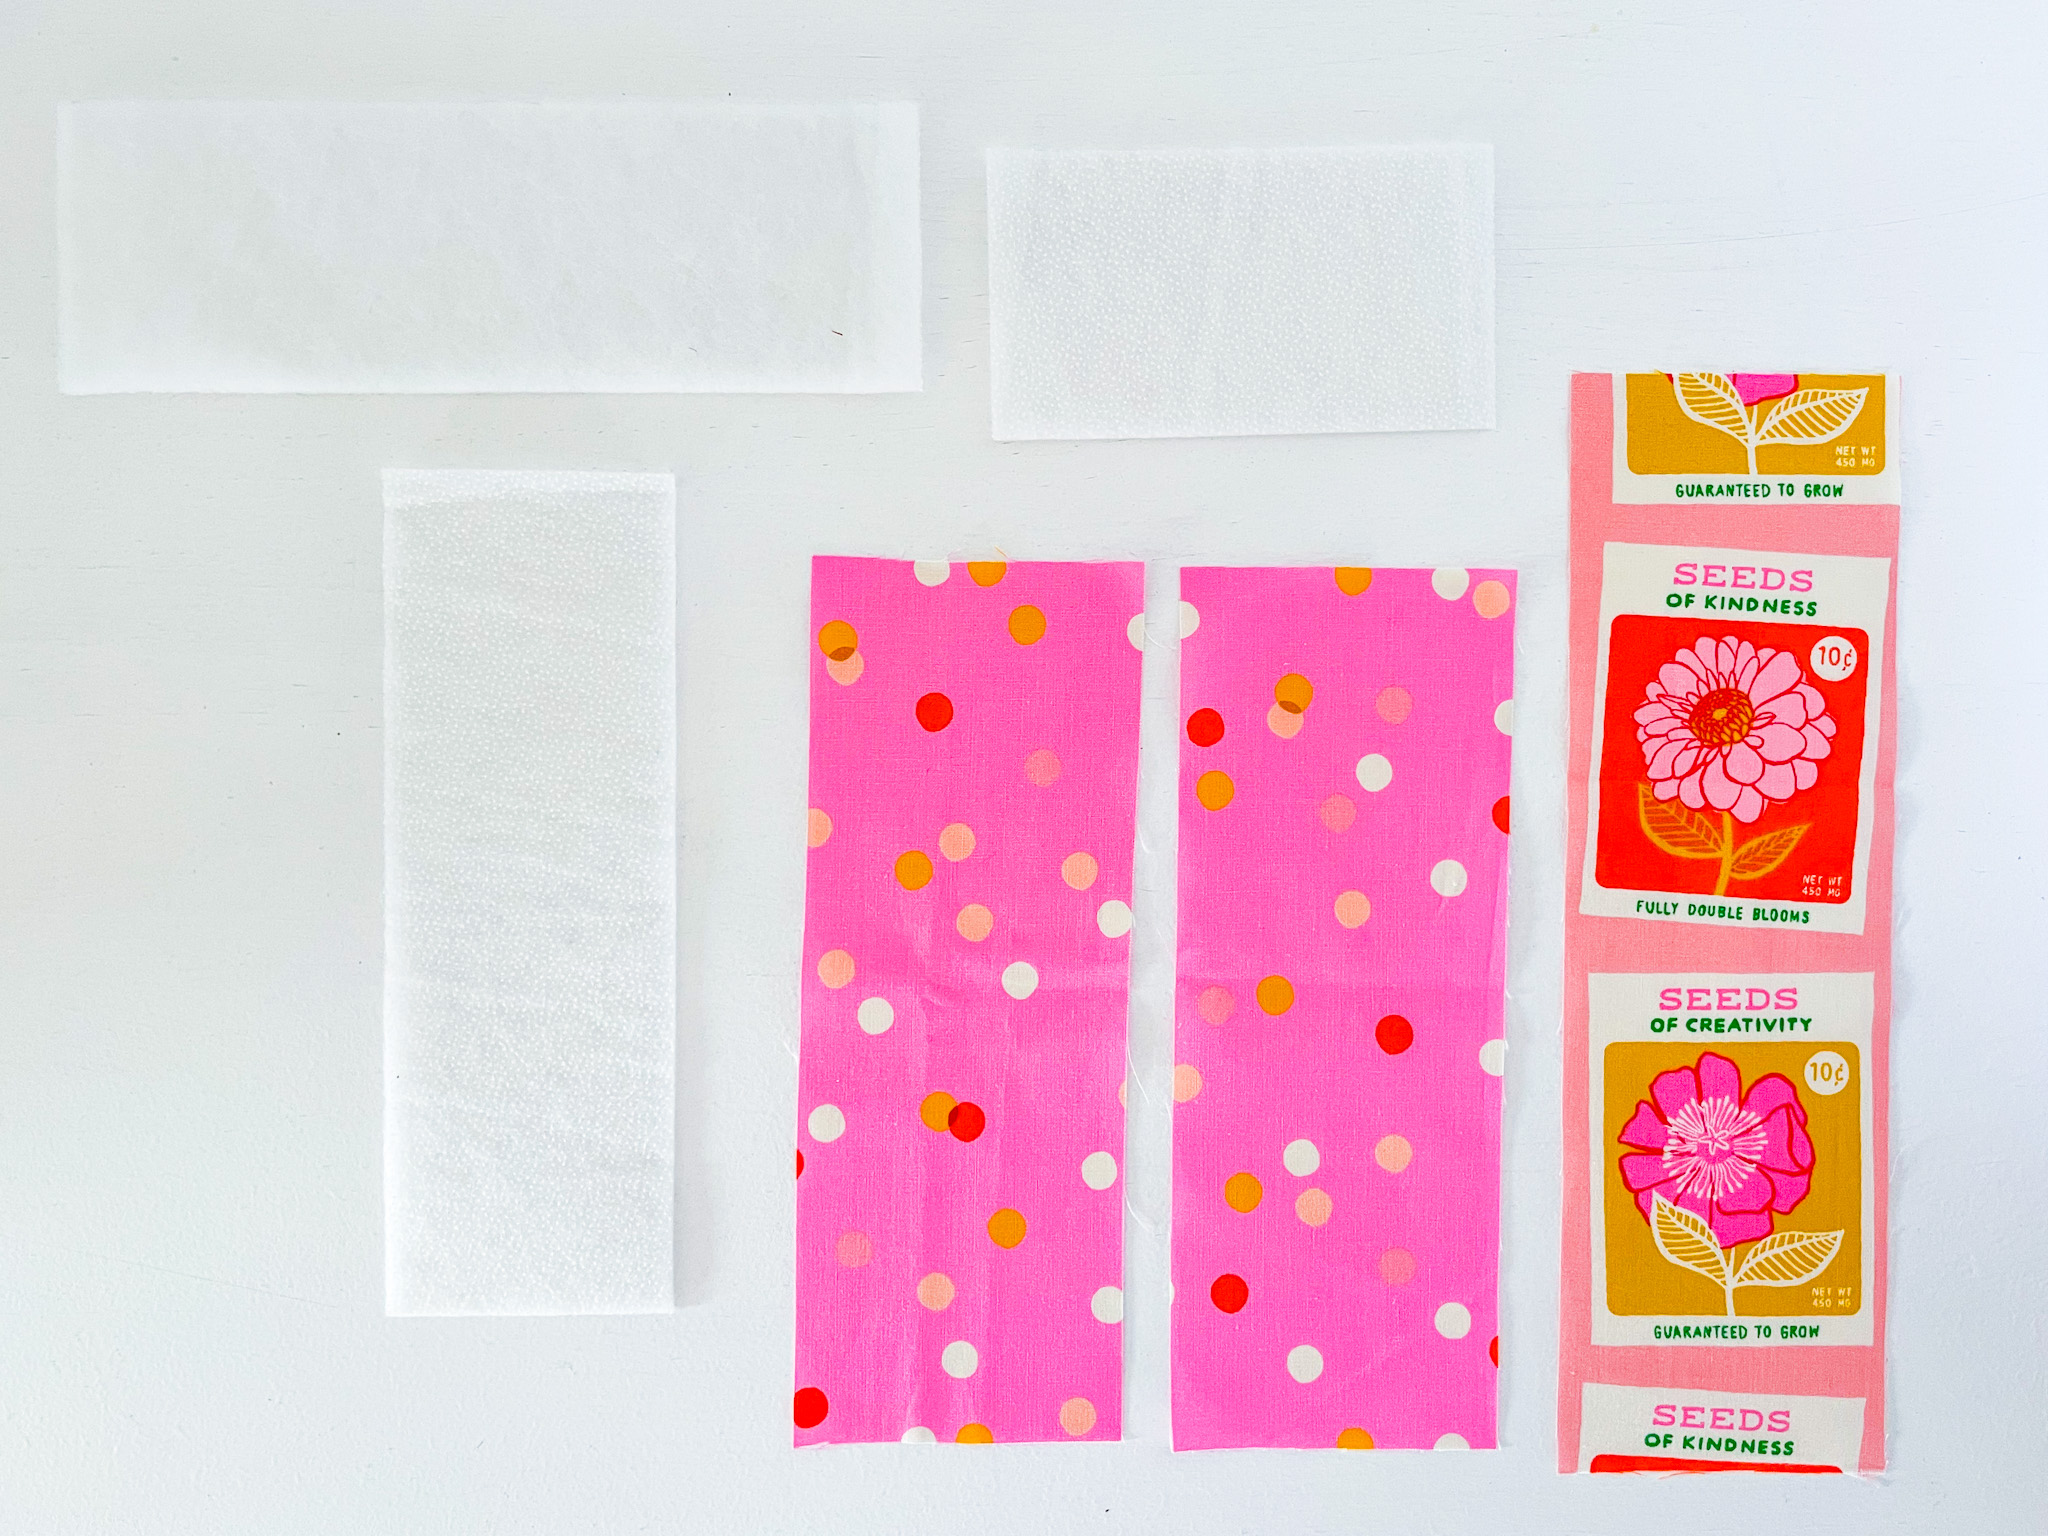
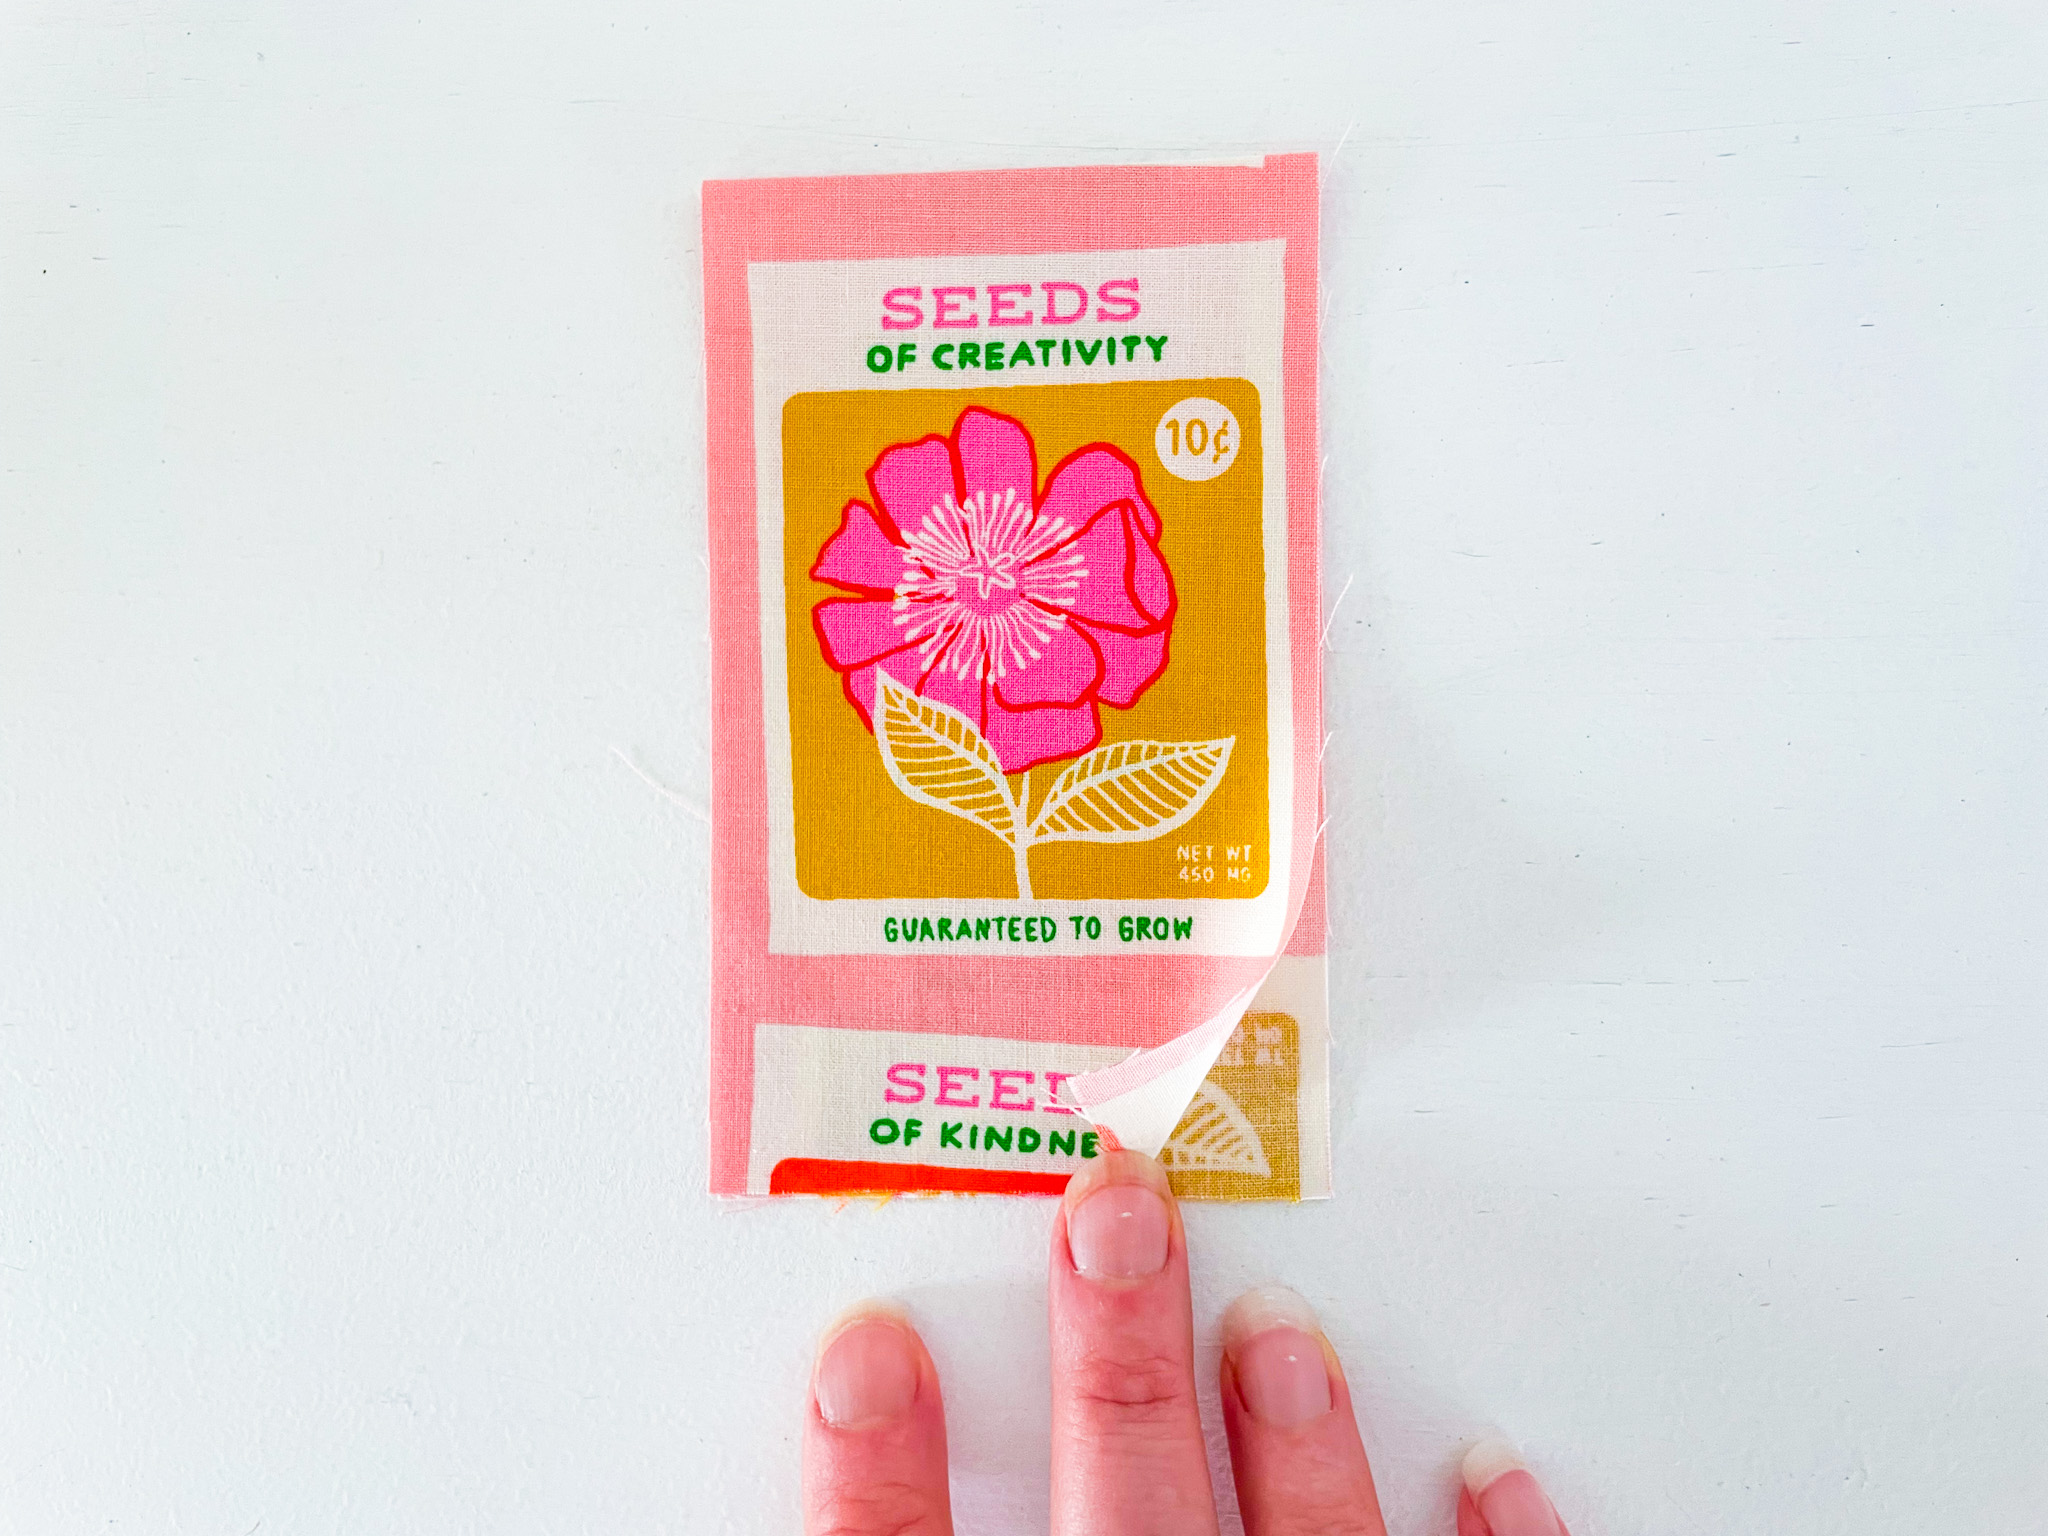
1. Cut your fabric and interfacing according to the measurements listed above. Note: the pocket piece will be folded in half, so the bottom 5” section will be visible on the front of the pocket.
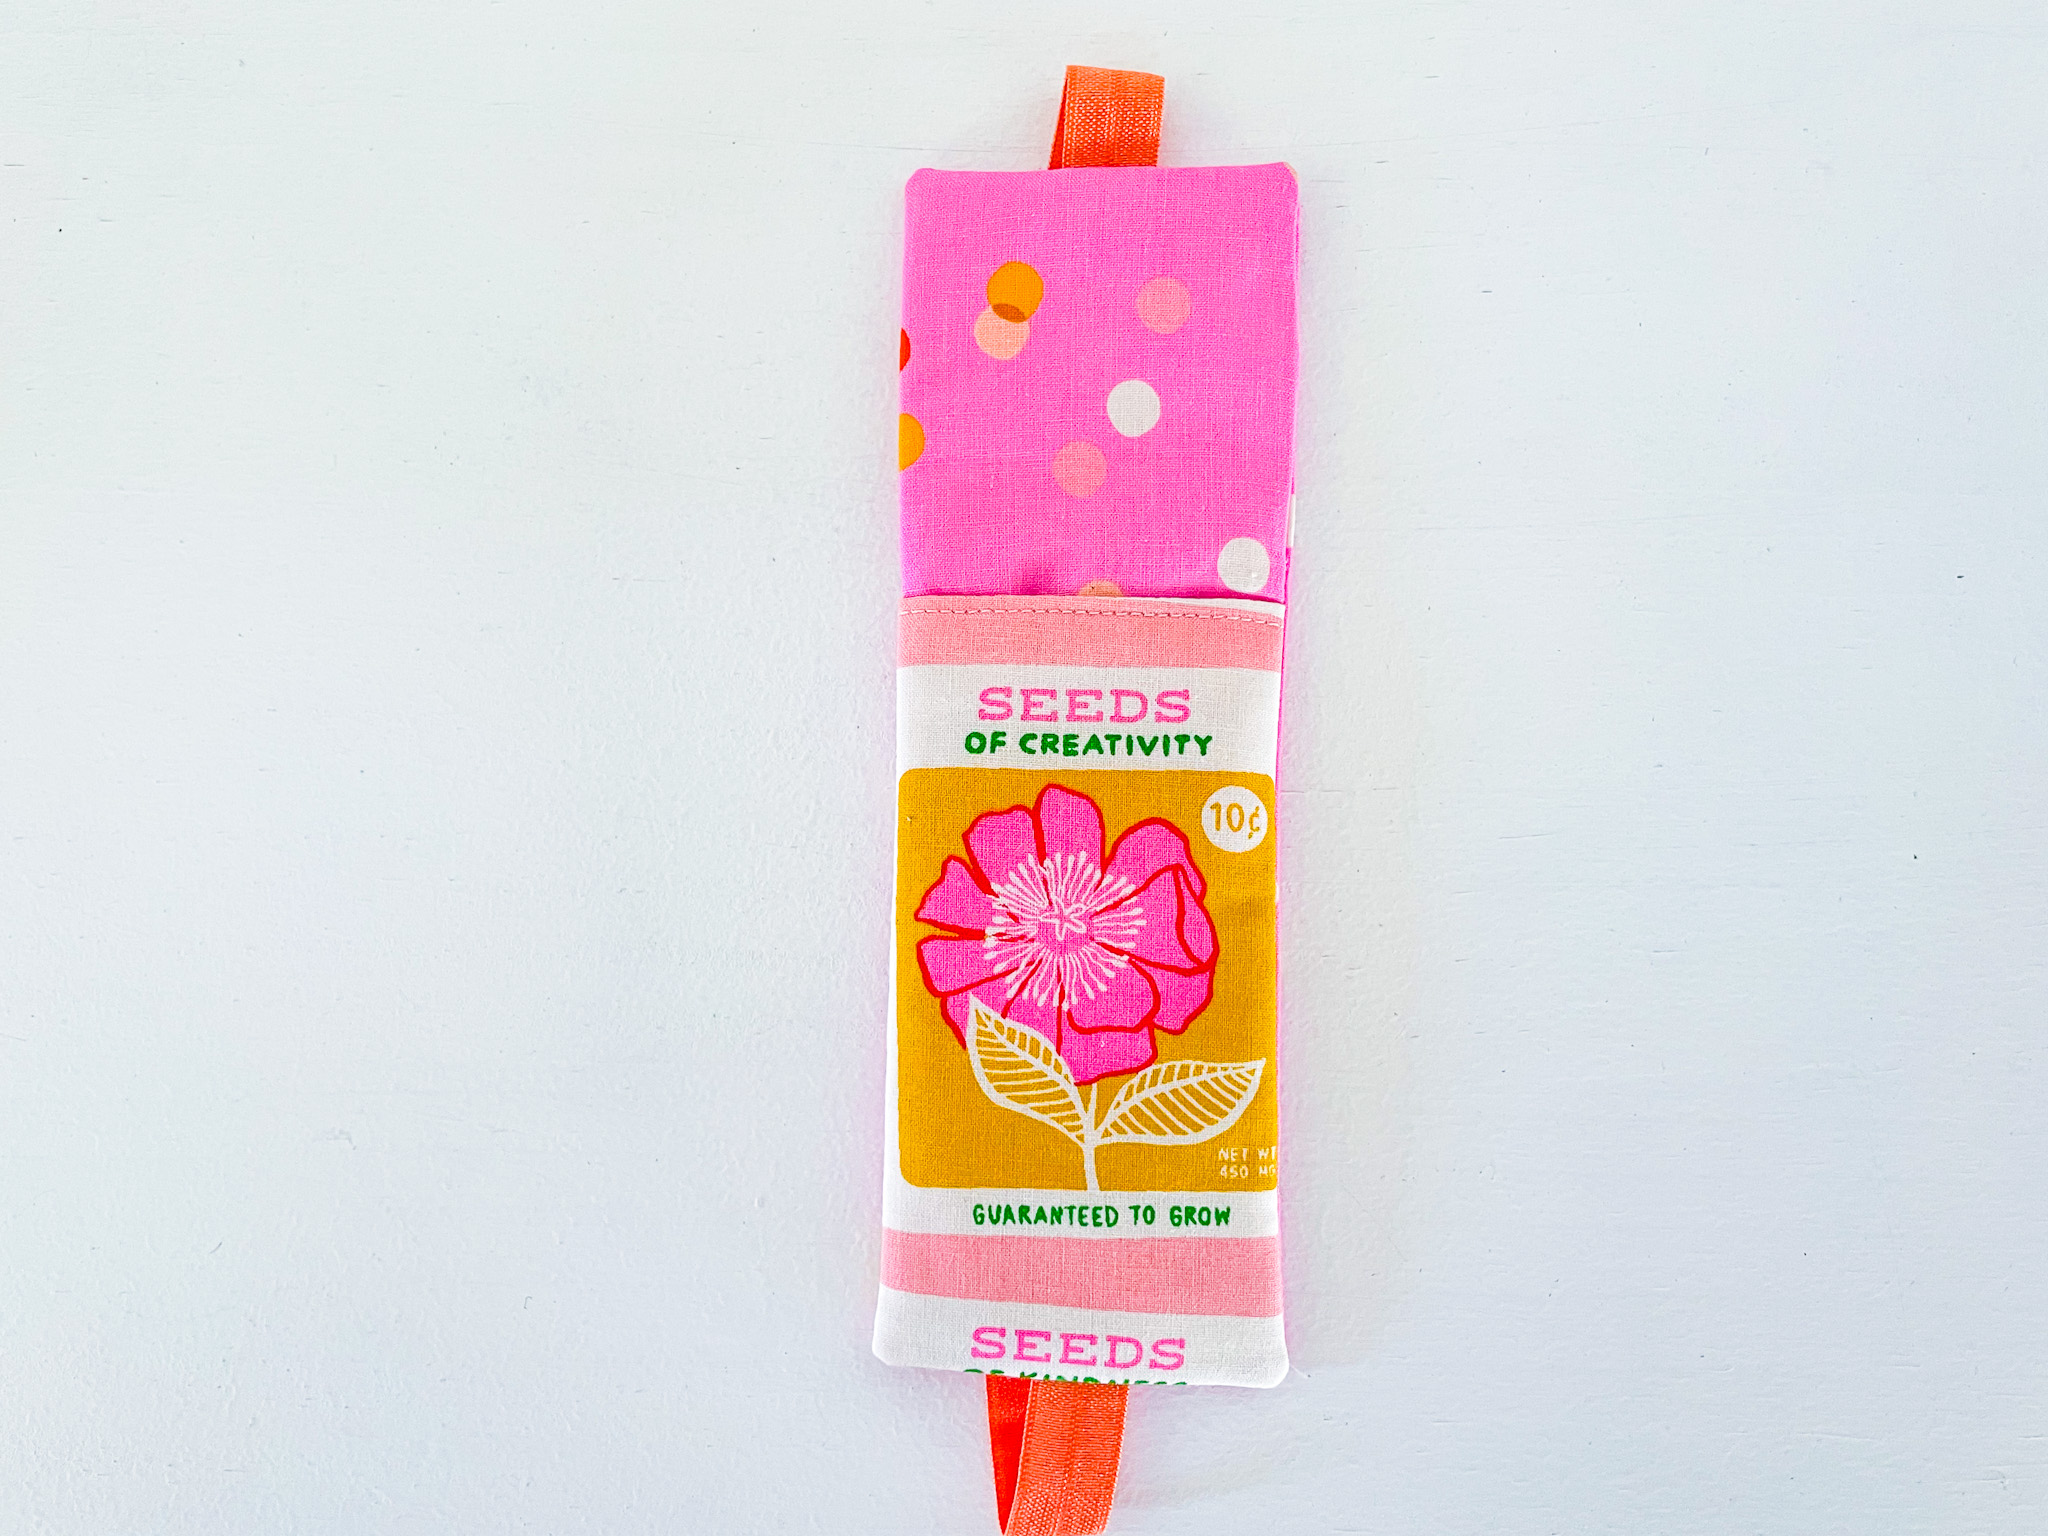
If you’re planning to use a fussy cut, this is where you’ll want to position it. Make sure your design sits within that bottom 5” area. For my version, I’m using the “Seeds of Creativity” seed packet as the fussy cut on the front of my pocket.
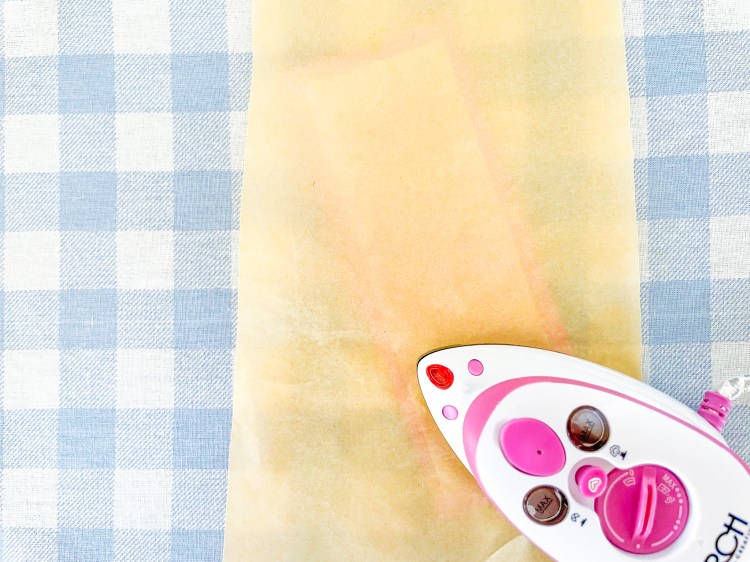
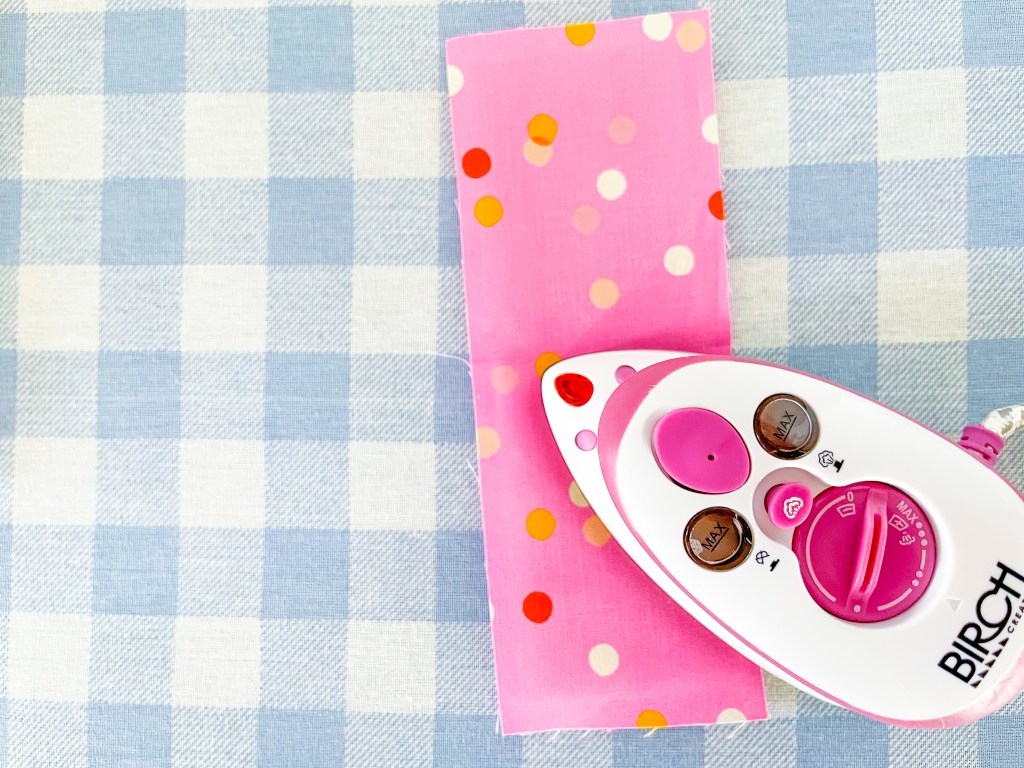
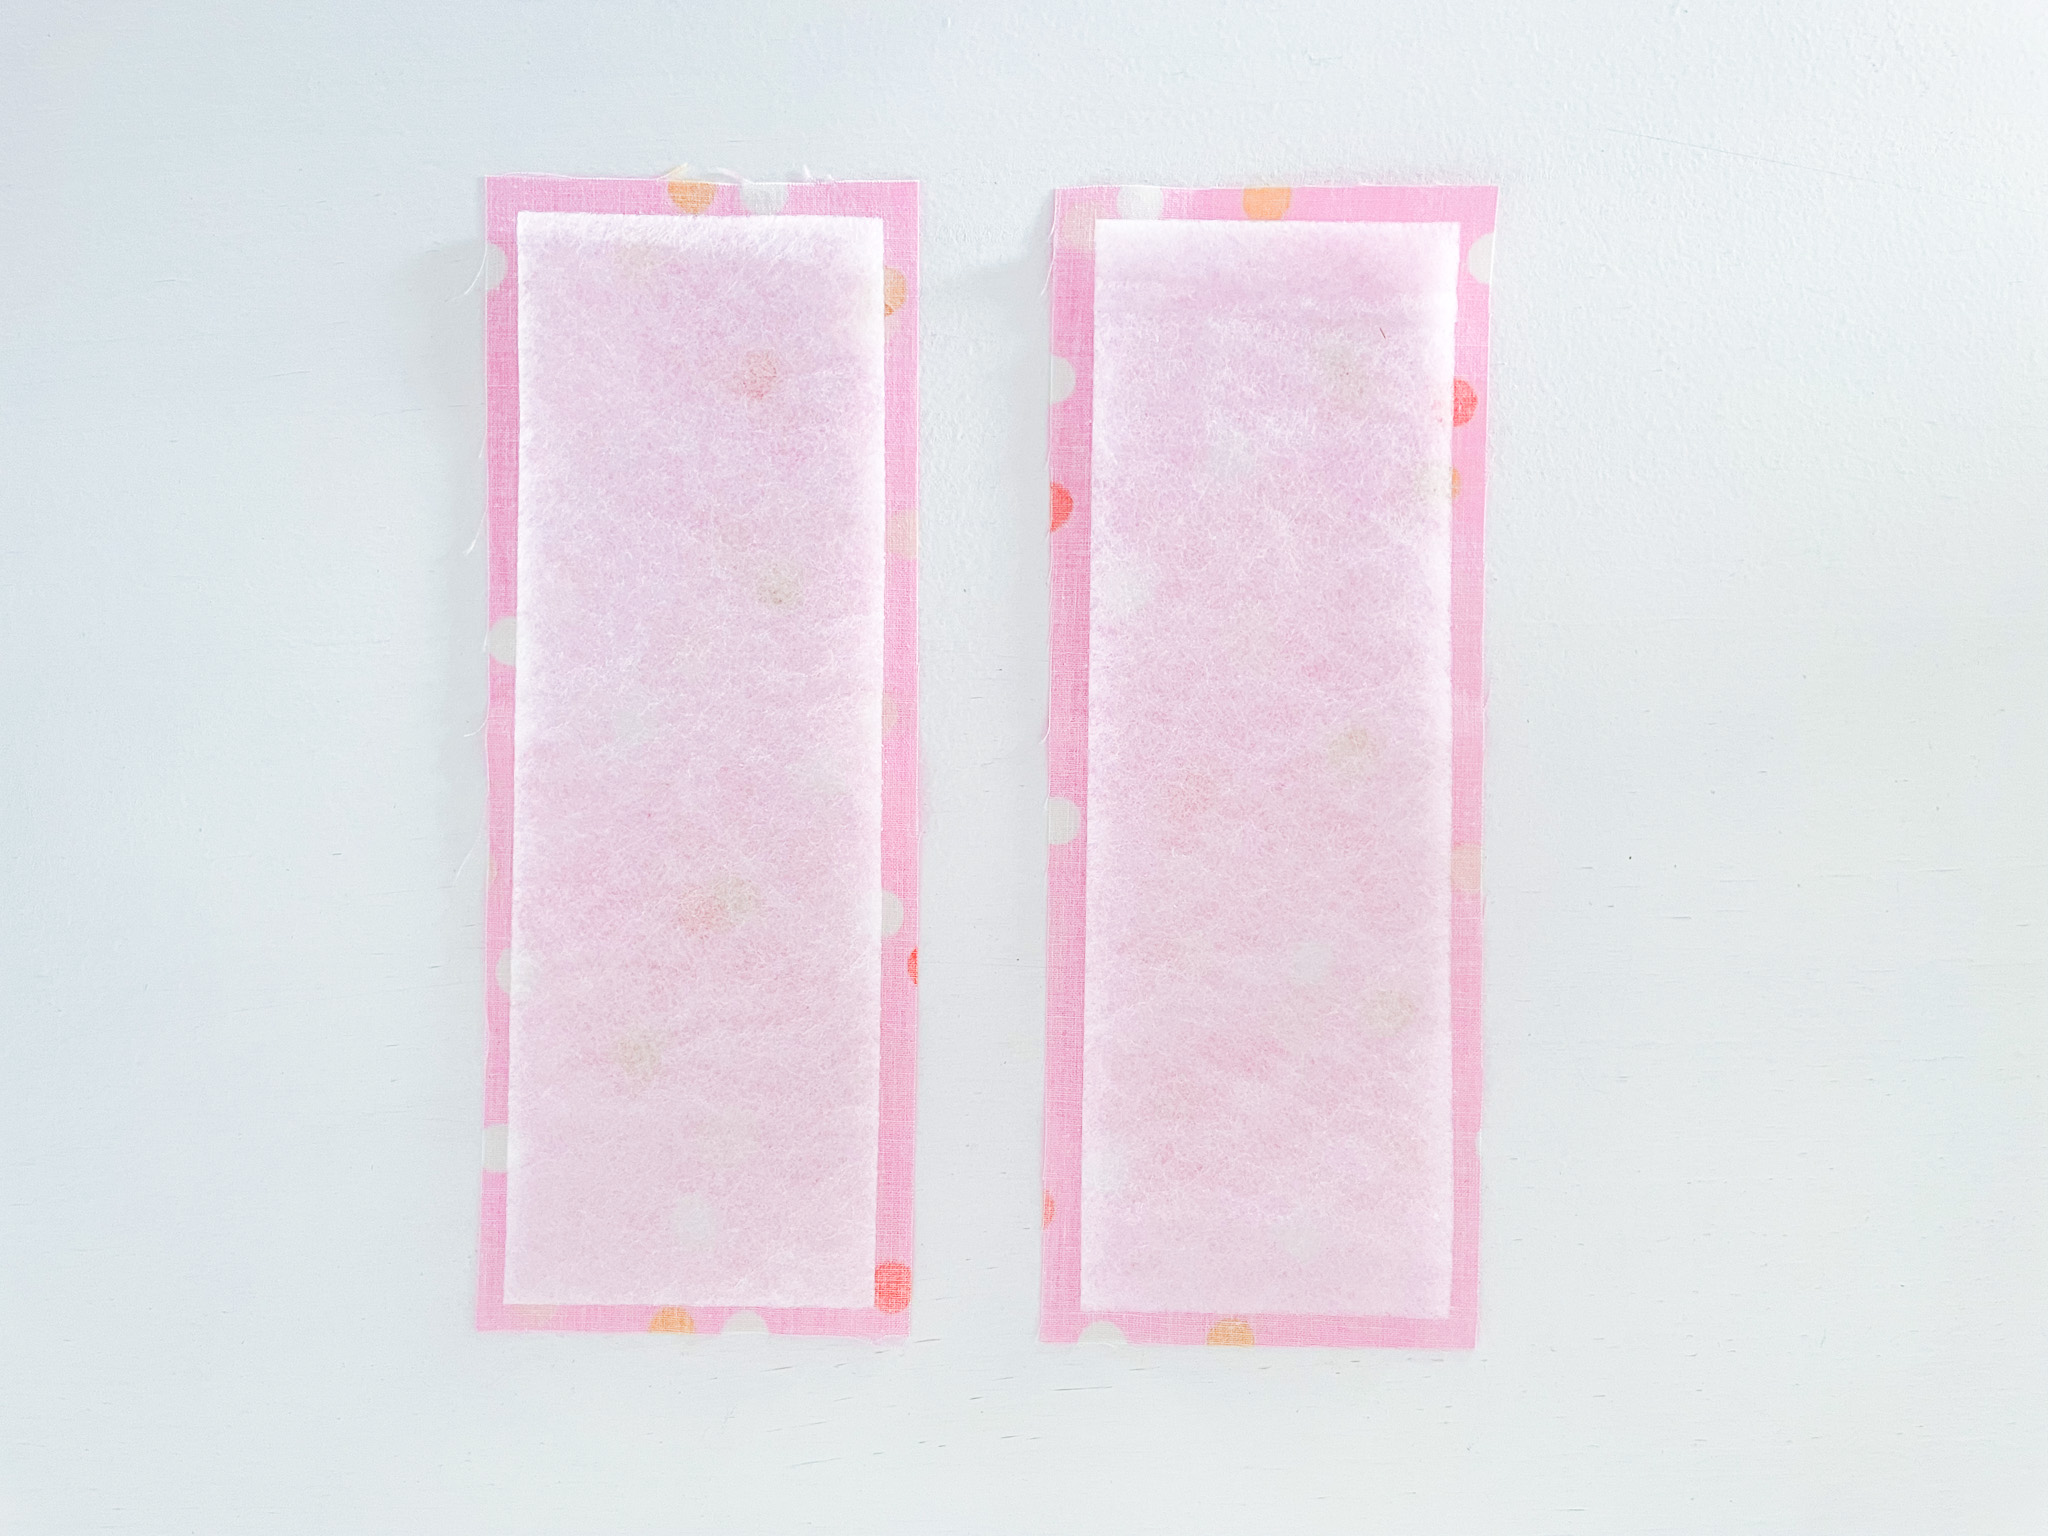
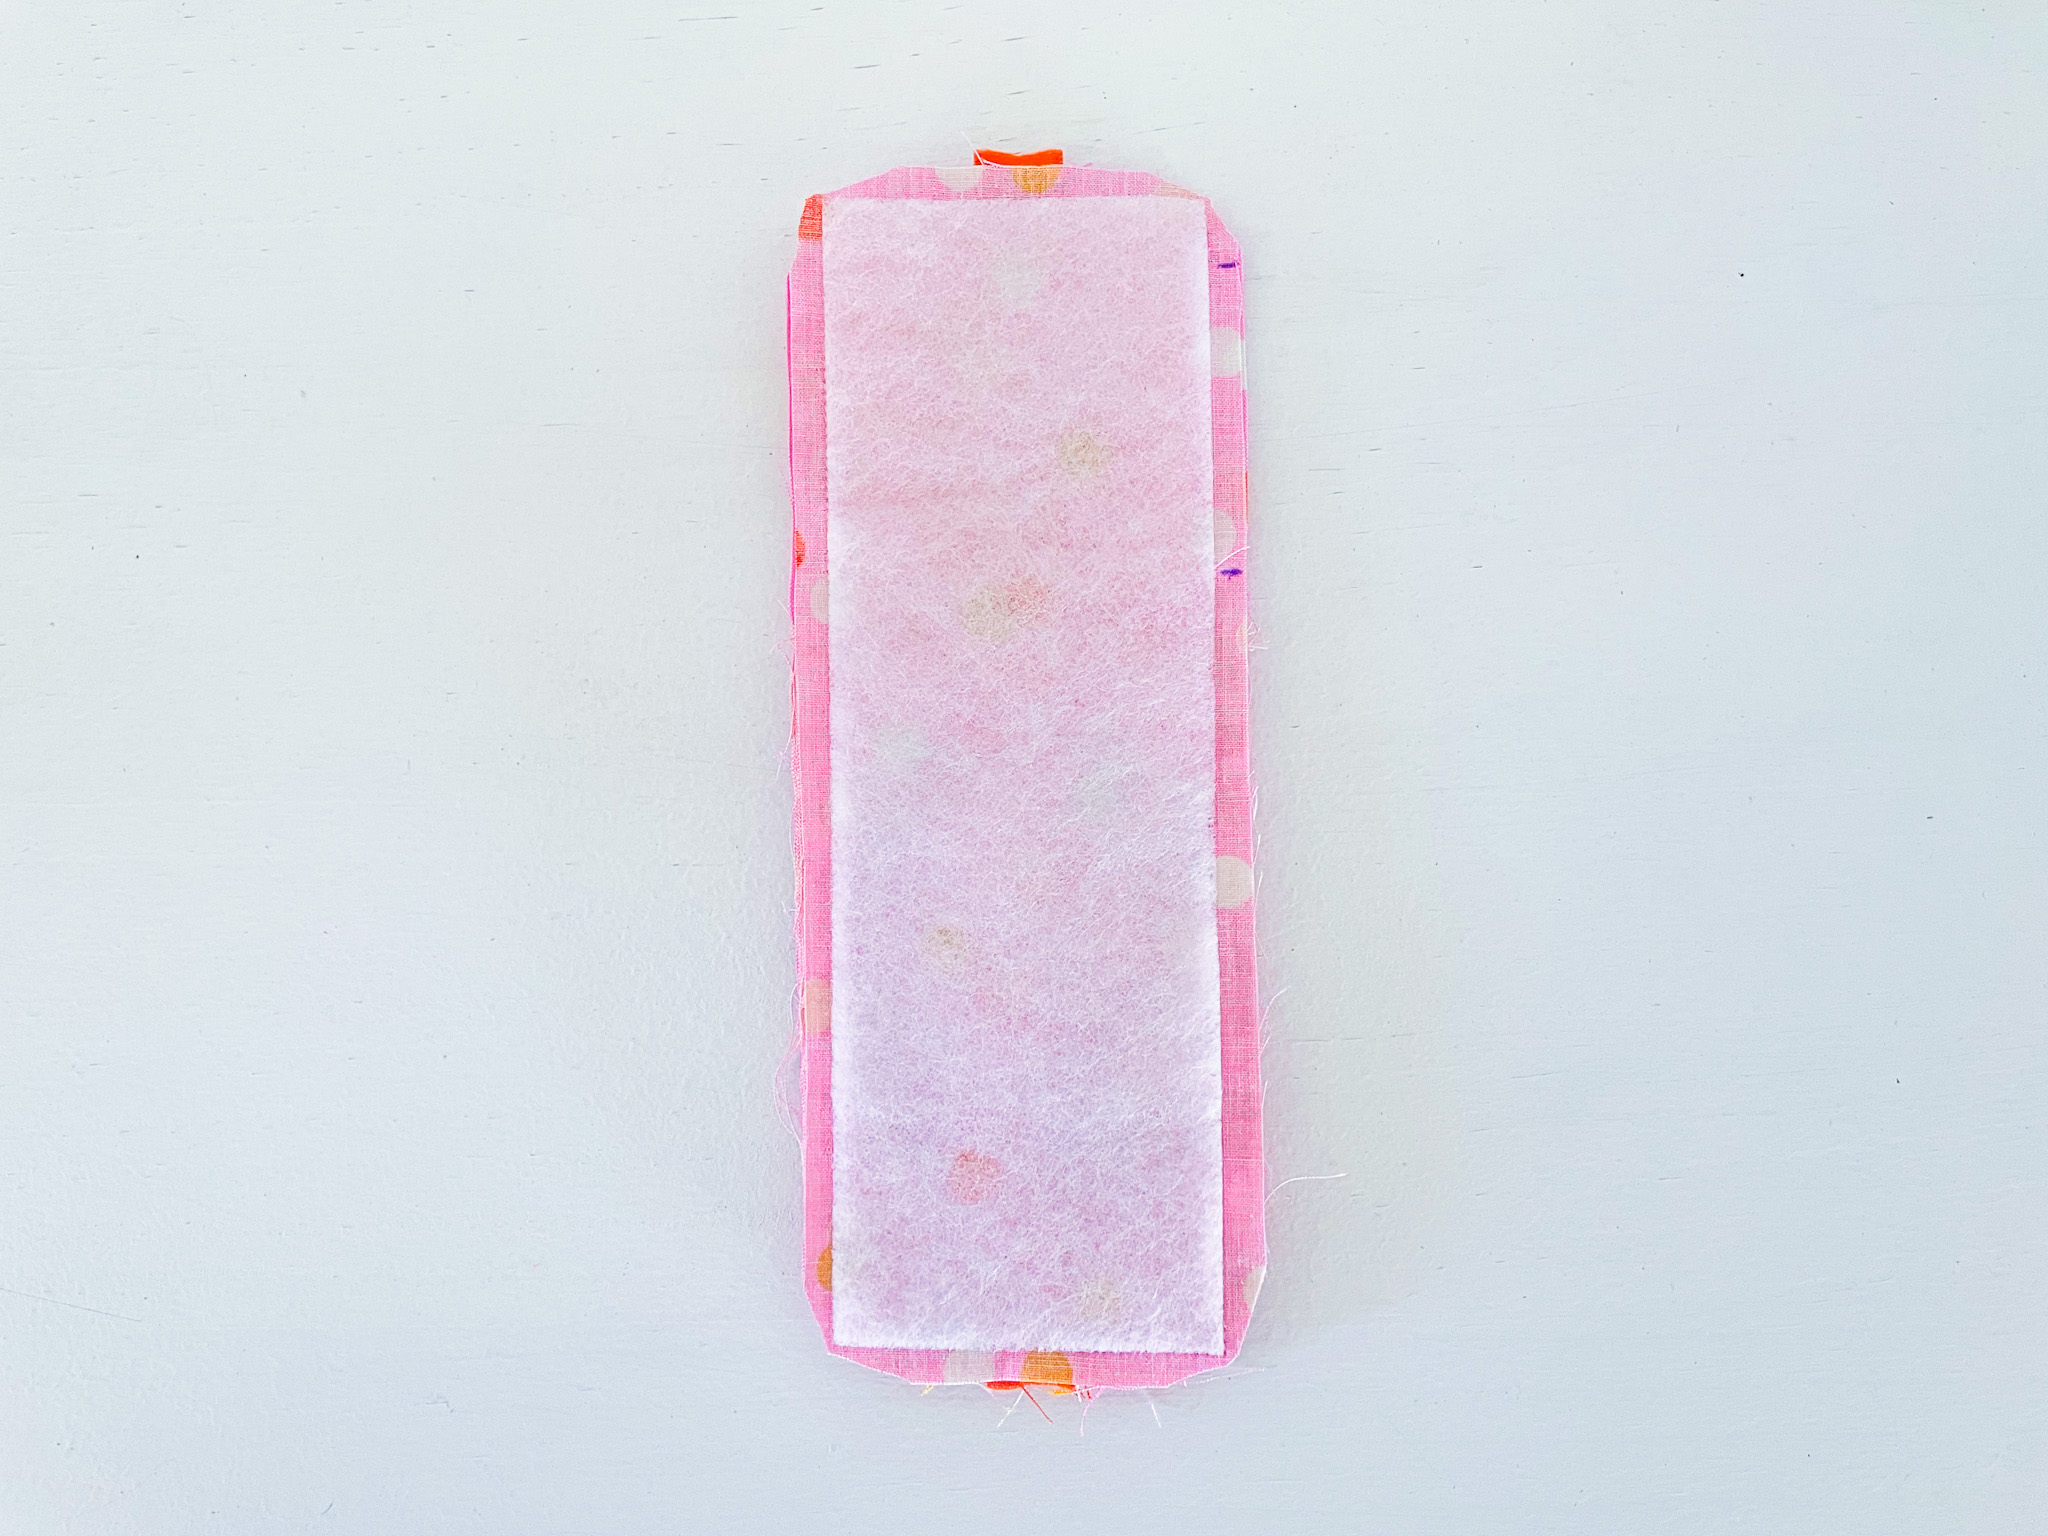
2. Attach the fusible fleece, centred on the wrong side of the main body pieces, following the manufacturer’s instructions. I like to give the fleece a quick press from the back first, then turn it over and give it a really good press from the front to ensure it’s fully fused.
When pressing fusible fleece directly, be sure to use baking/parchment paper to protect both your iron and your fabric.
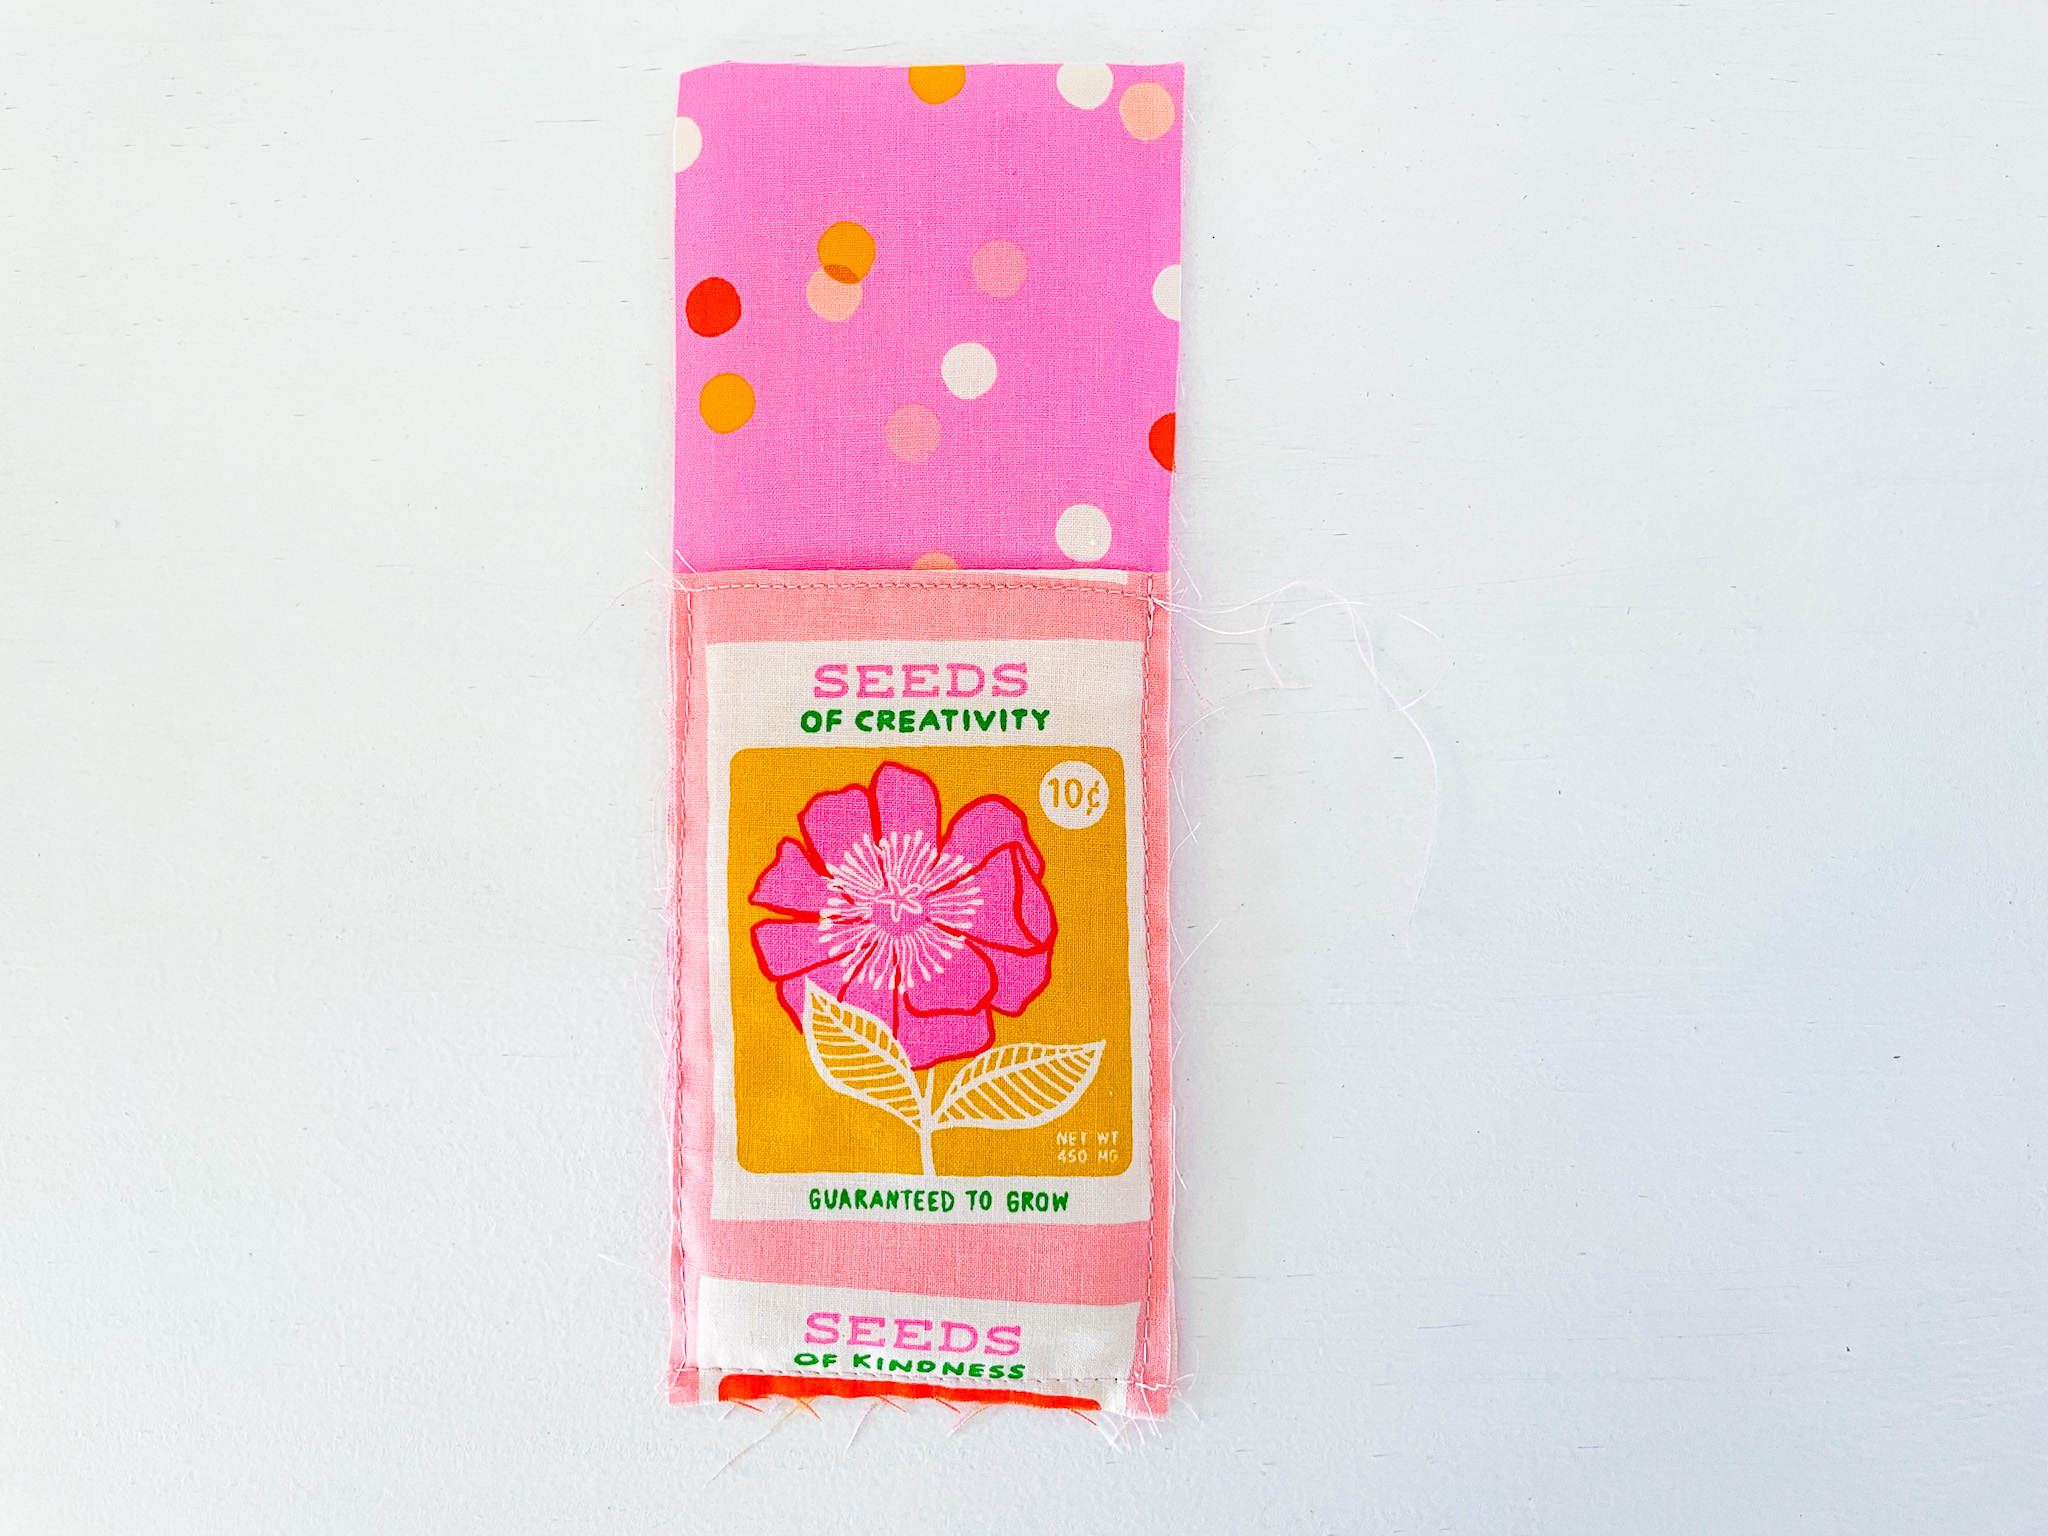
3. Fold the pocket fabric in half so the wrong sides are together. Lining up the raw edges on the short side and press.
4. Open up the pocket fabric and place the fusible fleece on the front side of the pocket — this is the side that will be visible once the pocket is folded. Align the fleece carefully with the centre crease so it sits evenly along the fold before fusing.
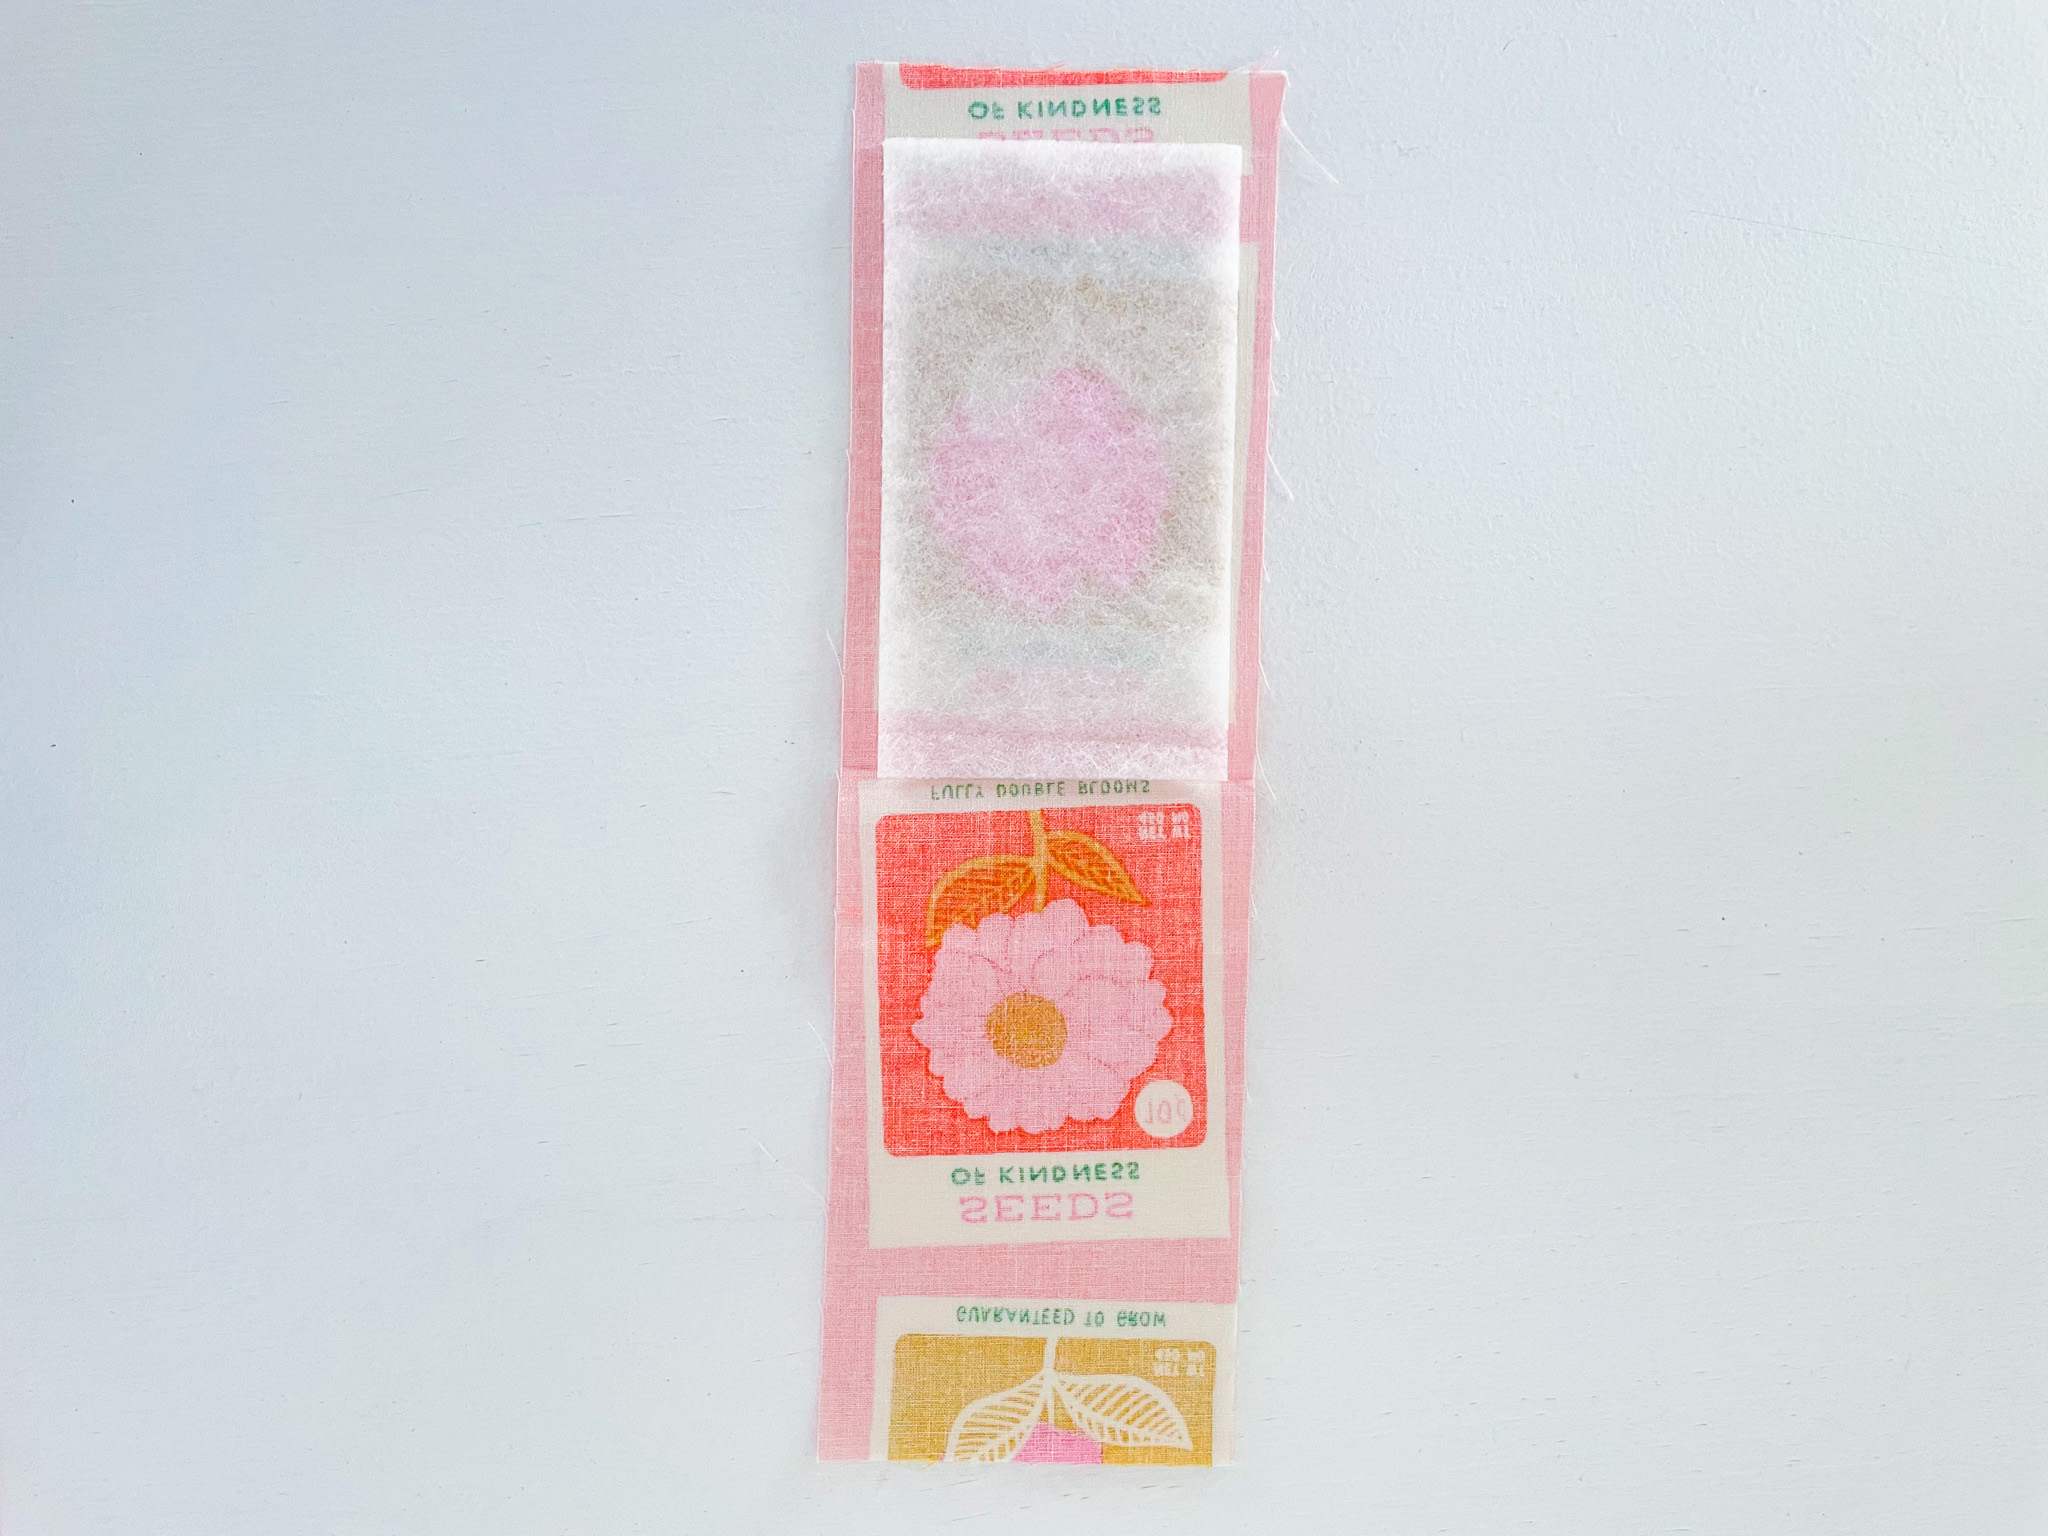
5. Now fold the pocket in half along the crease and give it a good press. The fusible fleece should now be visible on the wrong side of the front of the pocket.

6. Topstitch along the top edge of the pocket, about ⅛” from the edge, using a stitch length of 3.0. This will secure the fold and give your pocket a neat, finished look.
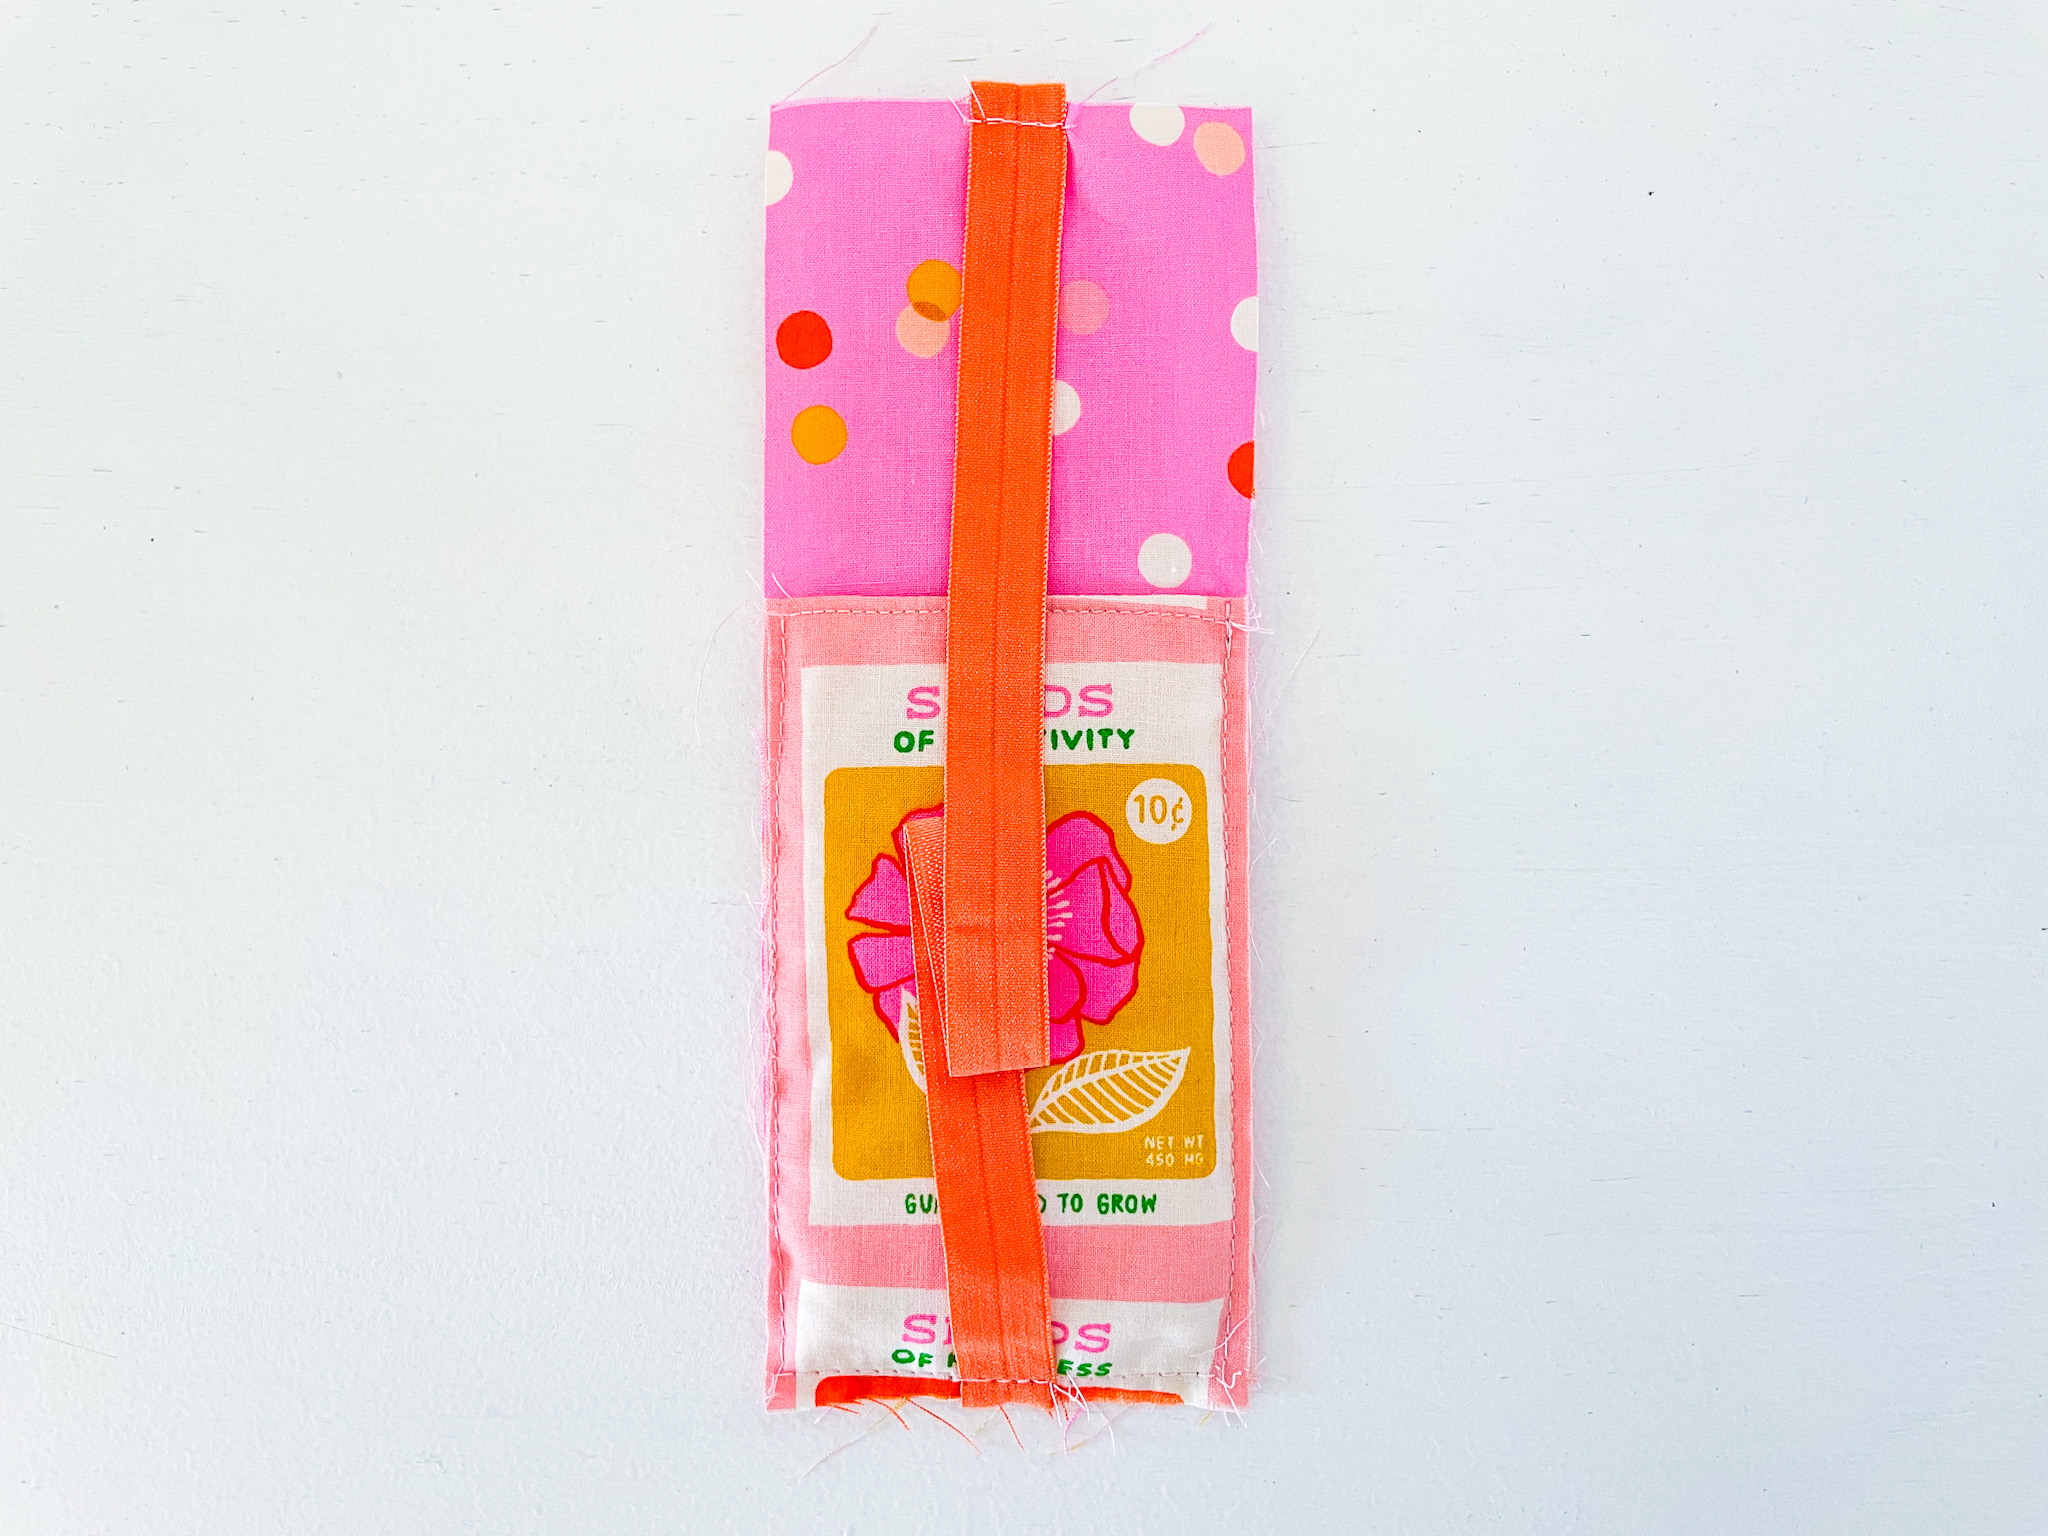
7. Place the pocket on top of the front piece of fabric. Baste it in place along the two sides and bottom, about ⅛” from the edge, using a stitch length of 5.0.
Tip: Before basting, make sure the pocket is lined up straight and centered on your front piece. A quick dab of glue along the edges helps prevent crooked pockets and ensures a neat, professional-looking finish.
8. Take the fold-over elastic and place it right side down in the centre of the front panel. Baste it in place at both ends, about ⅛” from the edge, to hold it securely while you continue with your project.
Tip: Make sure the elastic is centred, straight, and not folded or twisted before basting – this will help your pen holder sit neatly and function properly once finished.
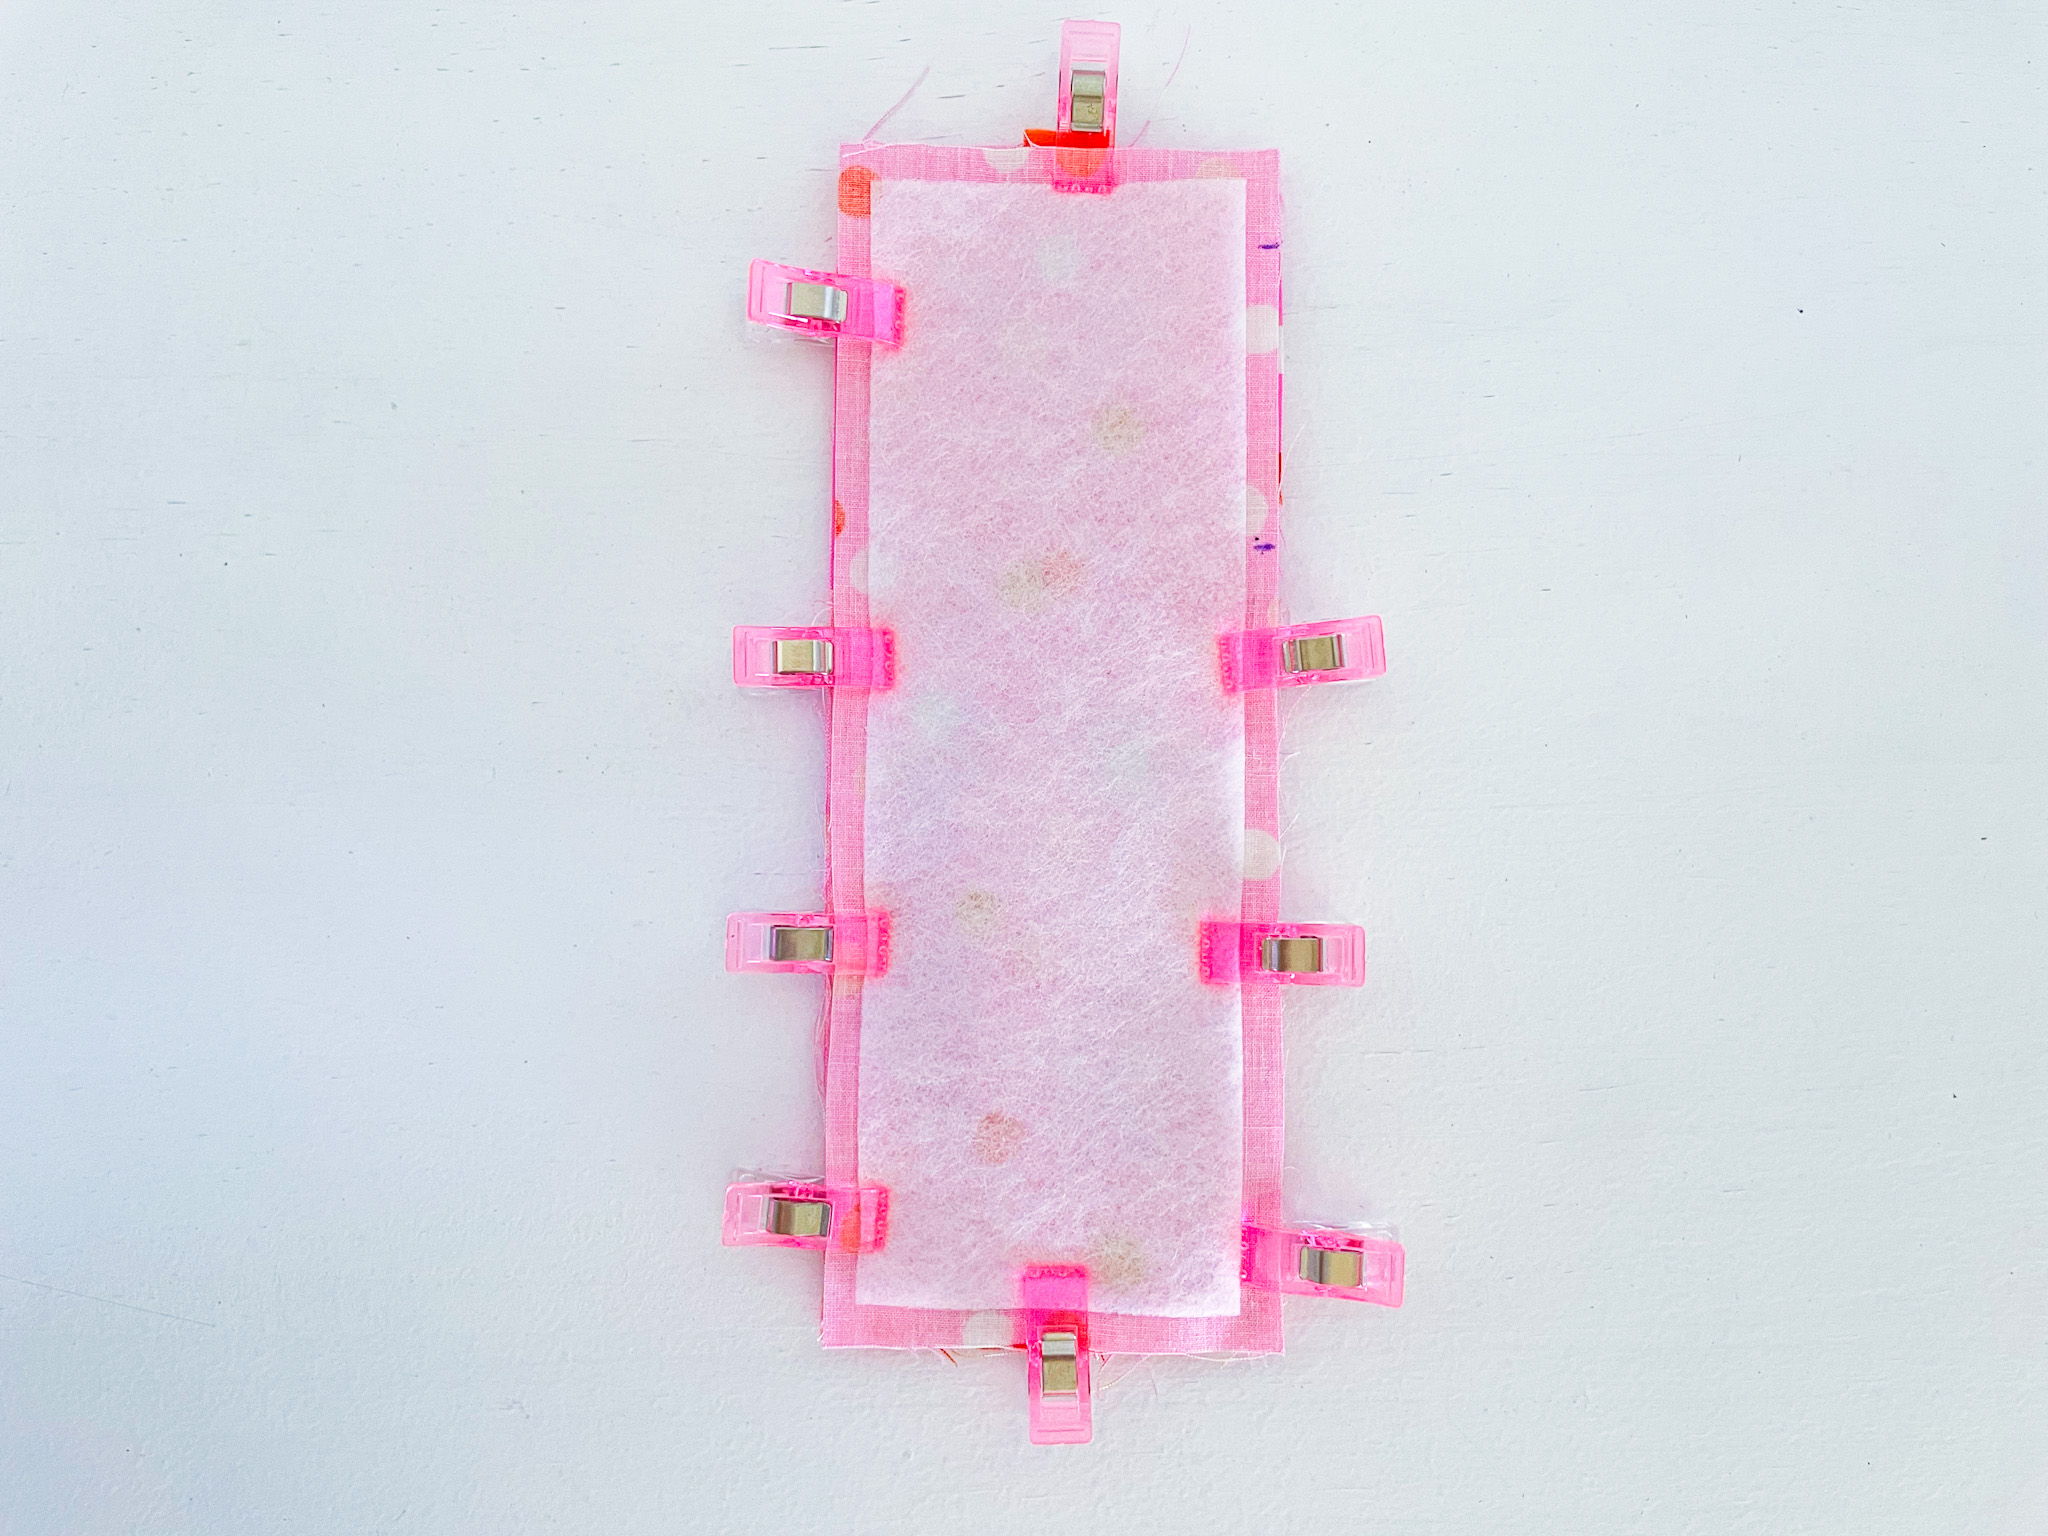
9. Place the backing fabric right side down on top of the front panel and clip in place. Stitch all around using a ¼” seam allowance, leaving a 2” opening at the top above the pocket for turning. Remember to secure your stitches at the start and finish.
Tip: Before stitching, double-check that the fold-over elastic is lying flat and isn’t caught in any of the seams.
10. Clip the excess fabric from the corners of your bookmark. Be careful not to cut through your stitches.
10. Turn right side out and press.
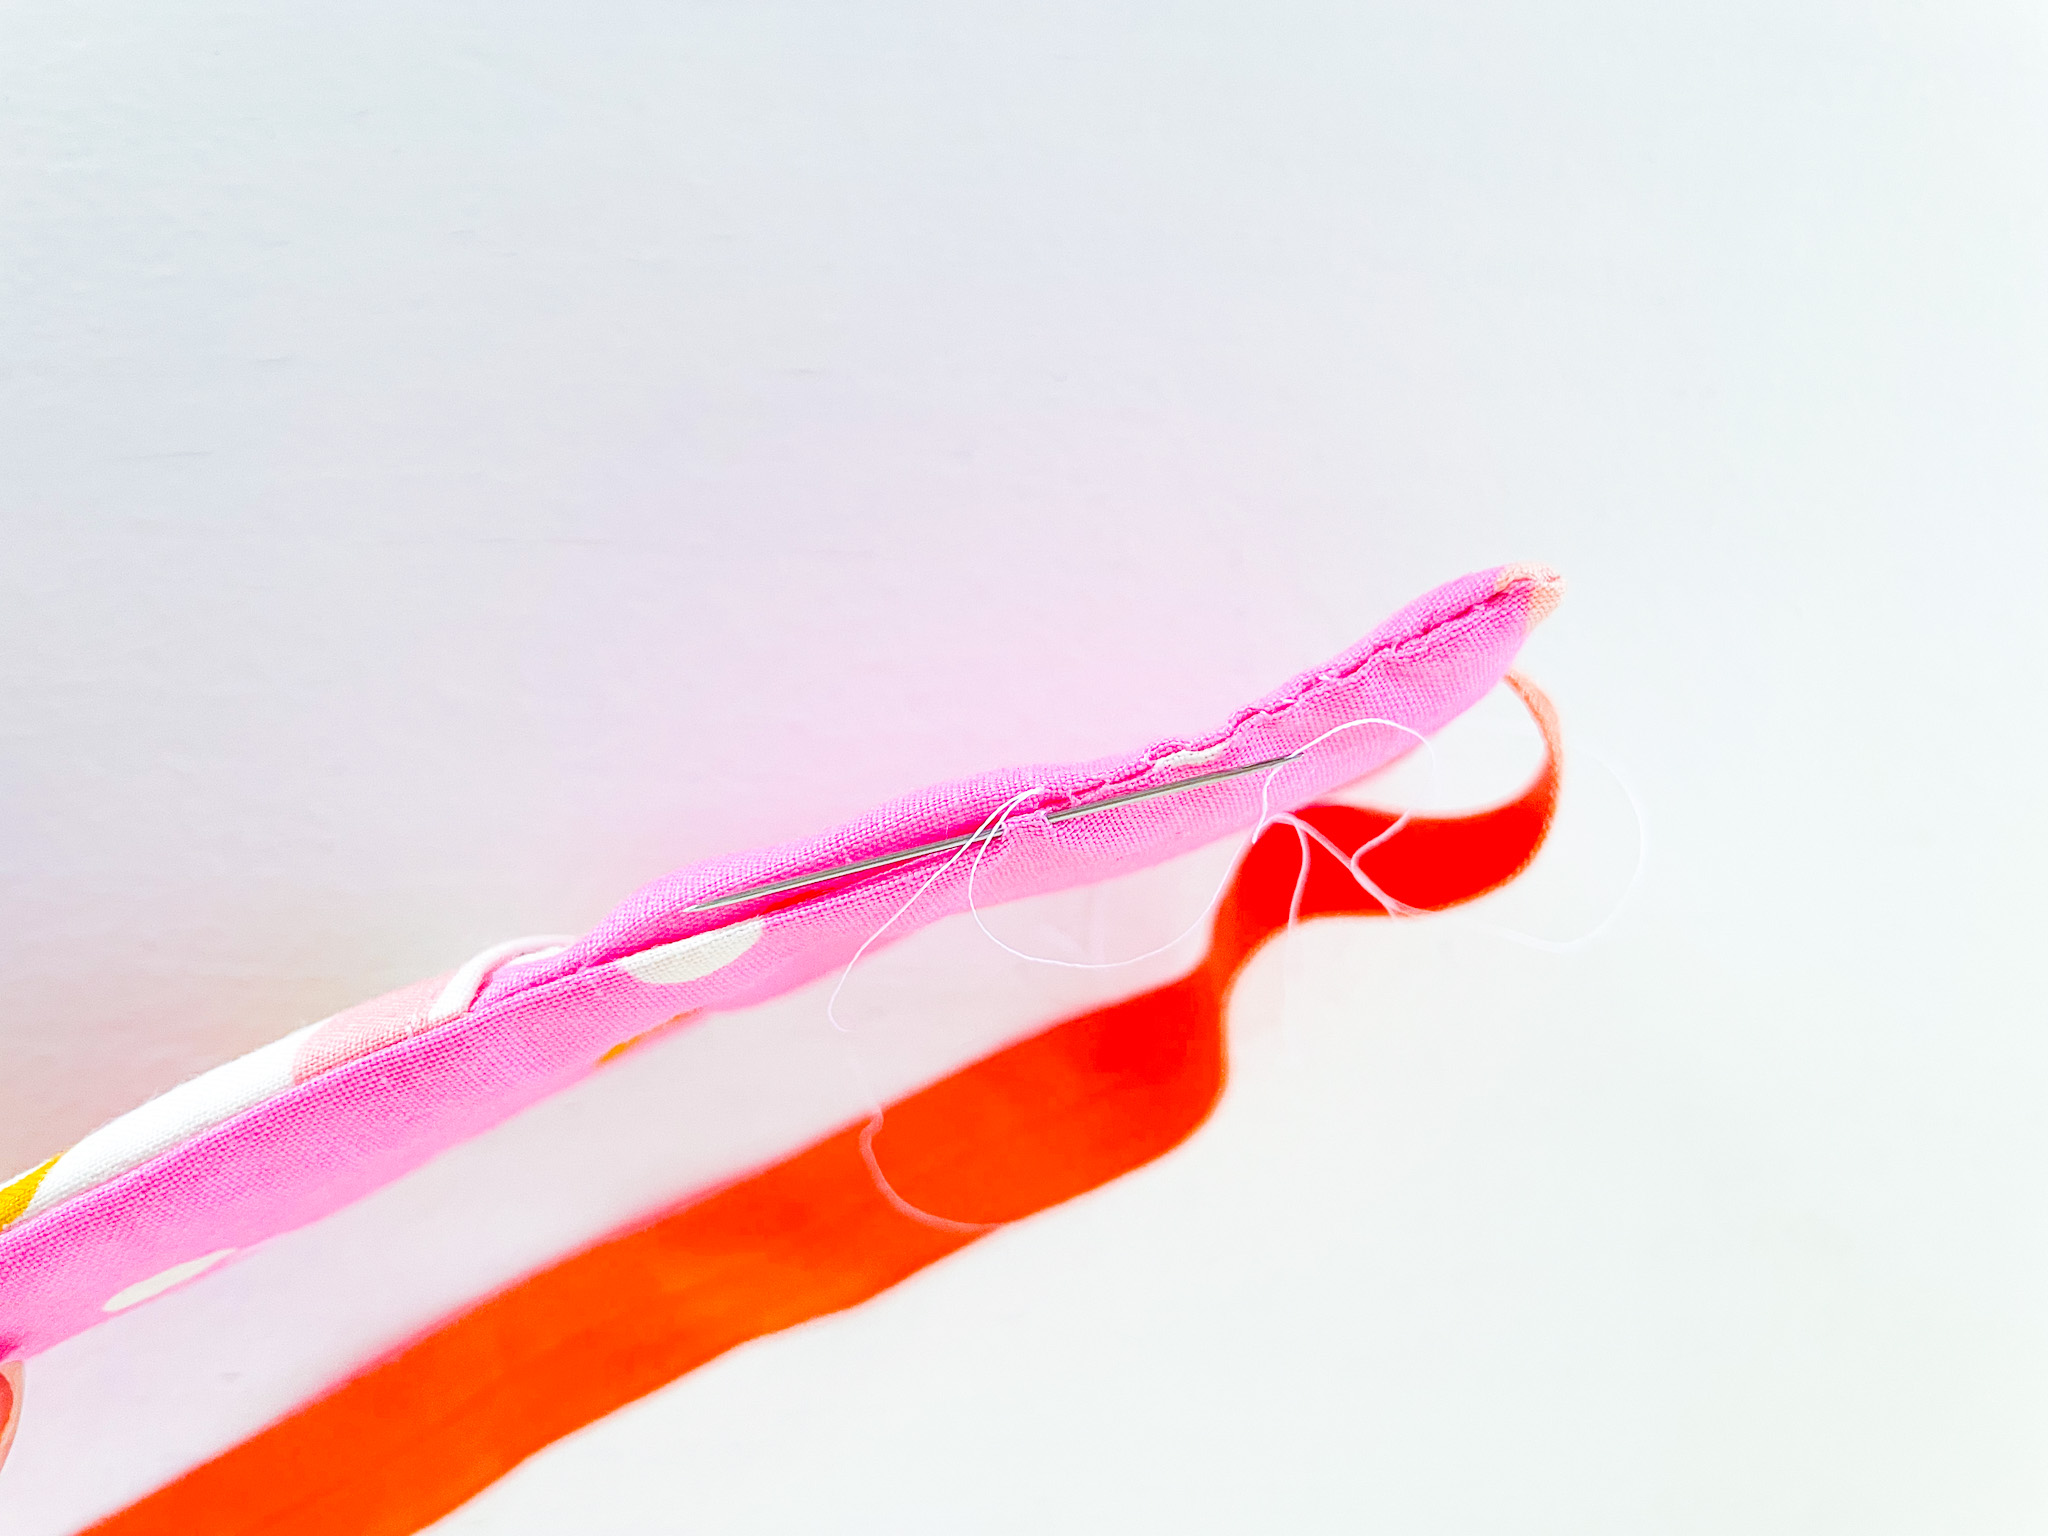
11. Sew opening closed using a ladder/invisible stitch.
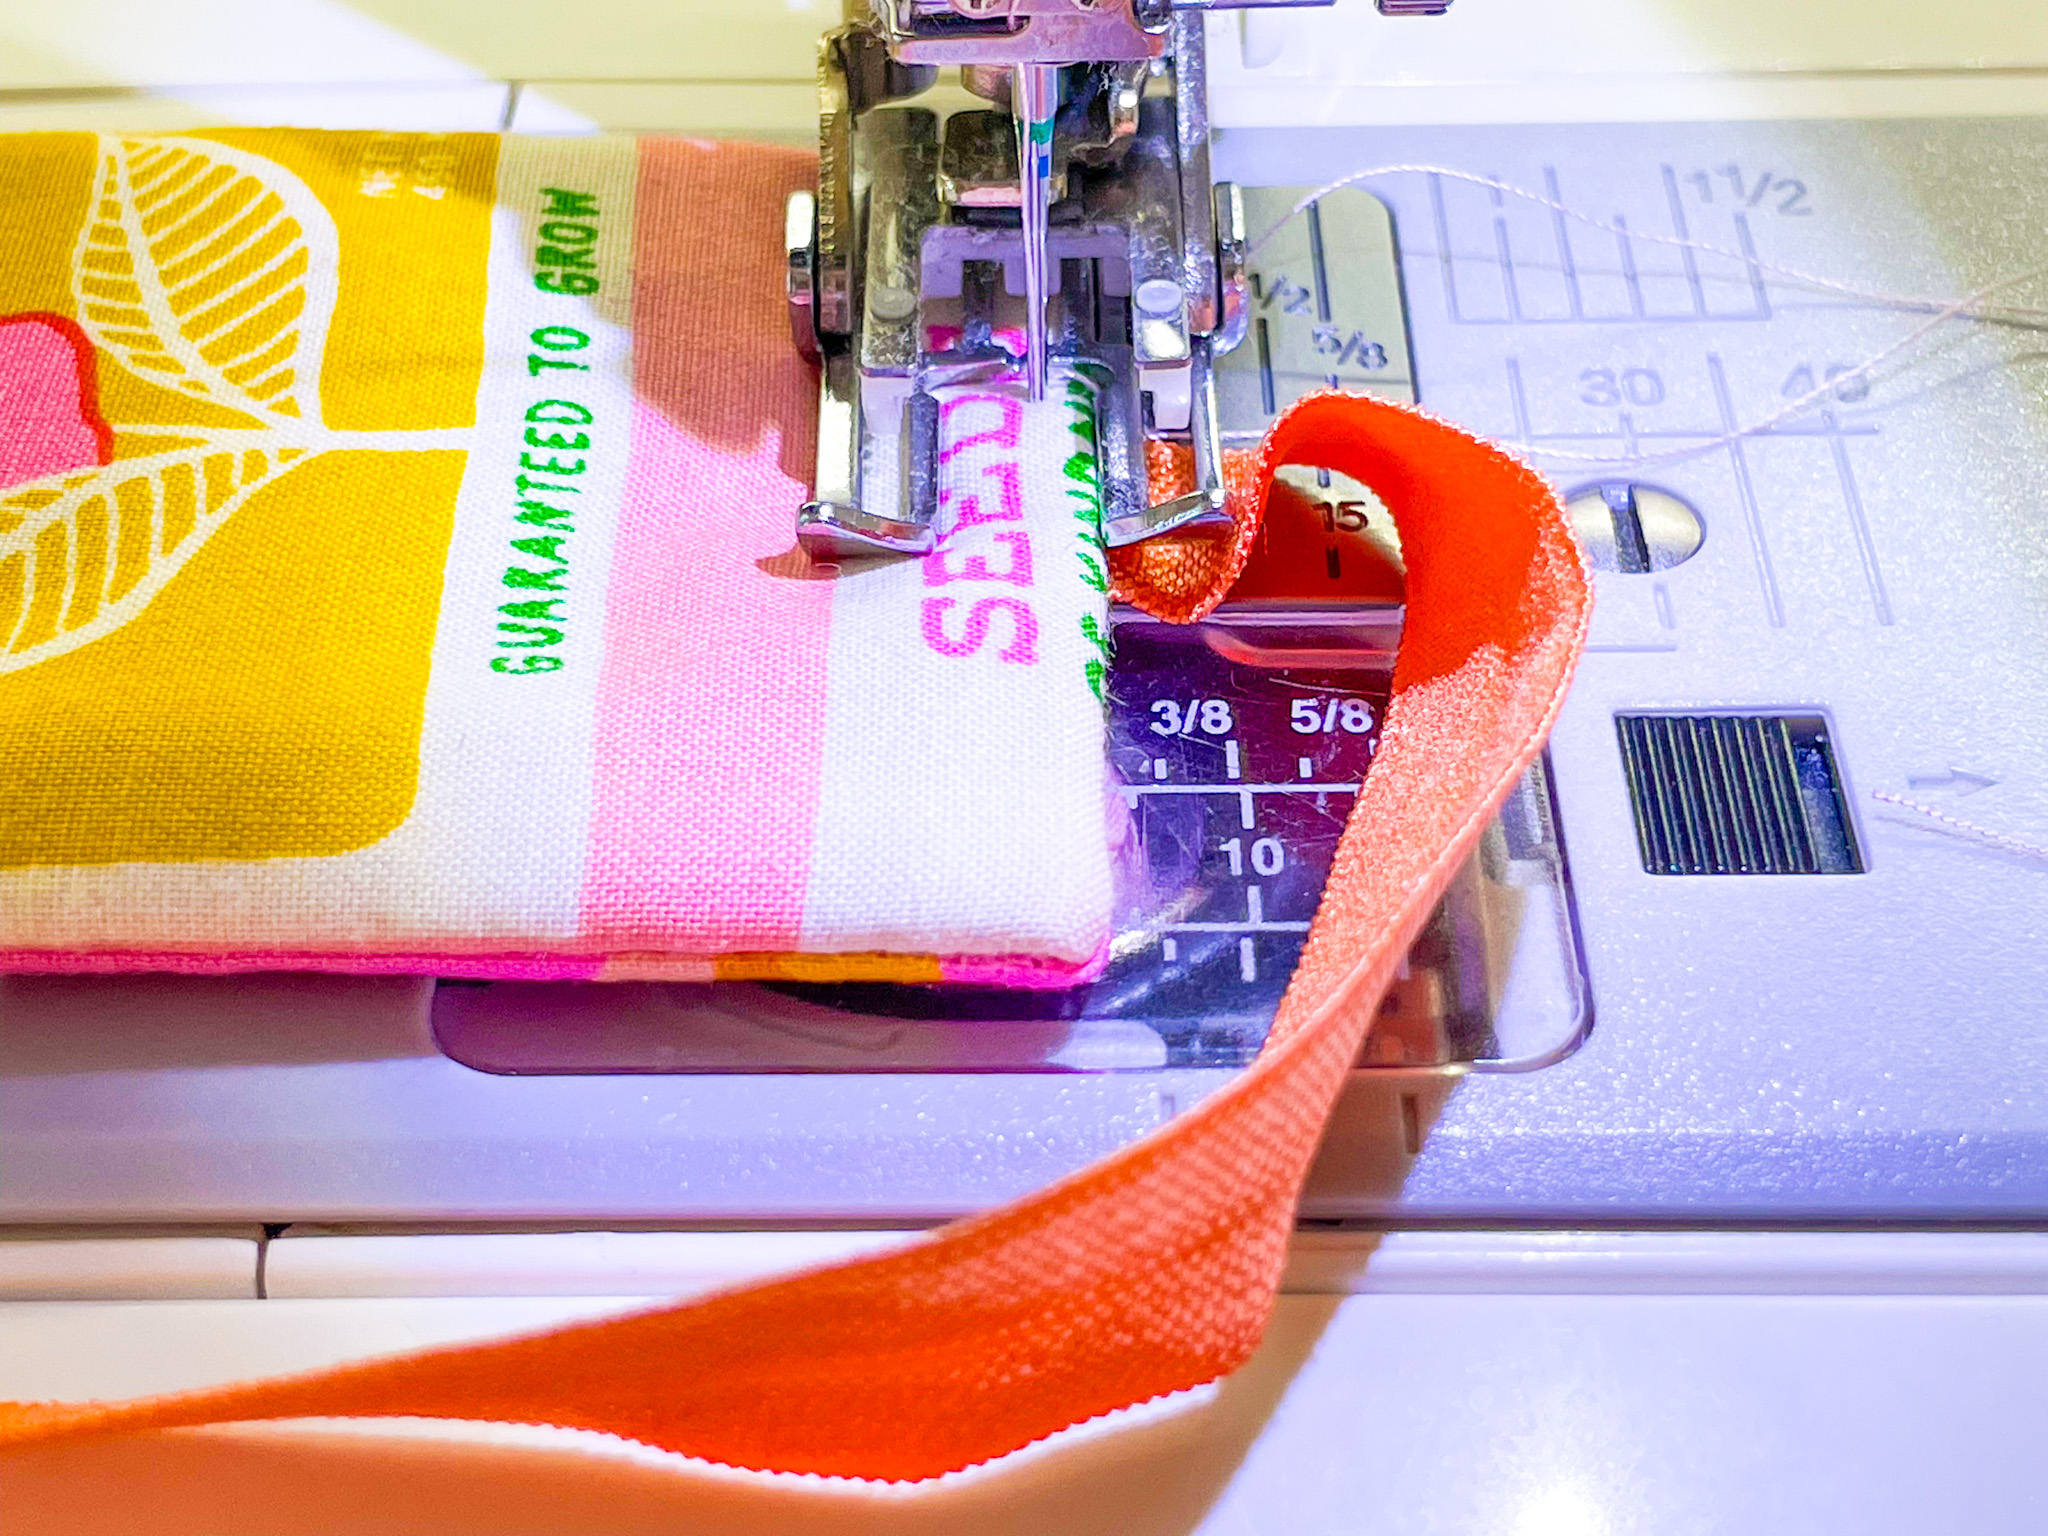
12. Topstitch around your pen holder about ⅛” from the edge. I like to use a walking foot and a slightly longer stitch length of 3–3.5. Take your time around the pocket, as it may require a bit of extra care to guide through your machine.
Tip: Make sure the elastic is moved out of the way so it doesn’t get stitched into the seam.
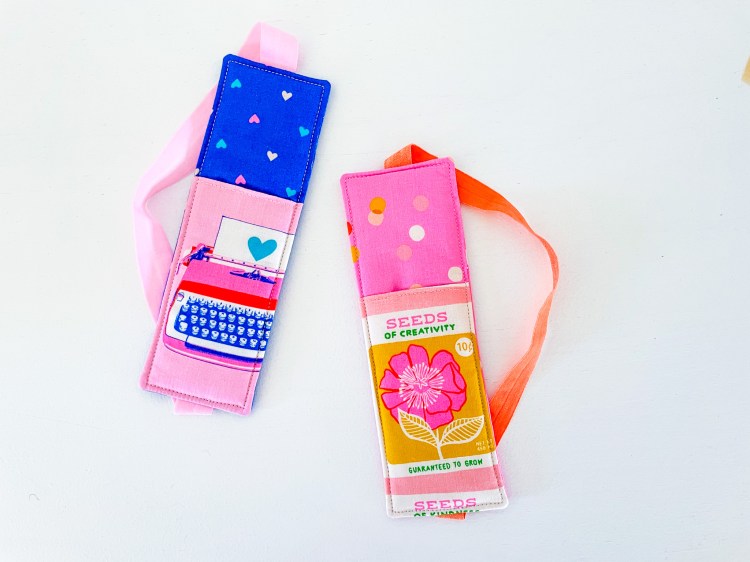
Ta-da! You now have a super cute and practical journal pen holder — perfect for keeping your pens handy while you plan your projects, take notes, or jot down sewing ideas. I hope you enjoyed making this quick and fun fabric pen holder as much as I did!

Any questions or comments, please feel free to contact me.
This pattern is for personal use only, but if you make one, I’d love to see your creations! Share them with me by tagging @maandmedesigns on Instagram — I enjoy featuring your handmade projects and celebrating your creativity.
Happy Sewing, Kellie x.
© Copyright 2020, Ma & Me Designs.
