

Apple Core EPP 101-Tutorial
It’s no secret that two of my most favourite EPP (English paper piecing) shapes are the clamshell and the apple core. Both involve sewing curves and both involve using two different methods. If you’ve always wanted to give apple cores a go but have no idea how to tackle those curves, I’m about to show you how and hopefully by the end of this Tutorial you’ll be able to sew apple cores too.

I use a few EPP Staples to sew my apple cores with. Pre-cut papers and a matching template, and a sew line/Sue Daley glue pen for basting. For curved shapes, I can’t recommend pre-cut papers enough. They are laser cut with precision. Something we can’t achieve by cutting the shapes out ourselves, and when it comes to curves the secret to sewing the perfect shapes is all in the preparation.
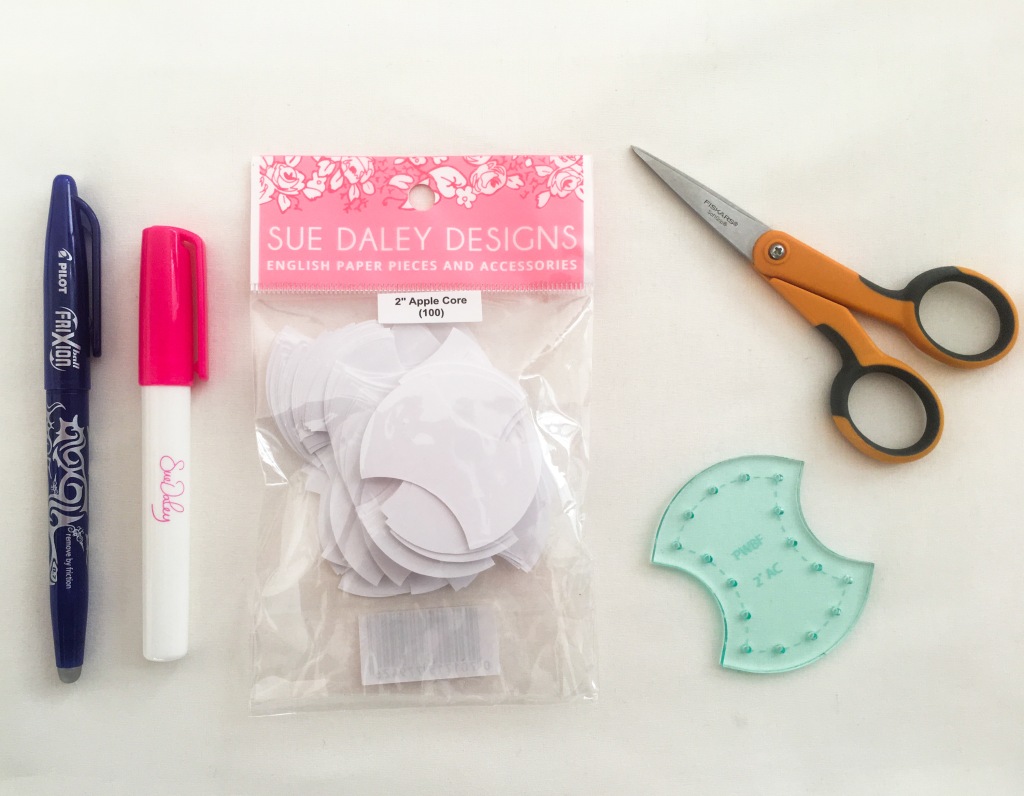
As I mentioned in my clamshell tutorial, you will also need: a small pair of sharp scissors, an iron, a pressing mat/ironing board, and of course fabric and a needle and thread. I’m a huge fan of Sue Daley EPP products, I also use her size 11 milliners’ needles. They are very fine and make sewing EPP shapes so much easier. My thread of choice is bottom line thread. It’s very thin but very strong and disappears well into the fabric.
Let’s Get Started
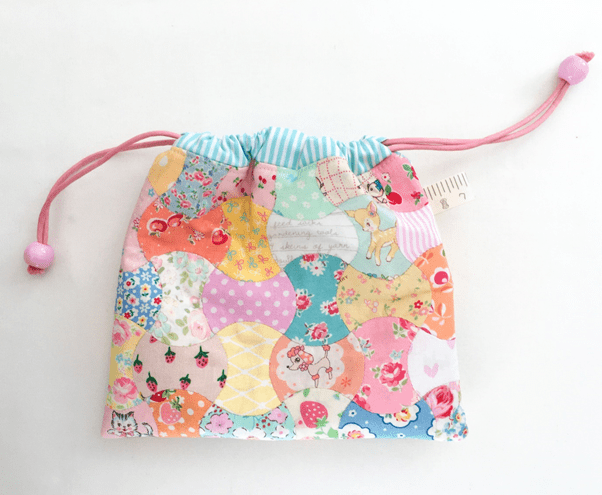
The Apple cores I’ll be using today are 2” apple cores. The same sized ones I’ve used to make the Apple Core Drawstring Pouch in my Etsy Shop.
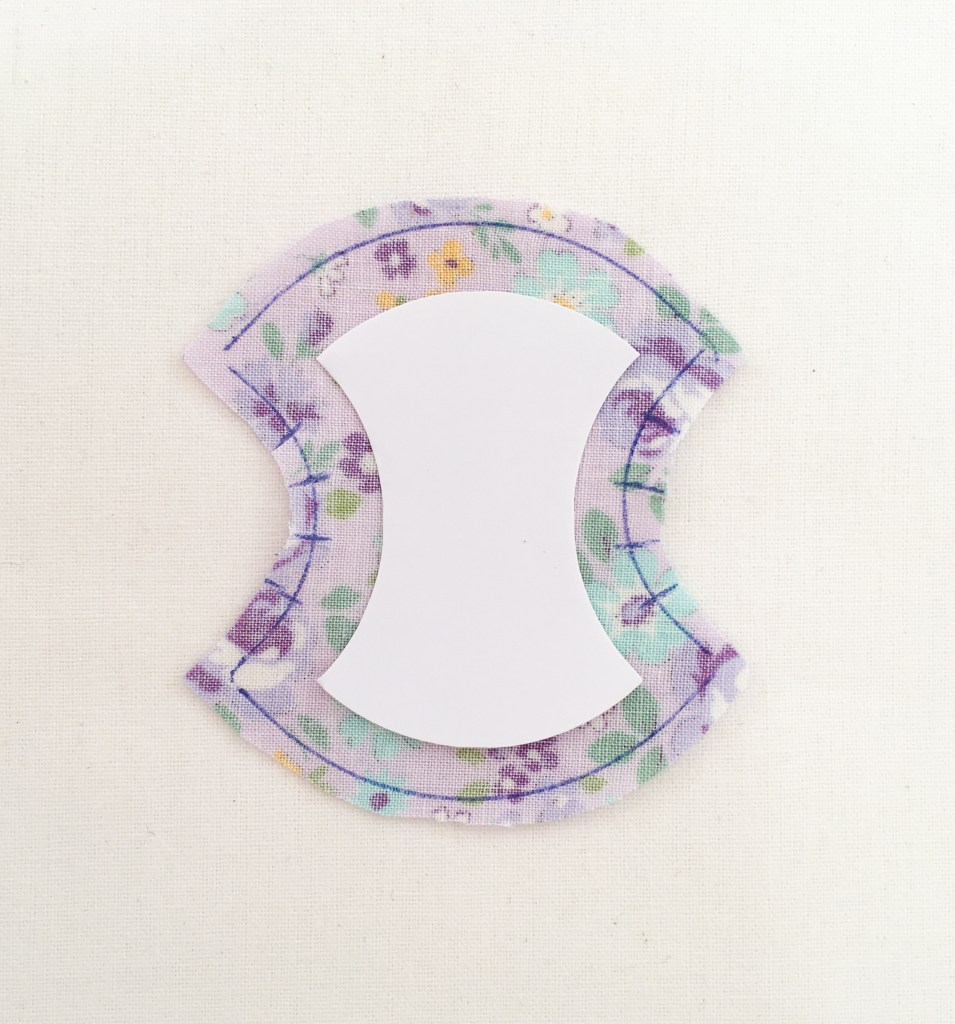
Take your template and place it on the wrong side of your piece of fabric and trace around it. I like to use a Frixion pen.
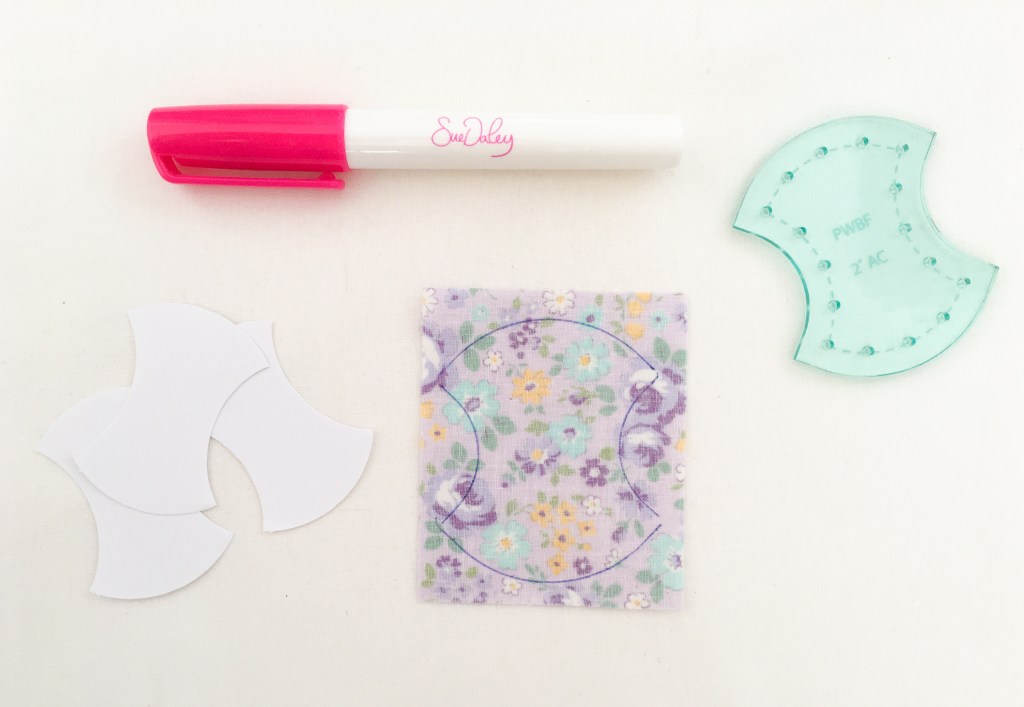
Now BEFORE you cut anything, I like to use a⅜” seam allowance for my apple cores. It makes the basting process much easier. The acrylic templates that are provided with EPP papers have a standard ¼” seam allowance. So, you will need to cut an EXTRA ⅛” OUT from the line you just drew using your template. If you don’t want to use a template, simply place a paper down and cut ⅜” from the edge of the paper. I still find using the template much easier though.
Put a small line of glue about ½” long in the middle if your piece of fabric and stick down the paper. This will hold the paper in place and make the next step much easier.
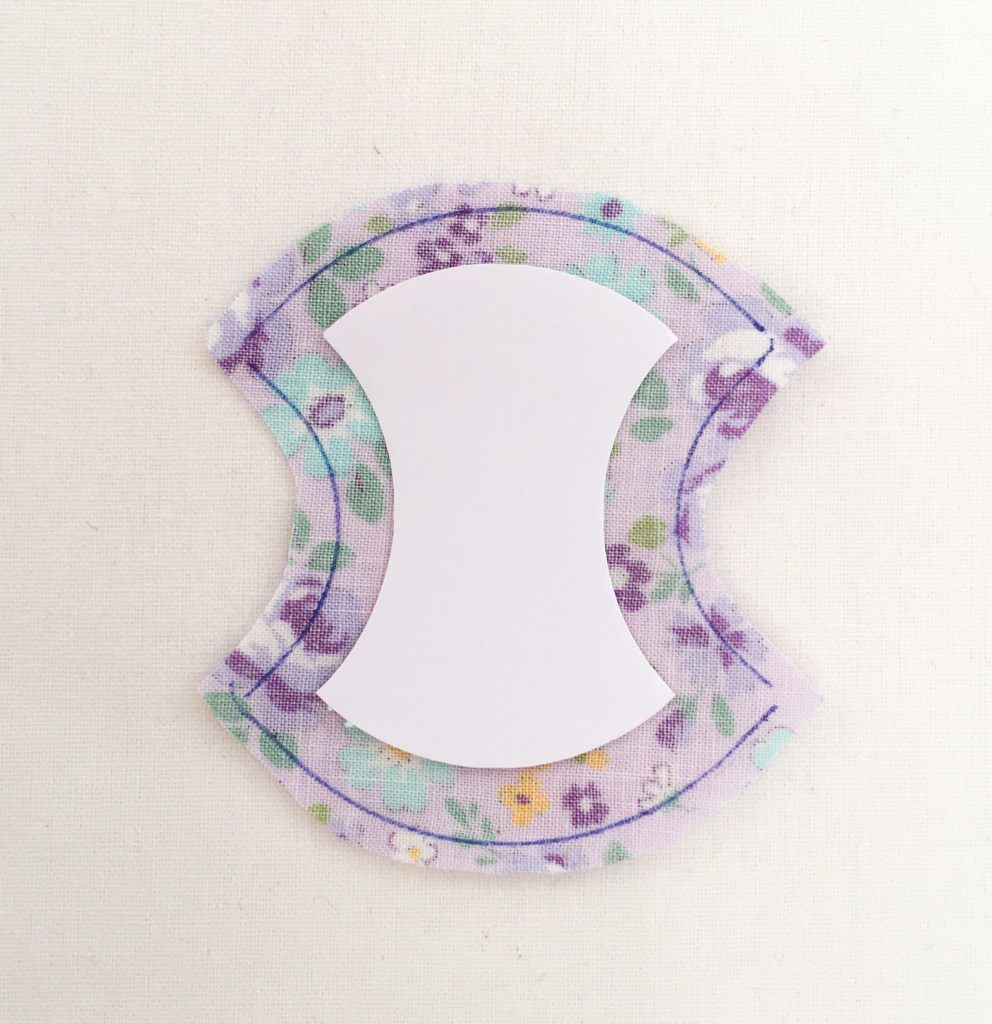
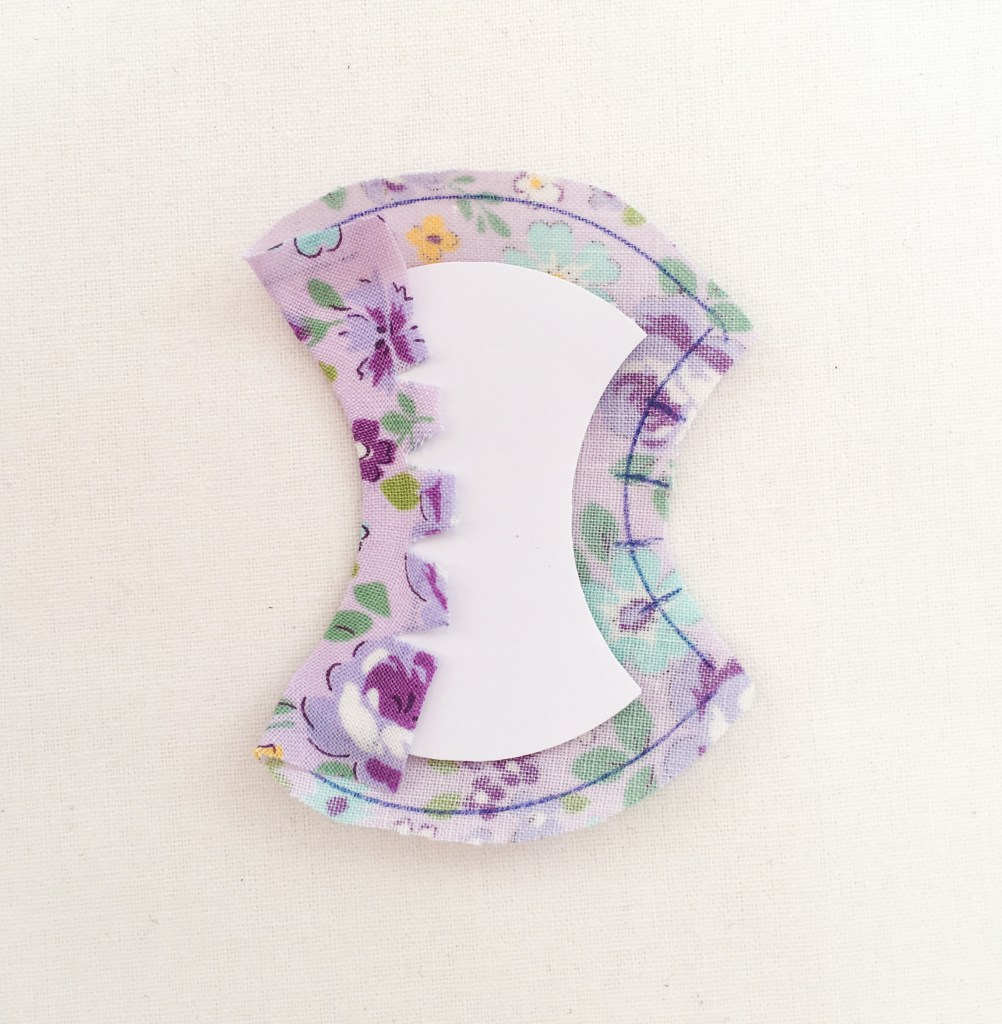
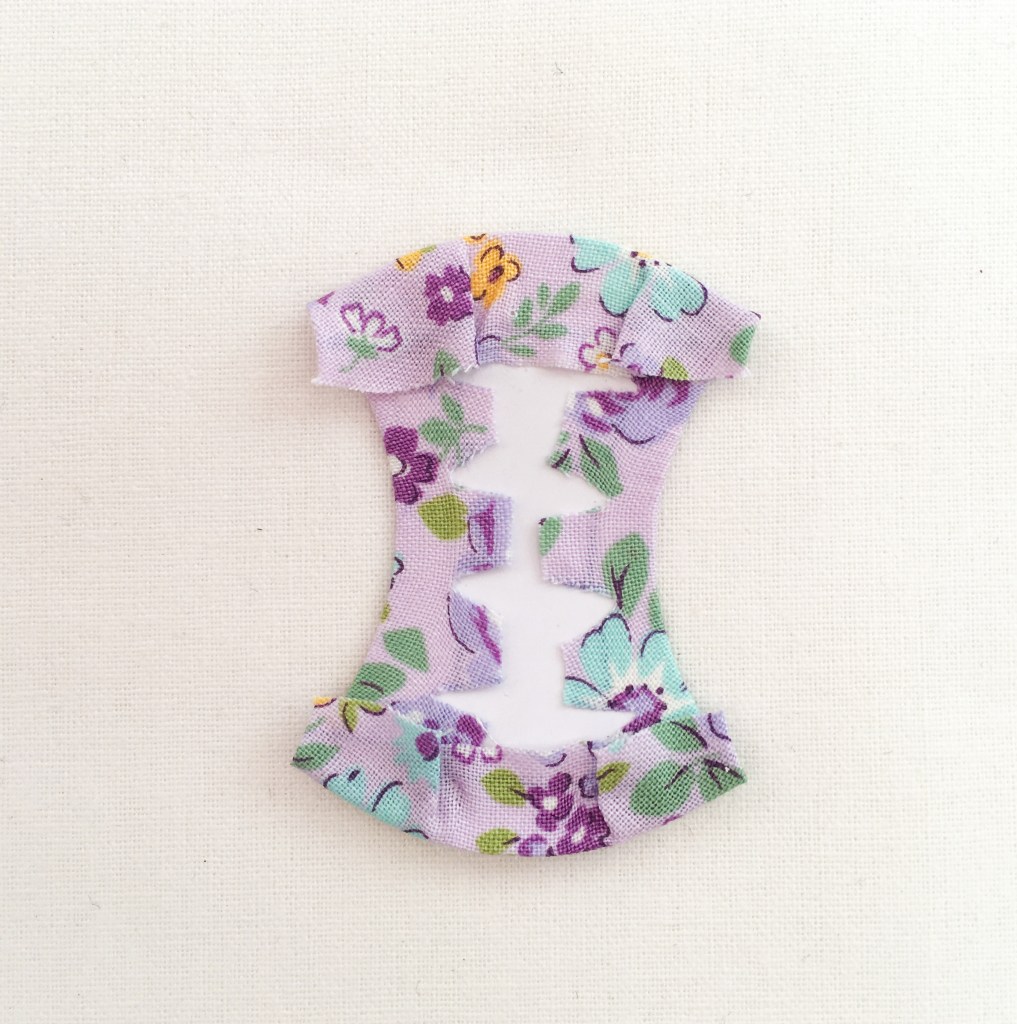
To start basting we need to do our inner (concave) curves first. To get the fabric to stretch and sit nice and snug into the curve you need to cut tiny slits in the seam allowance of these curves. To do this take your scissors and cut about every ¼” and ONLY a scant ¼” in around the curve of both sides (I have marked where I’m going to cut so you can see). Try not to cut too deep or the seam allowance will be lost, and your finished seams will be weak. So, for my 2” apple cores this is about 4 snips in each inner curve, and if I’m doing larger 4” apple cores the snips are more like ½” or a little less apart.
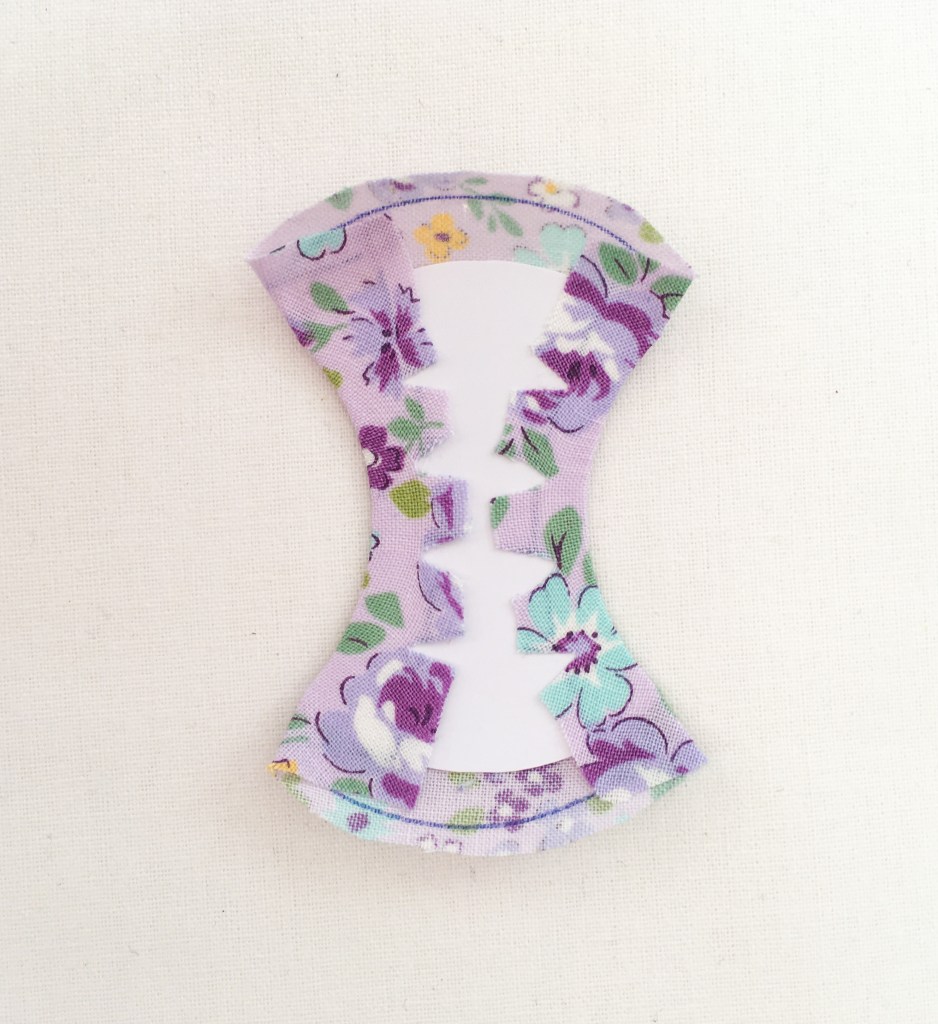
Swipe your glue pen along the first inner curve. Starting at the middle and working your way out, push the fabric firmly along the first curve. You may find you will have to use a bit more glue than you normally would for straight edge shapes. You need everything to stick down well and securely.
Repeat the same process for the other inner curve. You should have nice smooth edges with no creases or bumps and the fabric hugging the curve tightly all the way along the edge.
To baste the outer curves, swipe your glue along one outer edge all the way from one point to the next. Starting in the middle press your fabric around the curve. Pushing down firmly as you go all the way to the corner. Then come back and finish the rest of the edge.
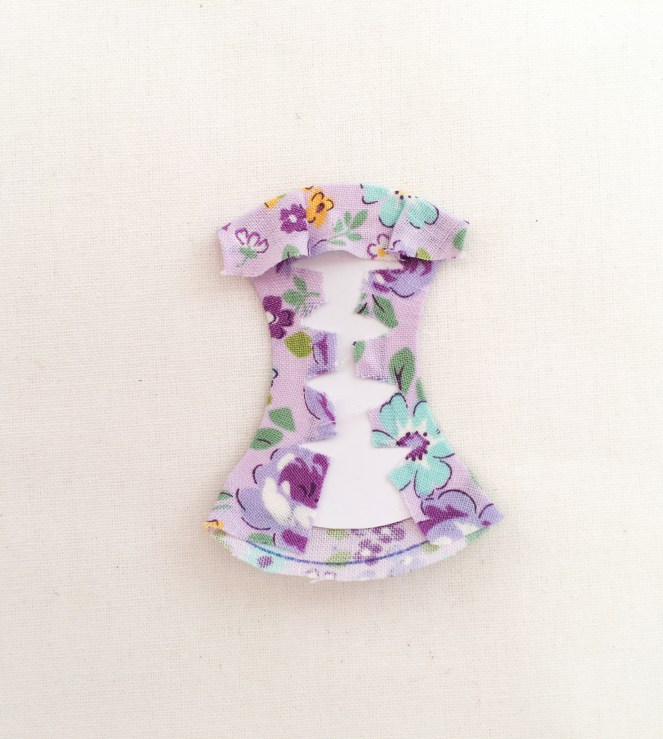
Repeat for the other outer curve of your apple core.
Just like with the clamshells, when you’re pressing your fabric down you must be quiet firm and drag your finger around the curve, so you get a nice smooth edge and avoid any puckers or folds. It’s important that you do it nice and tight all the way around the outer curves of the apple core, particularly at the points, as this will make sewing them together a lot easier and more accurate. Good preparation at the basting stage is the most important part.
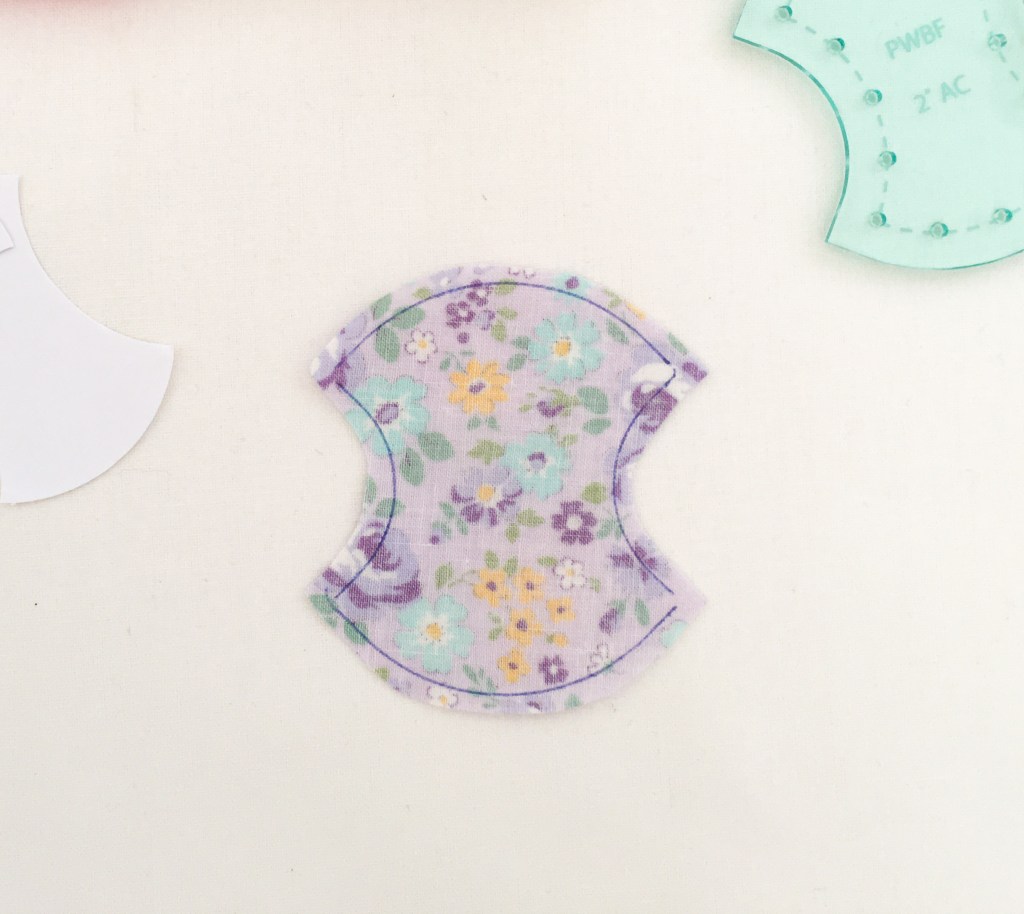
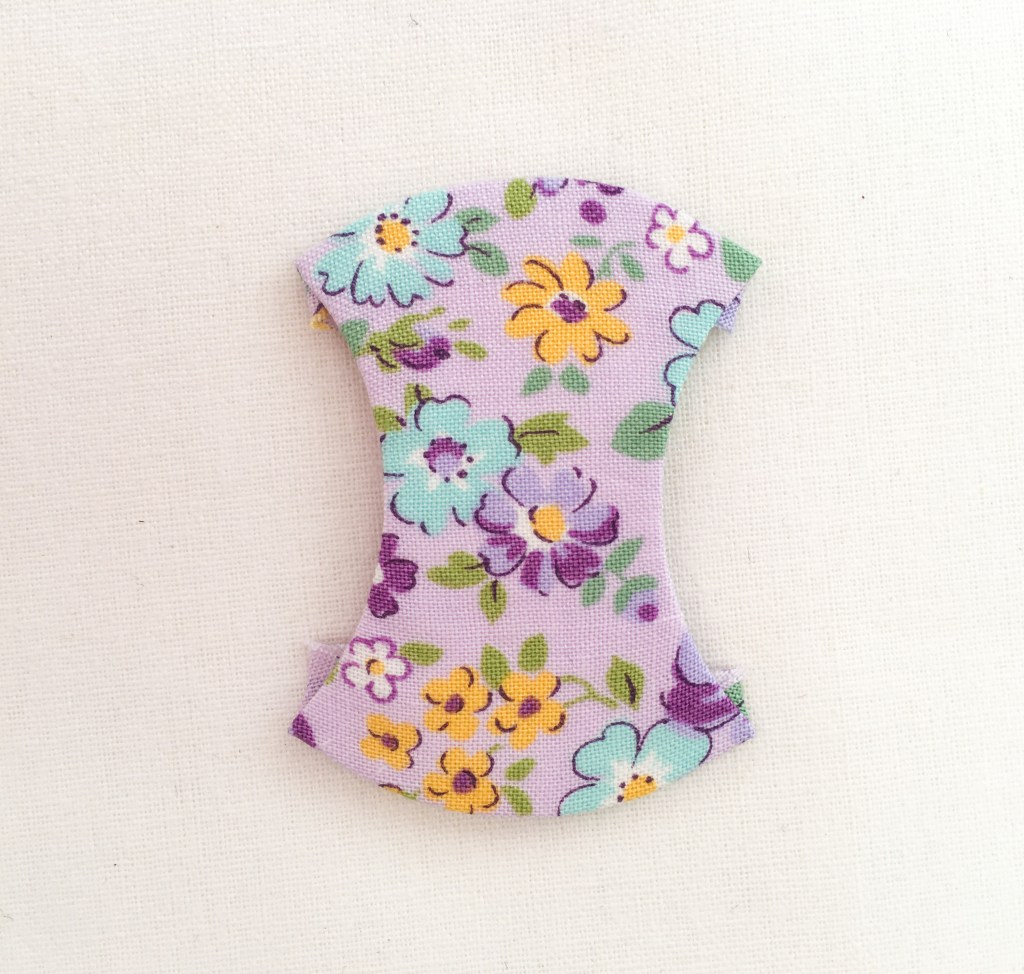
Here is what your basted apple core should look like. You shouldn’t have any folds or creases along any of the edges. You may have little tails poking out the sides, but they will be covered when the shapes are joined together. Do not cut them off. I also like to give my apple cores a good press with the iron after I’m finishing basting them. This makes all the seams nice and crisp for sewing together.
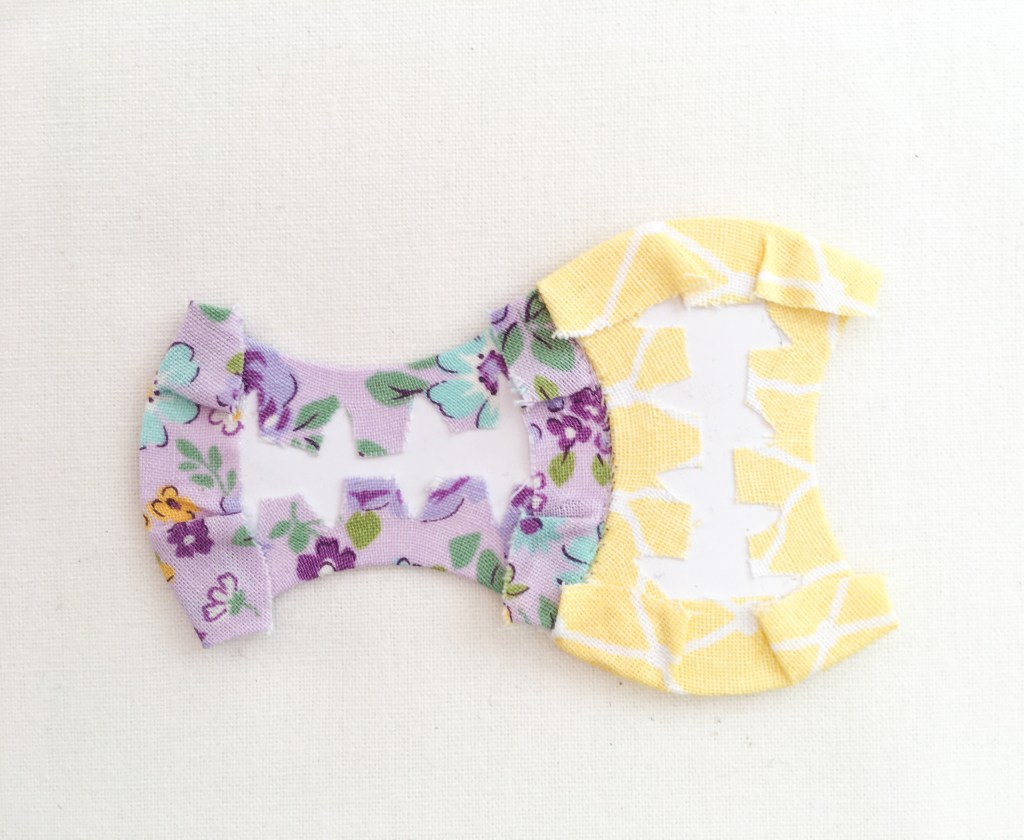
Now basting your apple cores is one thing and joining them together is another. When sewing them together we are joining the inner (concave) and outer (convex) curves, which can be a little tricky.
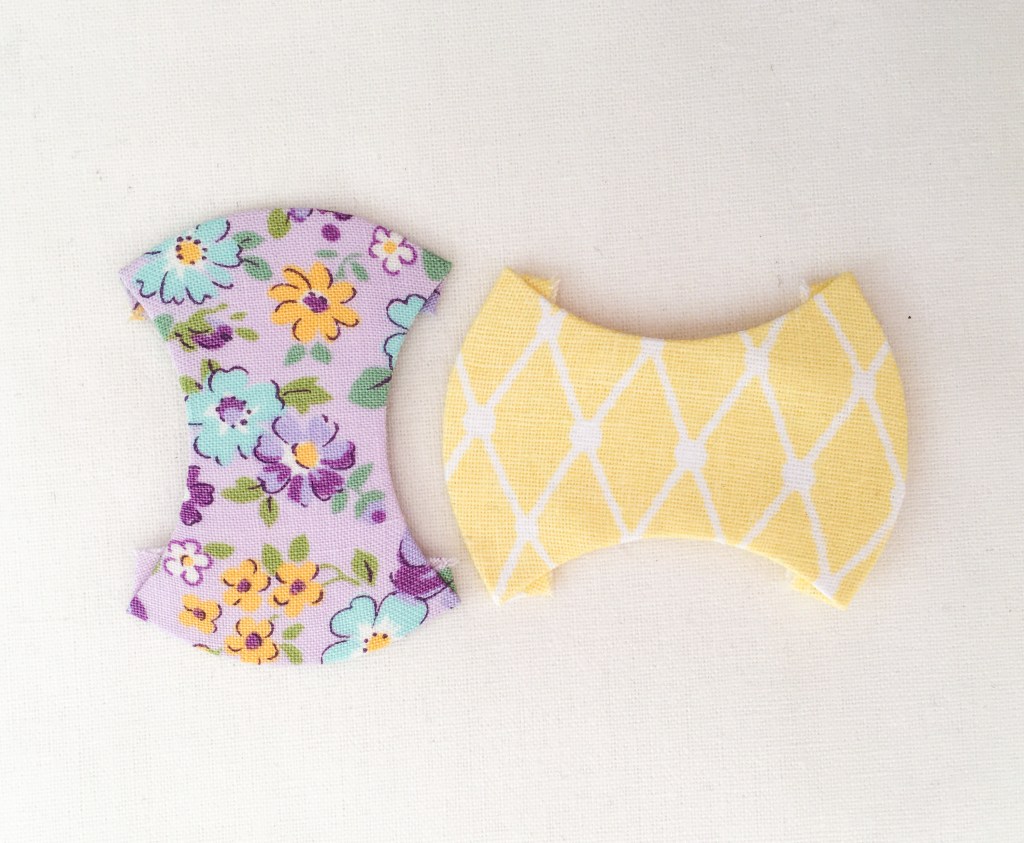
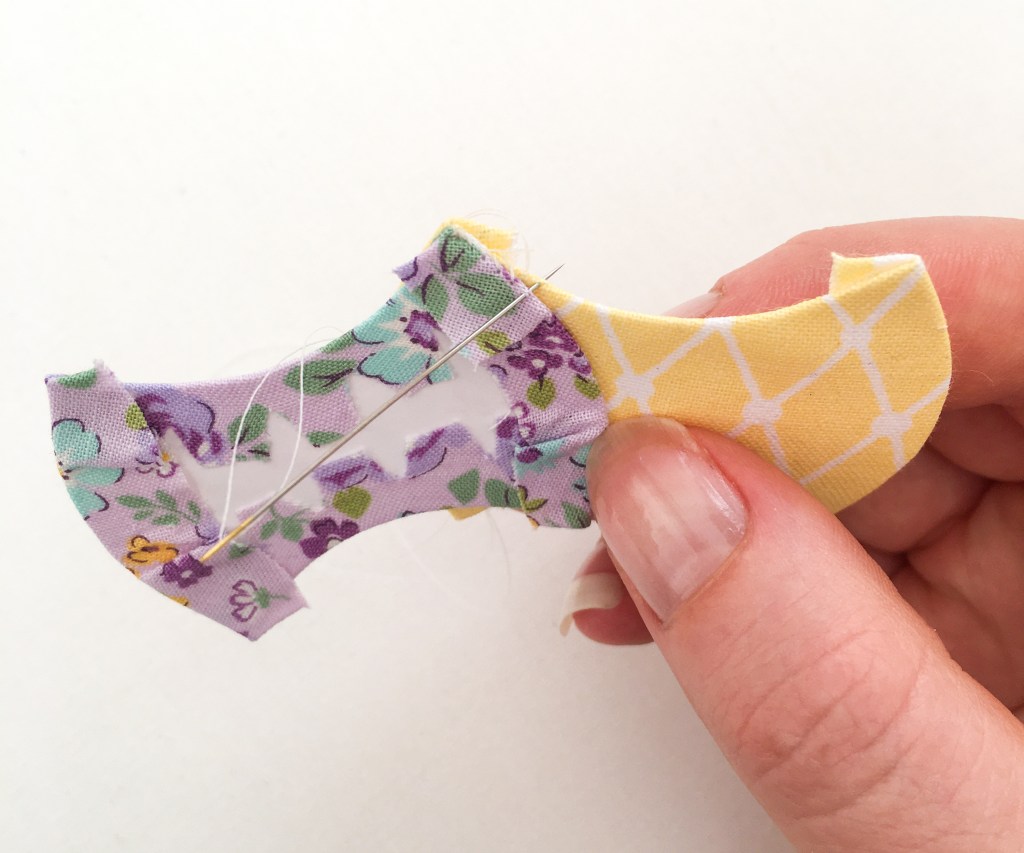
Place your two apple core pieces right sides together, So the inner curve of one lines up with outer curve of another. Starting at the very points, secure your thread and then Whip stitch along the edge like you would with any other straight edge EPP Shape. The difference is because the edges don’t line up you need to adjust your shapes little by little as your sewing along the edge.
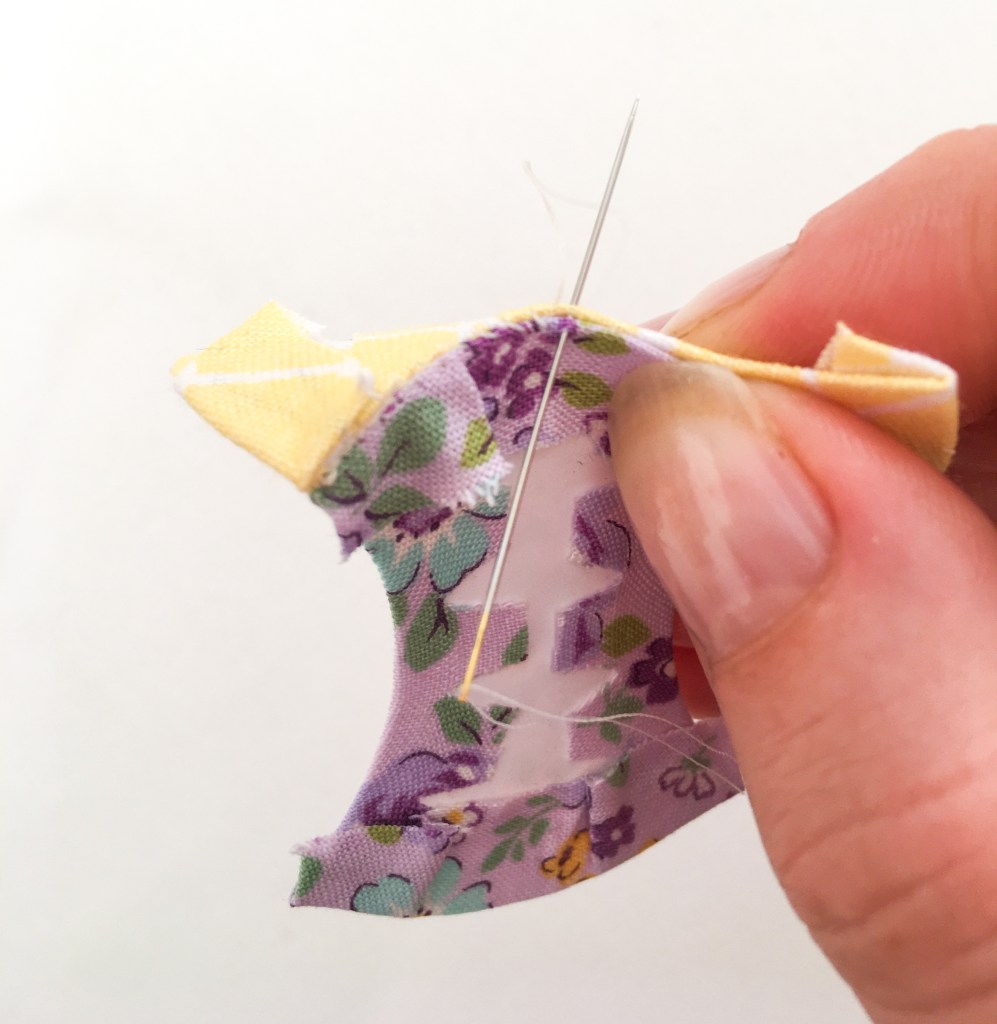
You will get about ½” along before the sides no longer line up and you have to readjust your shape again.
Re-position your shapes so they line up again and keep stitching.
Whip stitch all the way along the edge of the shape and keep repositioning as you need. Remember you need to pull the thread nice and tight as you’re going to keep a tight seam.
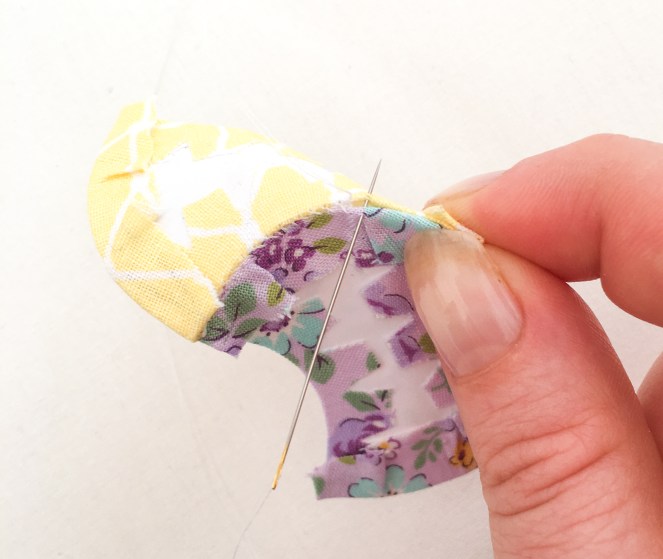
When you get to the end, make sure your points line up and tie a knot.

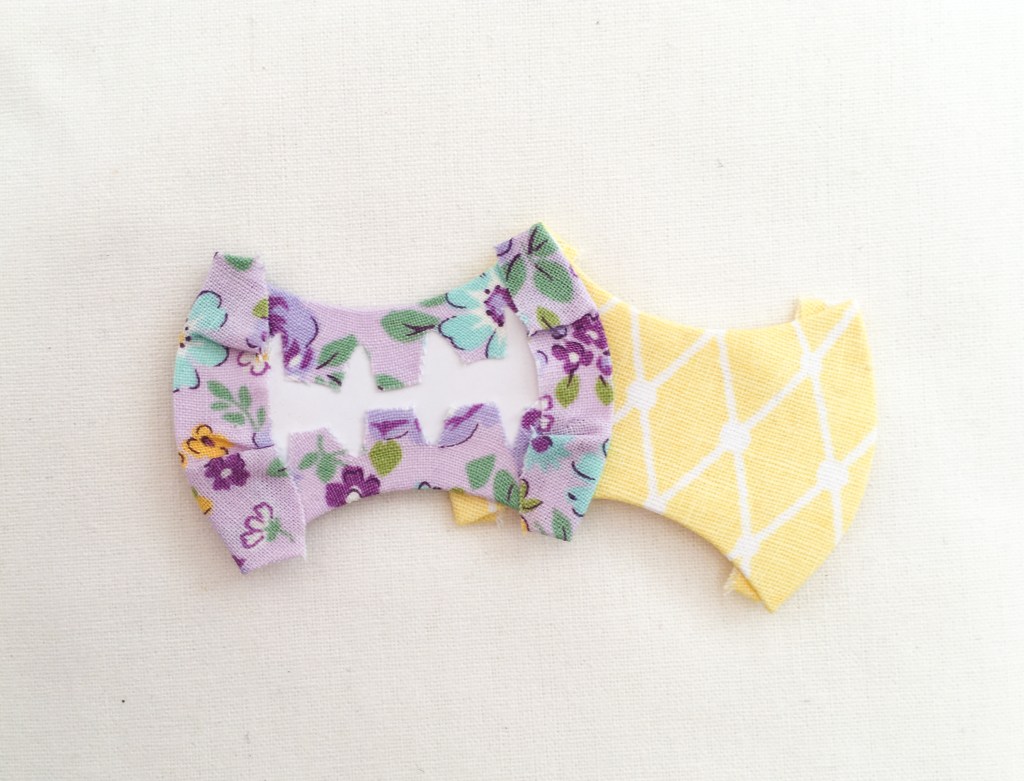
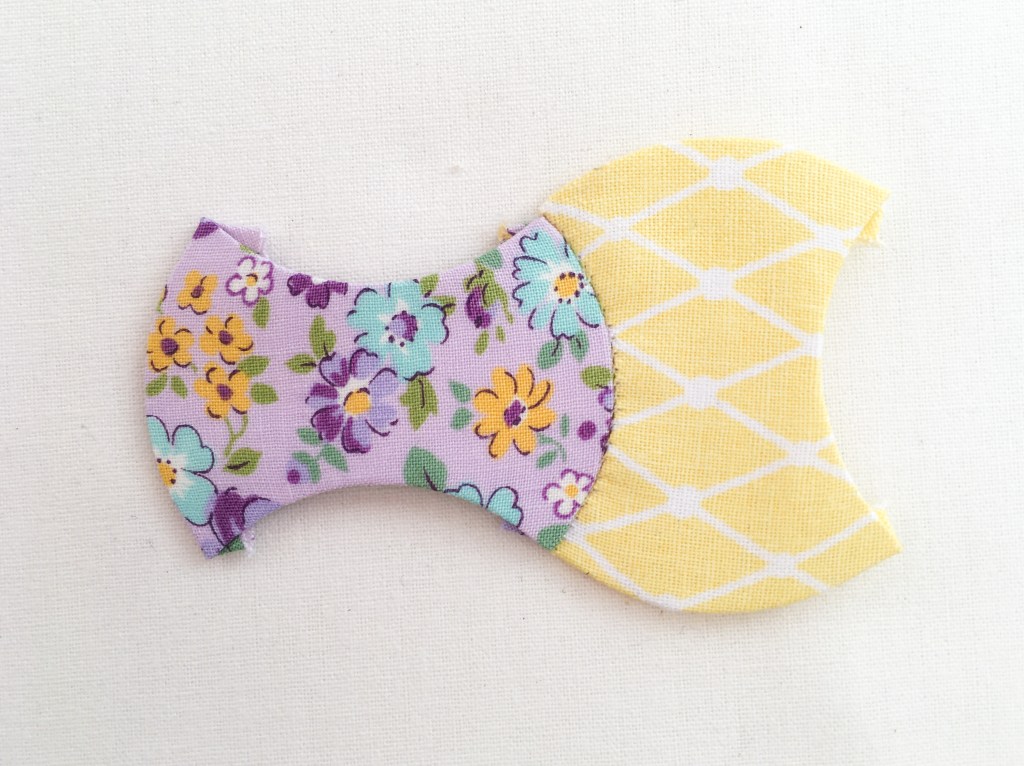
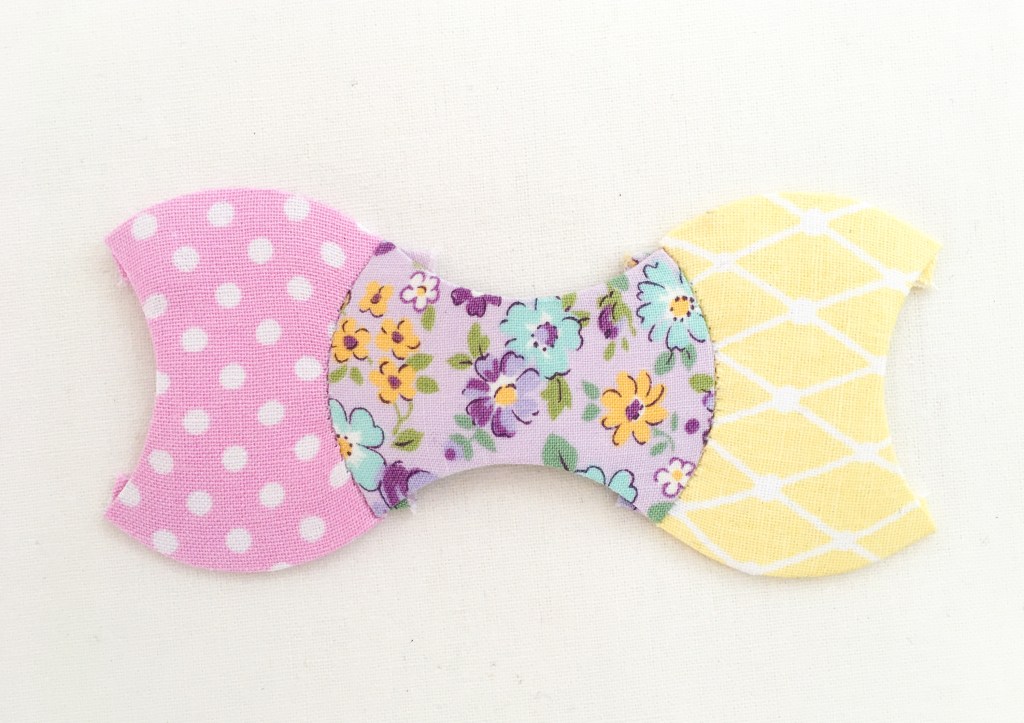
Your first two pieces are now joined. They should look something like this on the front and back. Notice how on the back I have not sewn the tails down. You need to make sure when you are sewing them together you move the tails out of the way.
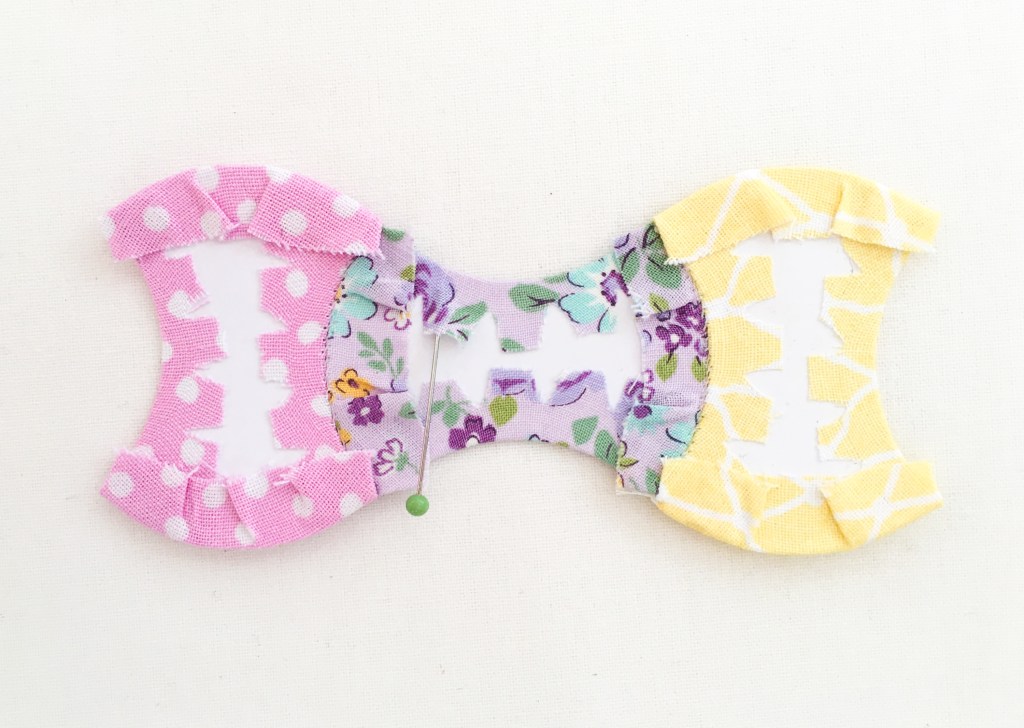
I find it easiest to sew my apple cores in rows and then join the rows together. When you’re sewing the rows together you use the same method as sewing the individual apple cores. By lining up the curves bit by bit and adjusting as you are going.
When you’ve sewn all your apple cores together or when all the sides are joined you can remove your papers. I do this by lying my patchwork on a flat surface and sliding a sewing pin under and along the edge of each seam before lifting the papers out.
See! Not so bad after all right!?
With a little practise and the right preparation, you can now sew perfect apple cores too.
I hope this tutorial was helpful and took the mystery out of sewing apple cores for all of you out there wanting to give it a go.
If you’re looking for a pattern to test your new apple core skills, please visit my Etsy shop. I Have a sweet Apple Core Drawstring Pouch that is perfect for beginners.
If you have any questions, please feel free to send me a message or leave a comment.
Happy Sewing, Kellie X.
© Copyright 2021, Ma & Me Designs.
