
Scrappy Piecing Tutorial
Scrappy piecing is such a fun and creative way to use up all those tiny, odd-shaped fabric scraps you’ve been saving! With this technique, you can make a single patchwork panel to quilt into pouches, bags, or other small sewing projects, or you can create multiple blocks that can later be joined to make a full quilt top.
Scrappy piecing works in a way that’s very similar to the quilt-as-you-go (QAYG) method. The difference is, instead of quilting as you go, you first sew all your scraps together to form a larger panel. Once your scrappy panel is complete, you can layer it with batting, fleece, or similar, and then quilt the entire panel at once. This makes it a versatile method for both small projects and larger patchwork creations.

In this tutorial, I’ll show you how to do scrappy piecing using 90-degree angles, or by squaring your fabric pieces. There are also similar techniques that use curves or wonky piecing, which don’t require any squaring at all – so there’s plenty of room to experiment and get creative!
Important: Please read through the entire tutorial before you begin. All seams are ¼”, and it’s essential to secure your seams at the start and finish with backstitching. I also highly recommend pressing your seams open as you go – this helps reduce bulk and keeps your finished piece looking neat.
Ready to dive in? Let’s get started!
Supplies
- Assorted fabric scraps of different shapes and sizes
- Cutting mat & rotary cutter
- Quilting ruler
- Seam roller (super handy, but you can also finger press your seams)
- Sewing machine
- Basic sewing supplies
- Iron
Scrappy Piecing Method
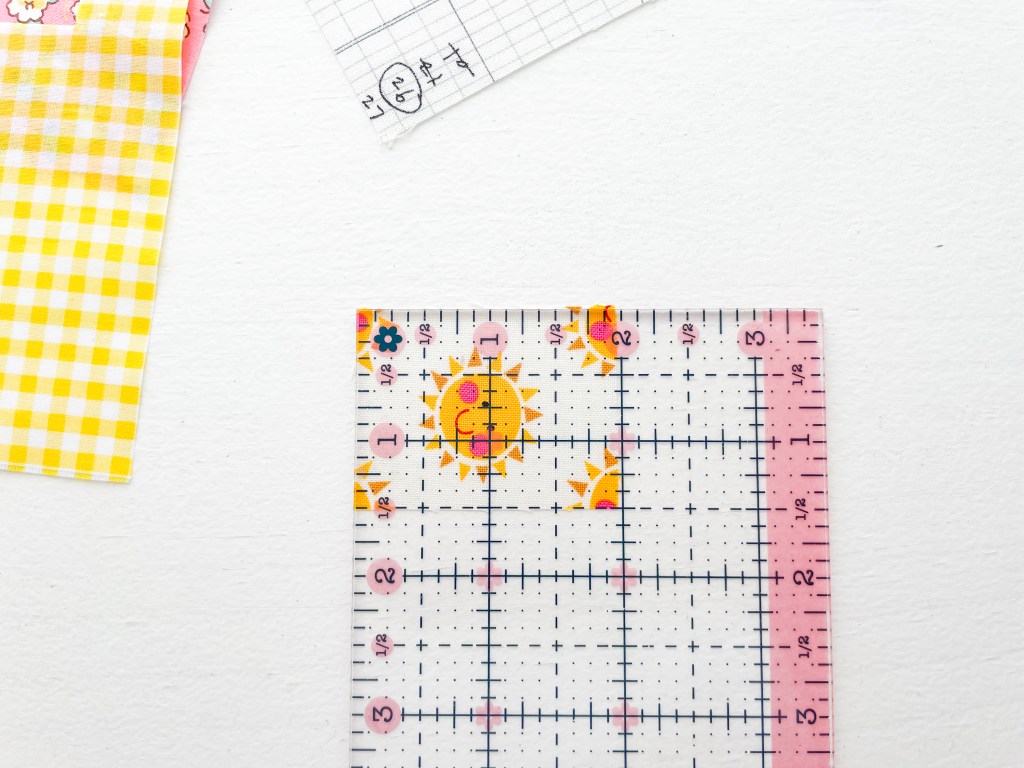
Select the fabric scraps that you wish to use. Remember they can be different sizes and odd shapes. We are going to square them up with a quilting ruler and trim them to suit your needs, as you are going. Give them a good press with a hot iron before beginning. If you are using any fabrics that are lightweight (e.g. liberty lawn) it’s a good idea to starch them as well as this makes the piecing process a little easier.
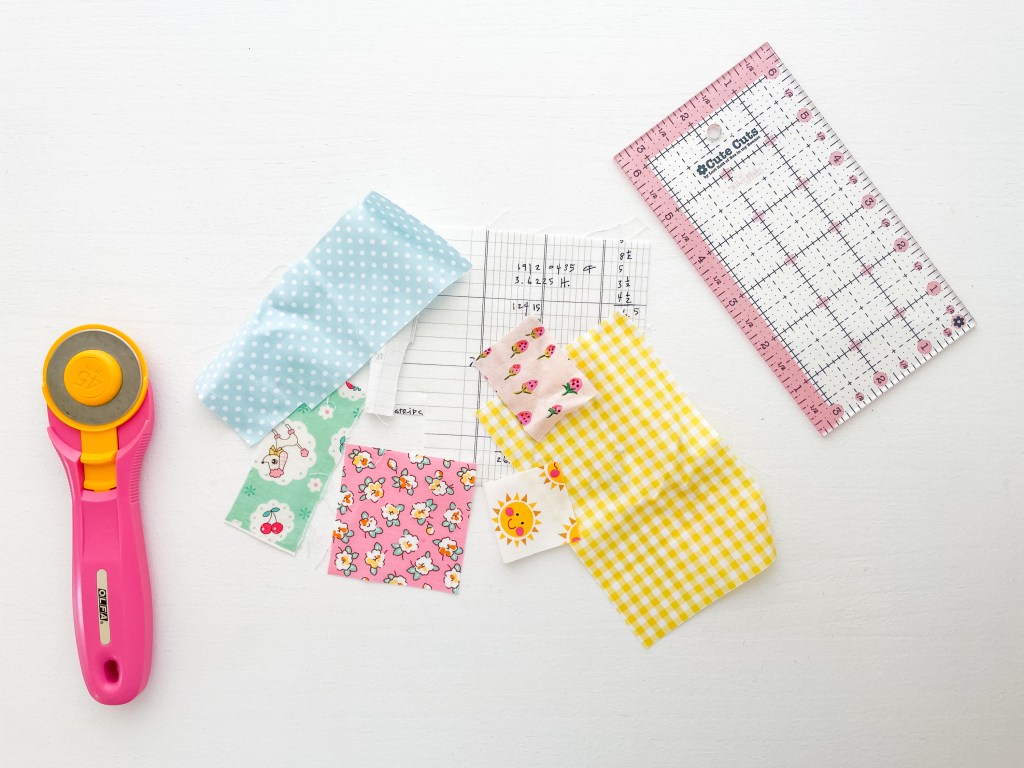
Before I begin the piecing process, I like to give mine a quick audition, so I know roughly where I’m going to put them. I usually start with the smaller pieces in the middle and save the bigger chunks for around the outsides. I do often change mind though during the process.

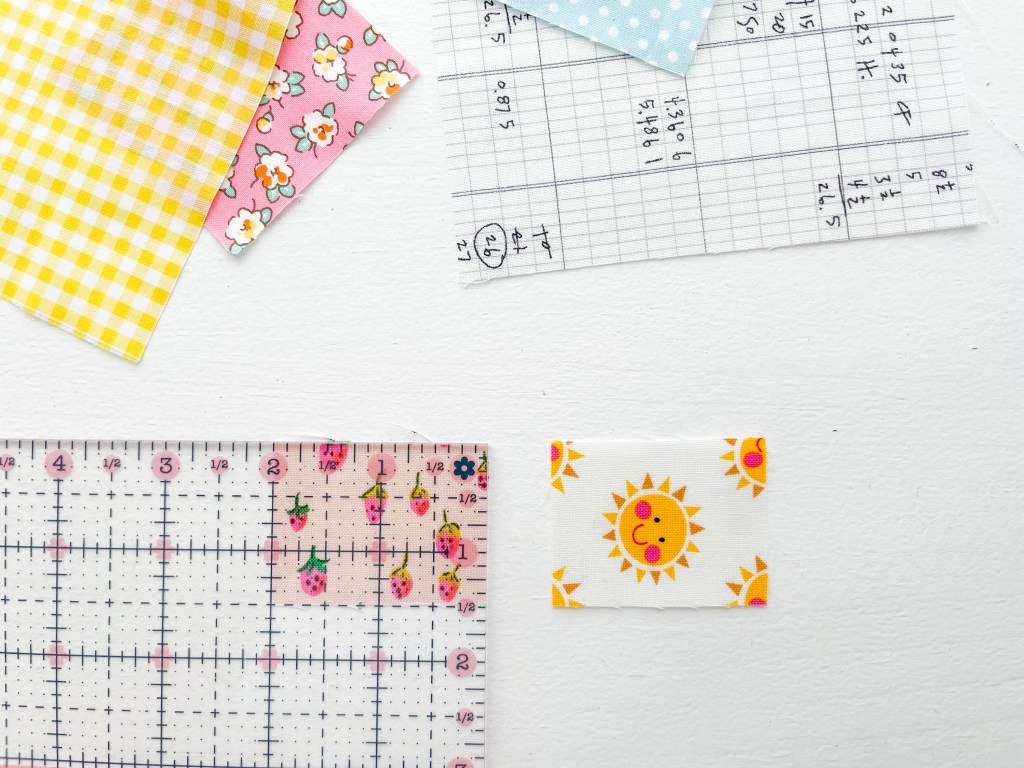
Pick the first two scraps that you wish to use in the middle of your panel. Place them in front of you right side facing up. square the edges up you wish to join with a rotary cutter and ruler.
Now arrange them so they are now on top of each other, right sides together. Line up the straight edges where you intend on joining them. Sew them together with a ¼” seam allowance.
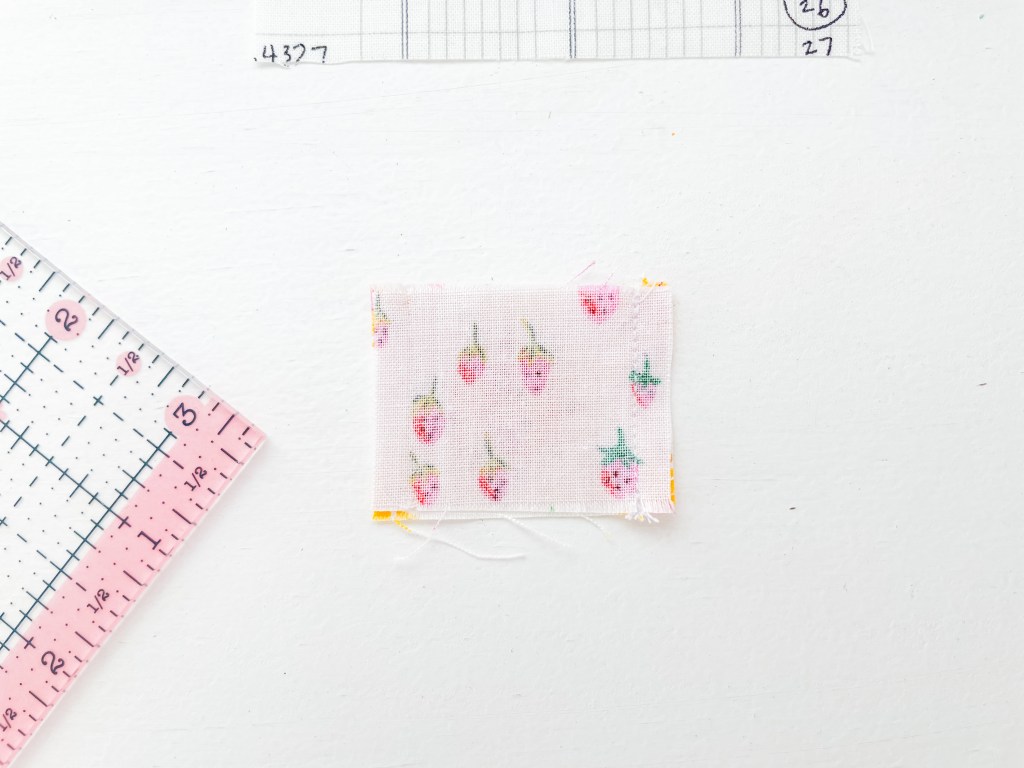
Open up the pieces and press them so the seams are OPEN. I use my fingers here or a seam roller to help. It saves a lot of time getting up and down to your iron.
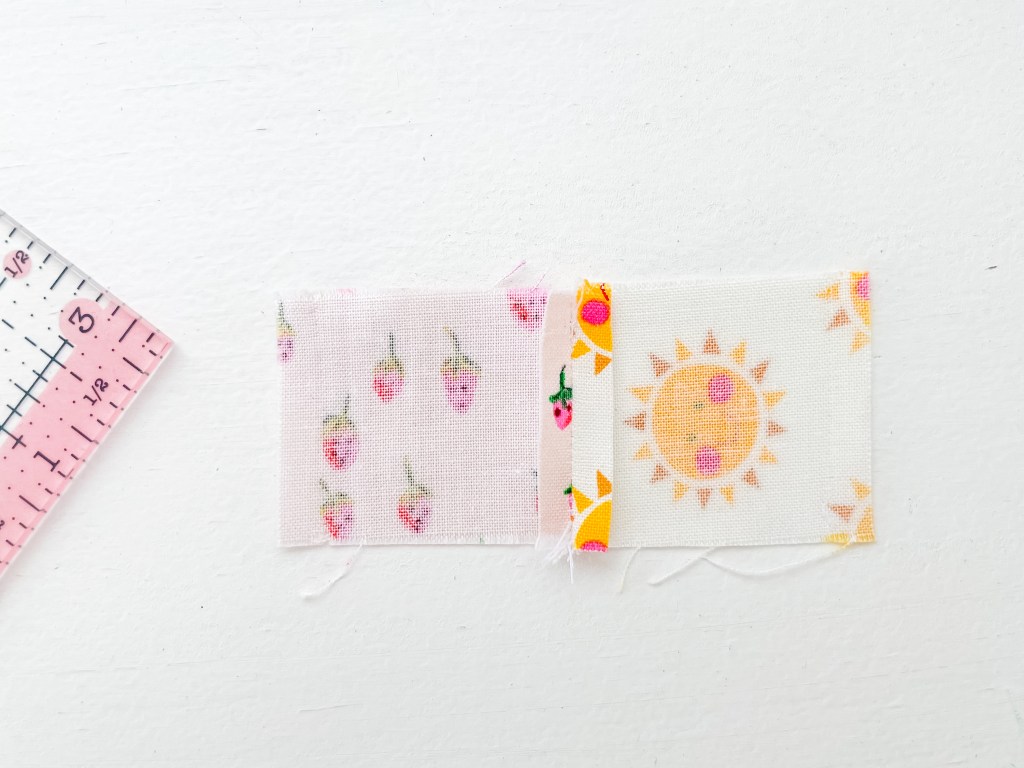
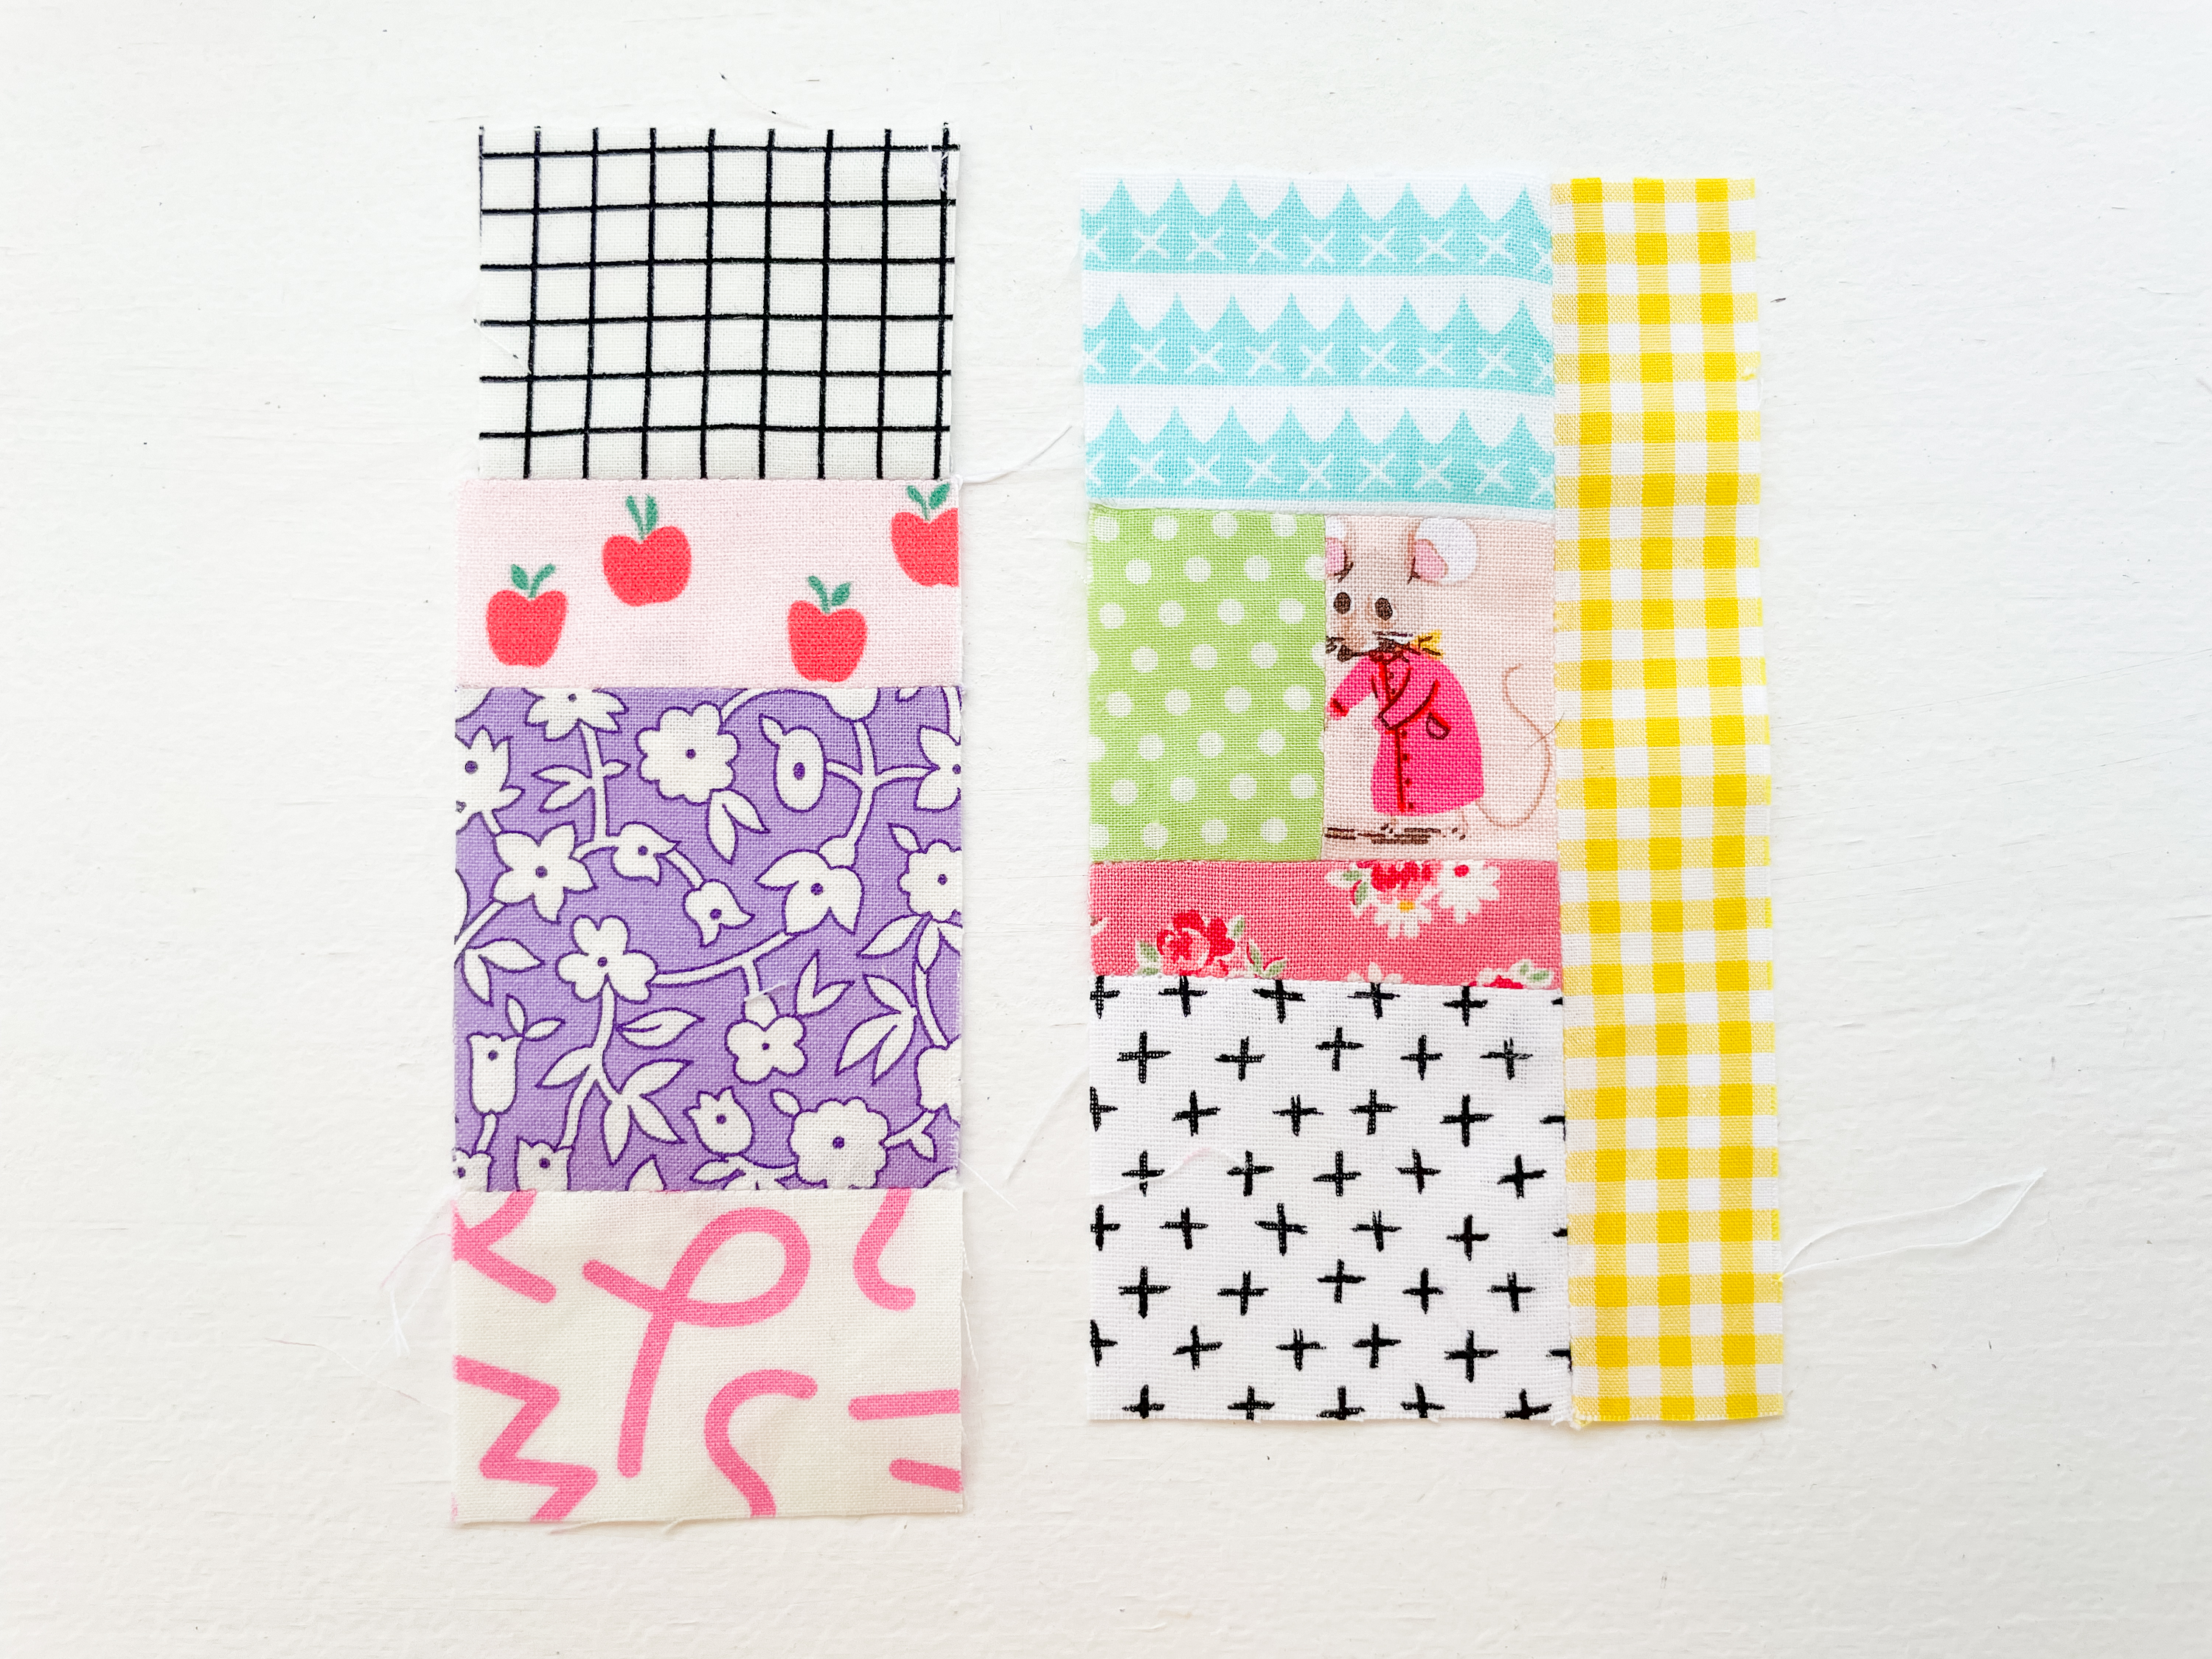
The two pieces should look something like the following. Place the panel in front of you right side facing up and pick the next piece of fabric you want to join. I’m adding a green bit along the bottom edge. So, I then square up and trim the panel along the edge I wish to add the fabric, as well as square up the bit of fabric along the edge where they are going to join.

Place the new piece of fabric on top of the panel right sides together. Lining up the two freshly trimmed straight edges. Sew along this edge using a ¼” seam allowance.
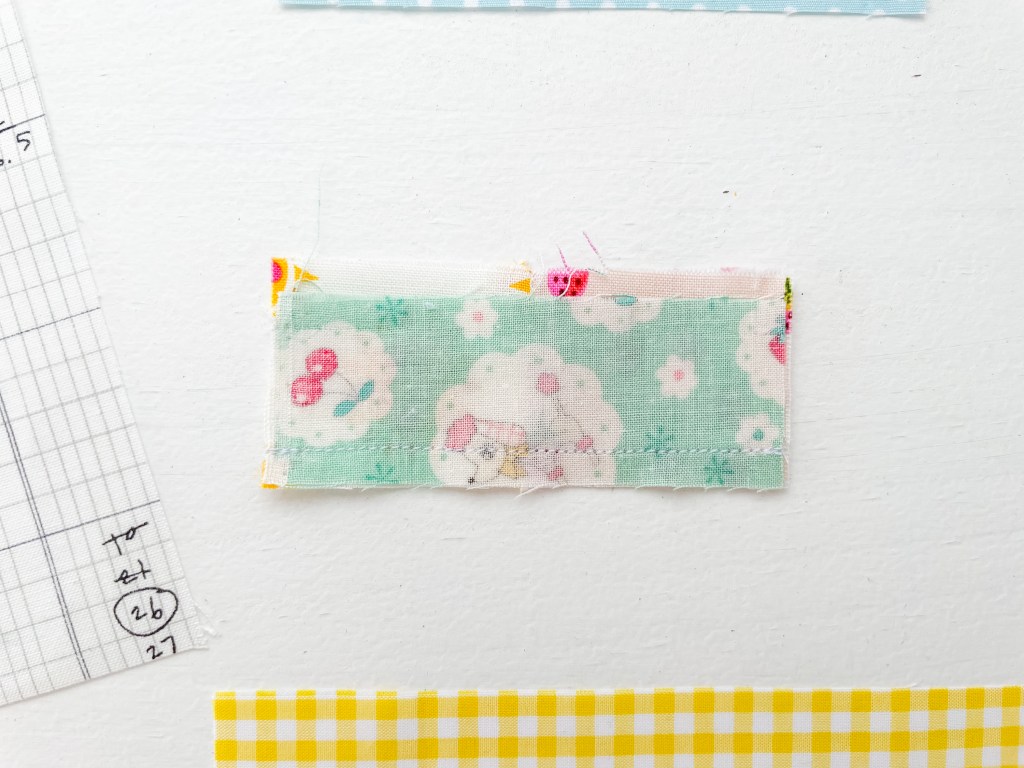
Open up the piece and press the seam so it is OPEN.
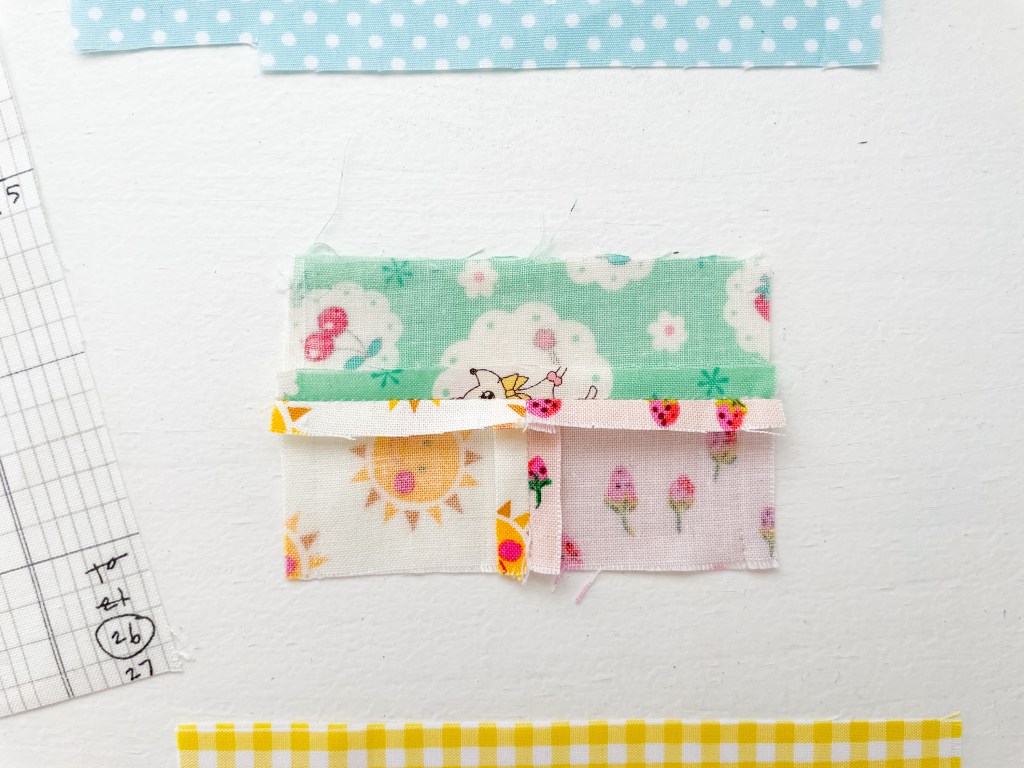
Again, pick your next fabric scrap to join. I’m placing a pink floral on the left of the panel. So, I square up my panel on the left side, creating a straight edge and make sure the pink scrap also has a straight edge where they are going to join.

I then place the pink on top so they are right sides together, line up the straight edges and sew them together using a ¼” seam allowance.
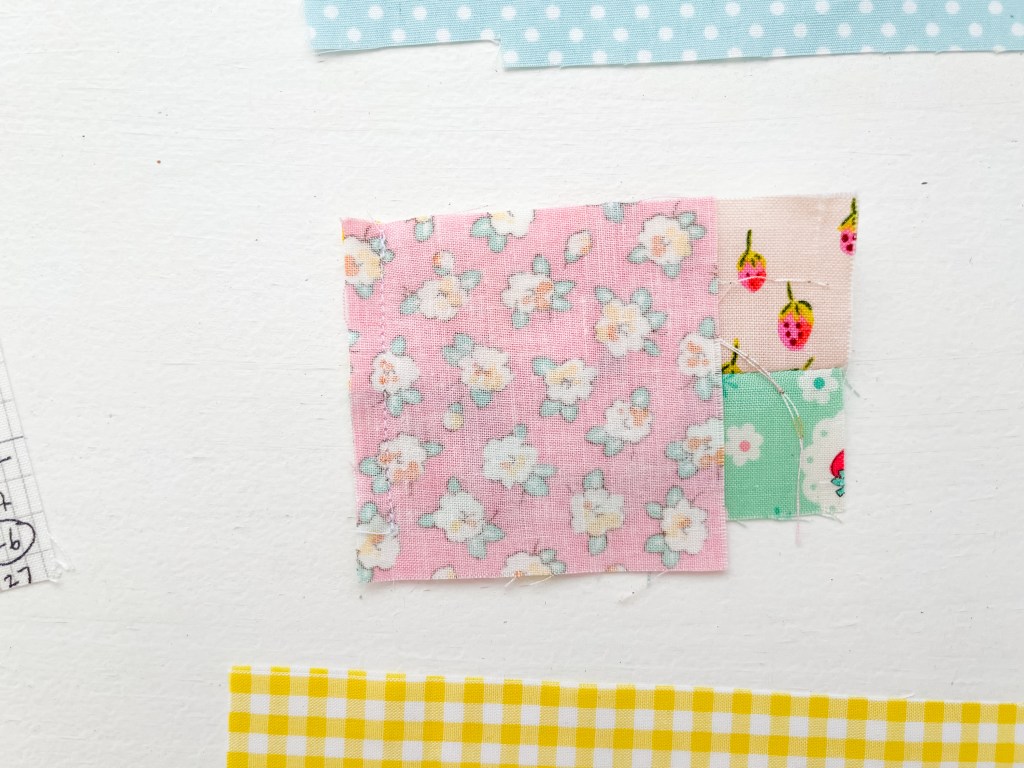
Open up the piece and press the seam so it is OPEN.

You then keep squaring up and trimming your panel and the piece you are going to add until your panel Is the desired size. Just remember to keep pressing your seams OPEN.

I added blue polka dot to the top.

A yellow gingham to the bottom.

And then a low-volume numerical print to the right.

The panel is now big enough for my intended use (a zipper pouch). Give your panel a good press at the end with an iron. All your seams should be pressed OPEN. This is important to reduce bulk. It means you can then easily add fusible interfacings if you intend to use your panels for pouch or bag making. Interfacings such as SF101 and Fusible Fleece stick much easier and sit better on patchwork panels that have nice flat seams, not huge bulky uneven seams.
I’ve added fusible fleece to the back of mine and quilted lines on my panel roughly ½” apart.
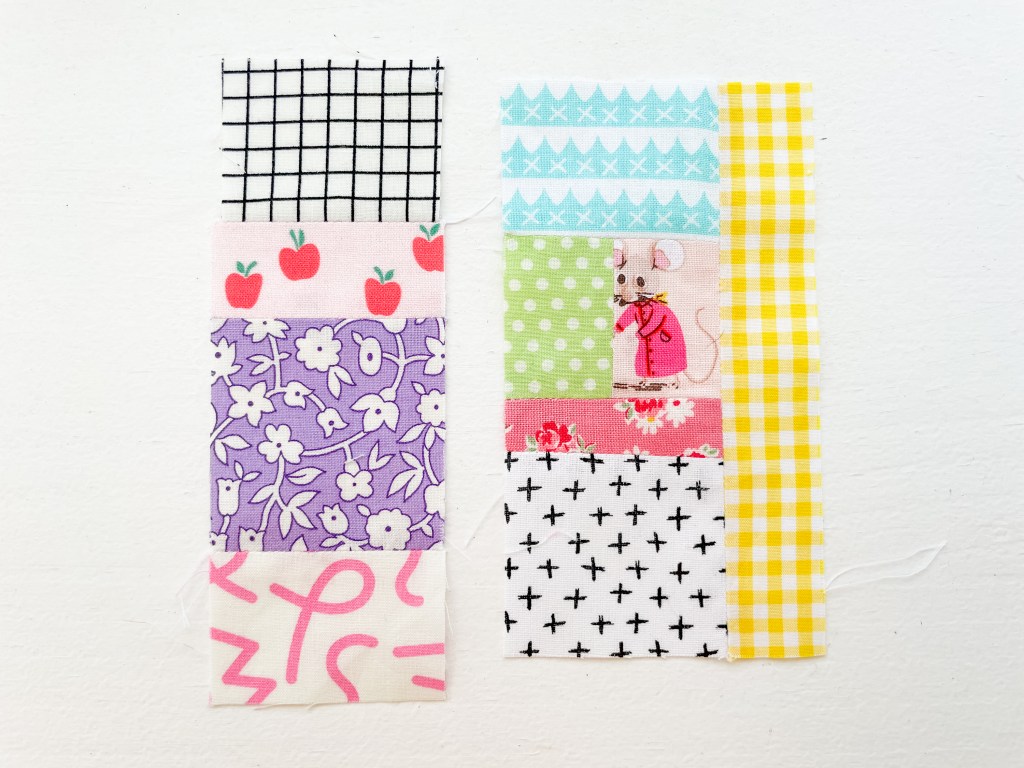
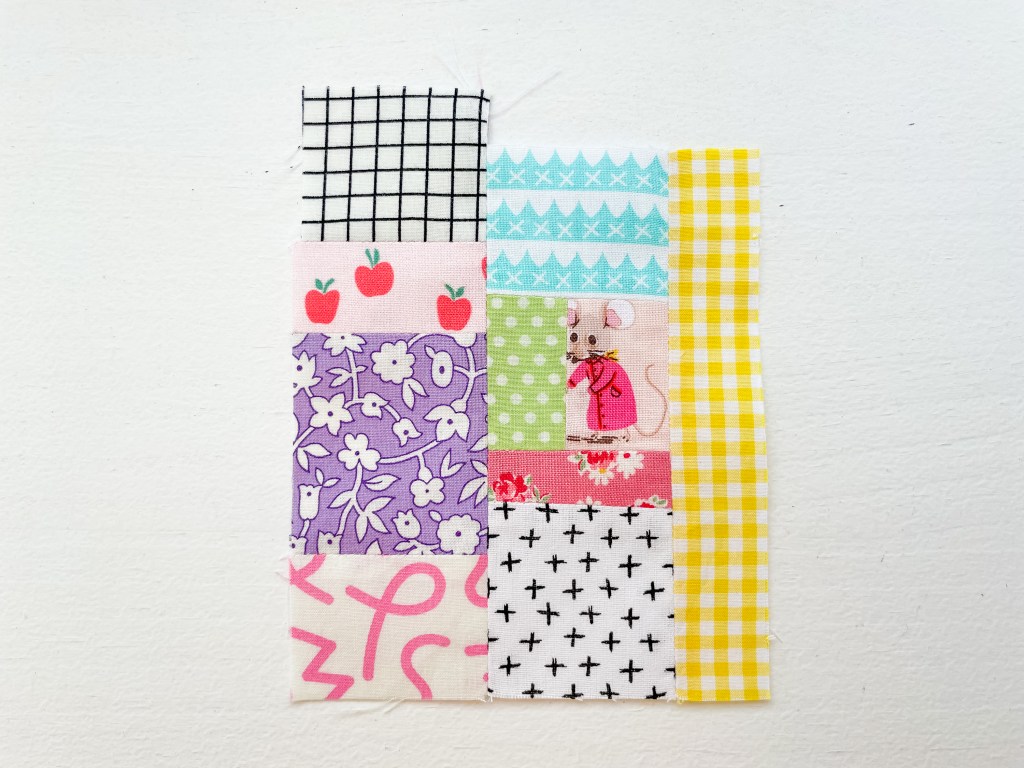
If you’re a quilter you could also try making quilt blocks using this same method. try making quilt blocks that are all trimmed to the same size I.e. 6” and then joined together later into a larger quilt top.
There are no hard and fast rules here for adding the fabric. You can add it to whichever side you want as long as it is the same length, or longer the side of the panel where you wish to add it. If you have some really precious scraps you wish to use, but they are not long enough, you can simply join two (or more) smaller pieces together to make a longer piece. Just like i’ve done here.
The important thing is you have fun and hopefully put a dent in the overflowing scrap basket we’re all guilty of.
I’ll be sharing a fun pouch project soon, that will be perfect for your scrappy panels.
Happy Scrappy Sewing, Kellie x.

Totally threw me the numerical fabric. Thought it was measurements needed until I read the whole tutorial! 😂
haha. Too good Jane. I love a good numerical print. x
Great tutorial! Thanks! (And I too had the same measurement ‘thought’! A fun misdirect I think!)
Thanks Patt! No numbers, we want to keep it simple and fun right. x
Love the tutorial! So easy to follow. I’m going to give it a try. Thank you Kellie 🩷
Thanks so much Holly, hope you have fun. x