
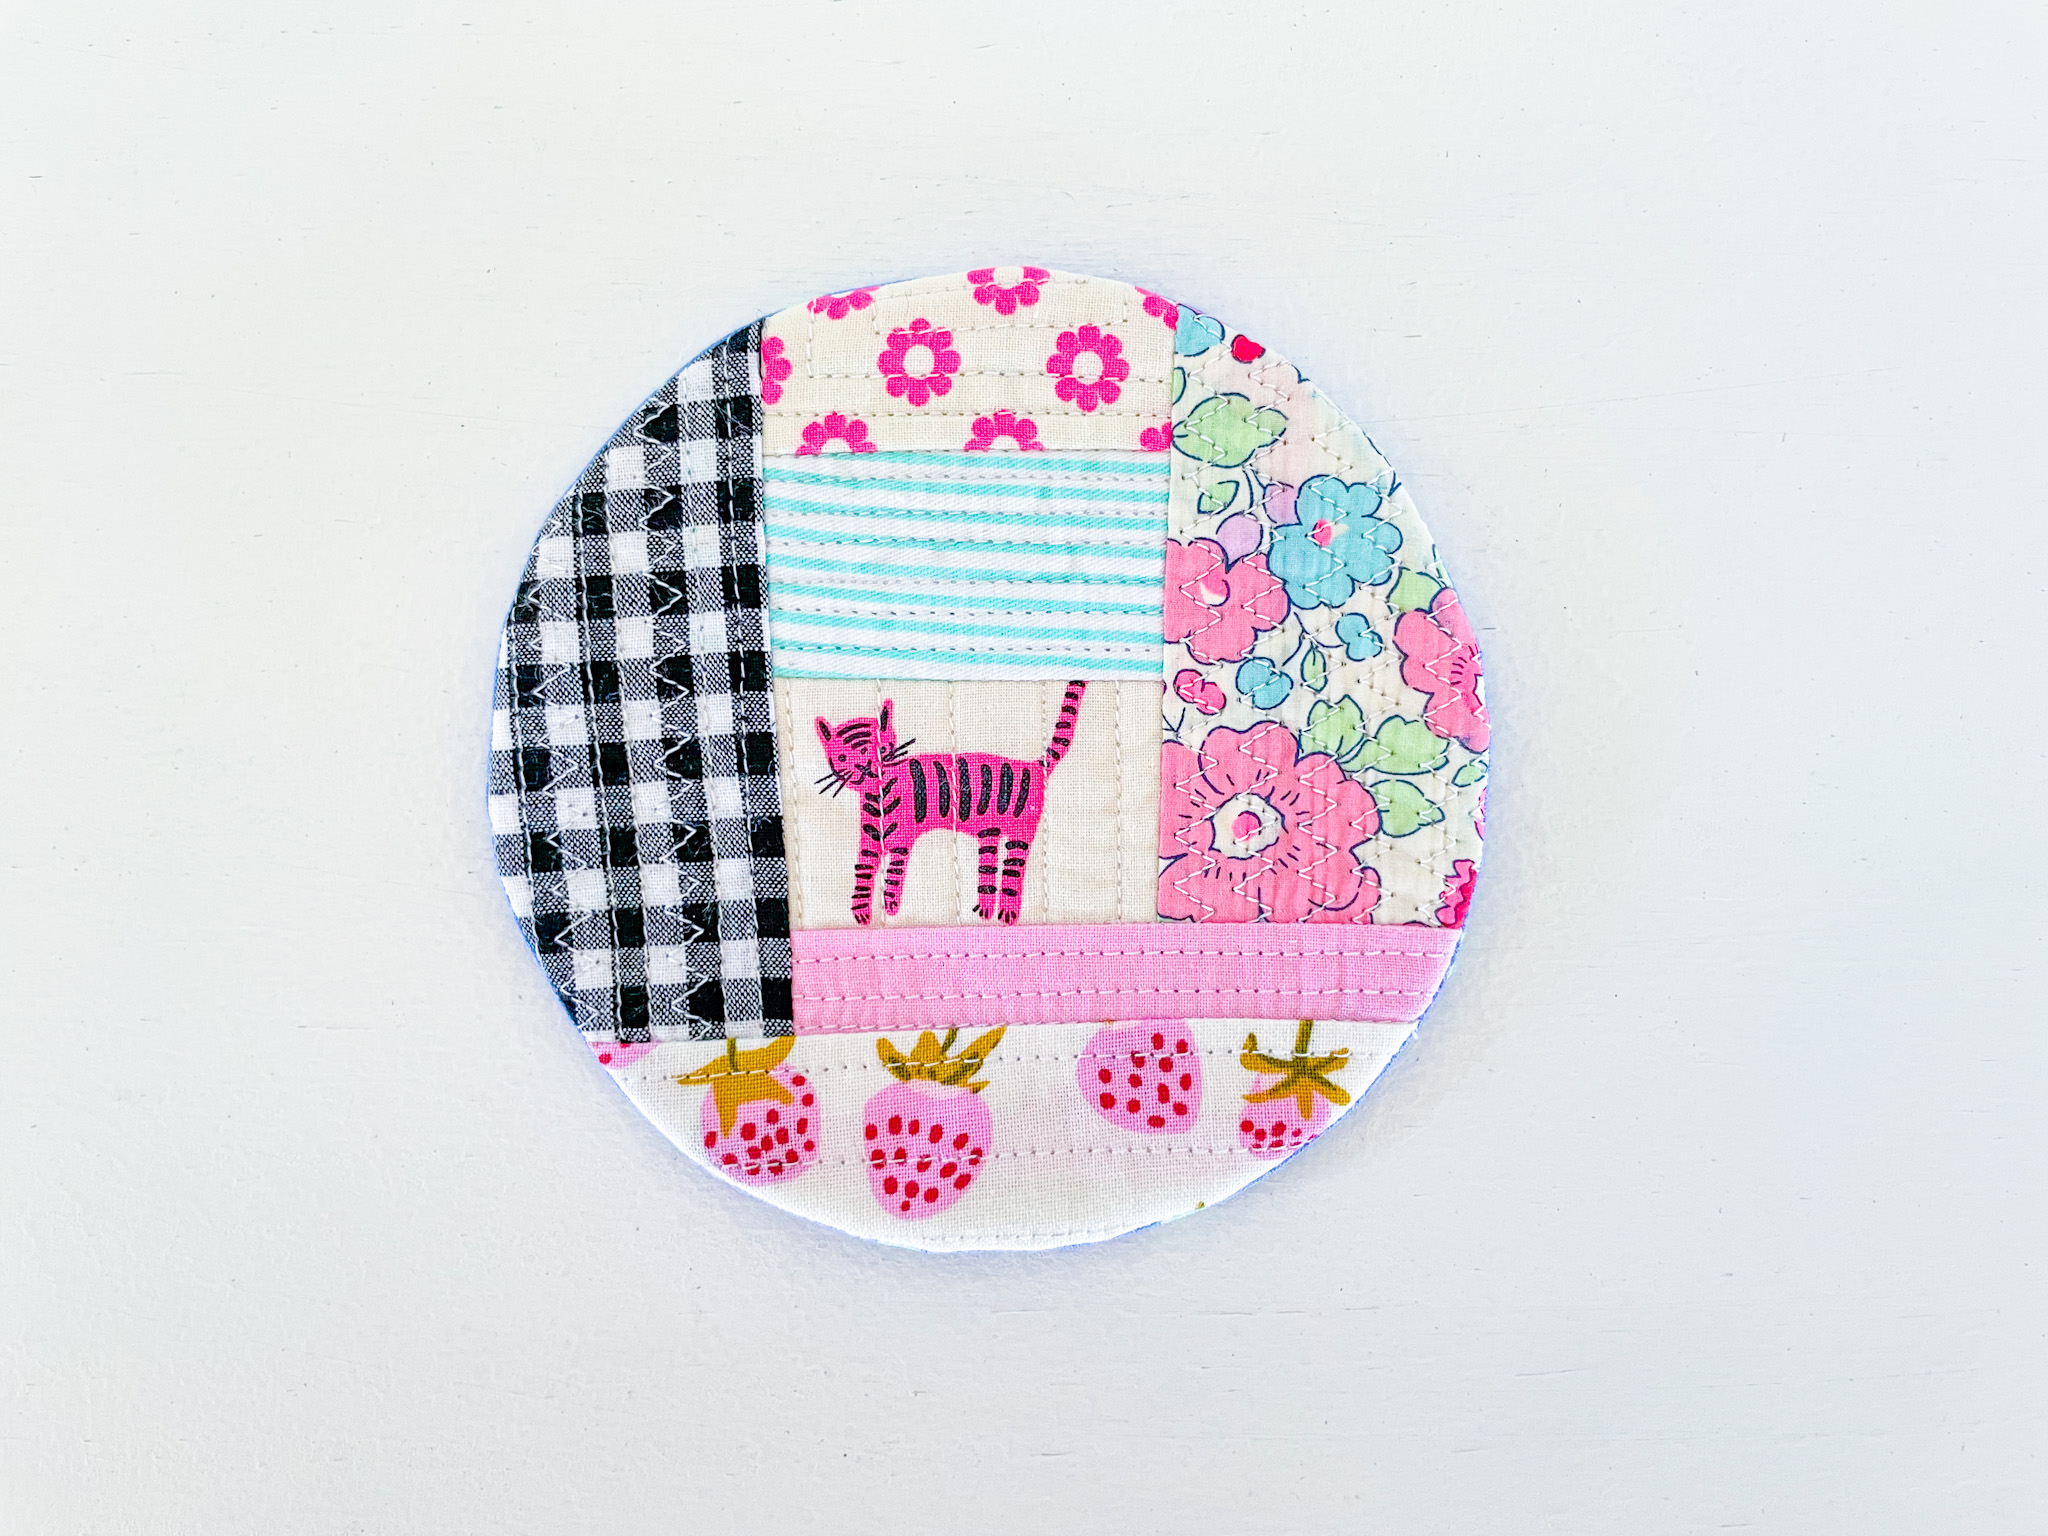
Happy Scrappy Coaster Tutorial
Let’s talk about scrap baskets – the overflowing kind full of tiny, awkward, too-cute-to-bin fabric pieces. The Happy Scrappy Coaster is my answer to those leftovers that deserve a second life.
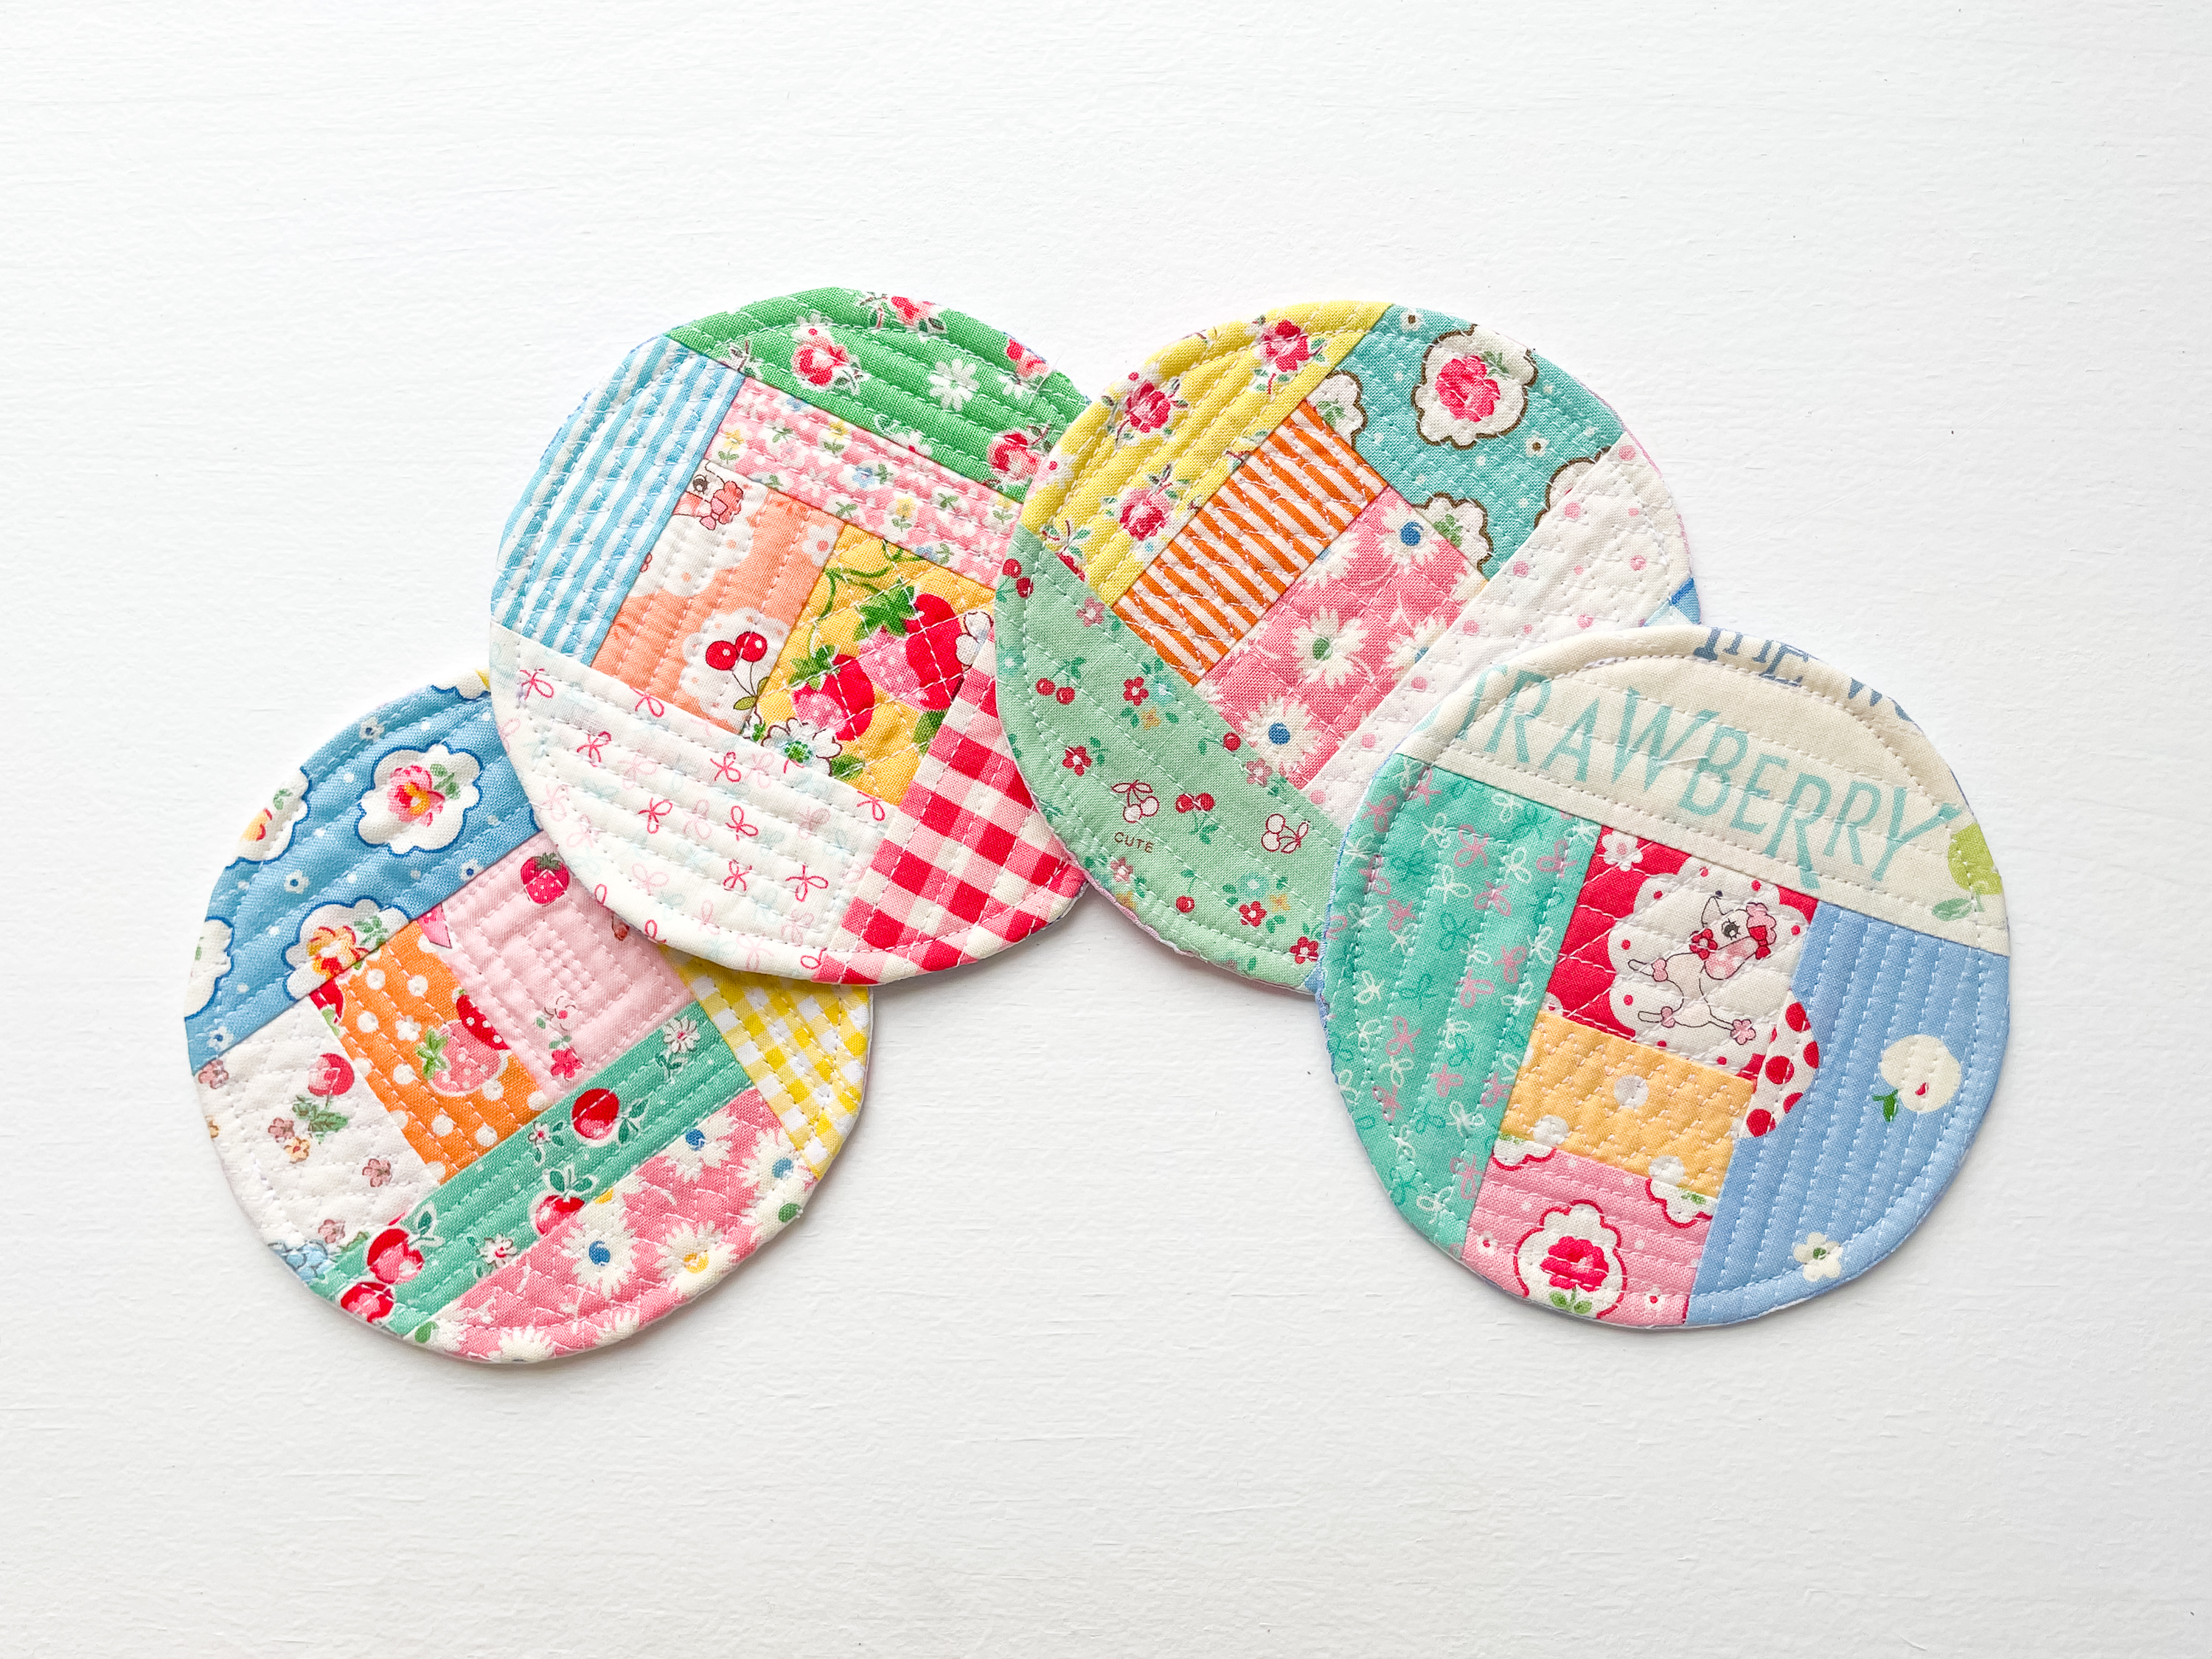
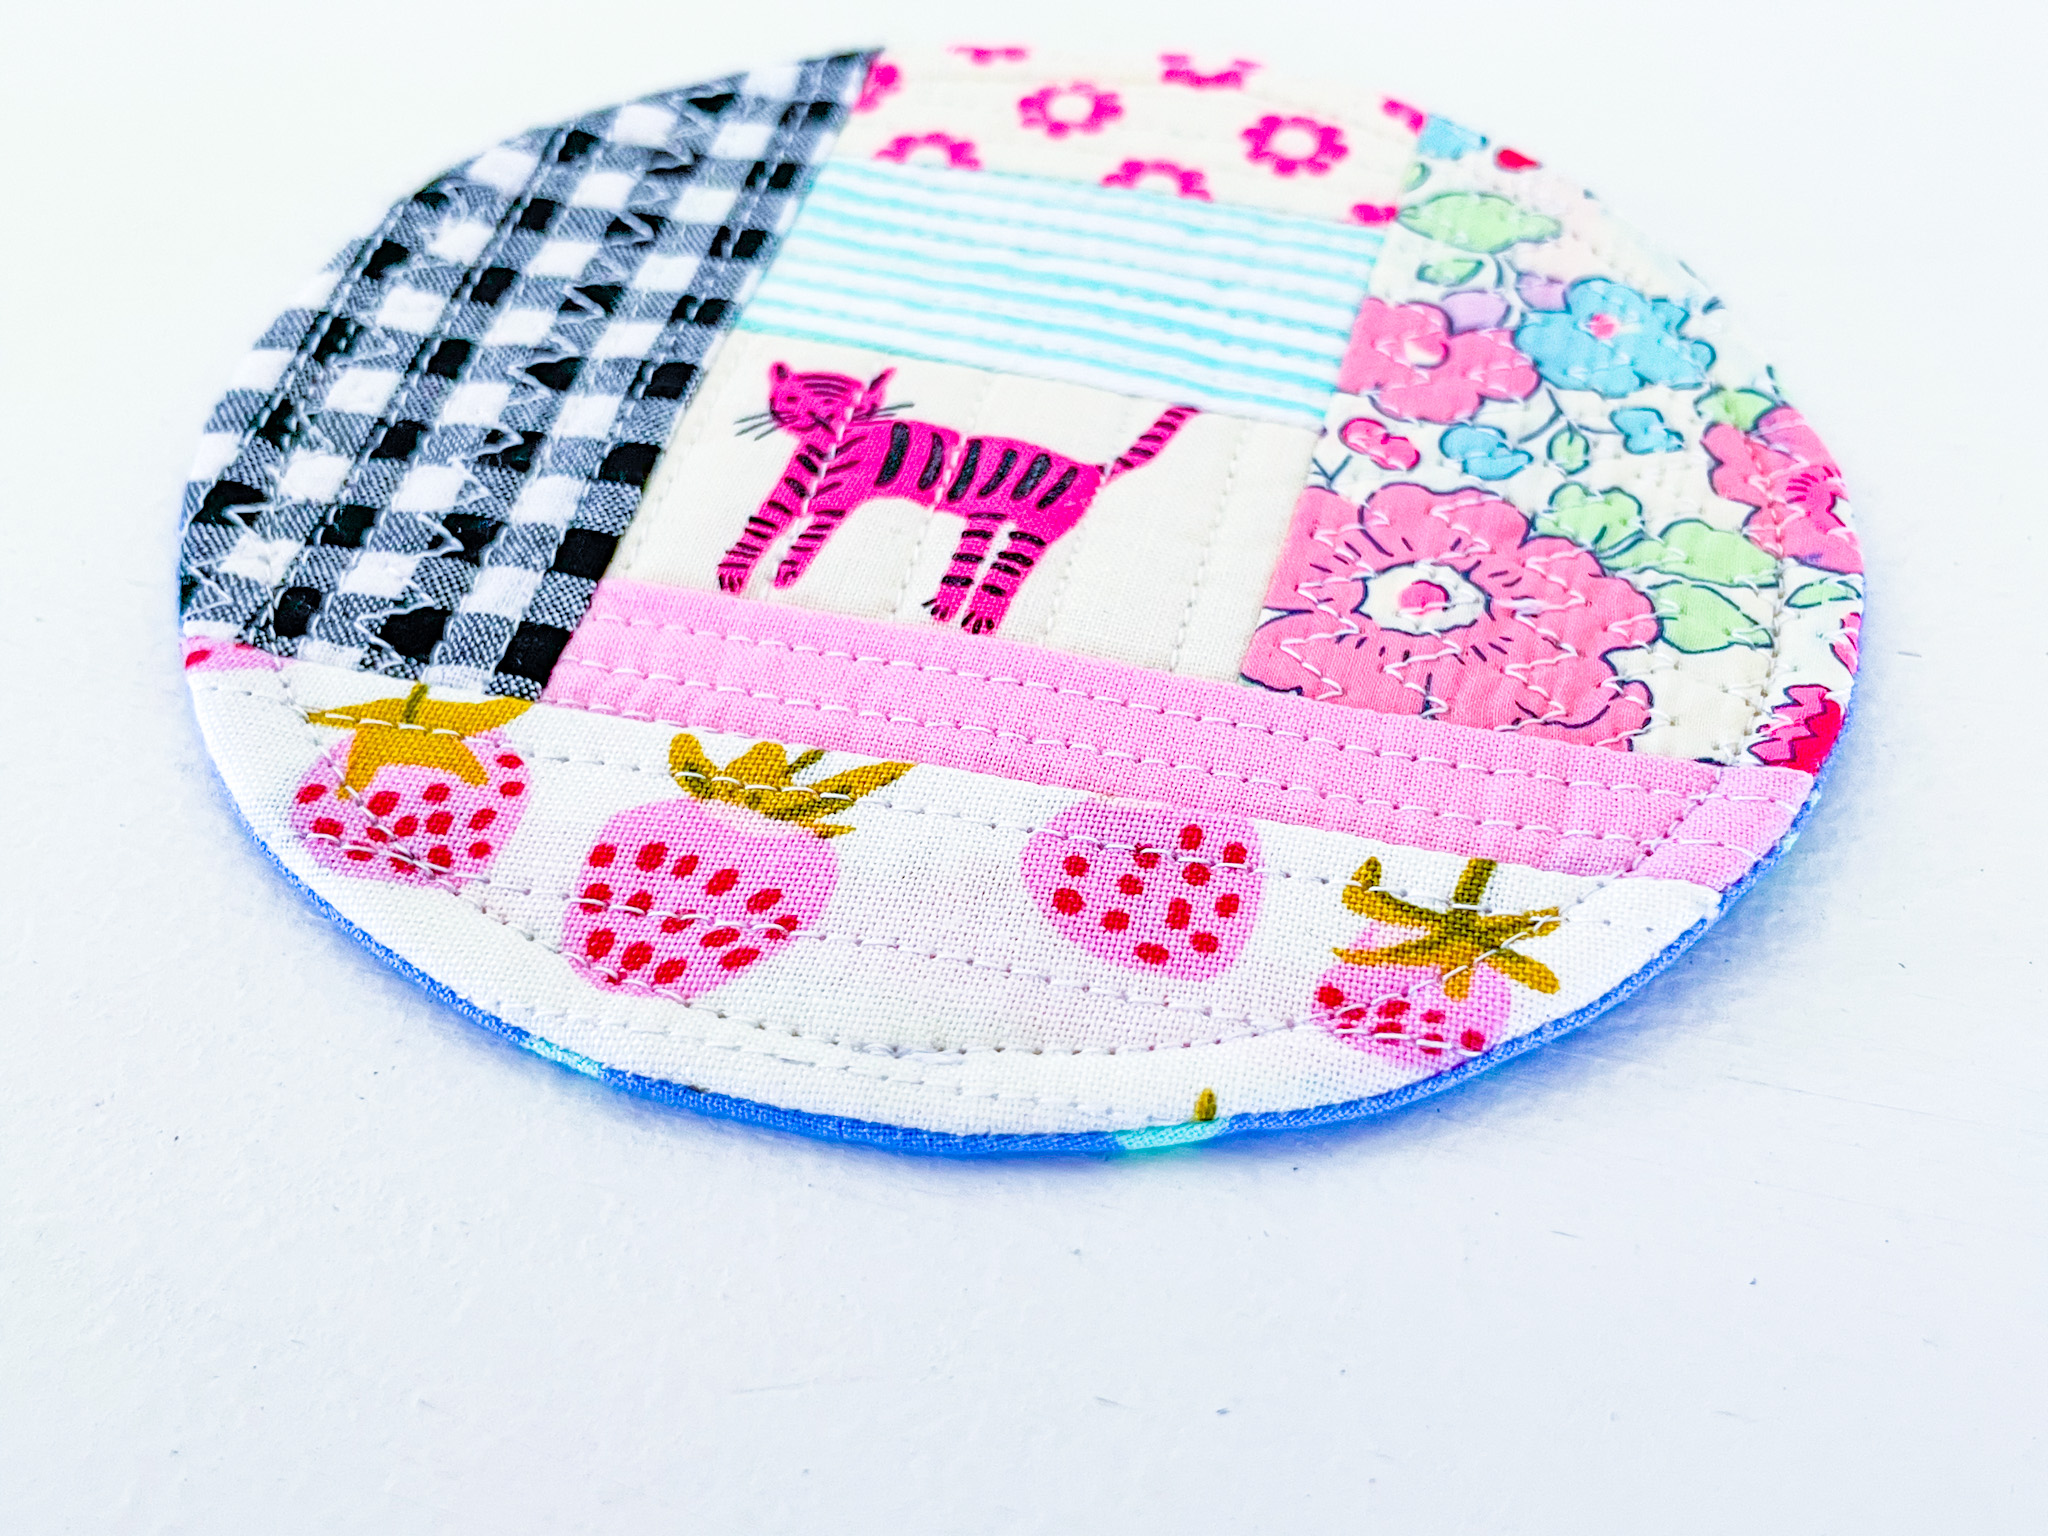
This round quilt-as-you-go coaster tutorial is a fun and beginner-friendly sewing project that turns fabric scraps into something both happy and practical. Using simple techniques and small pieces of fabric, these scrappy coasters come together quickly and are incredibly satisfying to make.
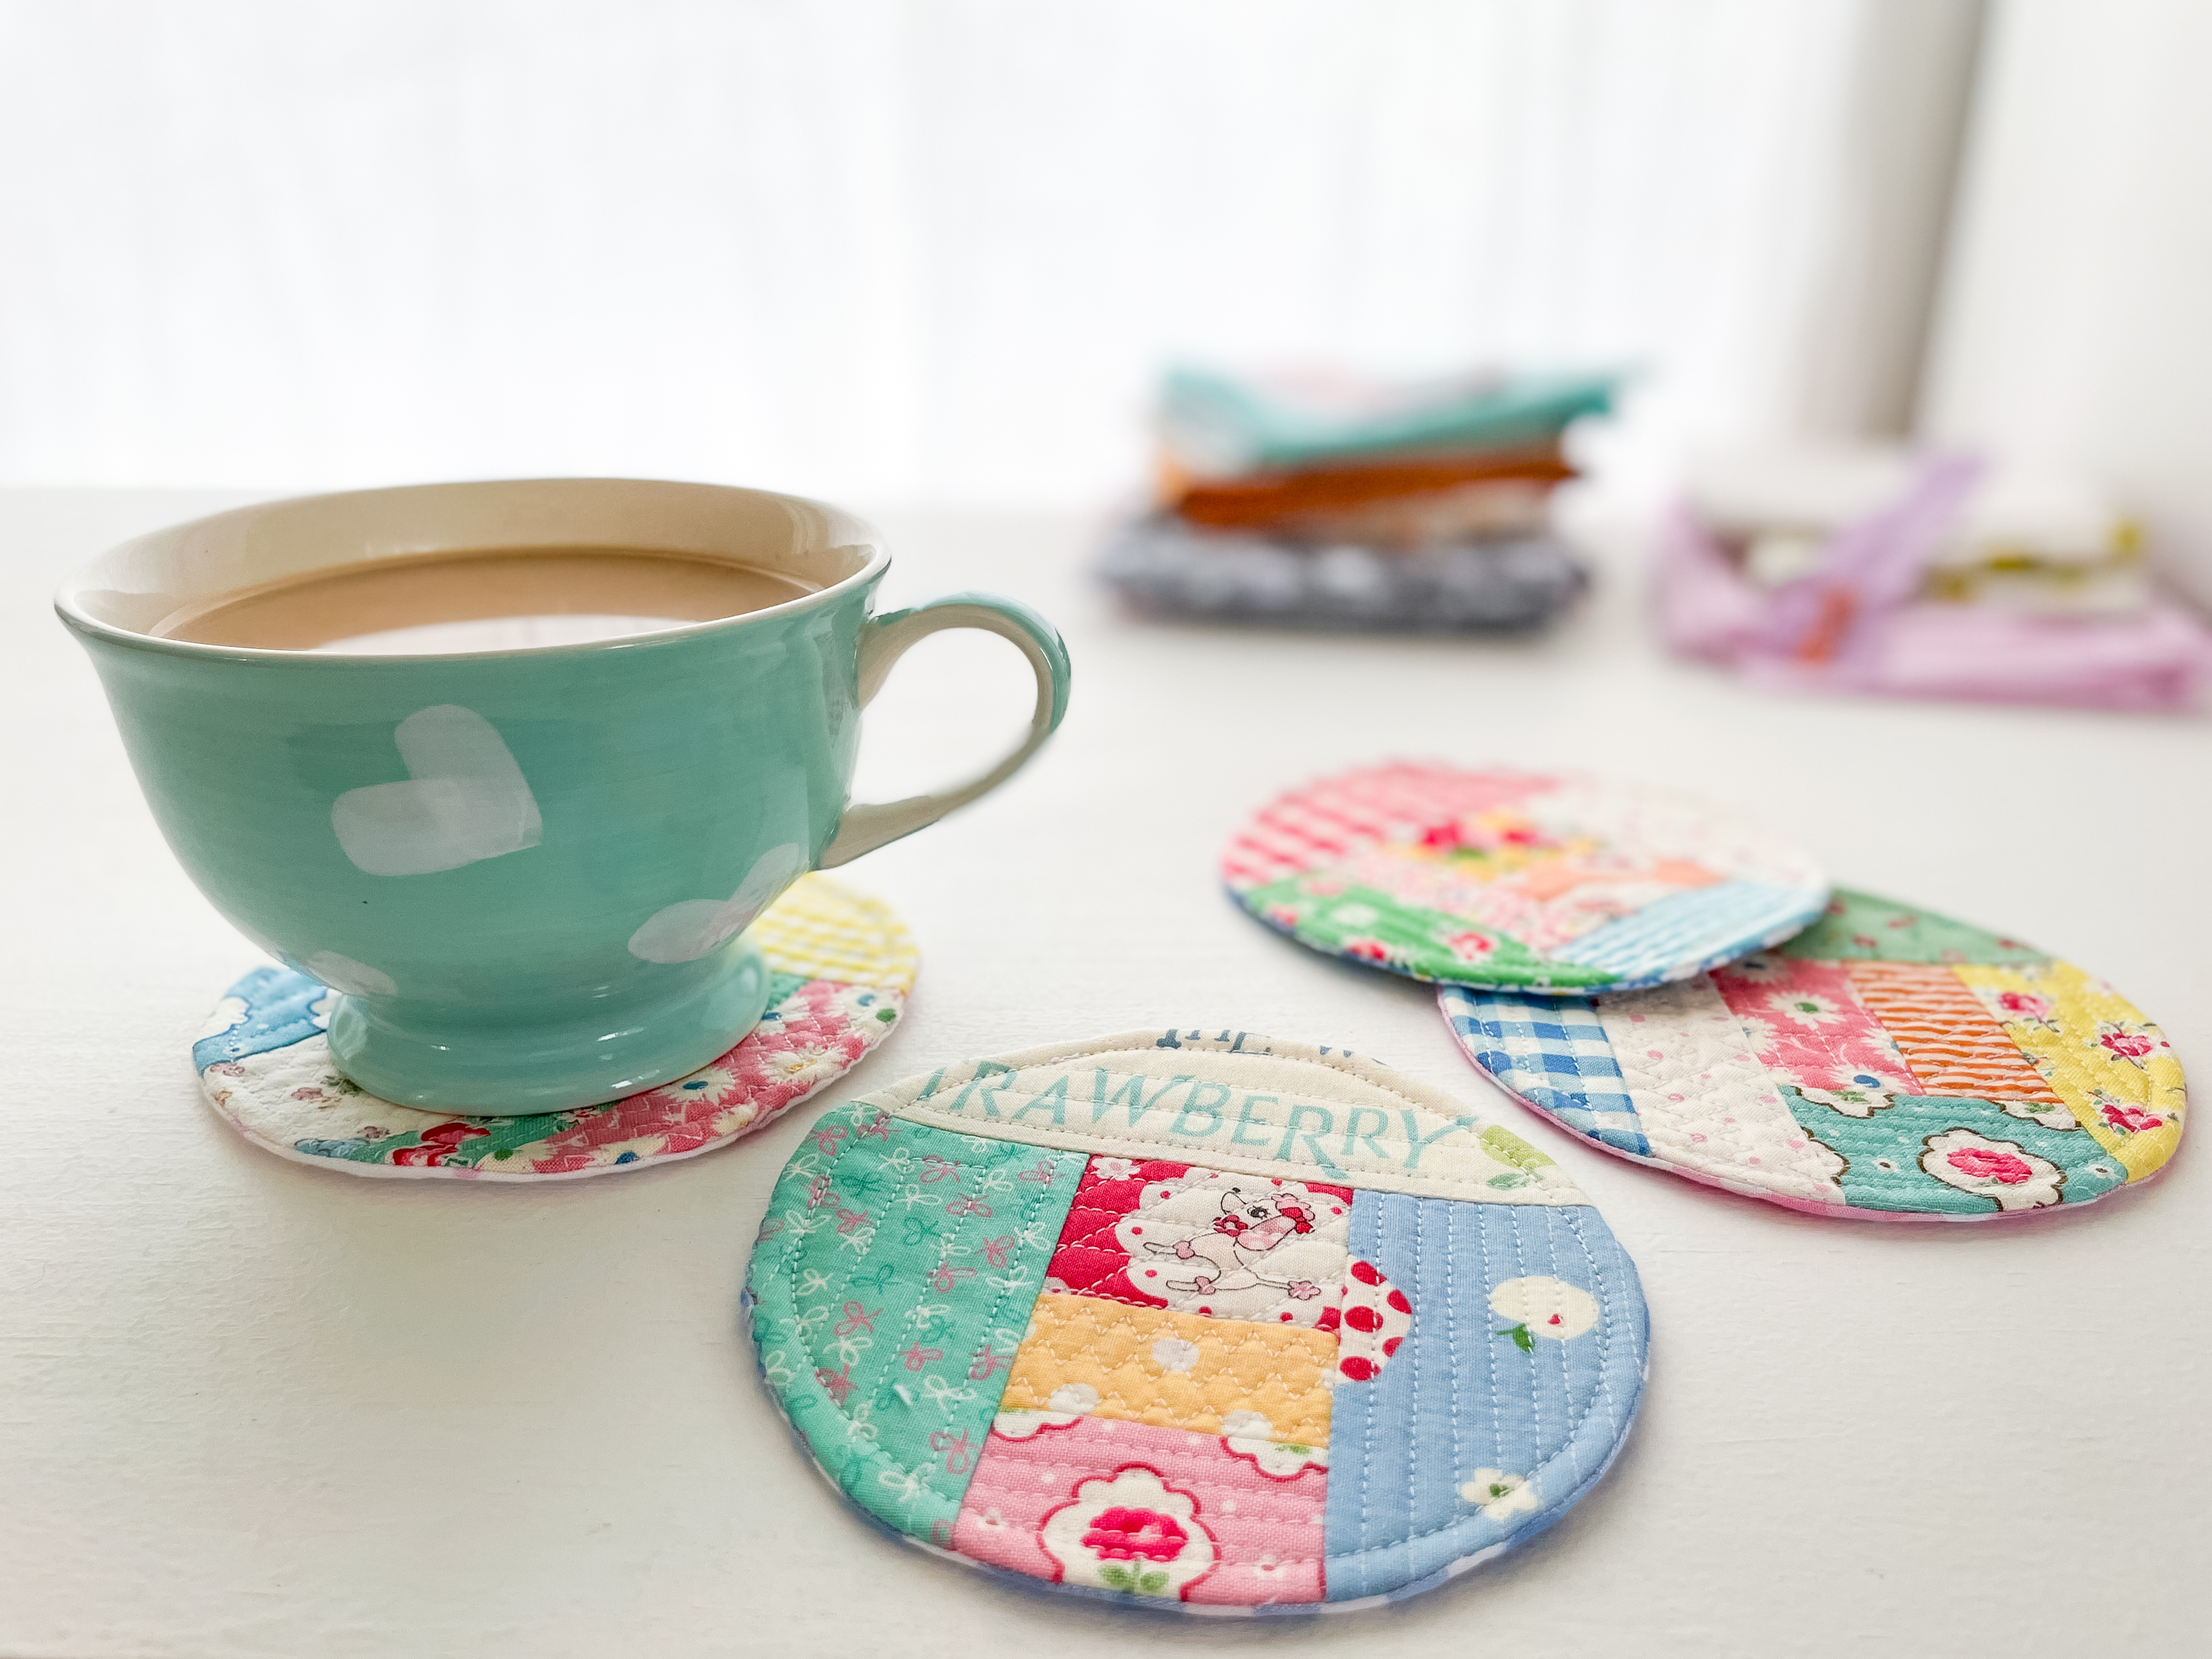
Perfect for keeping beside your sewing machine (because tea and sewing go hand in hand), these handmade fabric coasters are bright, cheerful, and useful. They also make wonderful handmade gifts — ideal as scrap-busting sewing projects, stocking stuffers, card-sized surprises, or a sweet little gift you can pop in the post.
If you’re not familiar with the quilt as you go method, I don’t go into much depth about it here in this coaster tutorial. However, you can find a more comprehensive tutorial on how to do QAYG if you visit one of my previous tutorials here, The Quilt as you go Mug Rug.
let’s get started!
Finished size: 4 ½” tall x 4 ½” wide
Supplies
- Fabric scraps- so much fun with new fabric too!
- Cotton batting scraps – at least a 6” square
- Backing fabric (2) 3¼” x 6¼”
- Pinking shears for trimming seams- not essential, but makes things a lot easier
- Frixion pen or water erasable marker
- Basic sewing supplies
- open toe sewing machine foot – I use walking foot
- A circular household item 4 ½” diameter or you can download and print my circle template below.
Instructions
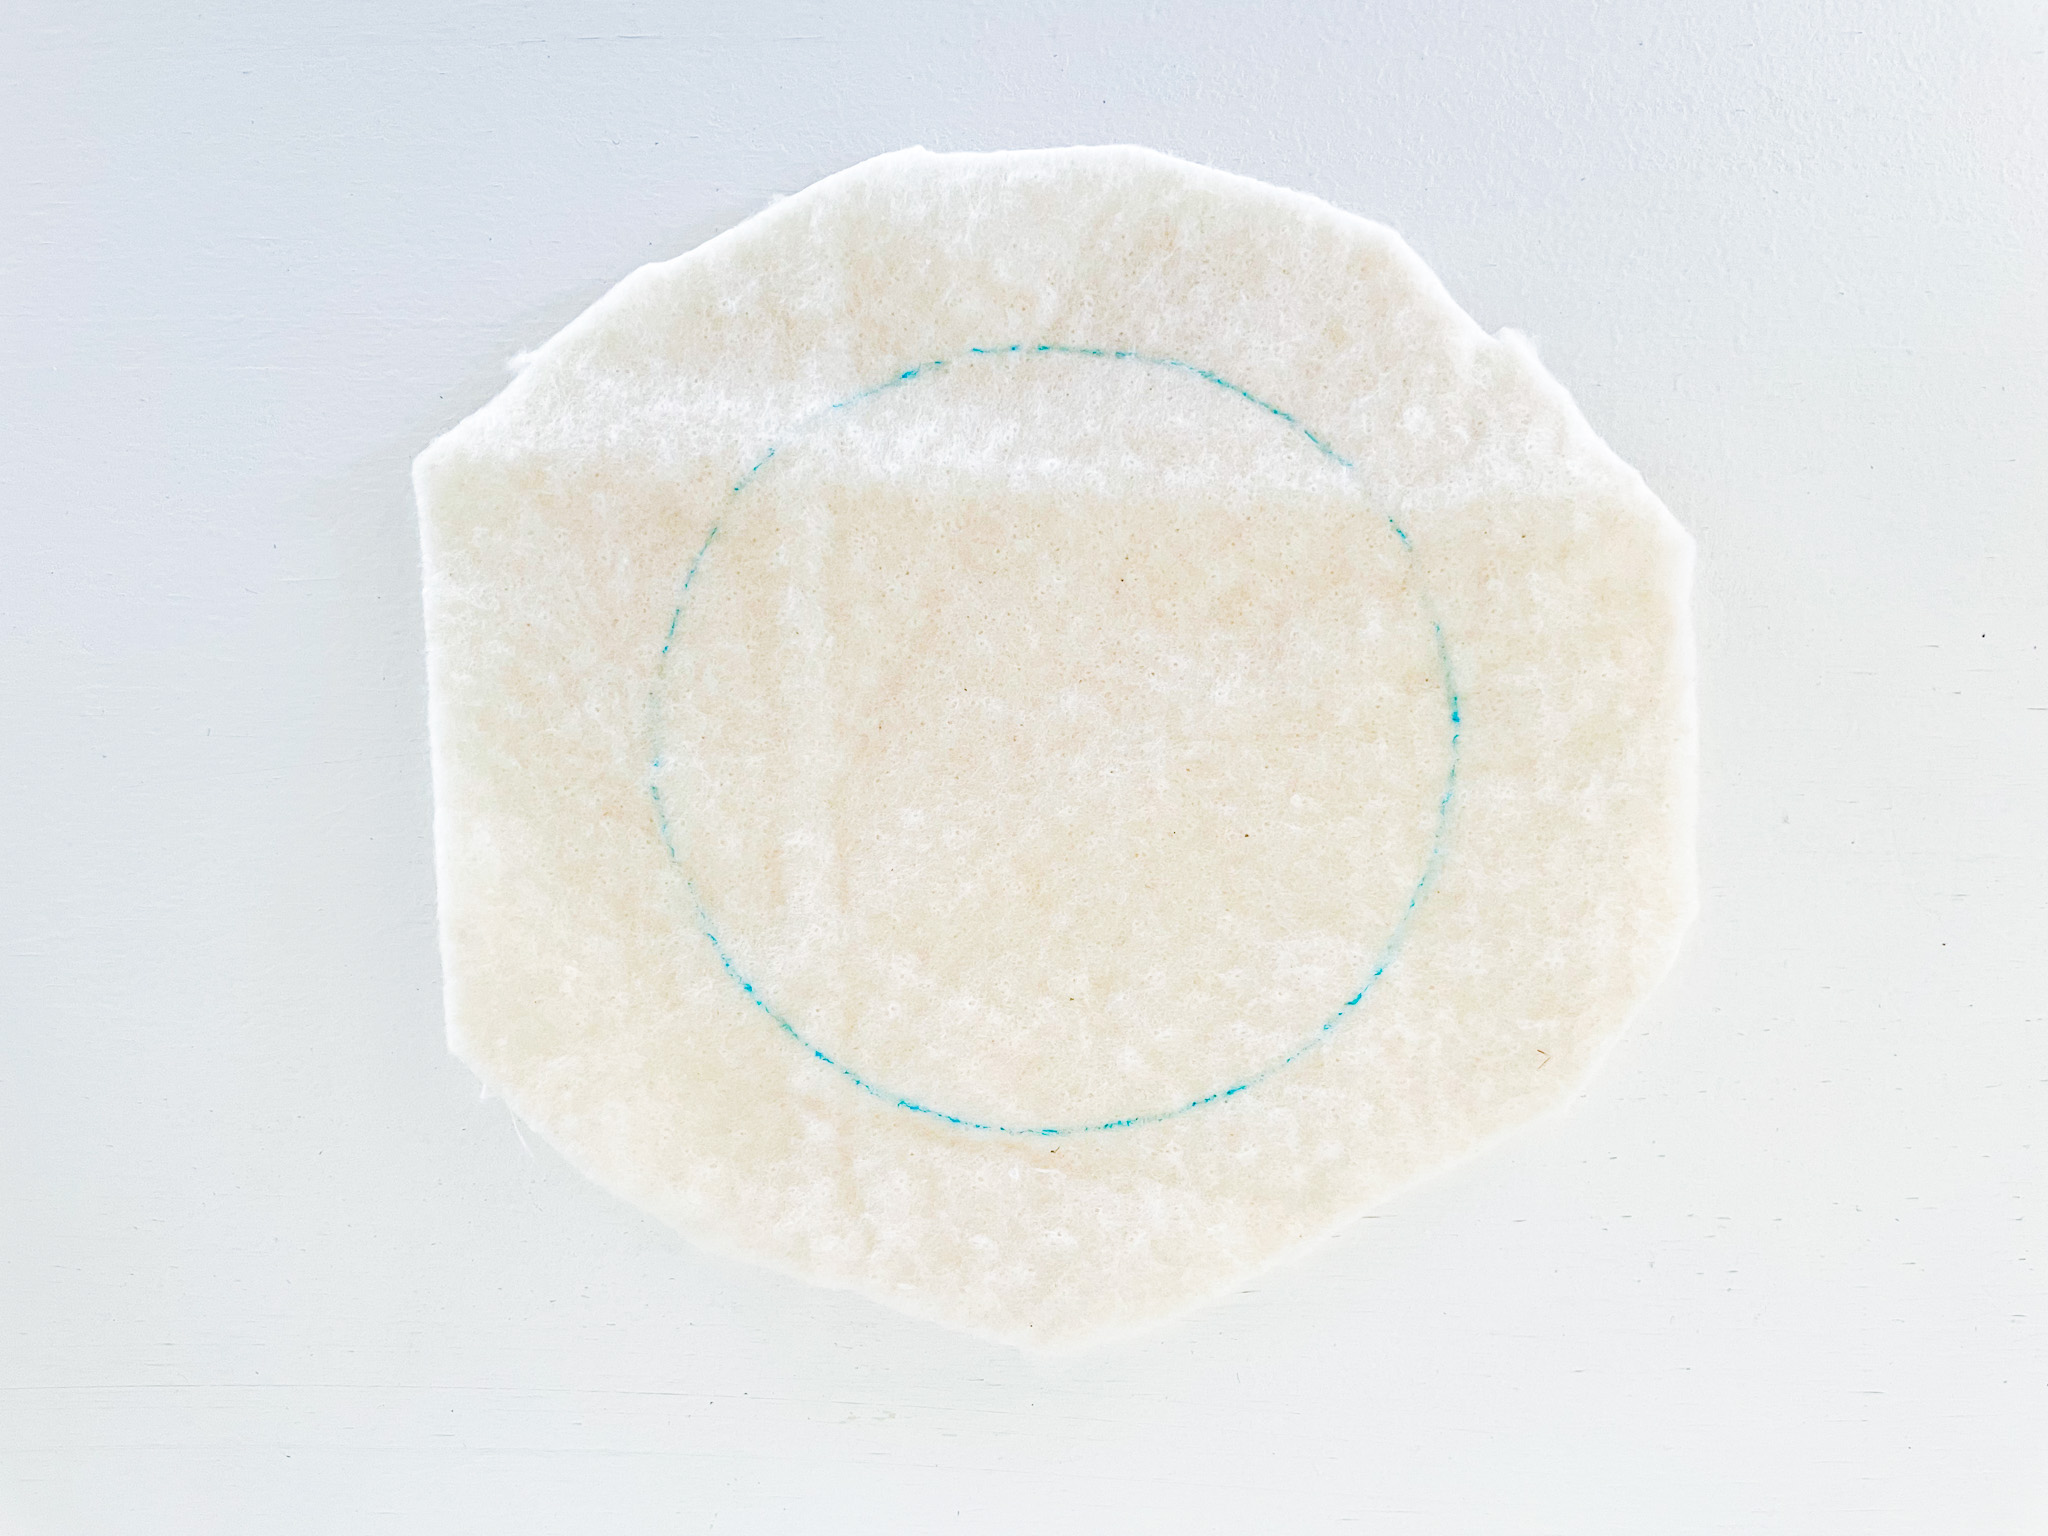
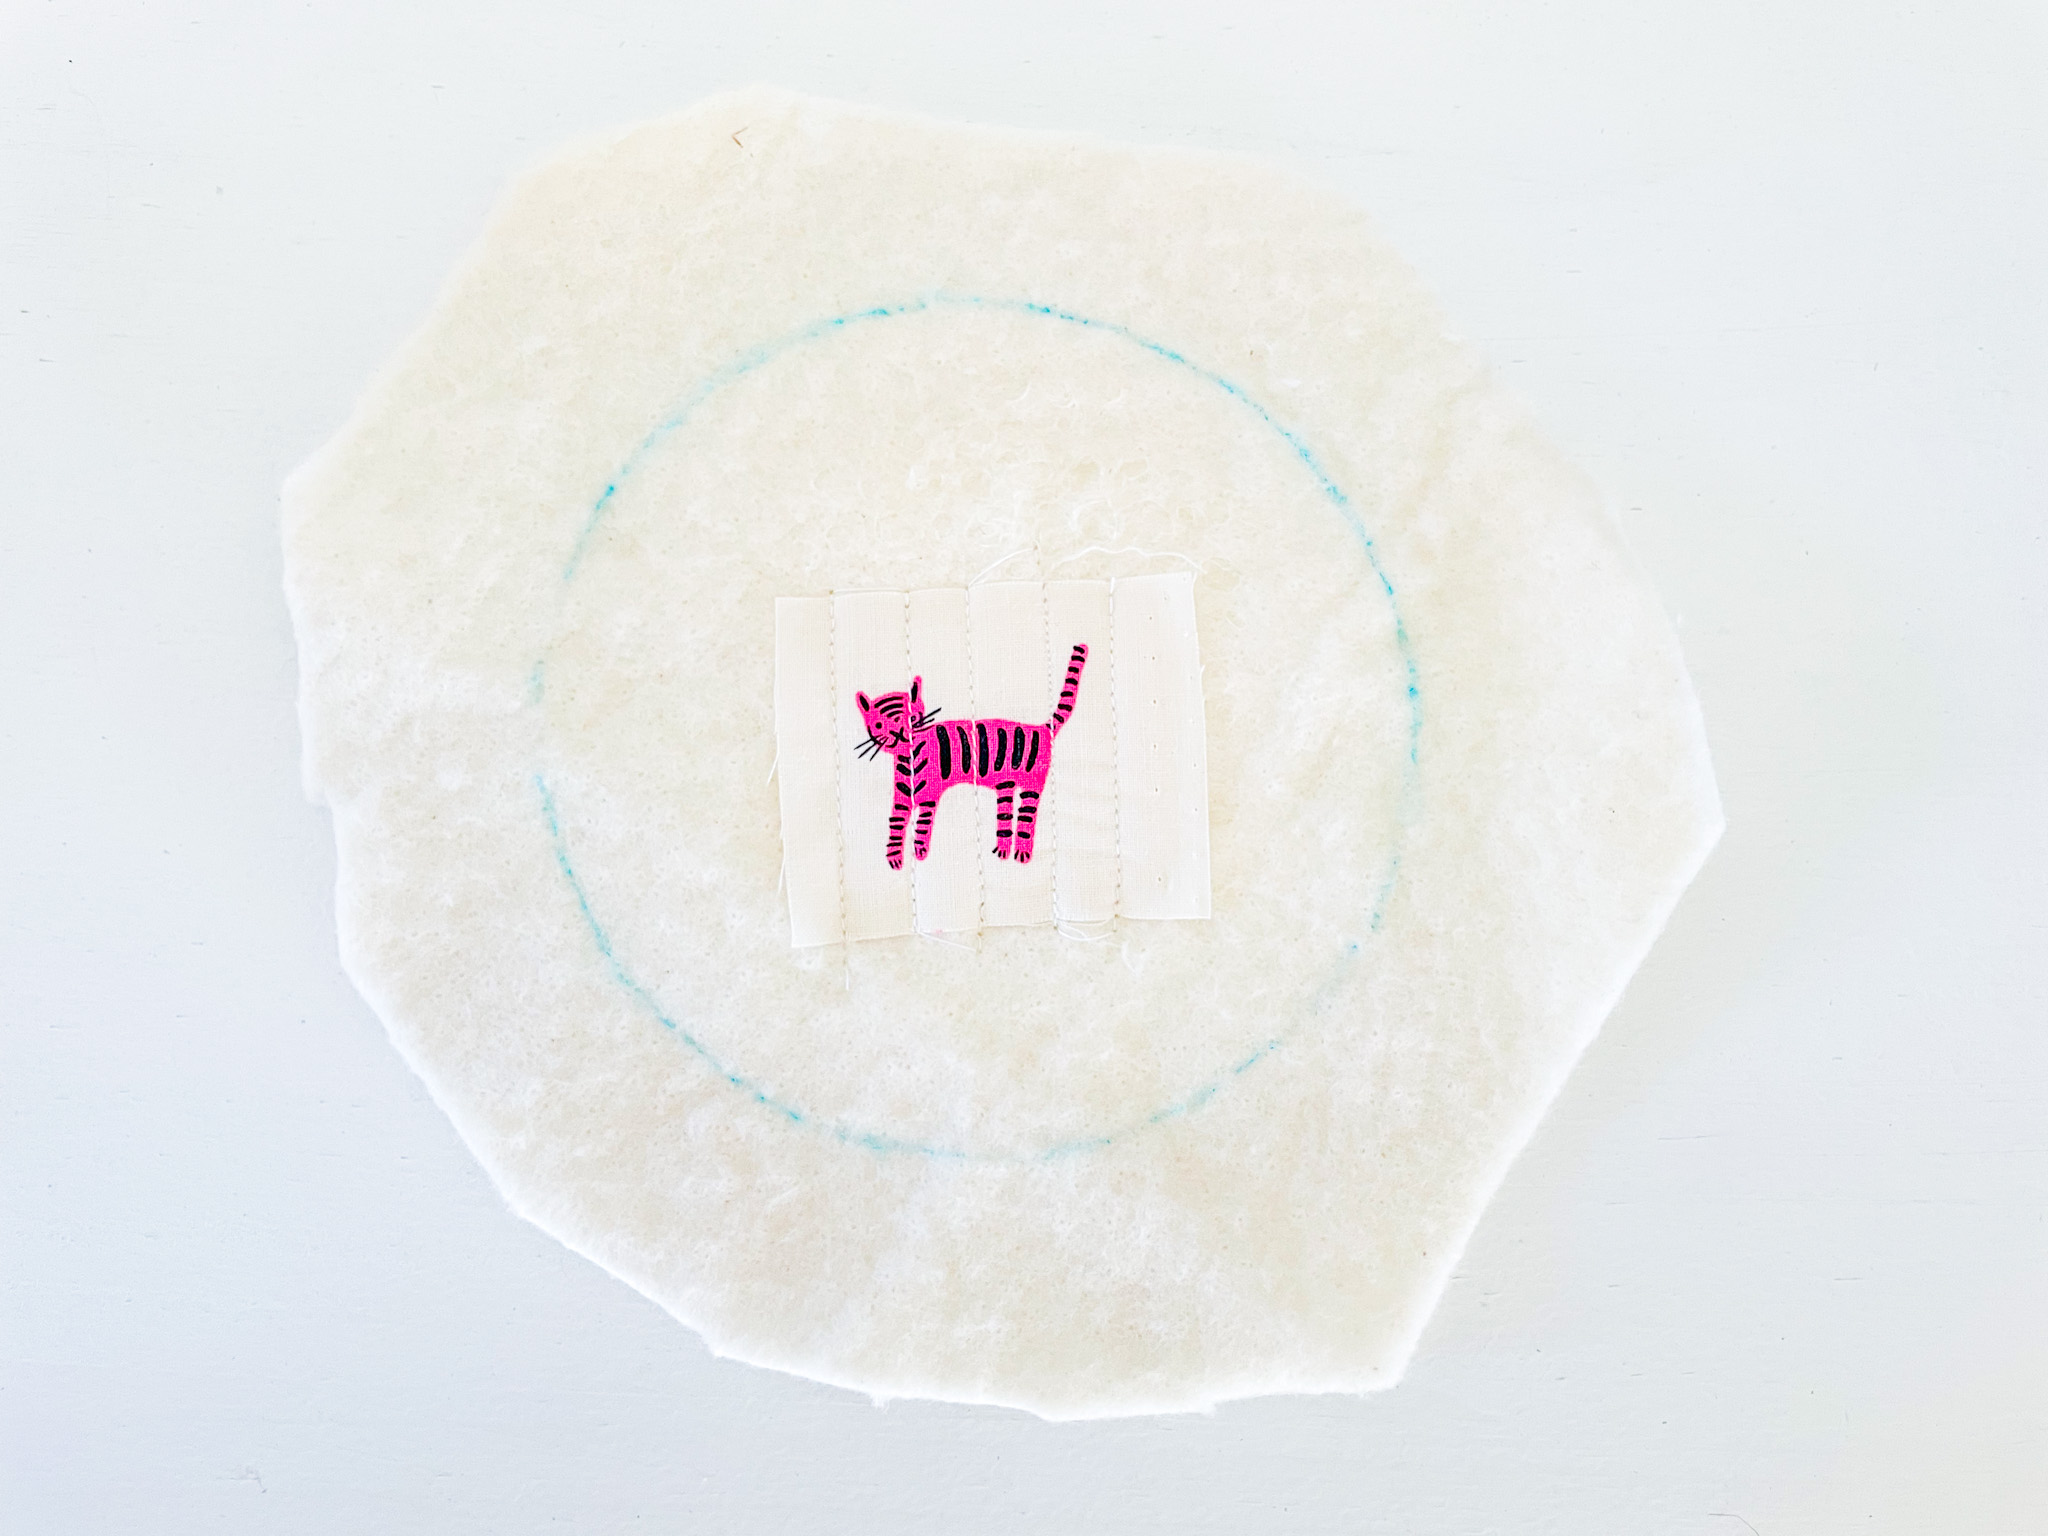
- Take your circle template and trace around it on your piece of cotton batting.
2. Begin in the centre of your circle and add your fabric scraps using the quilt-as-you-go method. Place a scrap right side up onto the batting, then quilt it down to secure it.
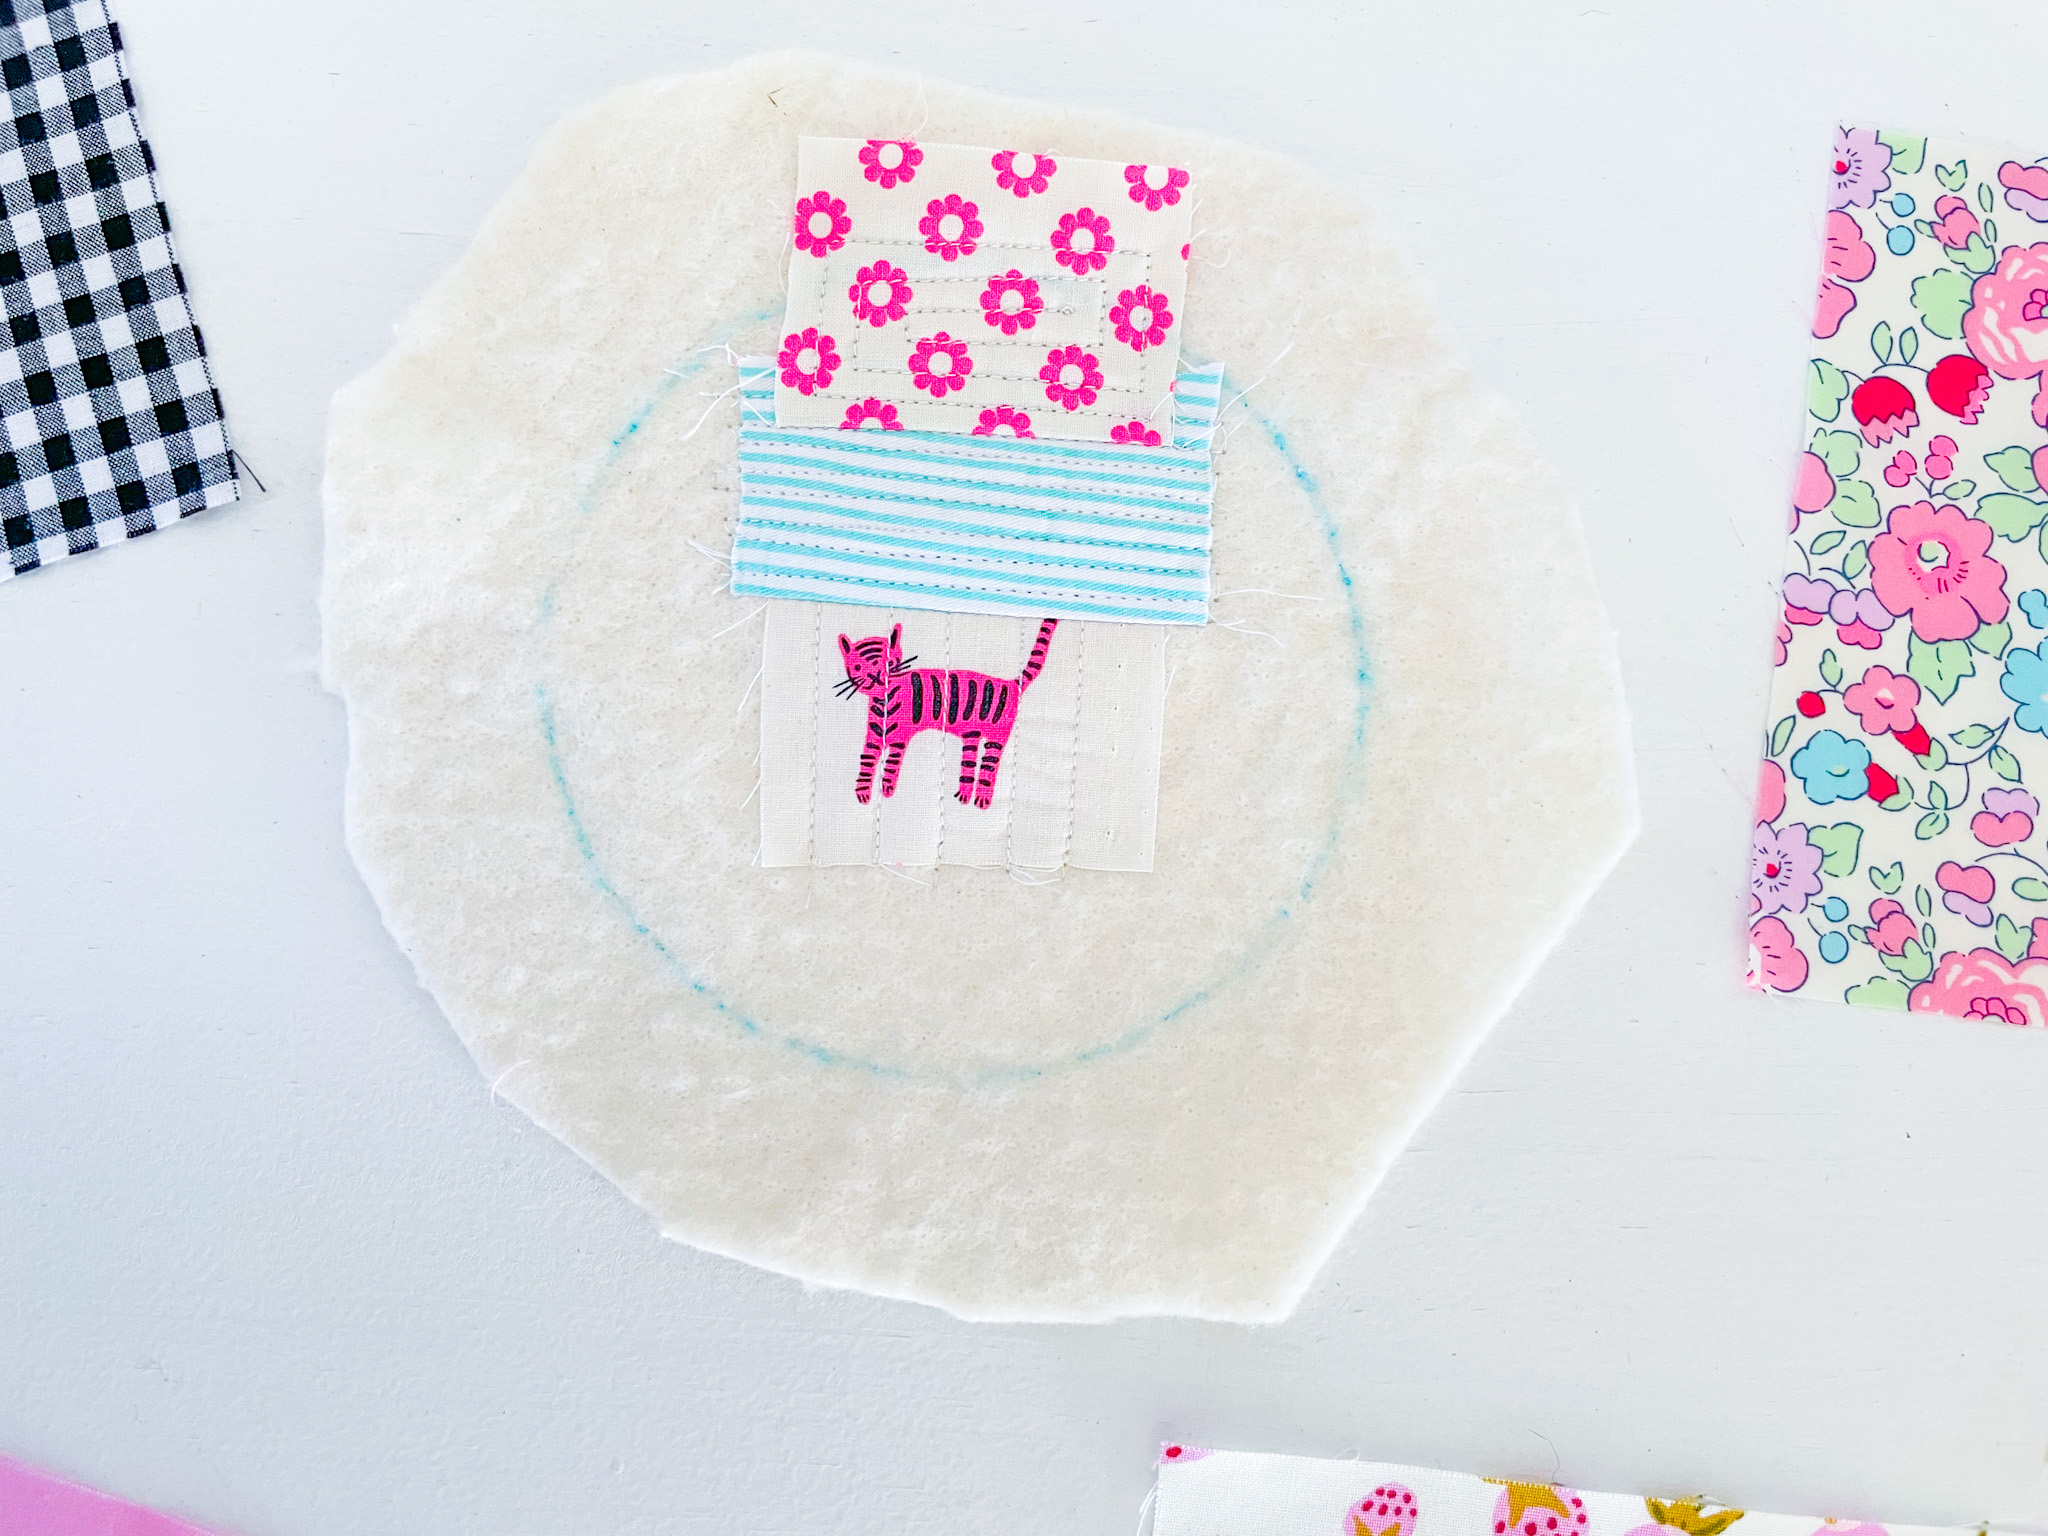
3. Keep adding your fabric scraps. Quilt them down as you go. (For a full QAYG tutorial see here).

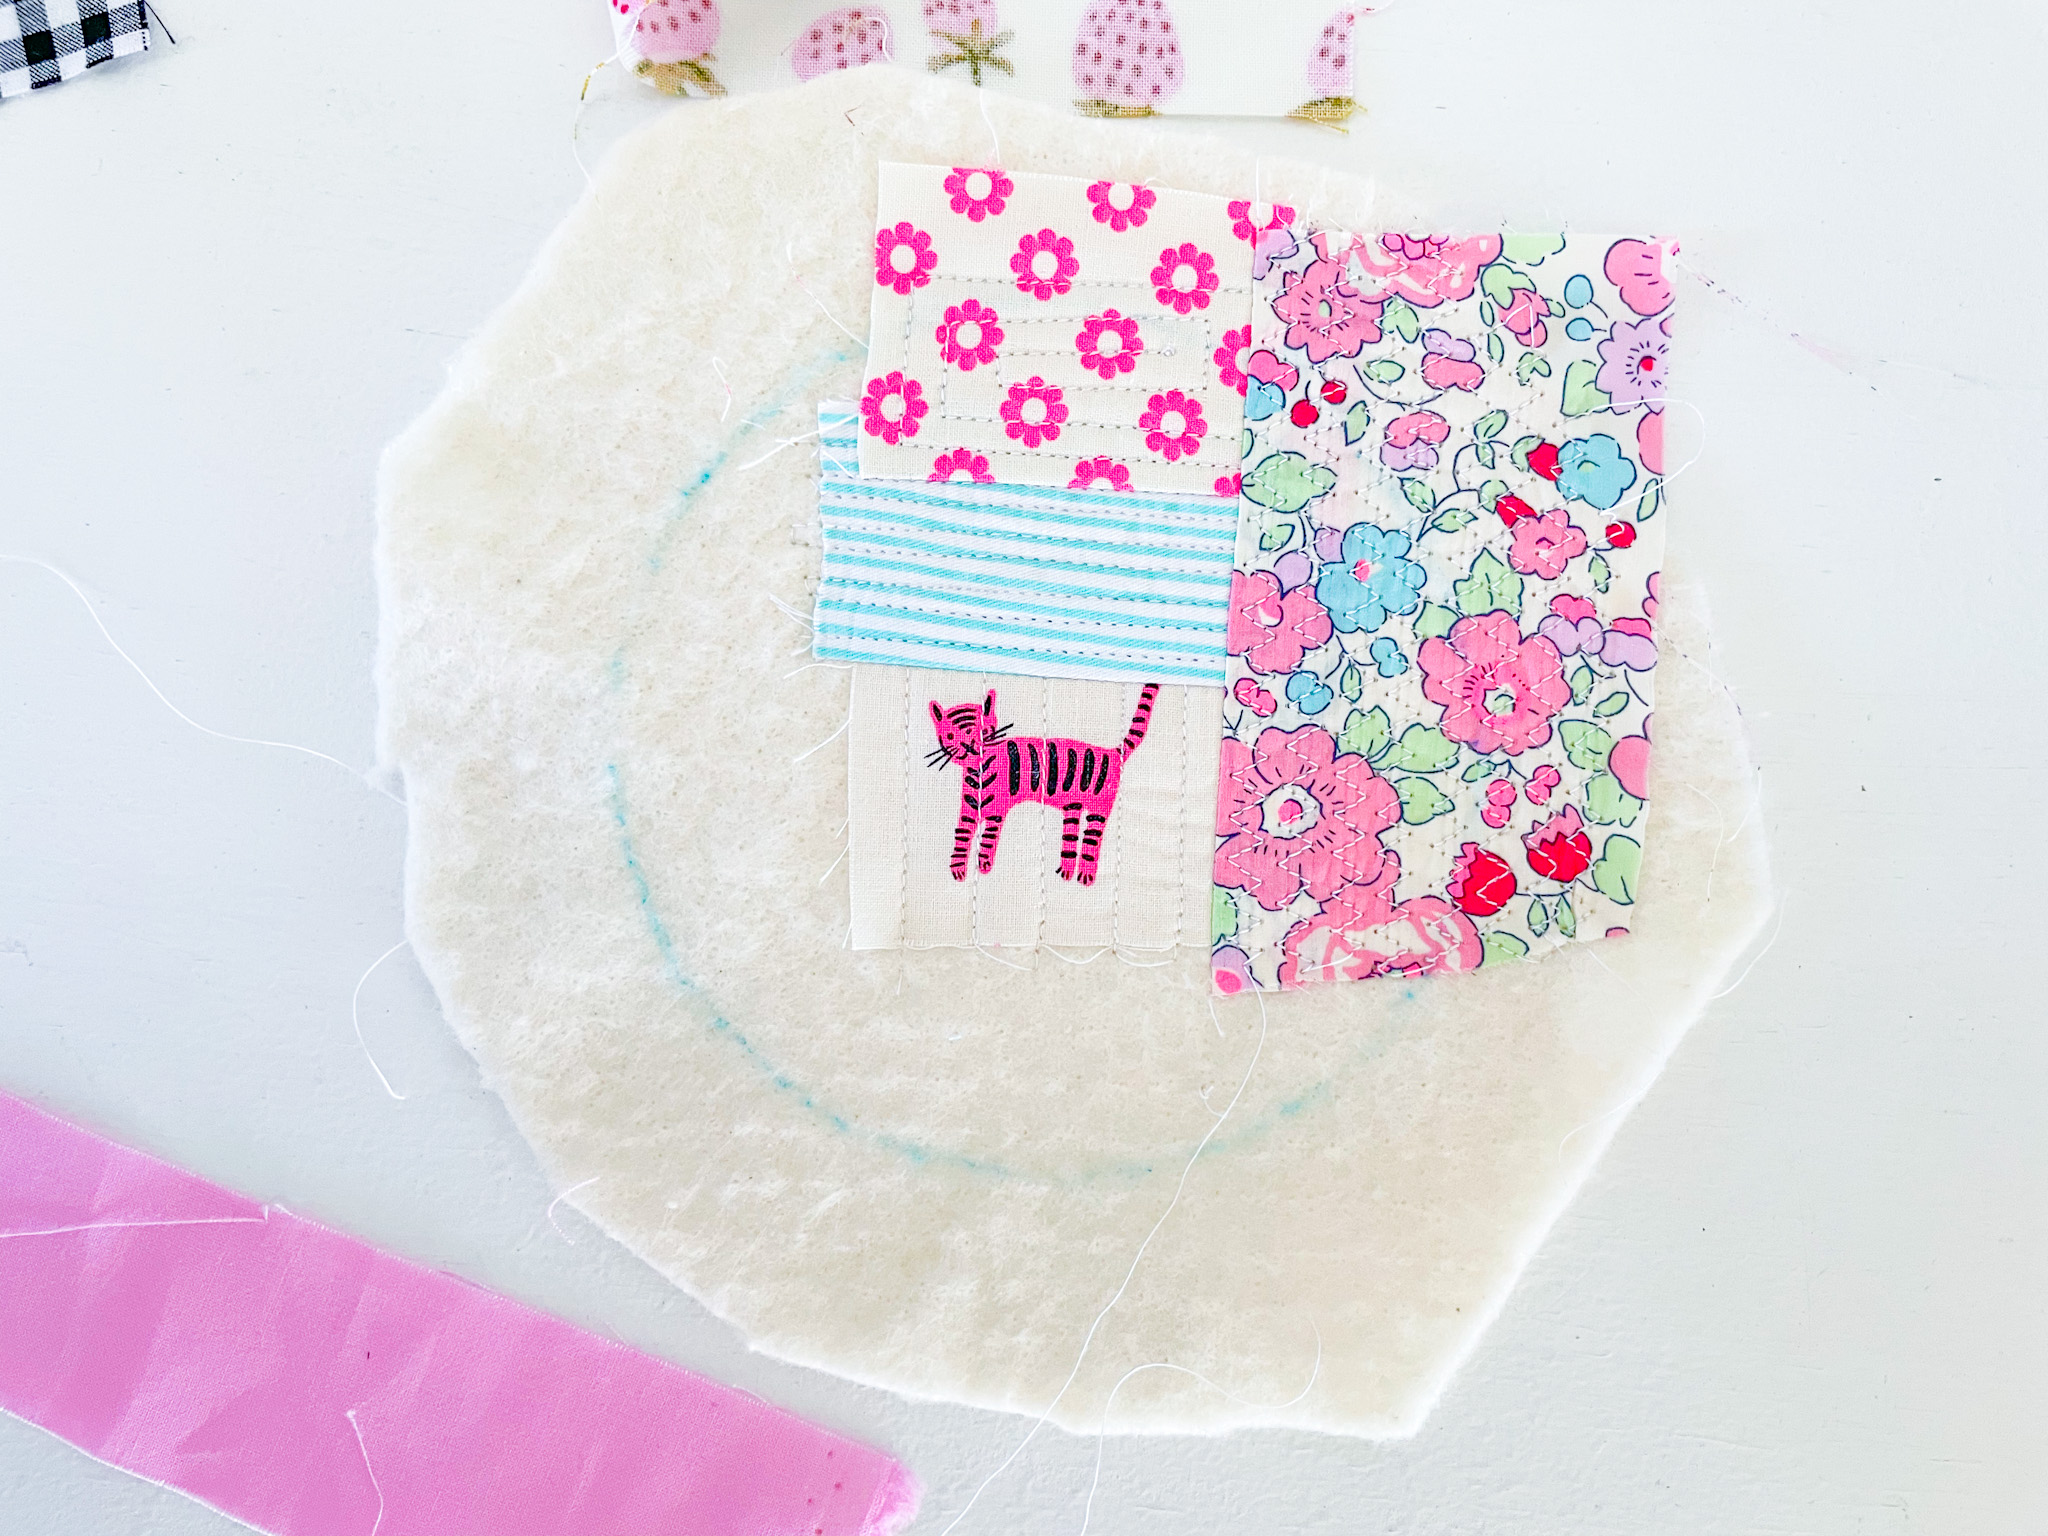
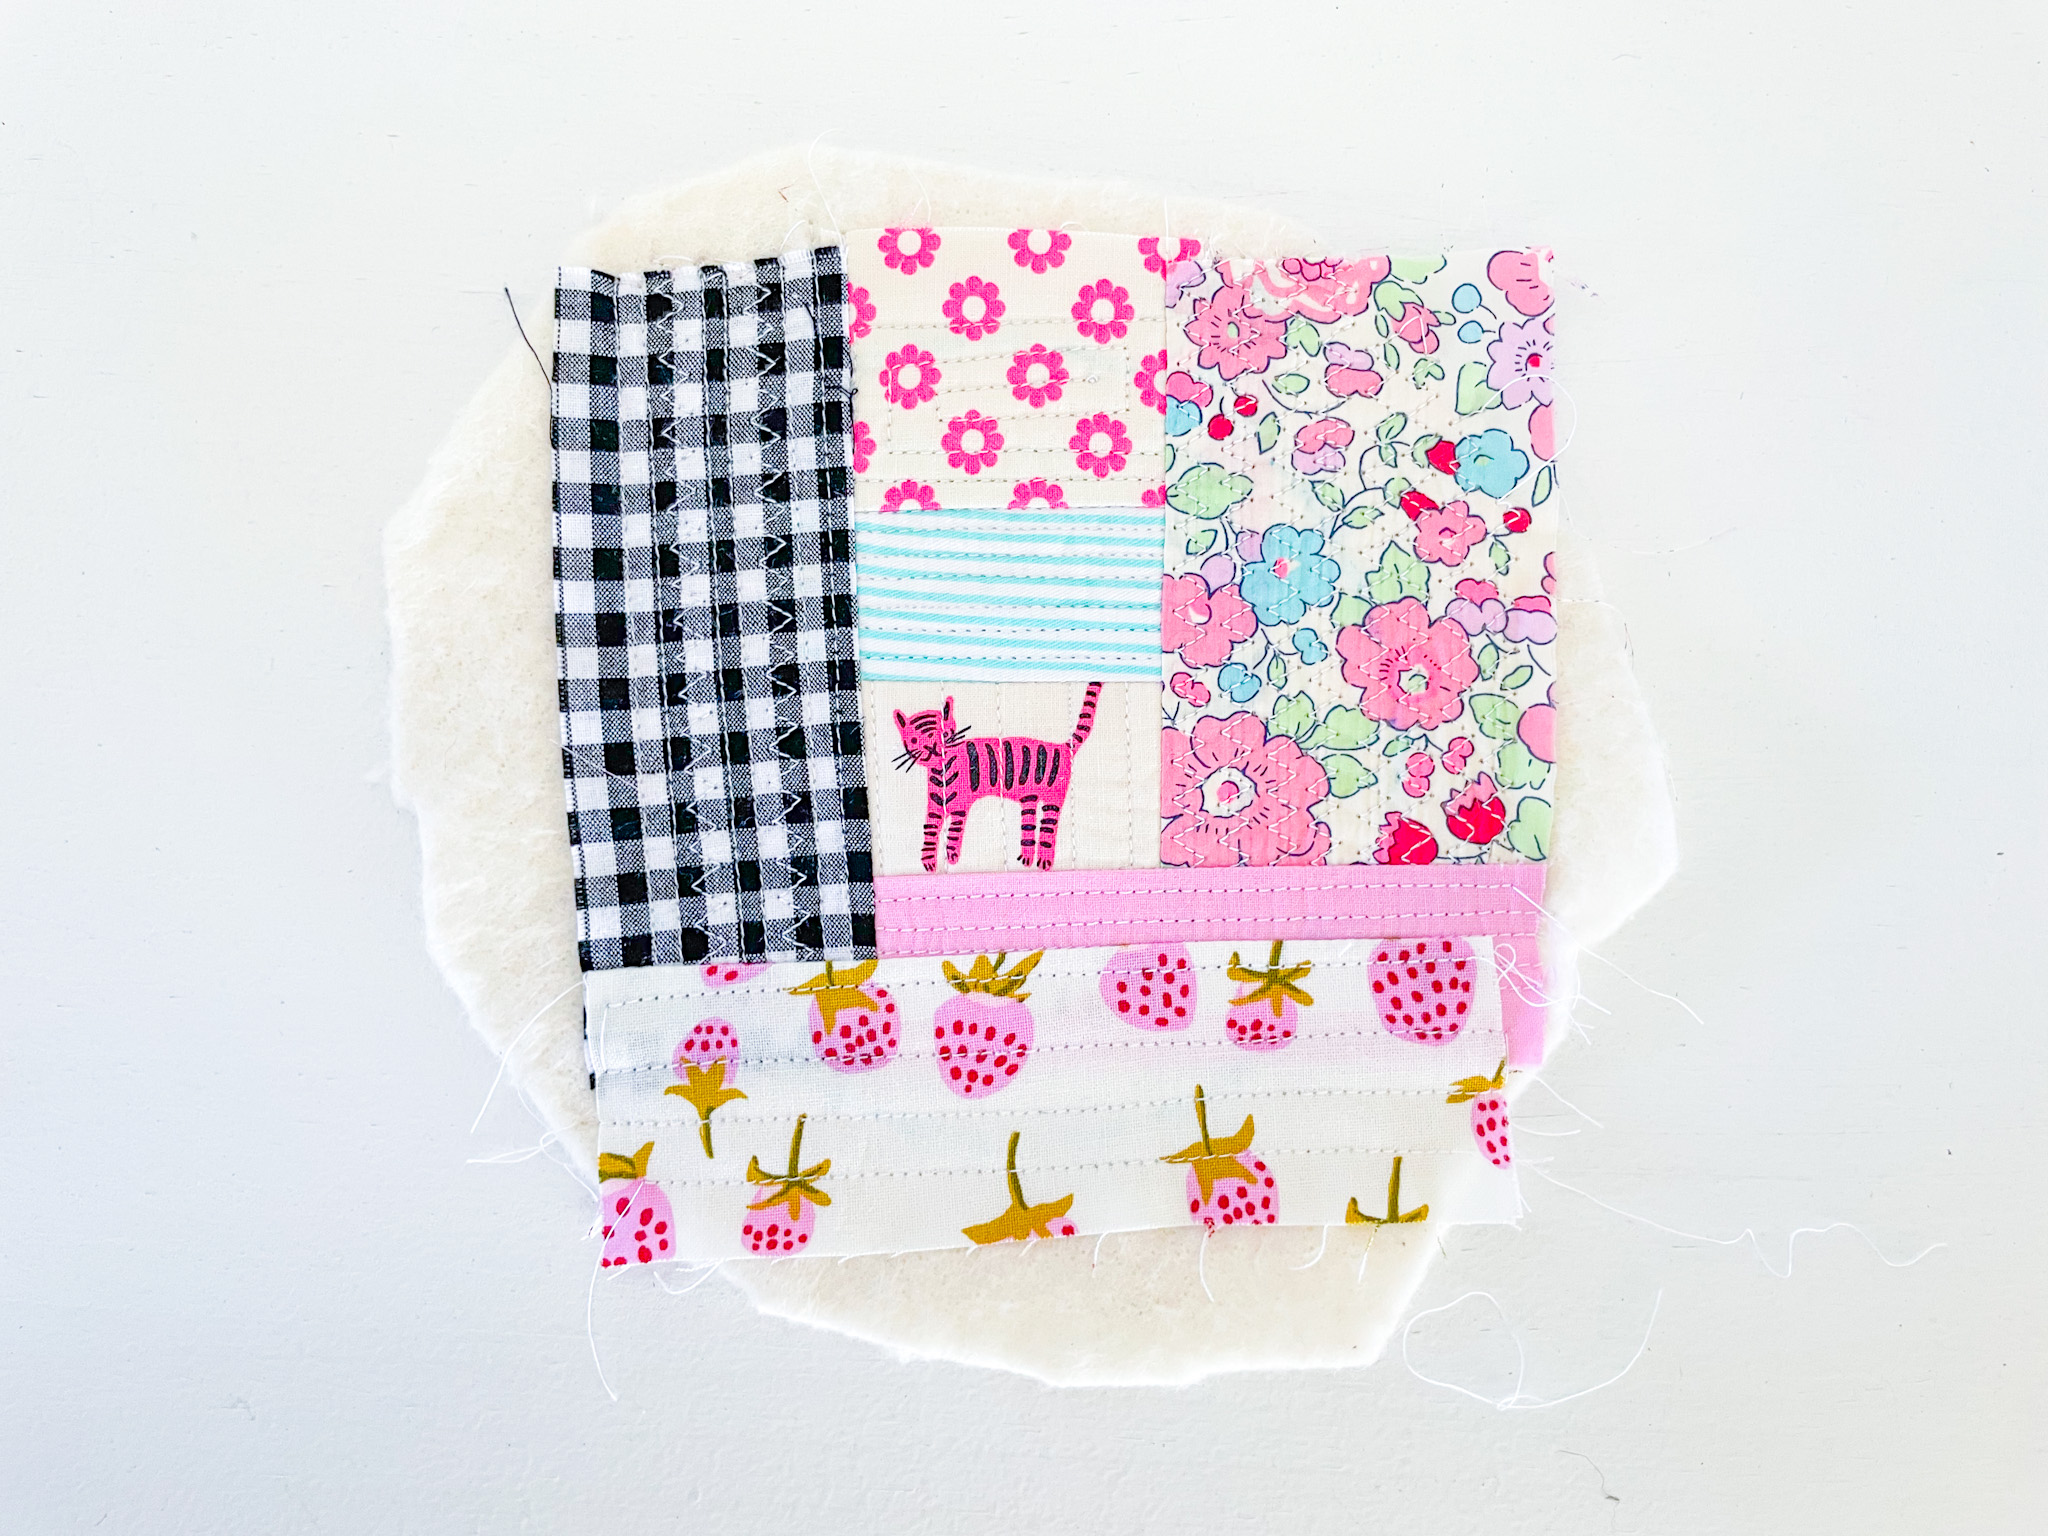
4. Keep doing this until your entire piece of batting is covered.
5. Take your circle template and place it over the top of your coaster and trace around it using an erasable marker (I use Frixion pens).
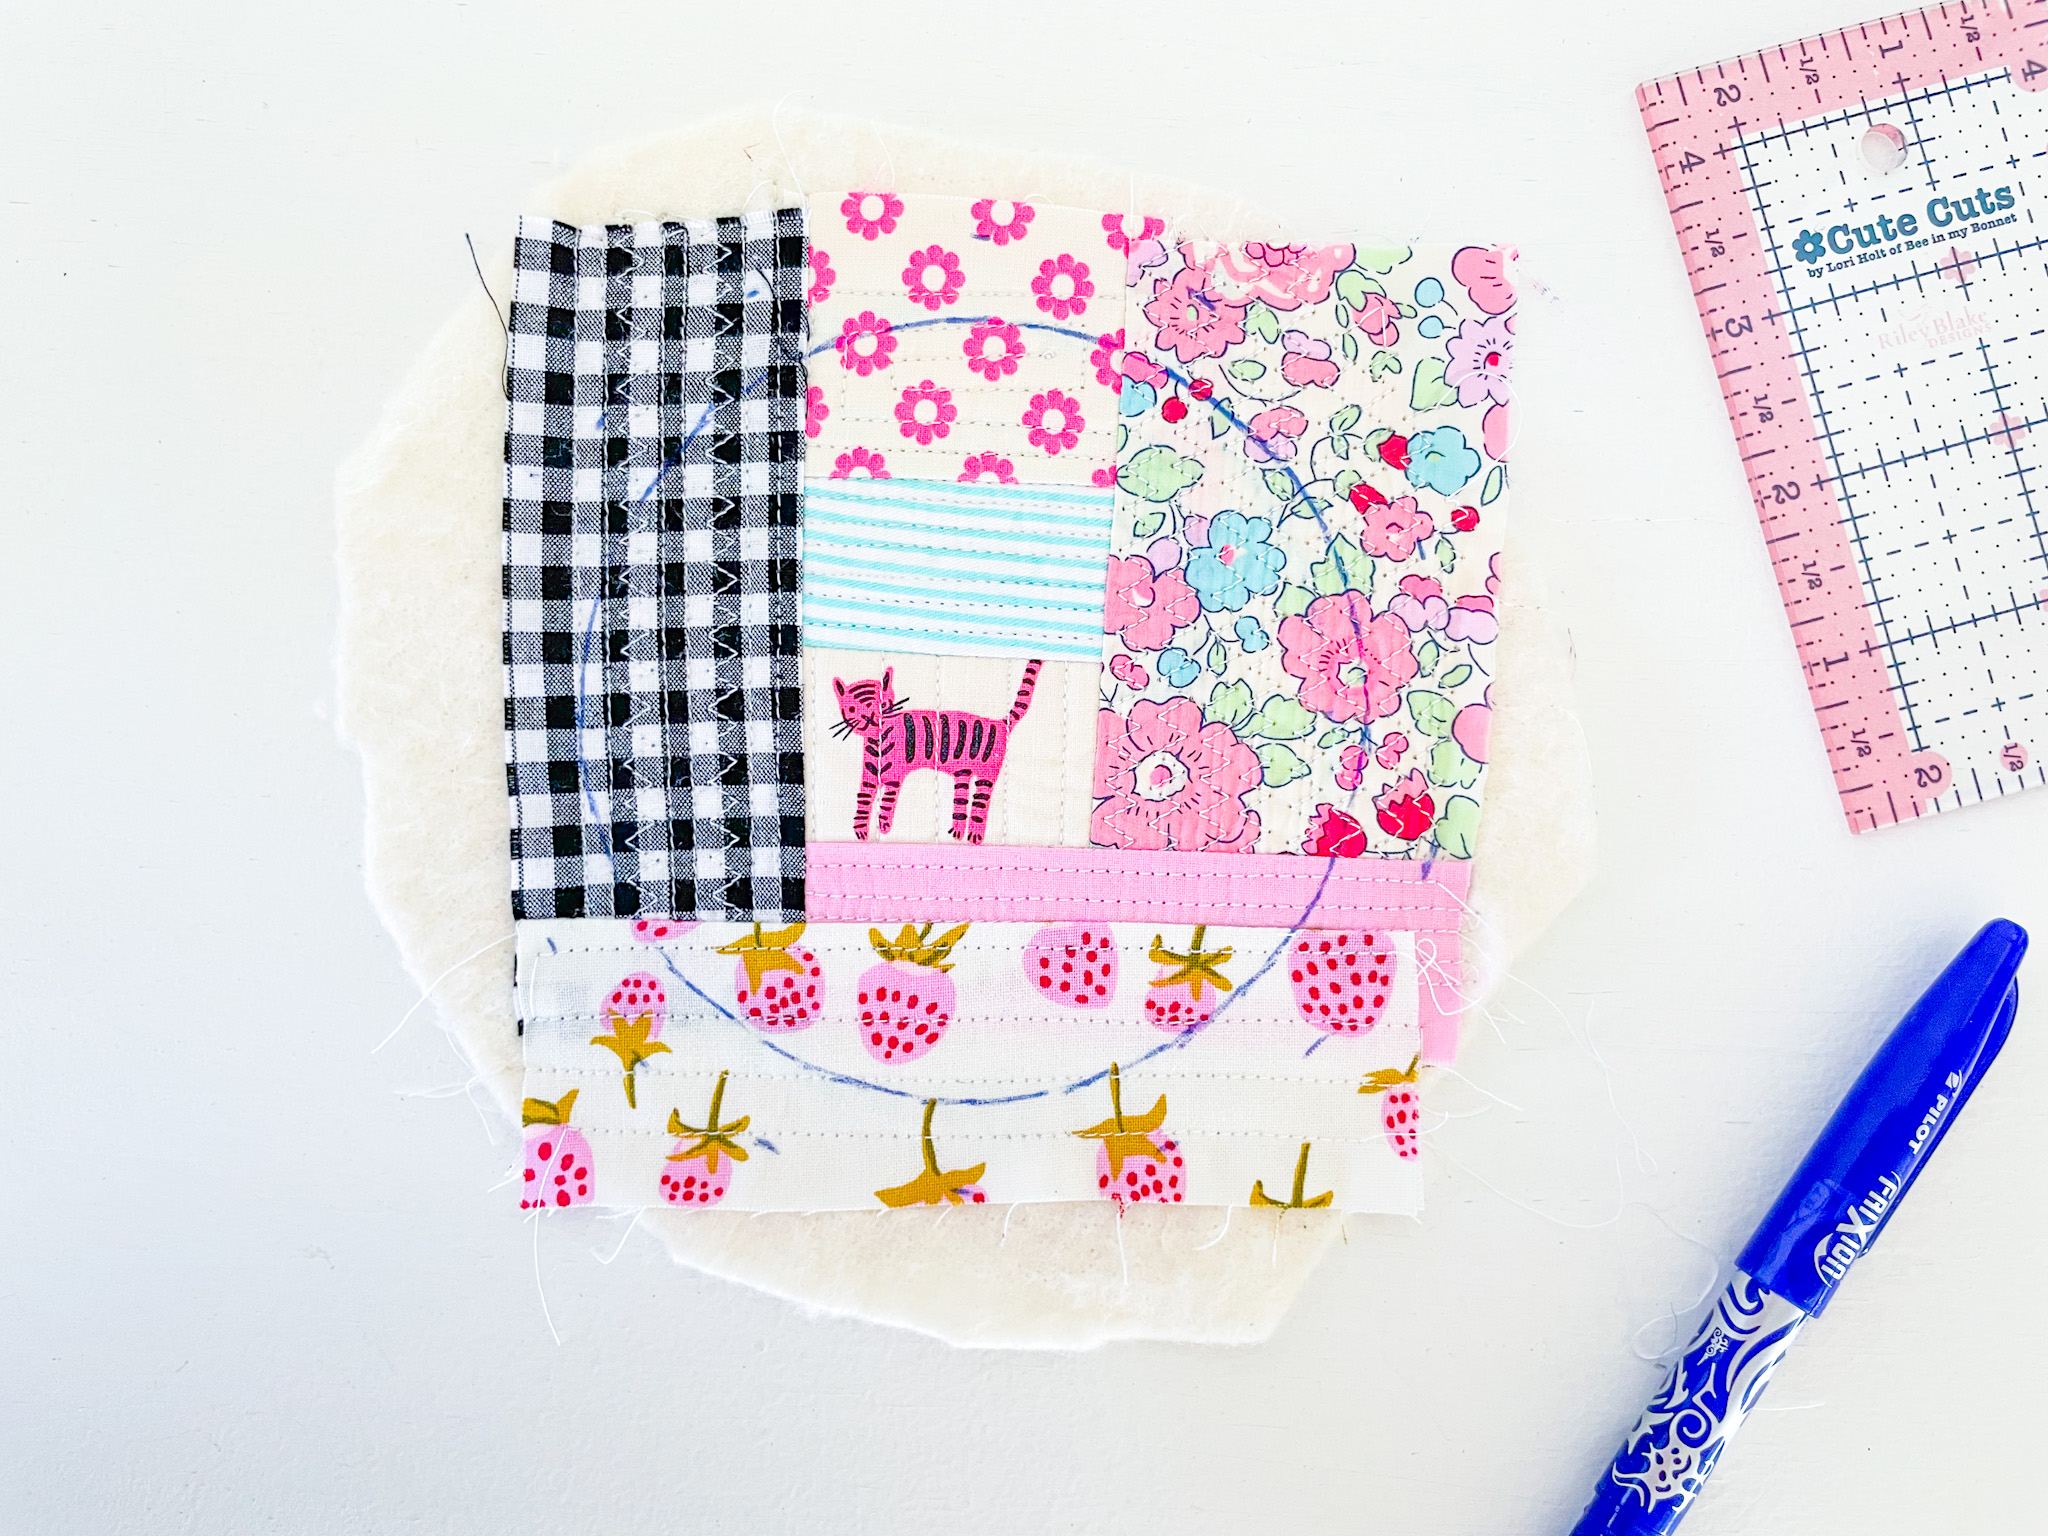
6. Trim your circle, leaving a ½” seam allowance around the edge. Don’t cut on the drawn line — measure ½” out from the outer edge of the circle to guide your trimming.
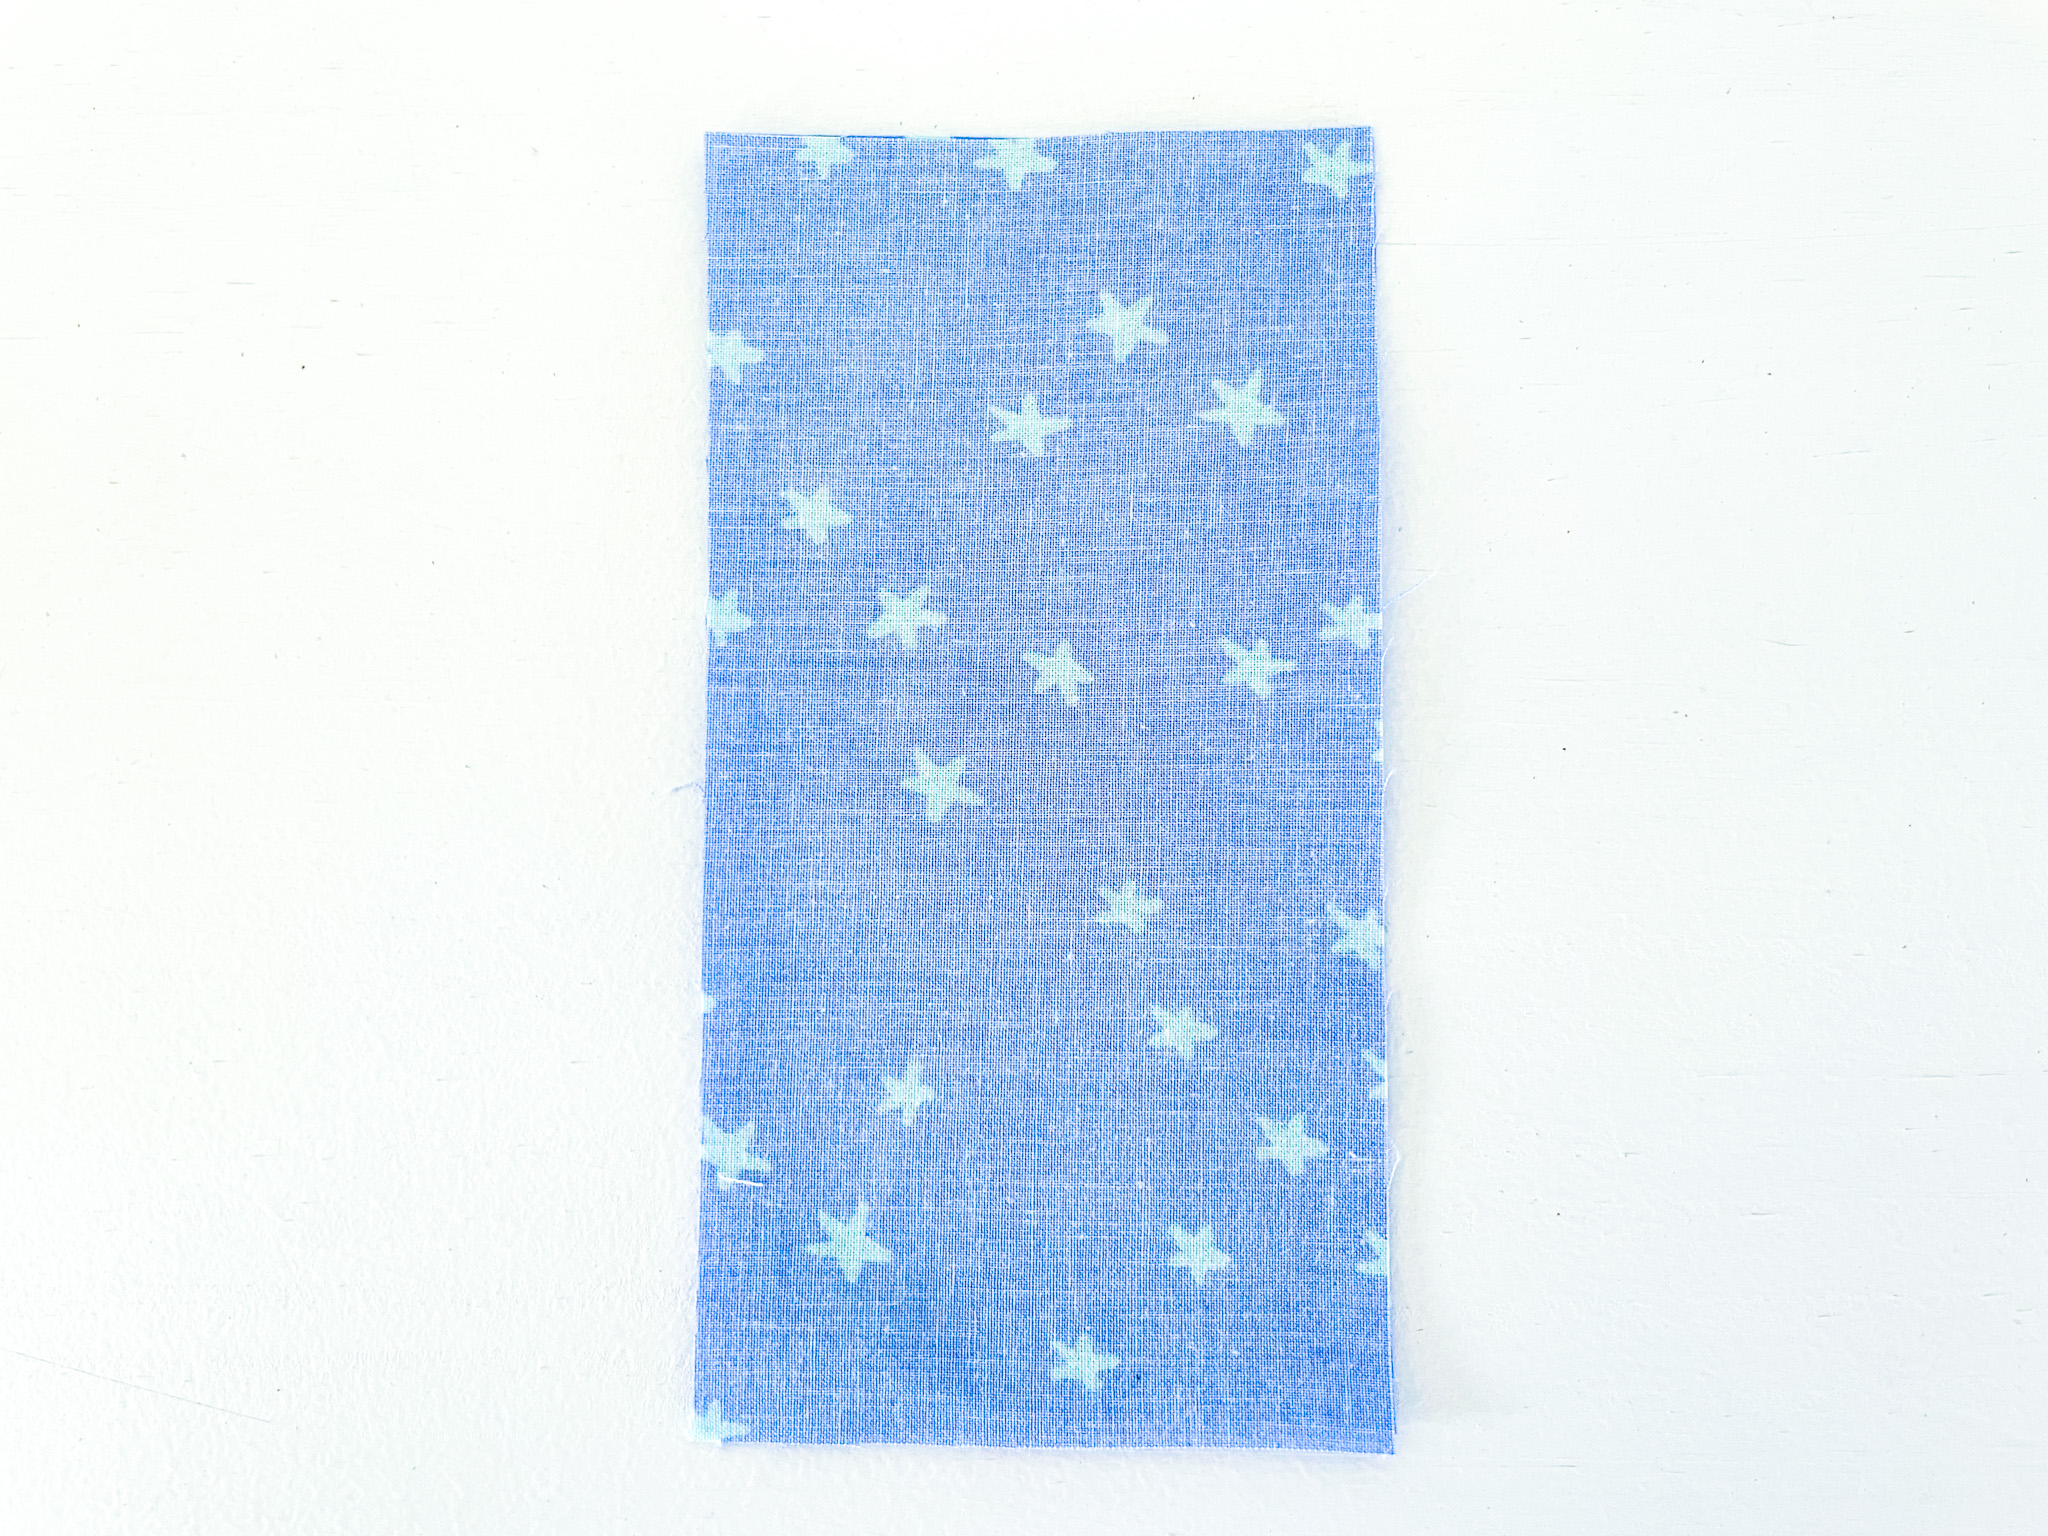
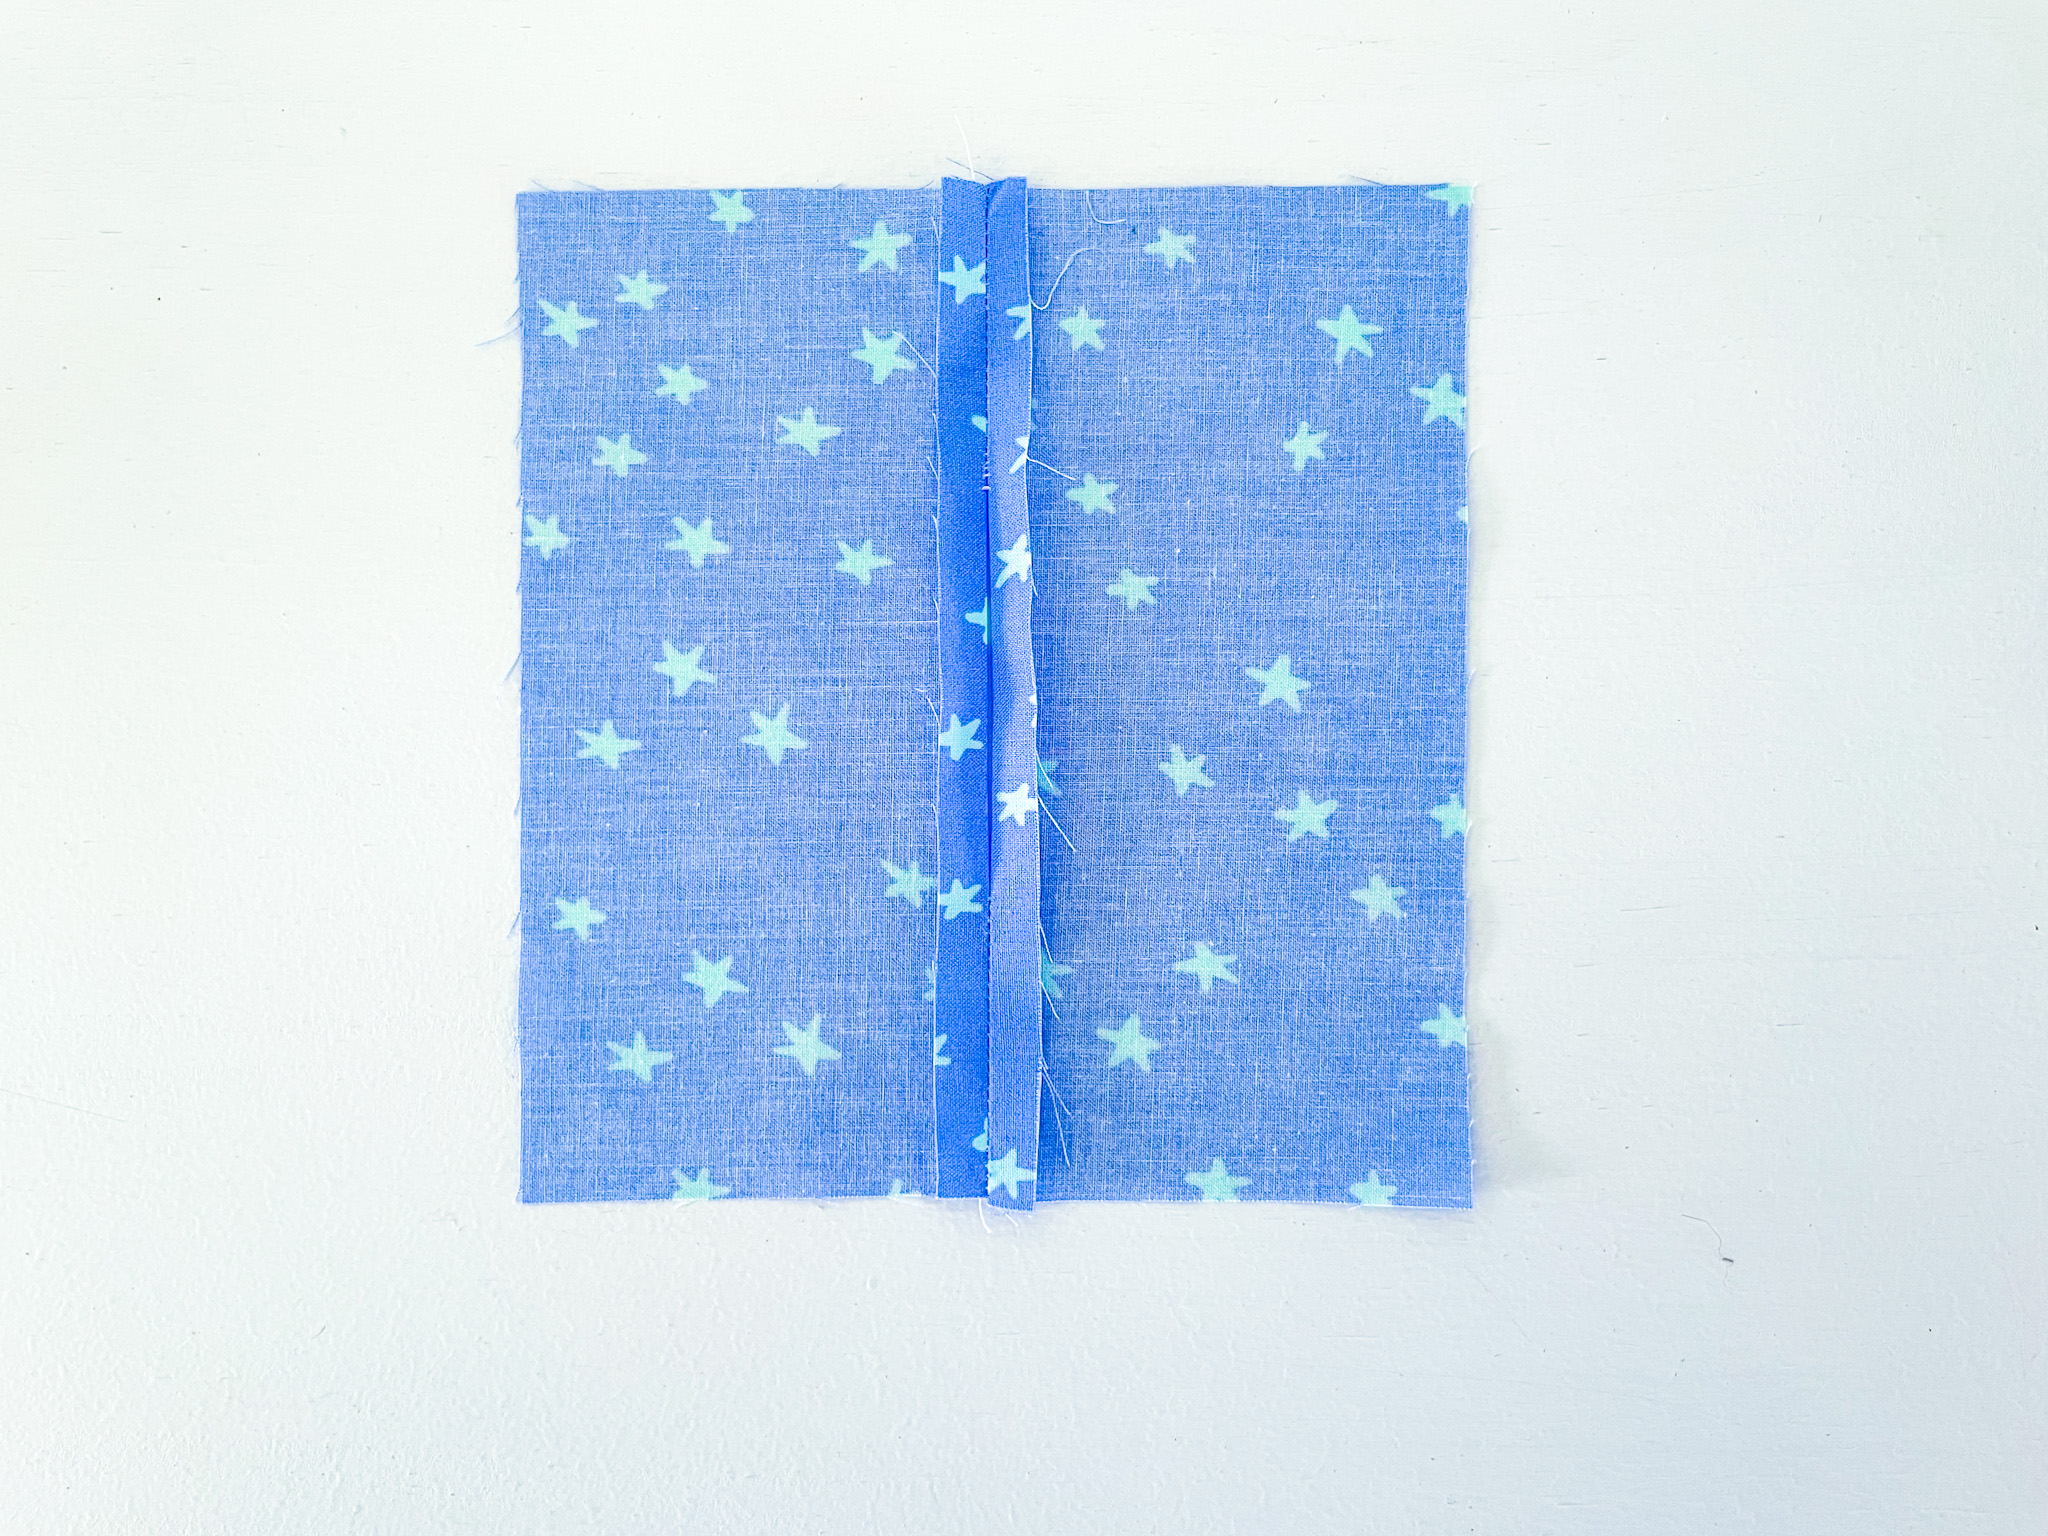
7. Take your two baking fabric pieces and place them on top of each other, right sides together.
8. Using a ¼” seam allowance, sew along the long edge leaving a 2 ½” opening in the middle of the pieces. Back stitch at the beginning and end.
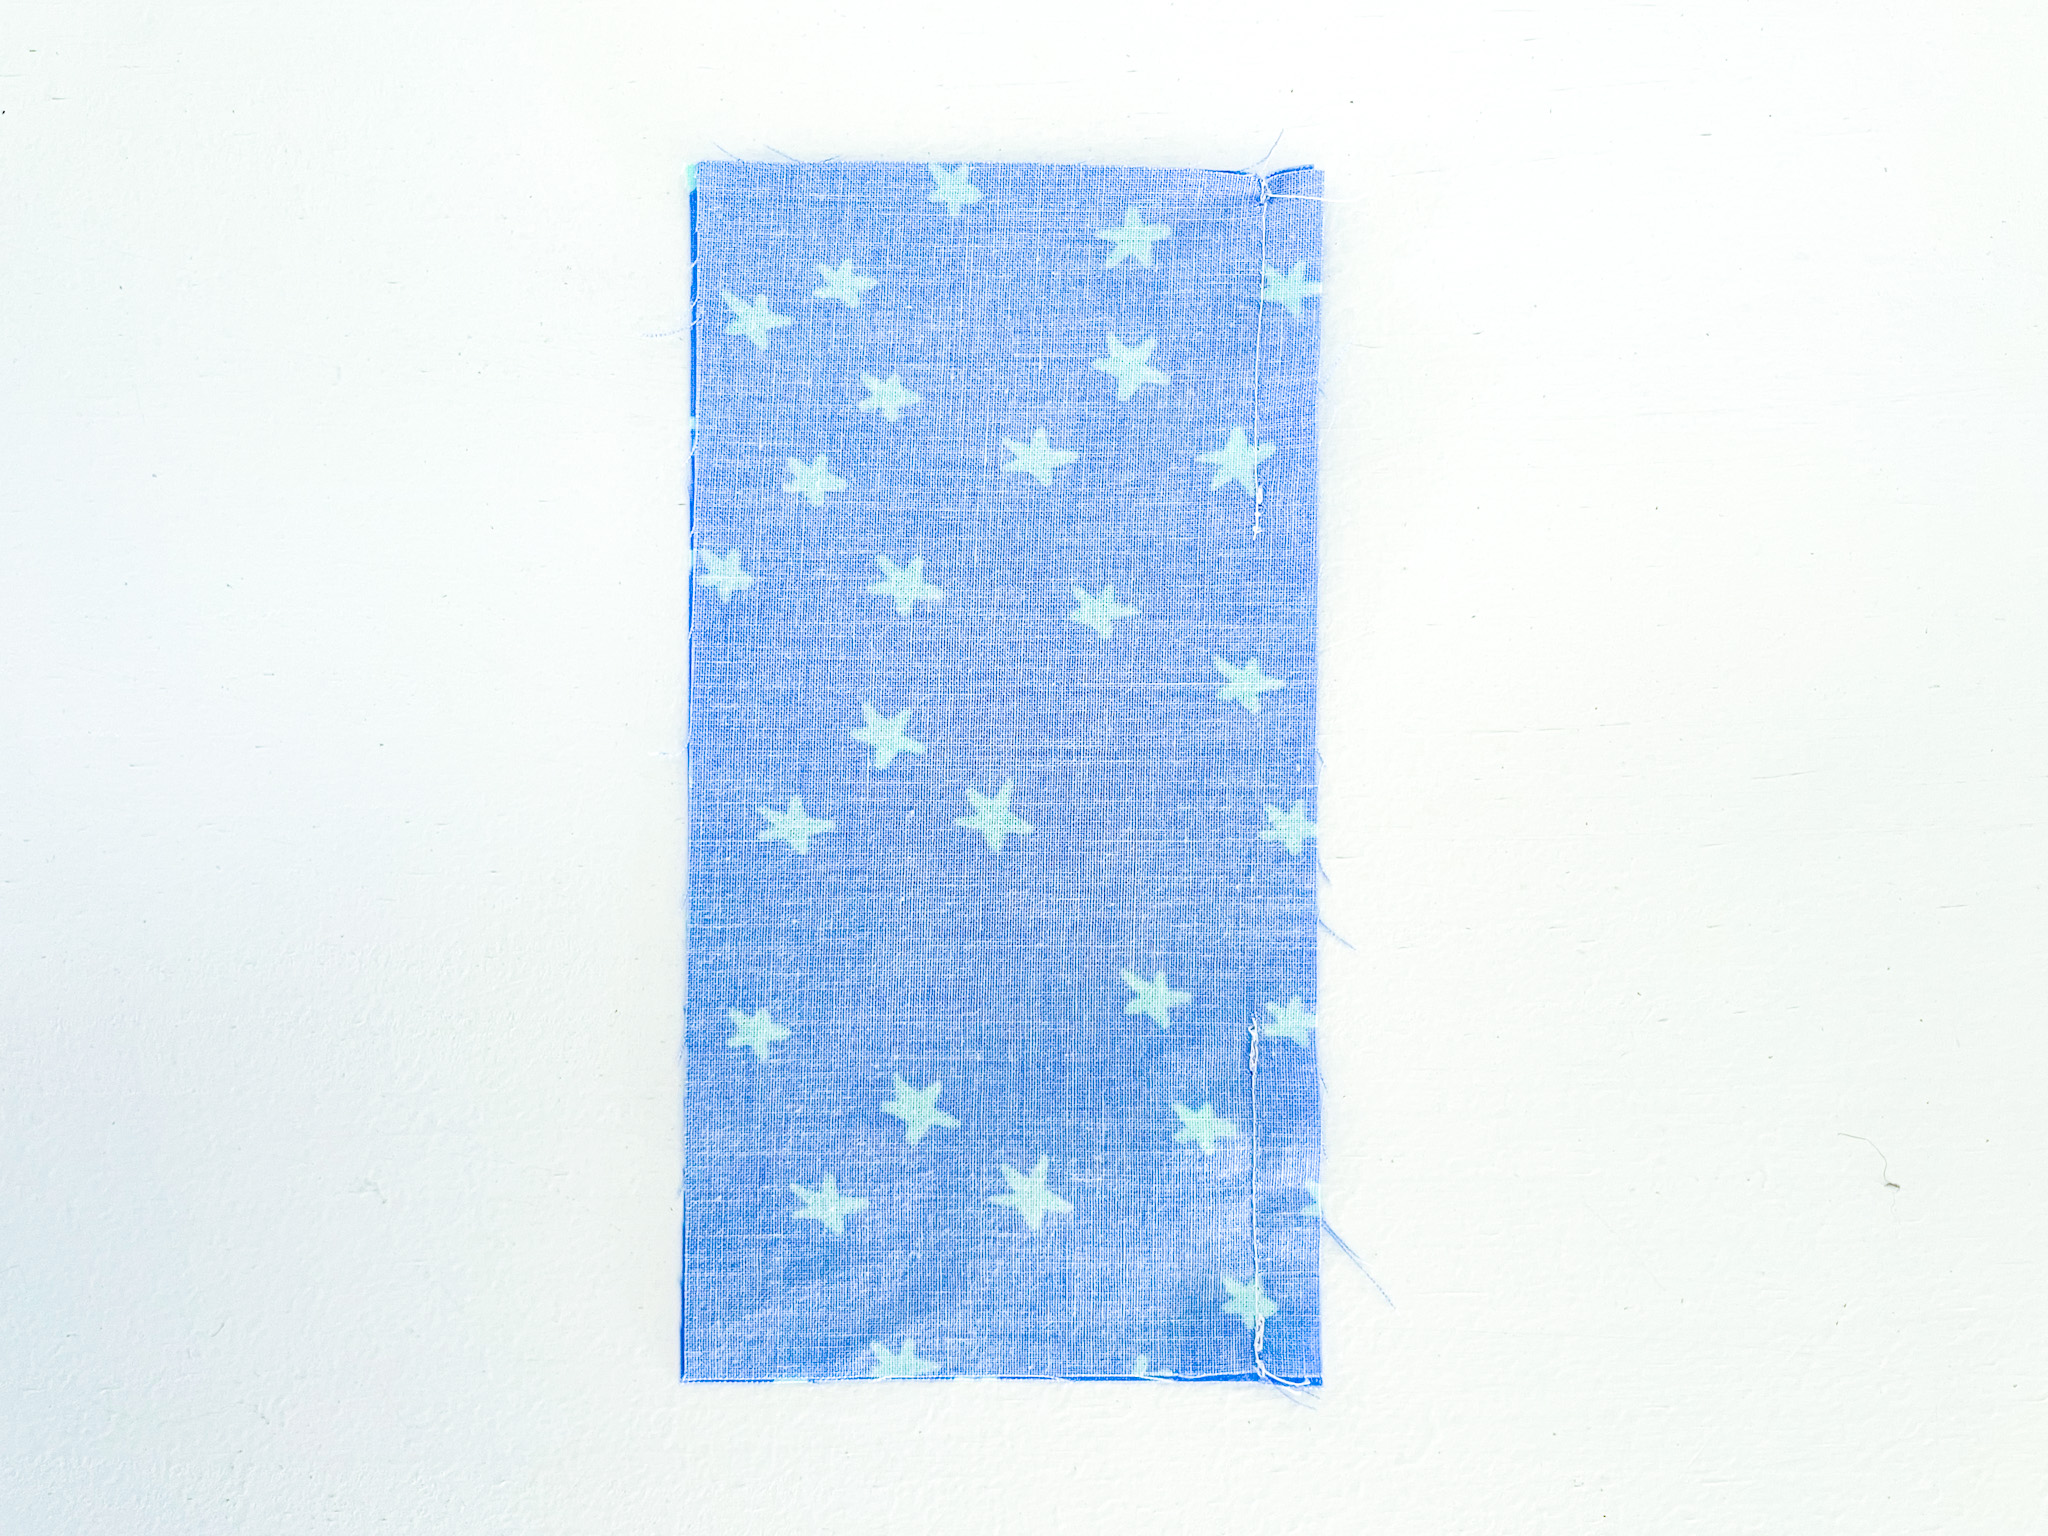
9. Open up your backing and press the seam OPEN.
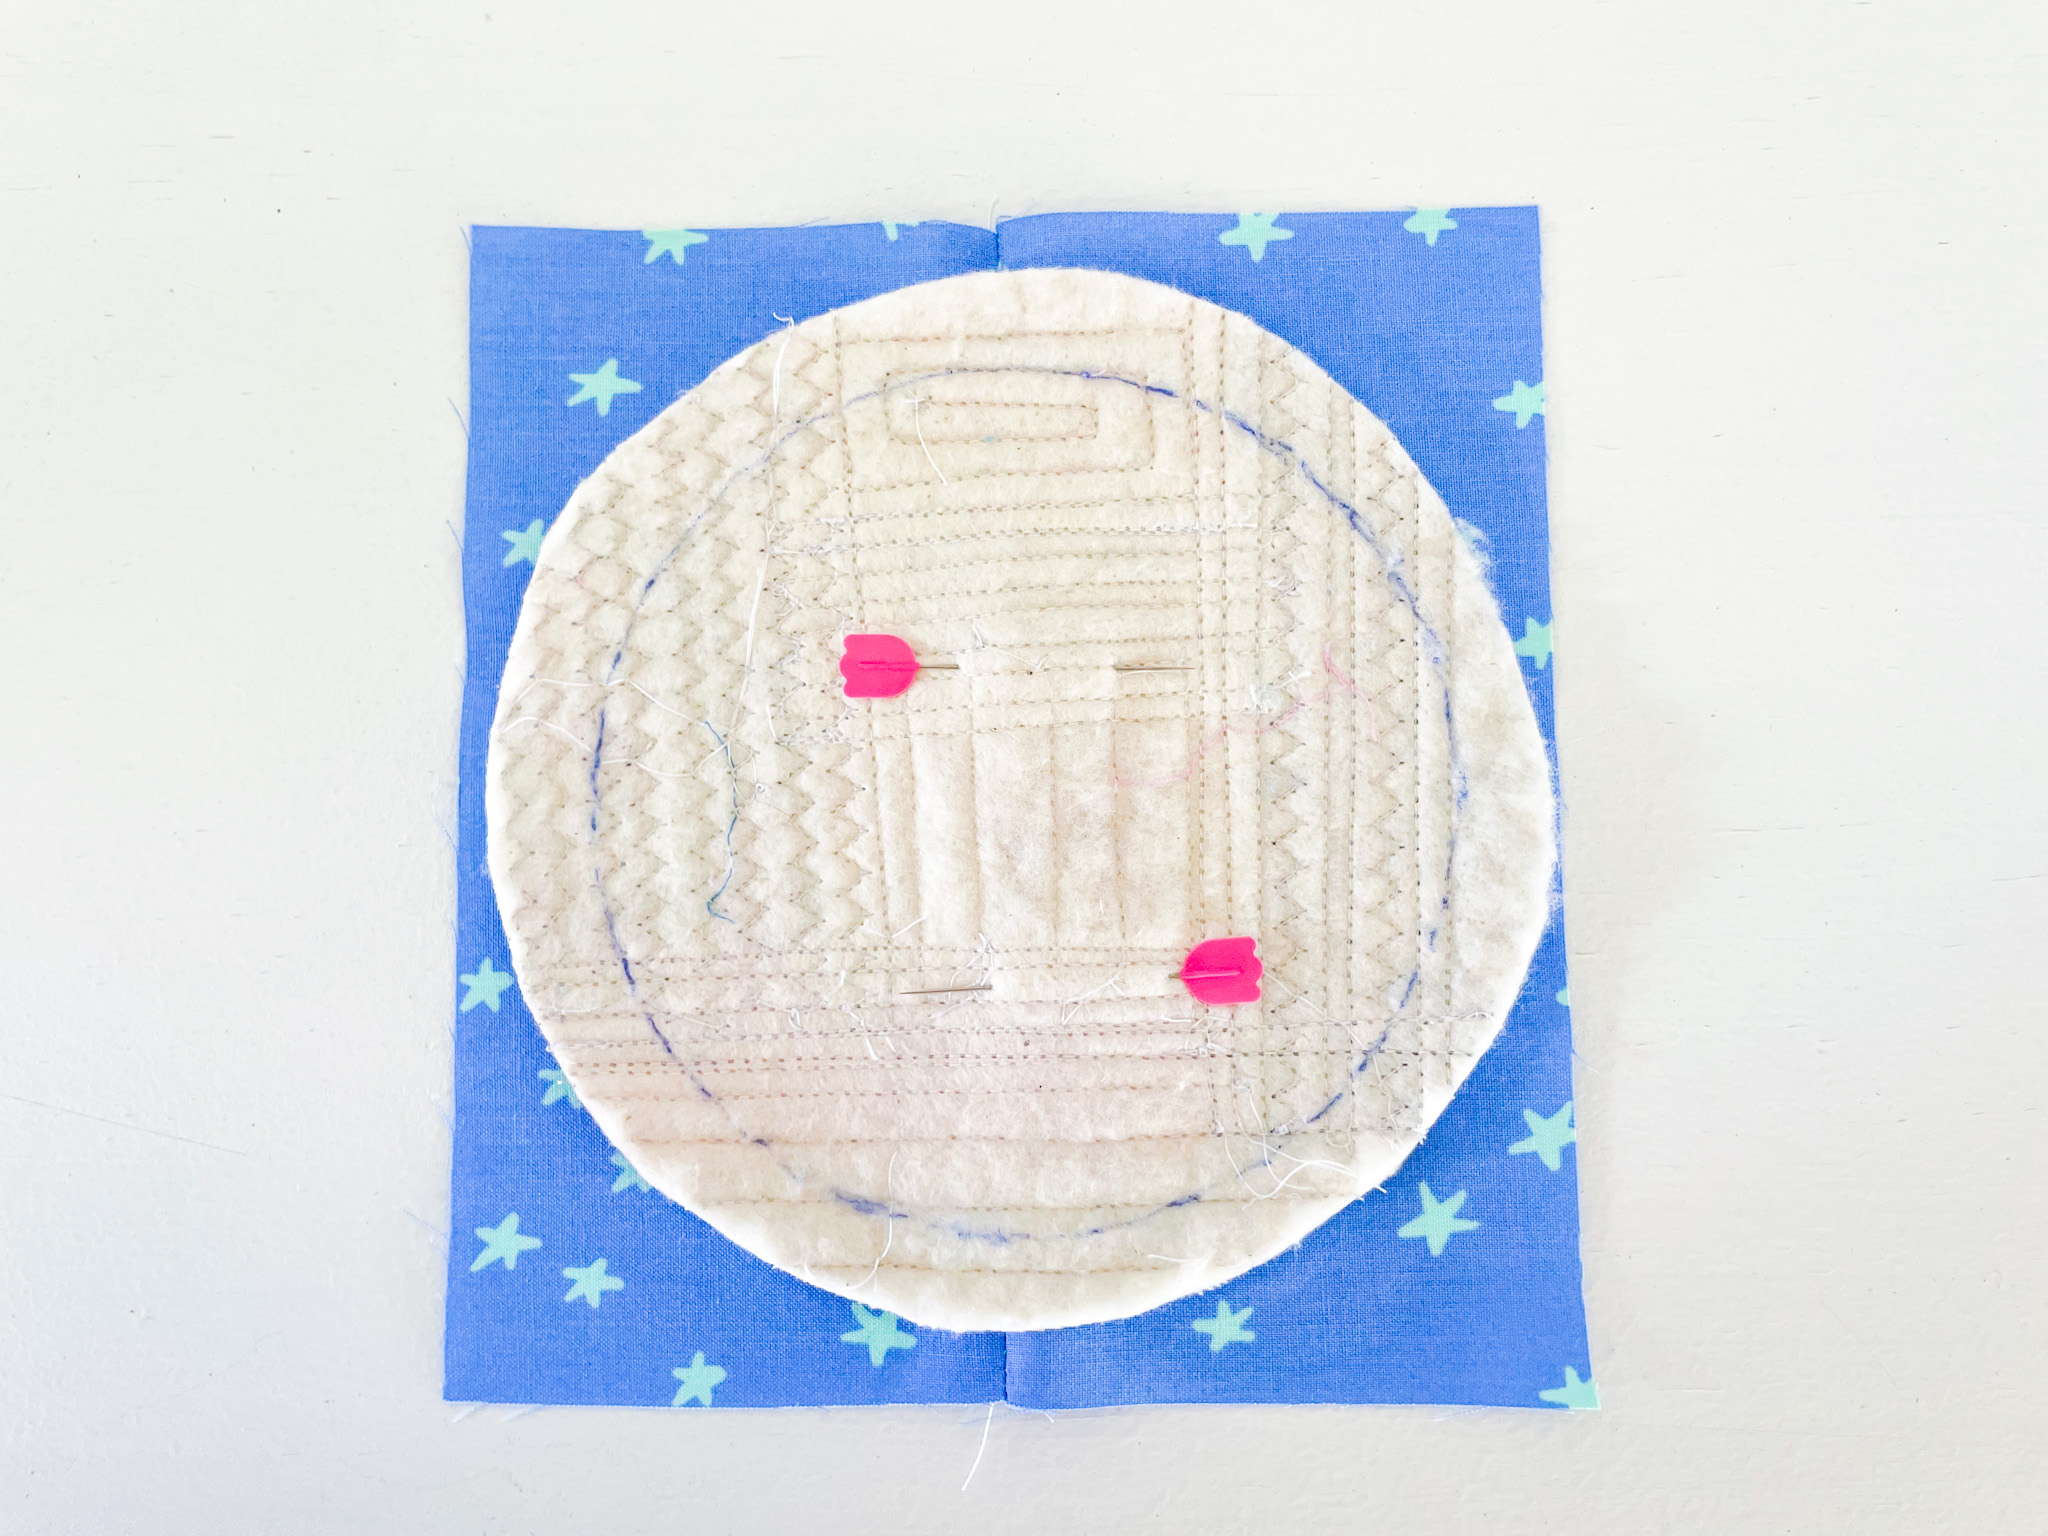
10. Flip the backing fabric over so it is right side up right side up. Now place your quilted coaster panel on top, right side down. The two right sides should be facing one another. Pin your circle in place.
TIP: Sewing circles can be tricky (I’m definitely not a pro either!). To make it easier, trace your template onto the back of your coaster top before pinning. Then, simply sew along the line. It keeps your circle neat and takes the stress out of curved seams – no wonky circles here!
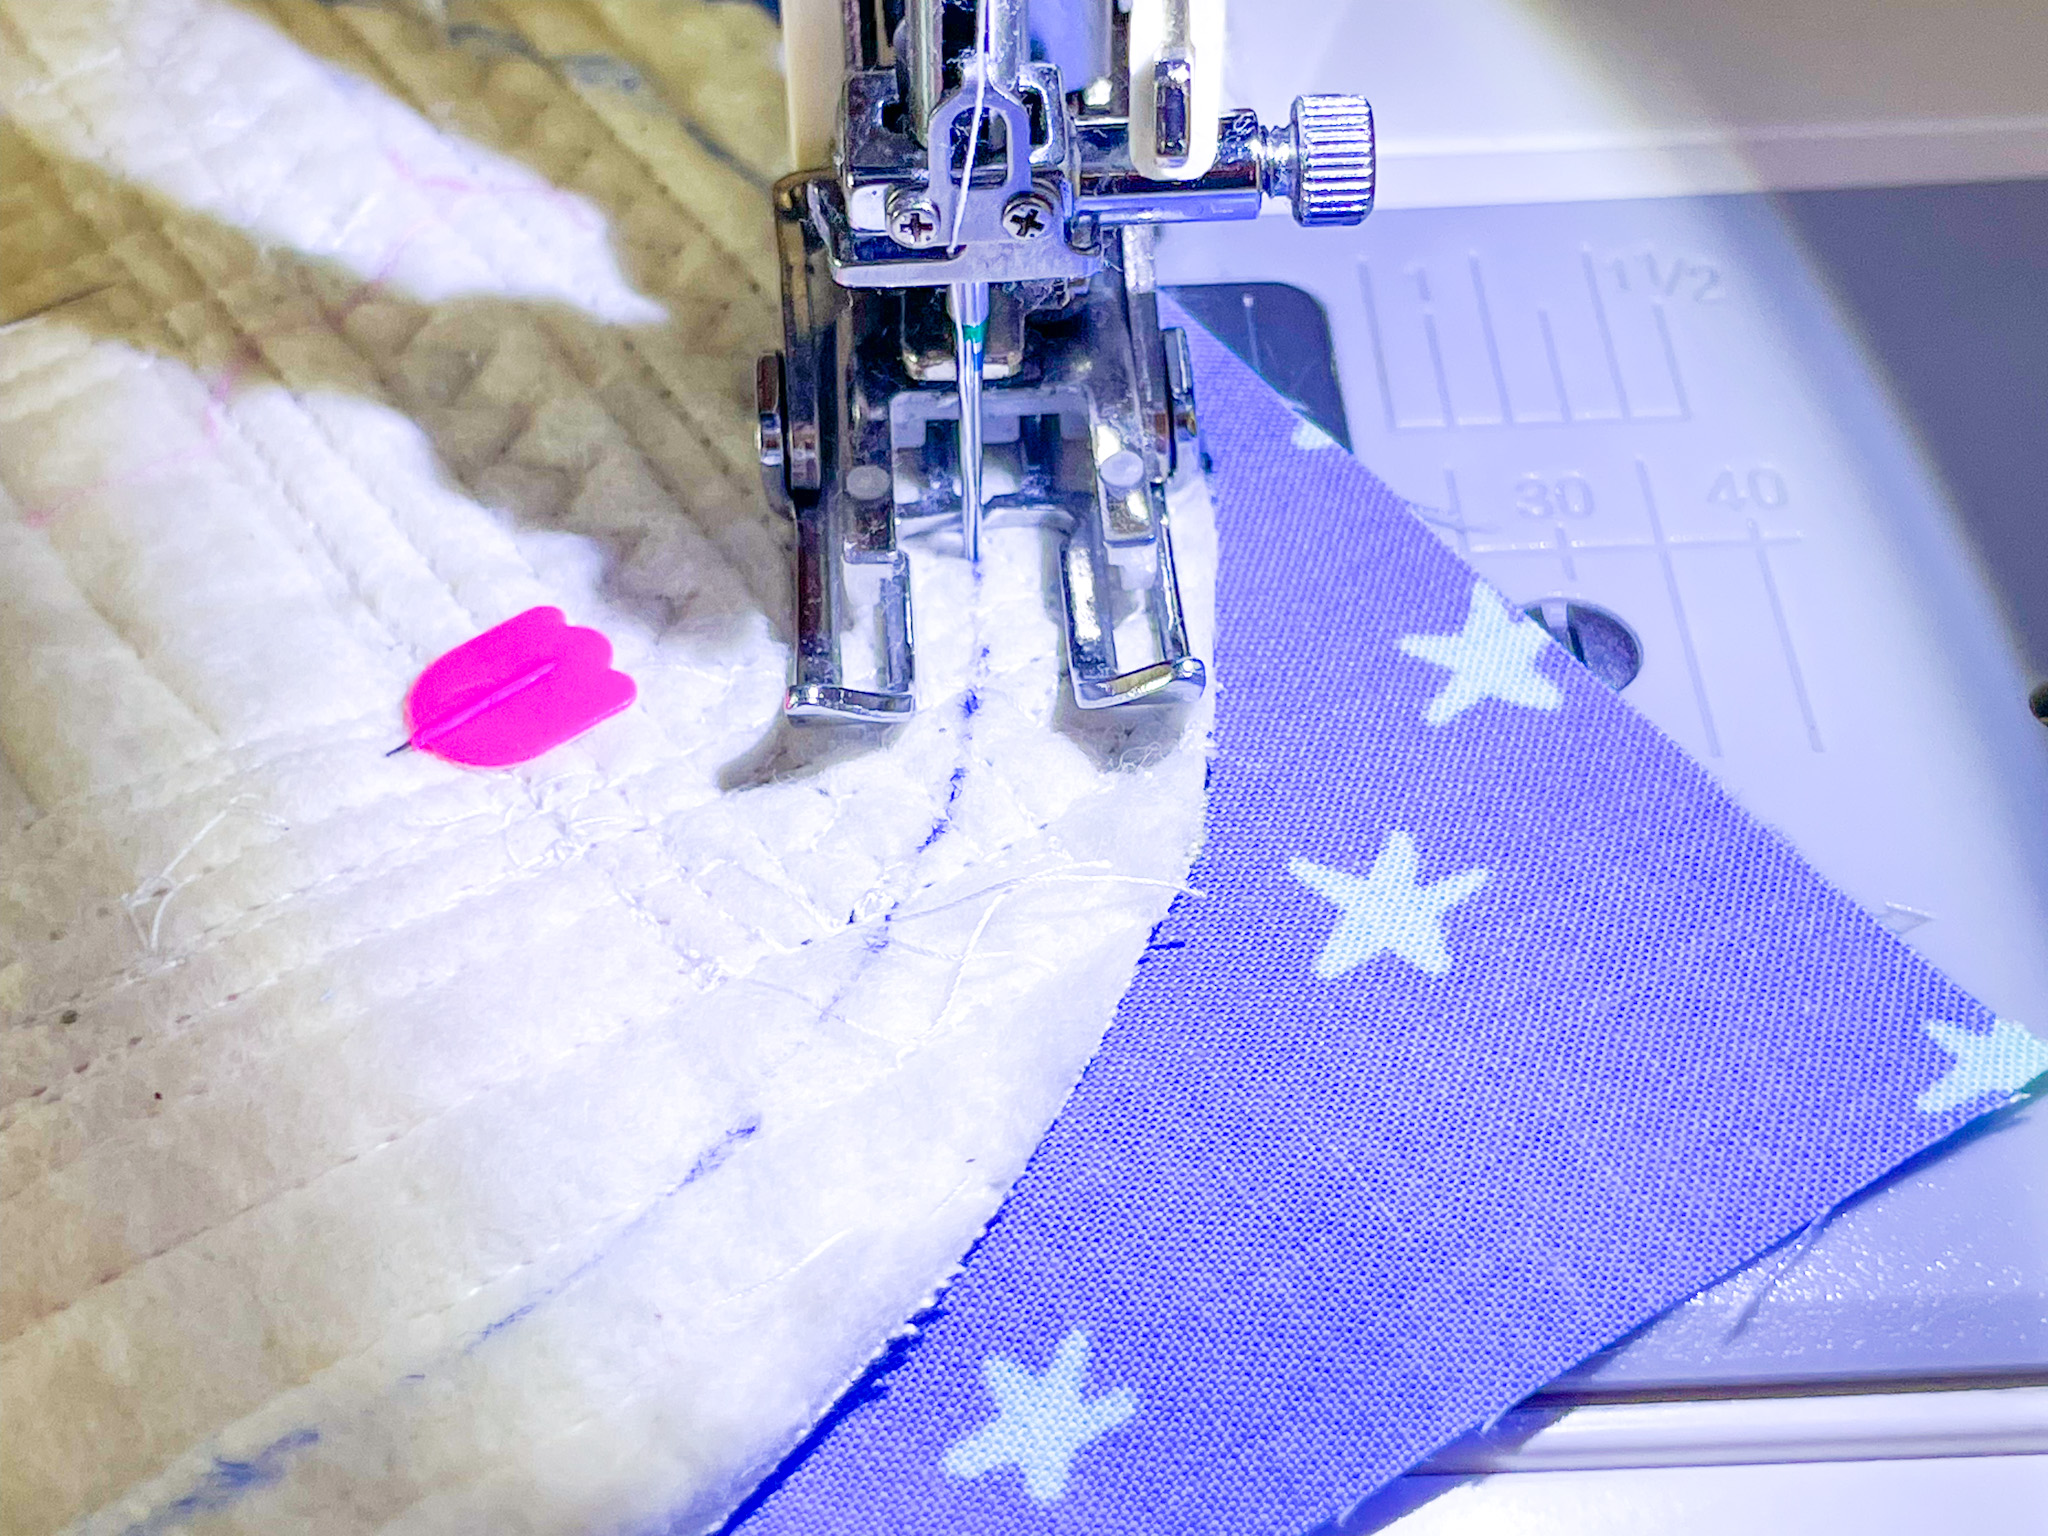
11. Using a stitch length of 2.4, sew your coaster top and backing together, following the traced line. Backstitch at the beginning and end to secure your stitches.
You don’t need to leave an opening – you already left one in the backing fabric. To make sewing easier, take your time and consider using an open-toe presser foot so you can see your stitching clearly.
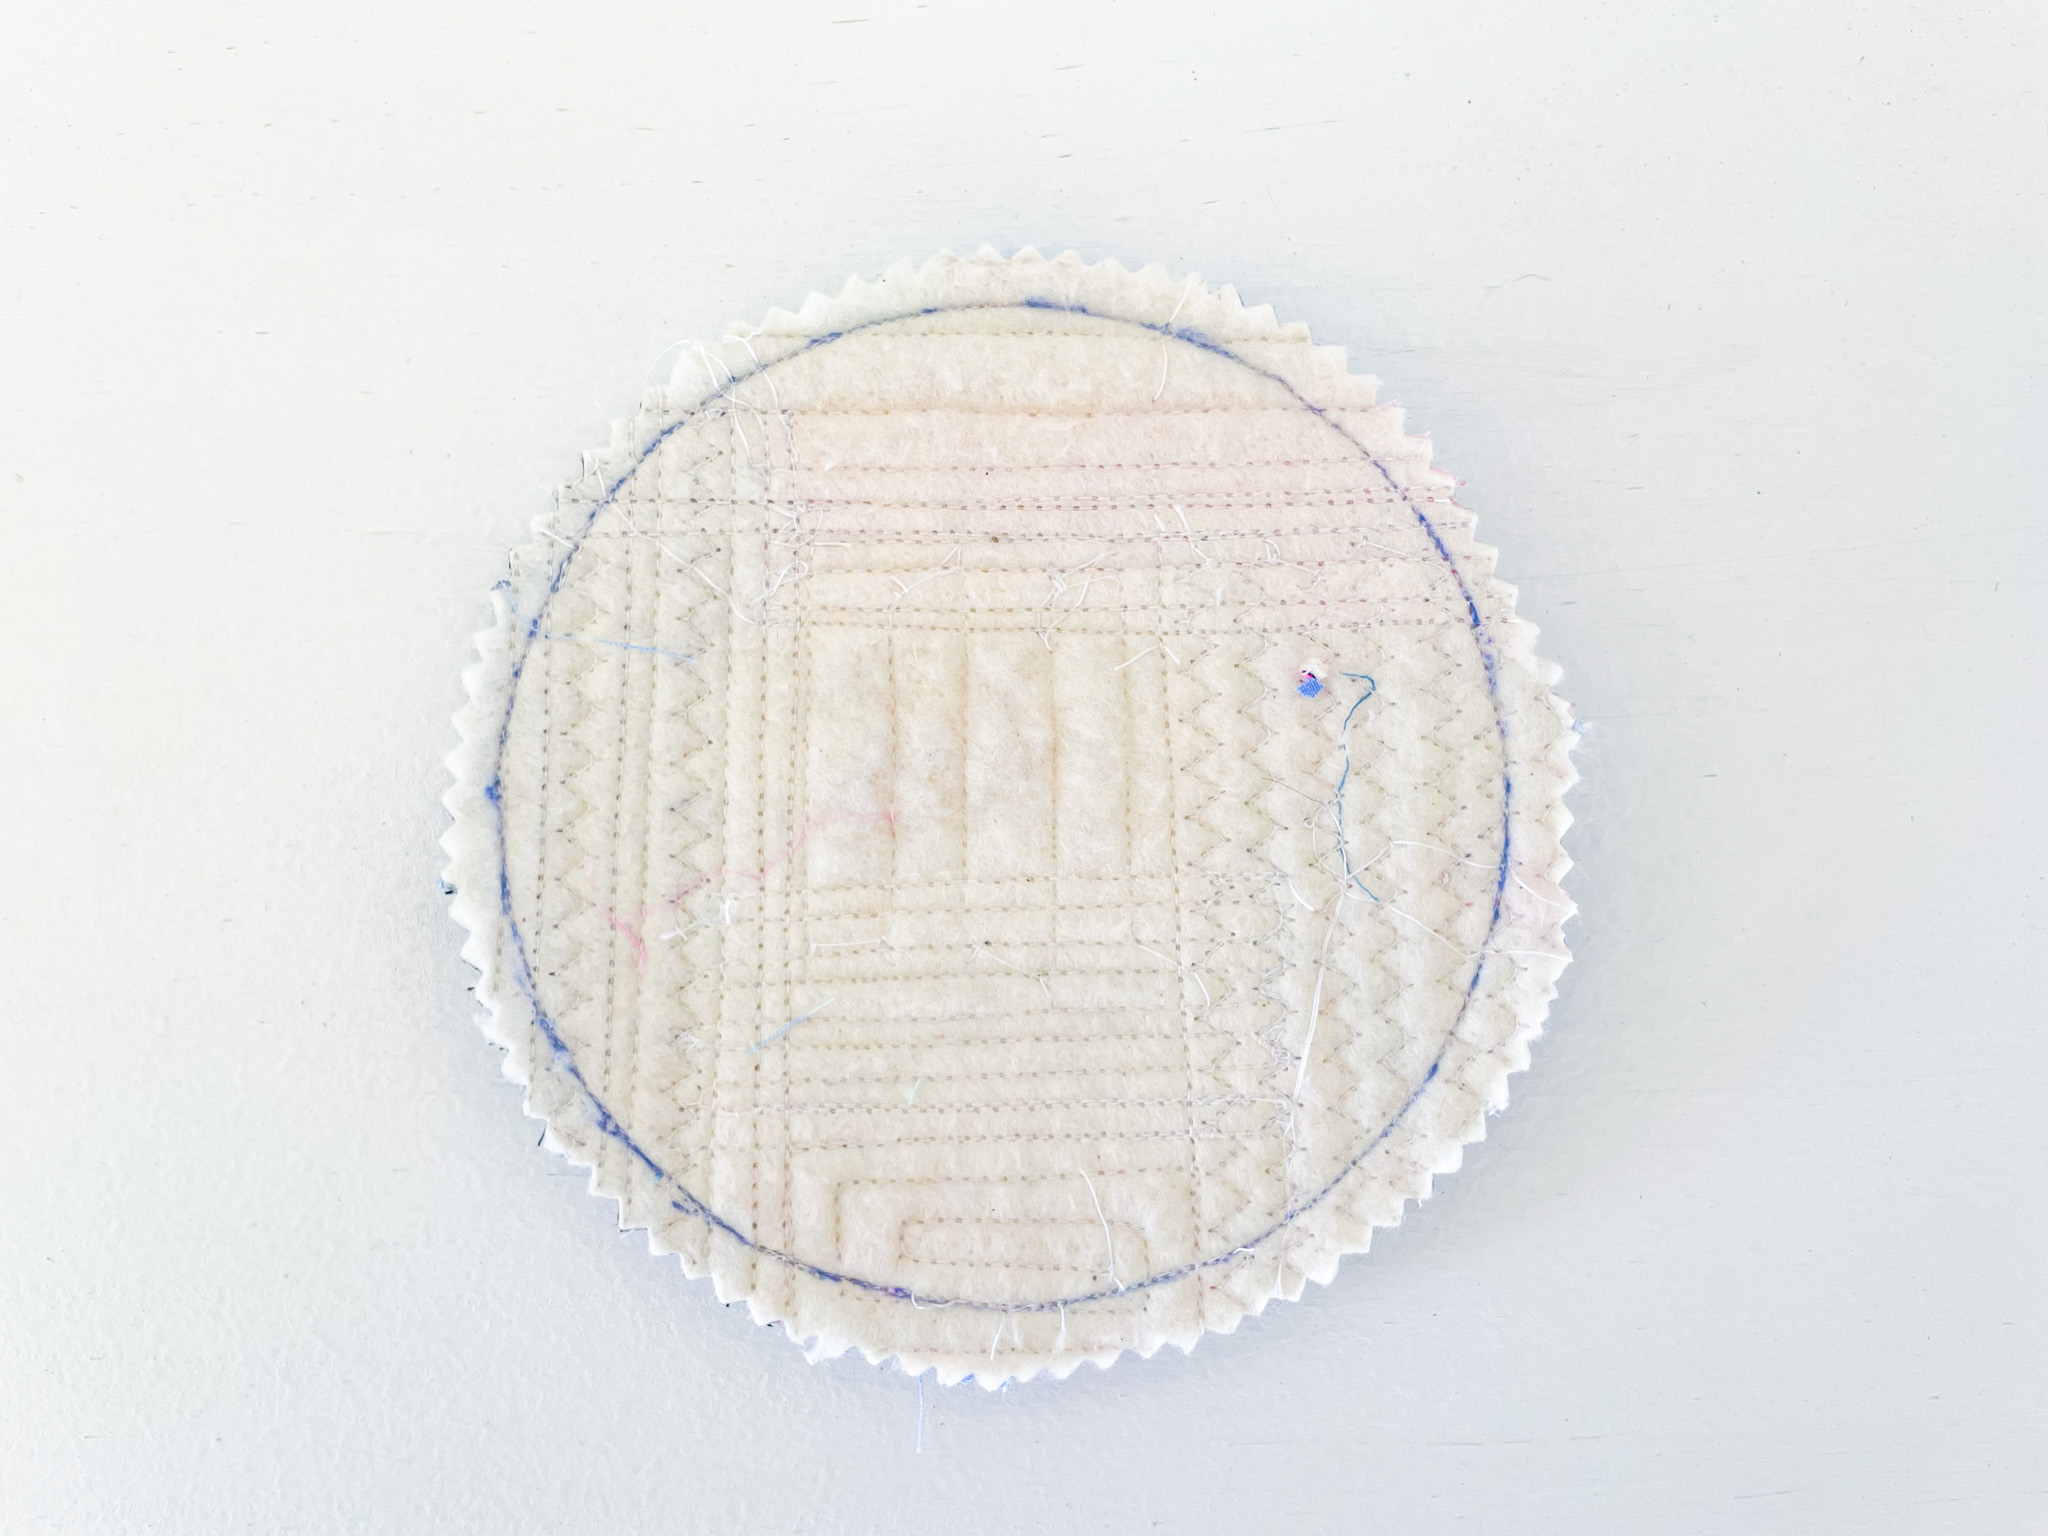
12. Trim your seam allowance to ¼” -using pinking shears. They make this step extra easy, help reduce bulk and make the edge of your circle nice and smooth when it’s turned.
No pinking shears? No problem! You can clip small notches around the edge instead, just don’t cut through the stitching.
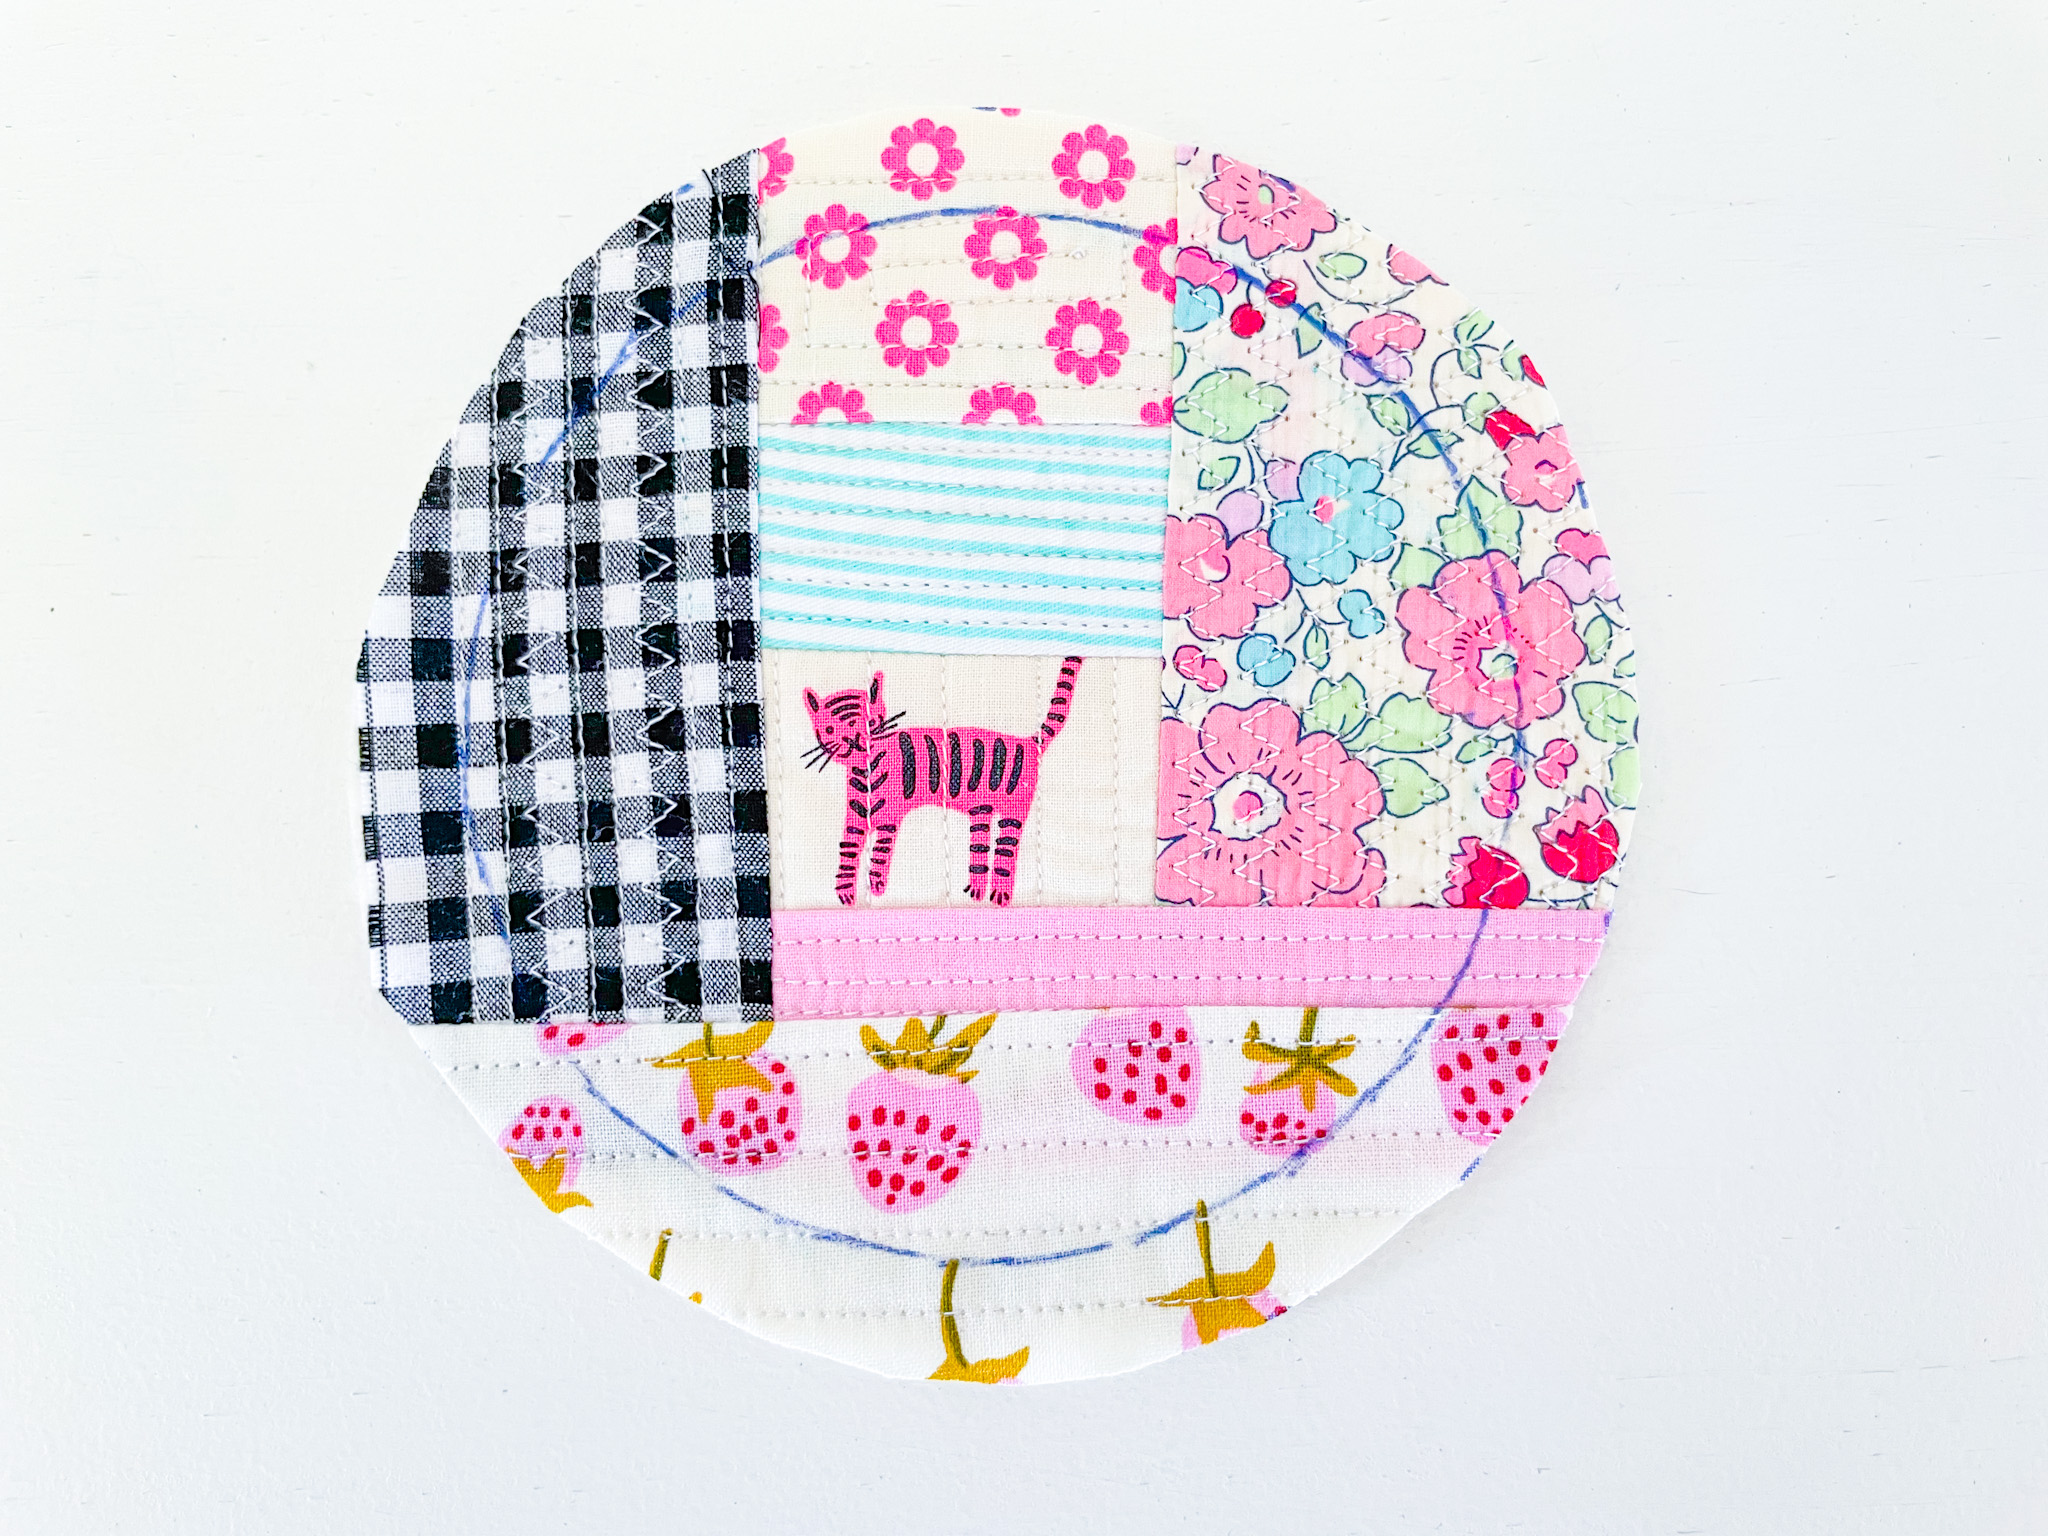
13. Turn your coaster right side out and gently push the seams out using a seam turner. This helps the circle edge lay nice and smooth. Press your coaster with a hot iron to set the shape.
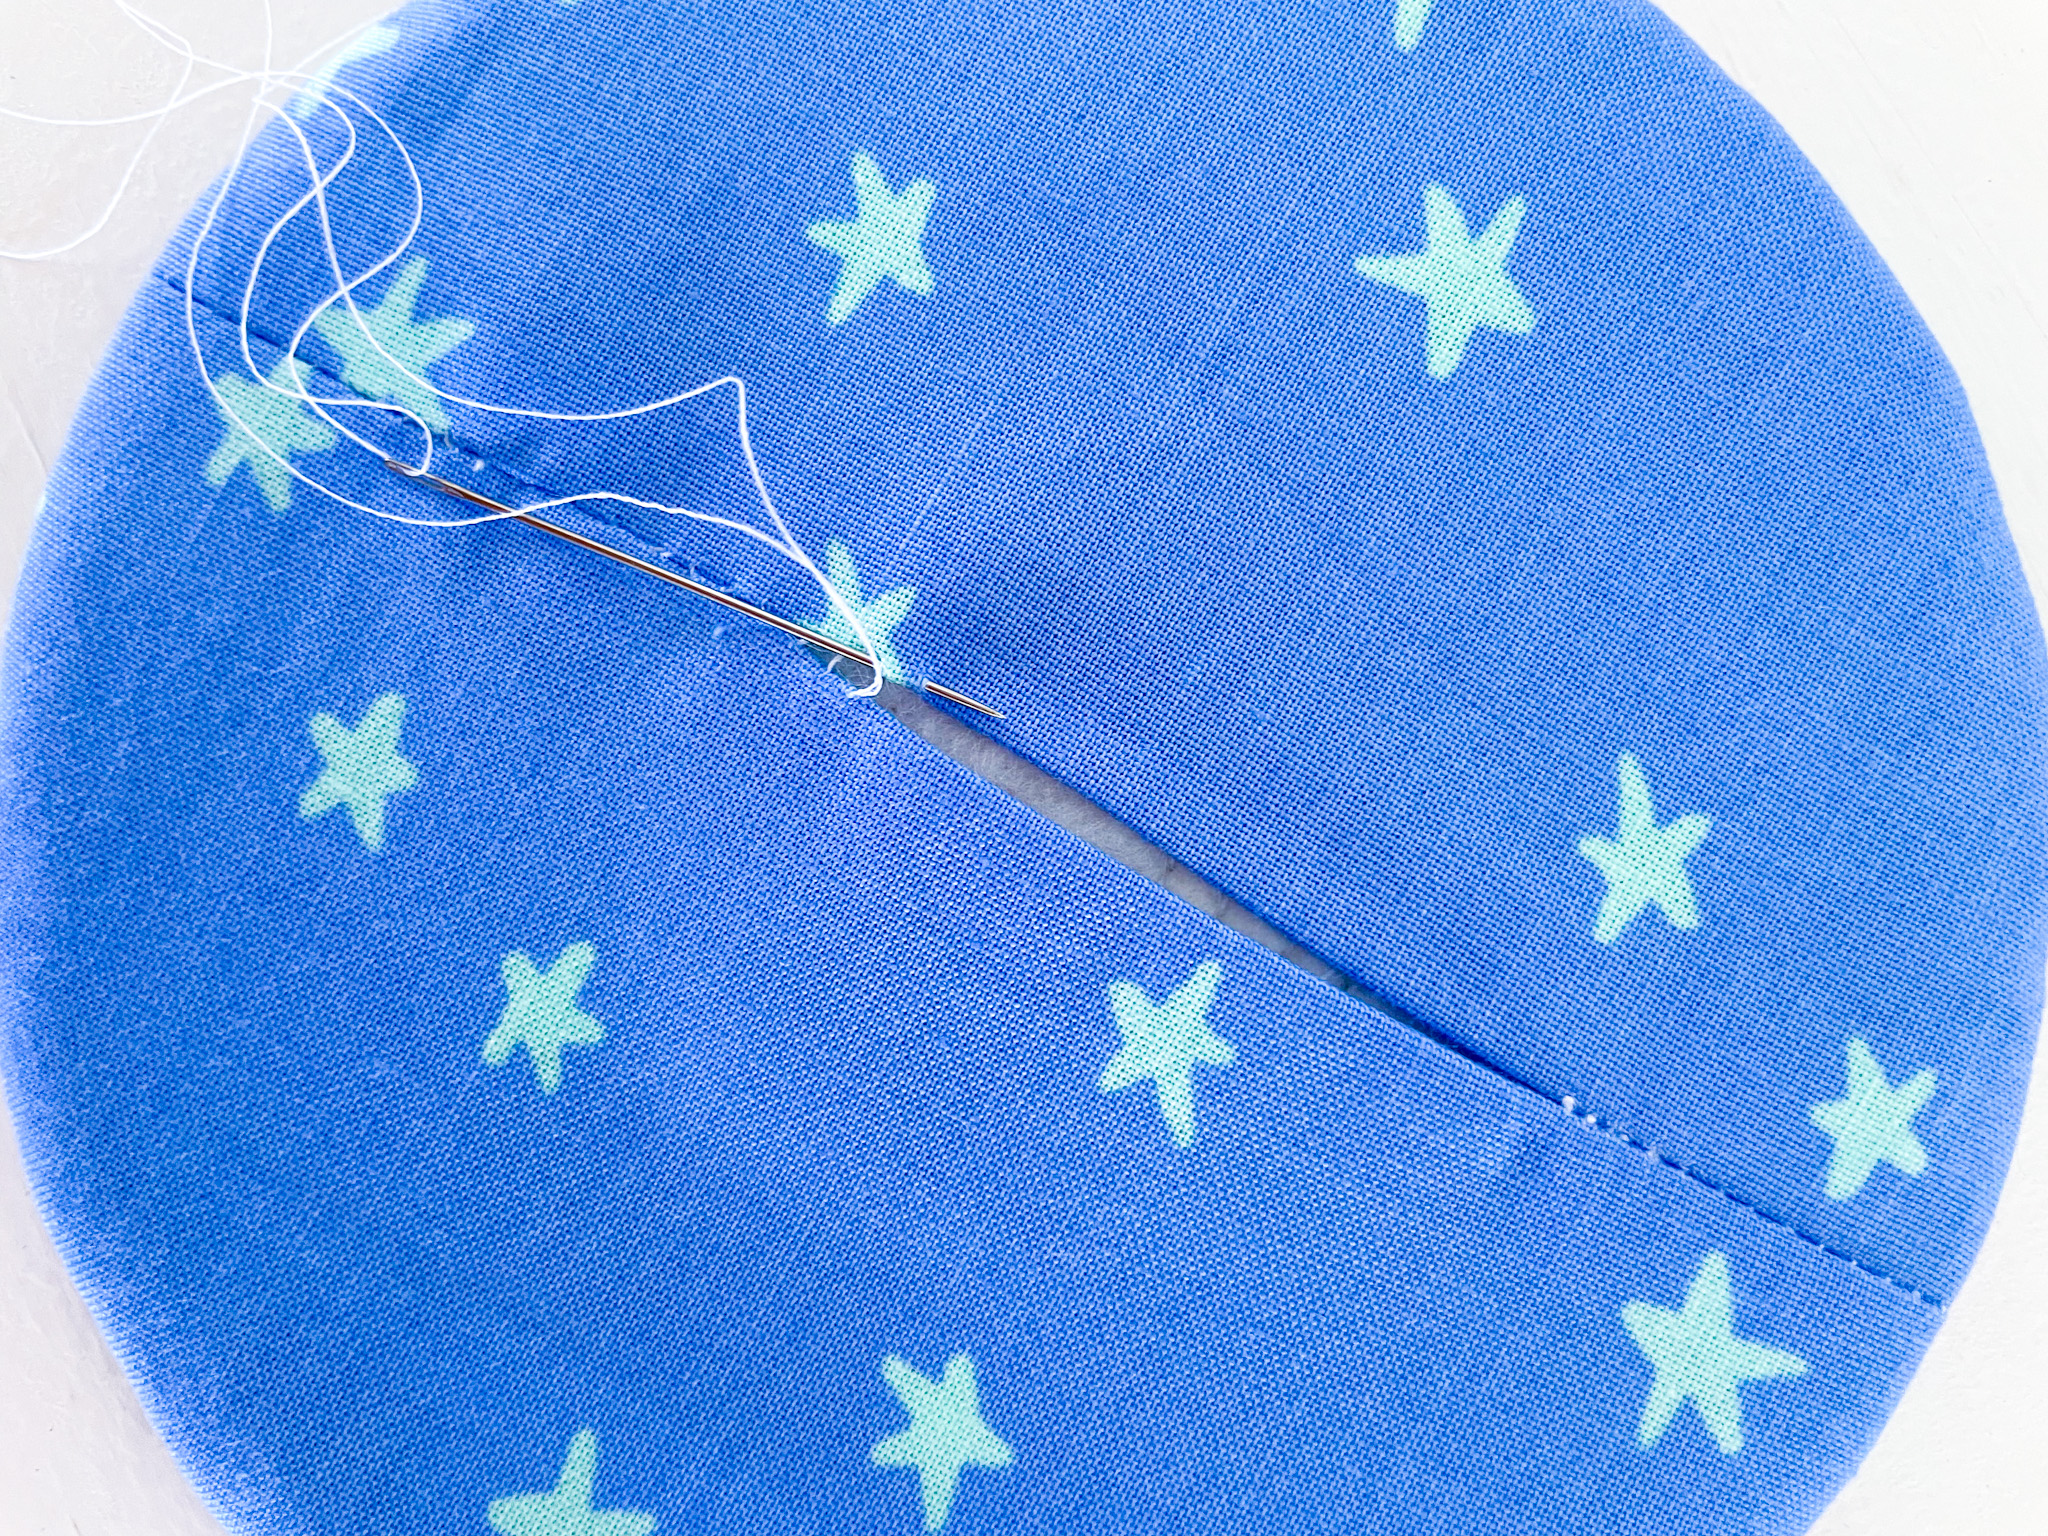
11. Sew your opening closed using a ladder/invisible stitch.
12. Give your coaster one final press. Look at that beautiful, smooth circle! A few small tips along the way make all the difference.

13. Optional: Topstitch around your coaster about ¼” from the edge. Use a longer stitch length (3.0) for smooth, even stitches.
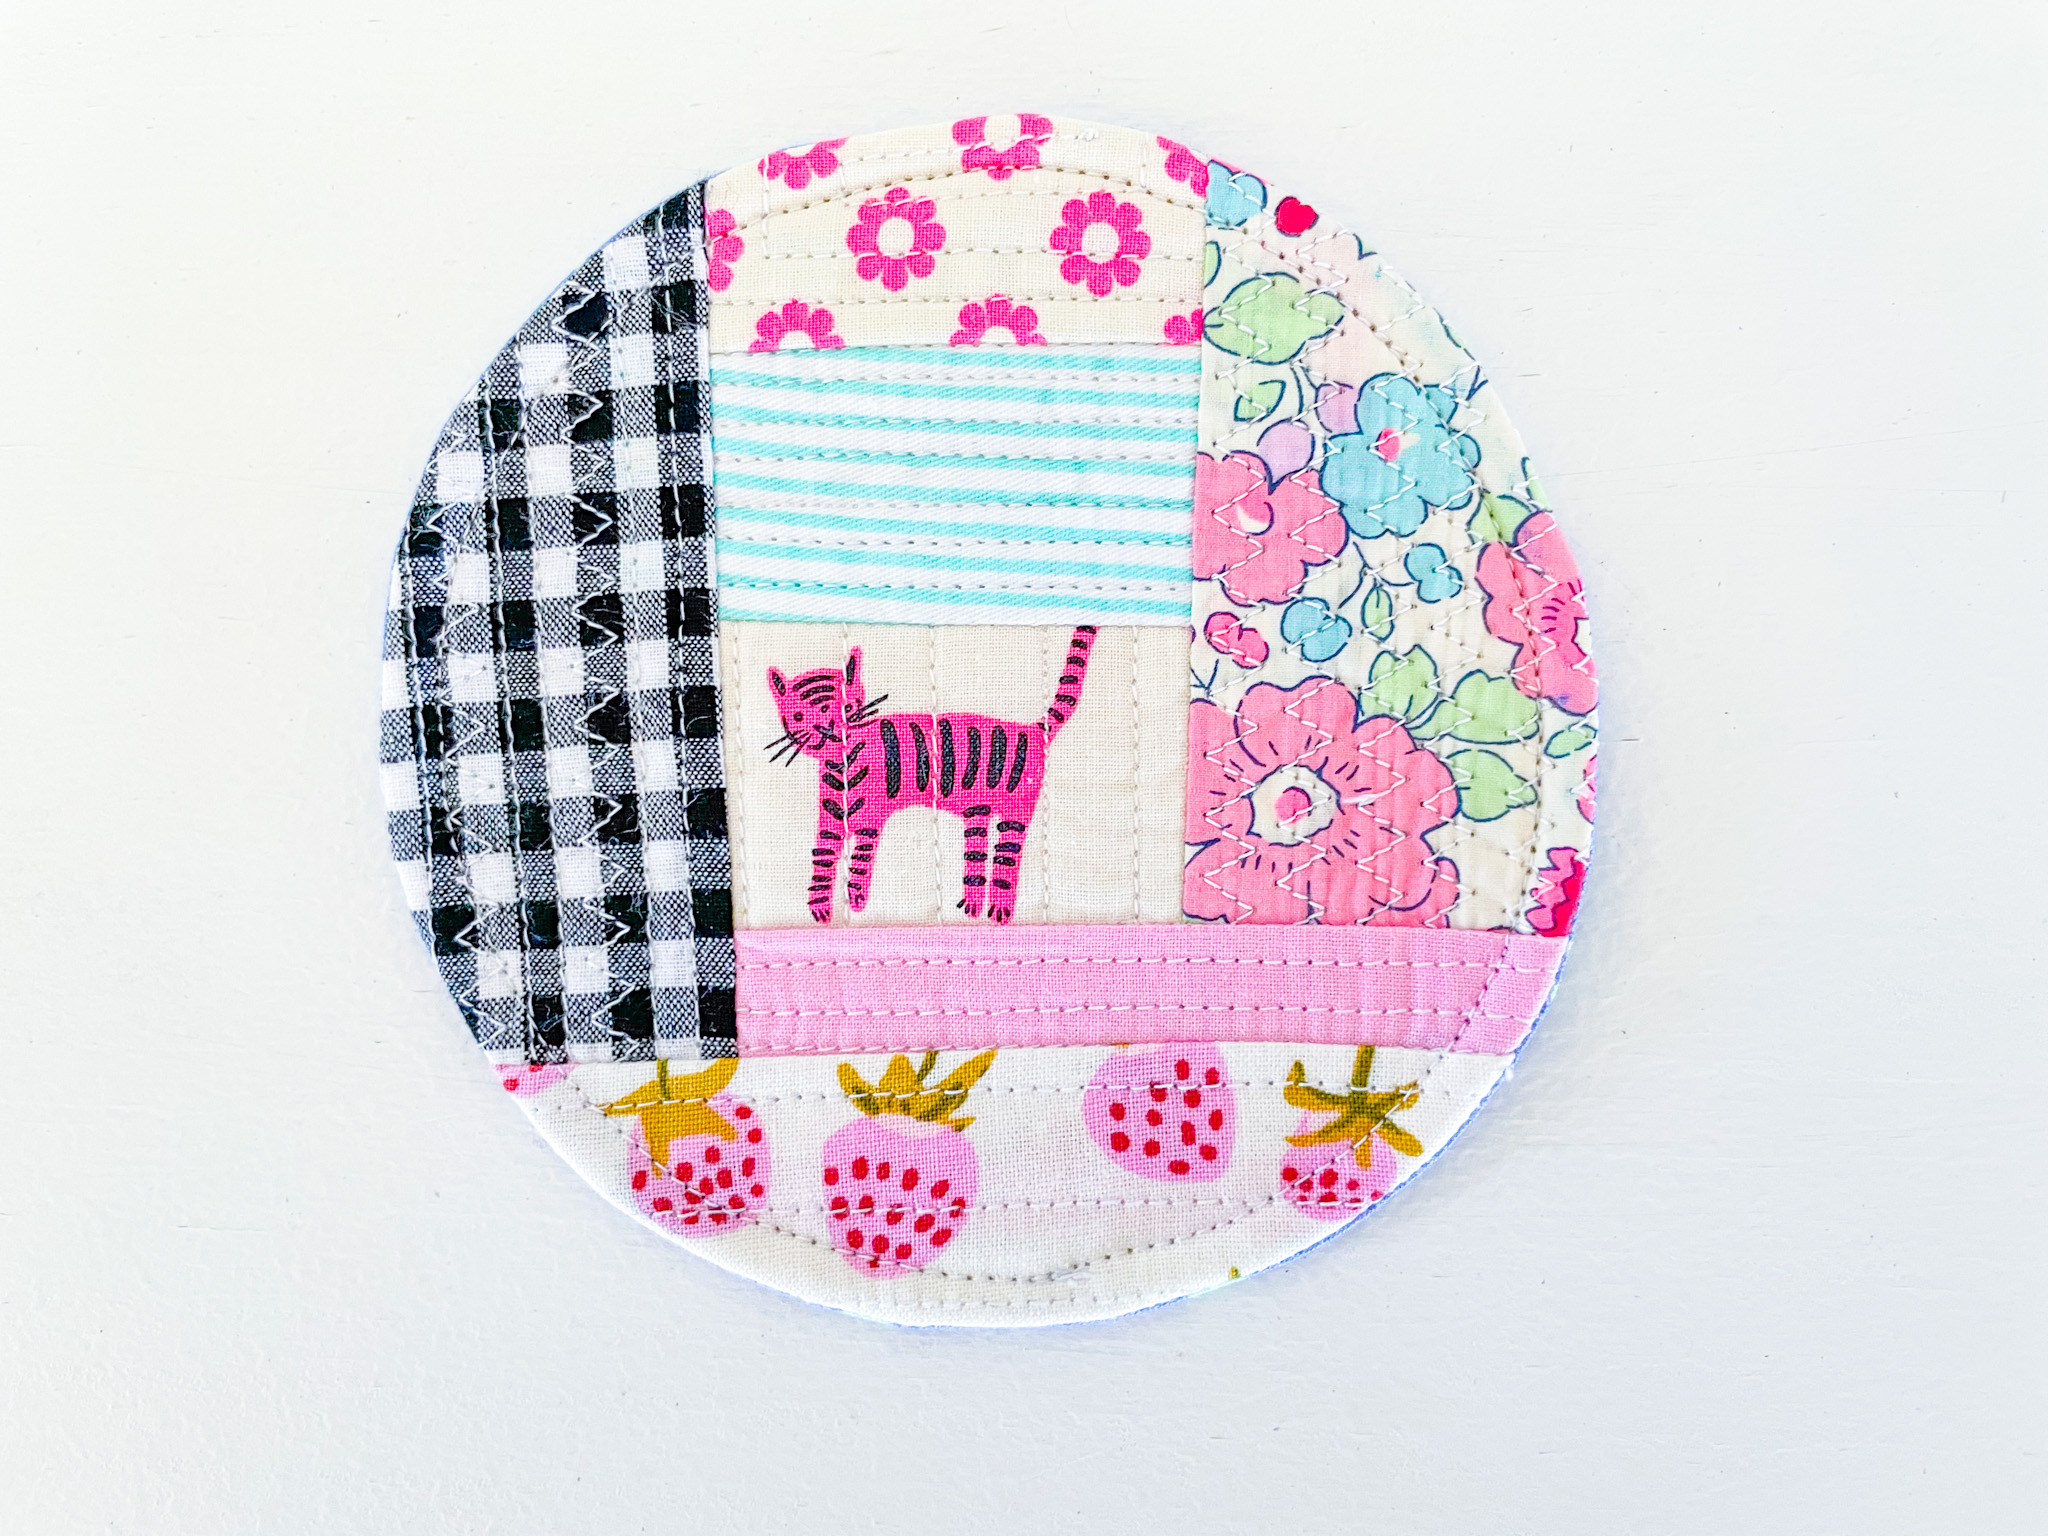
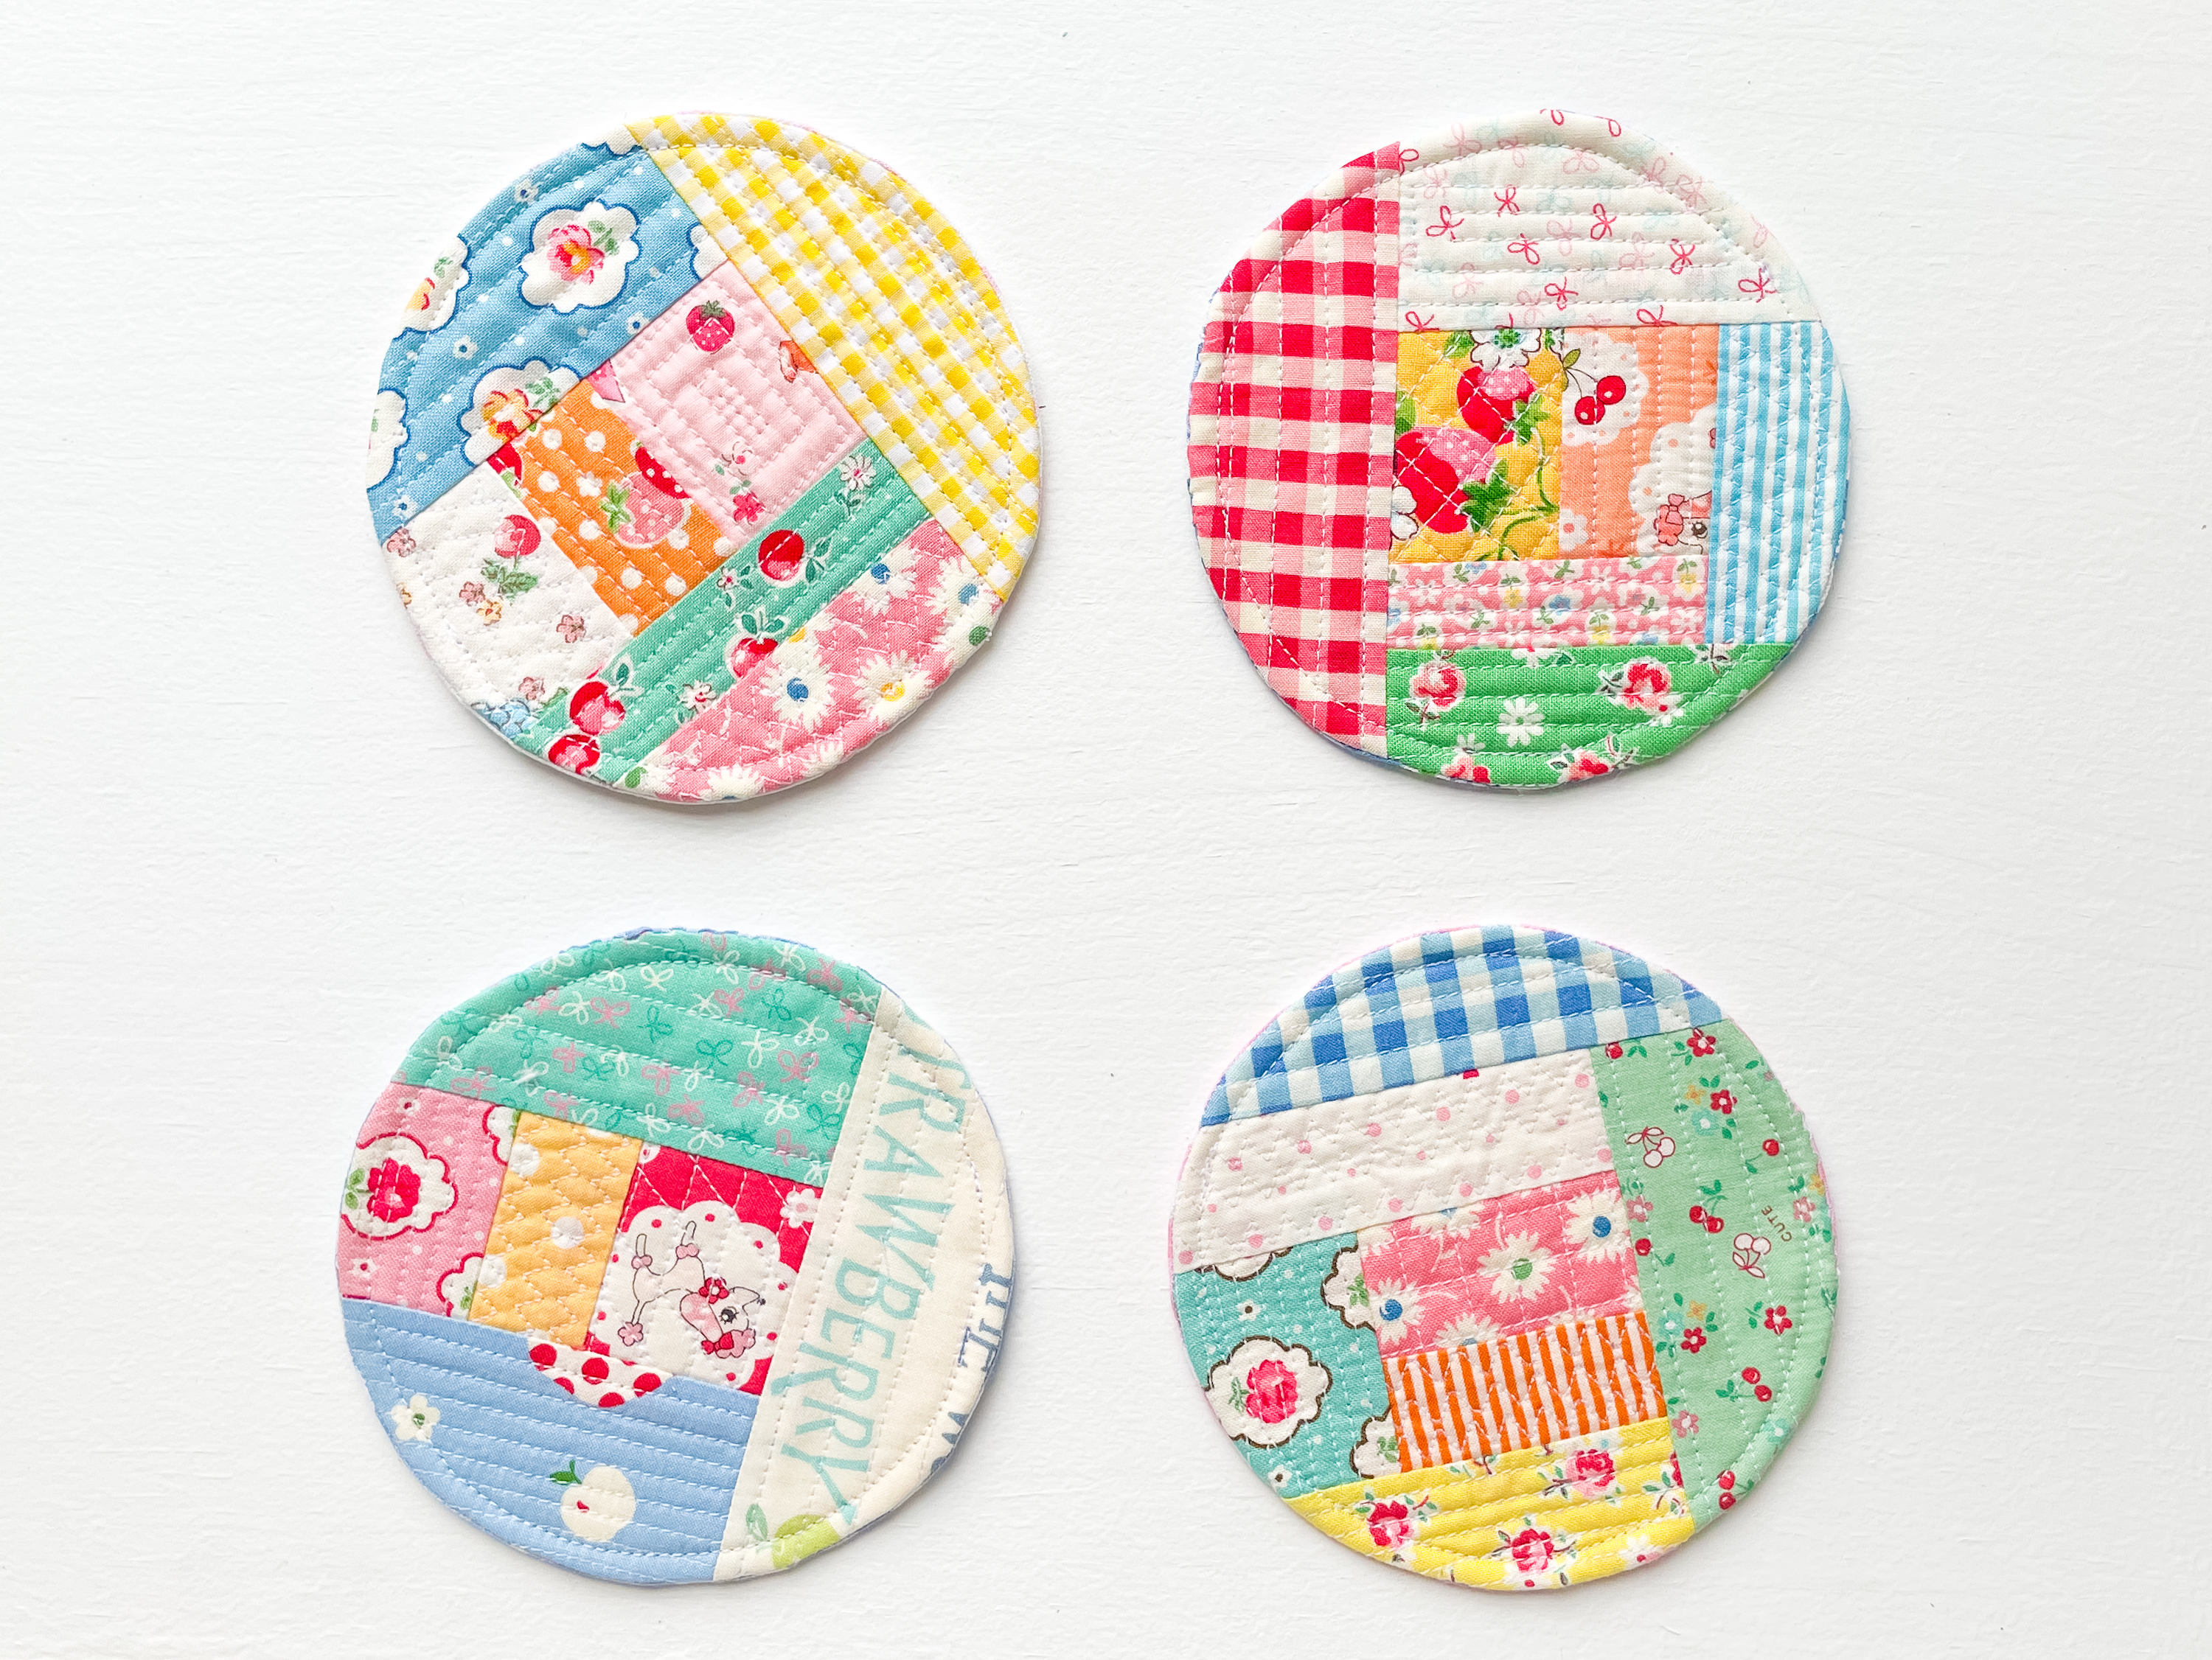
Congratulations! You’ve now made a Happy Scrappy Coaster – bet you won’t stop at just one!
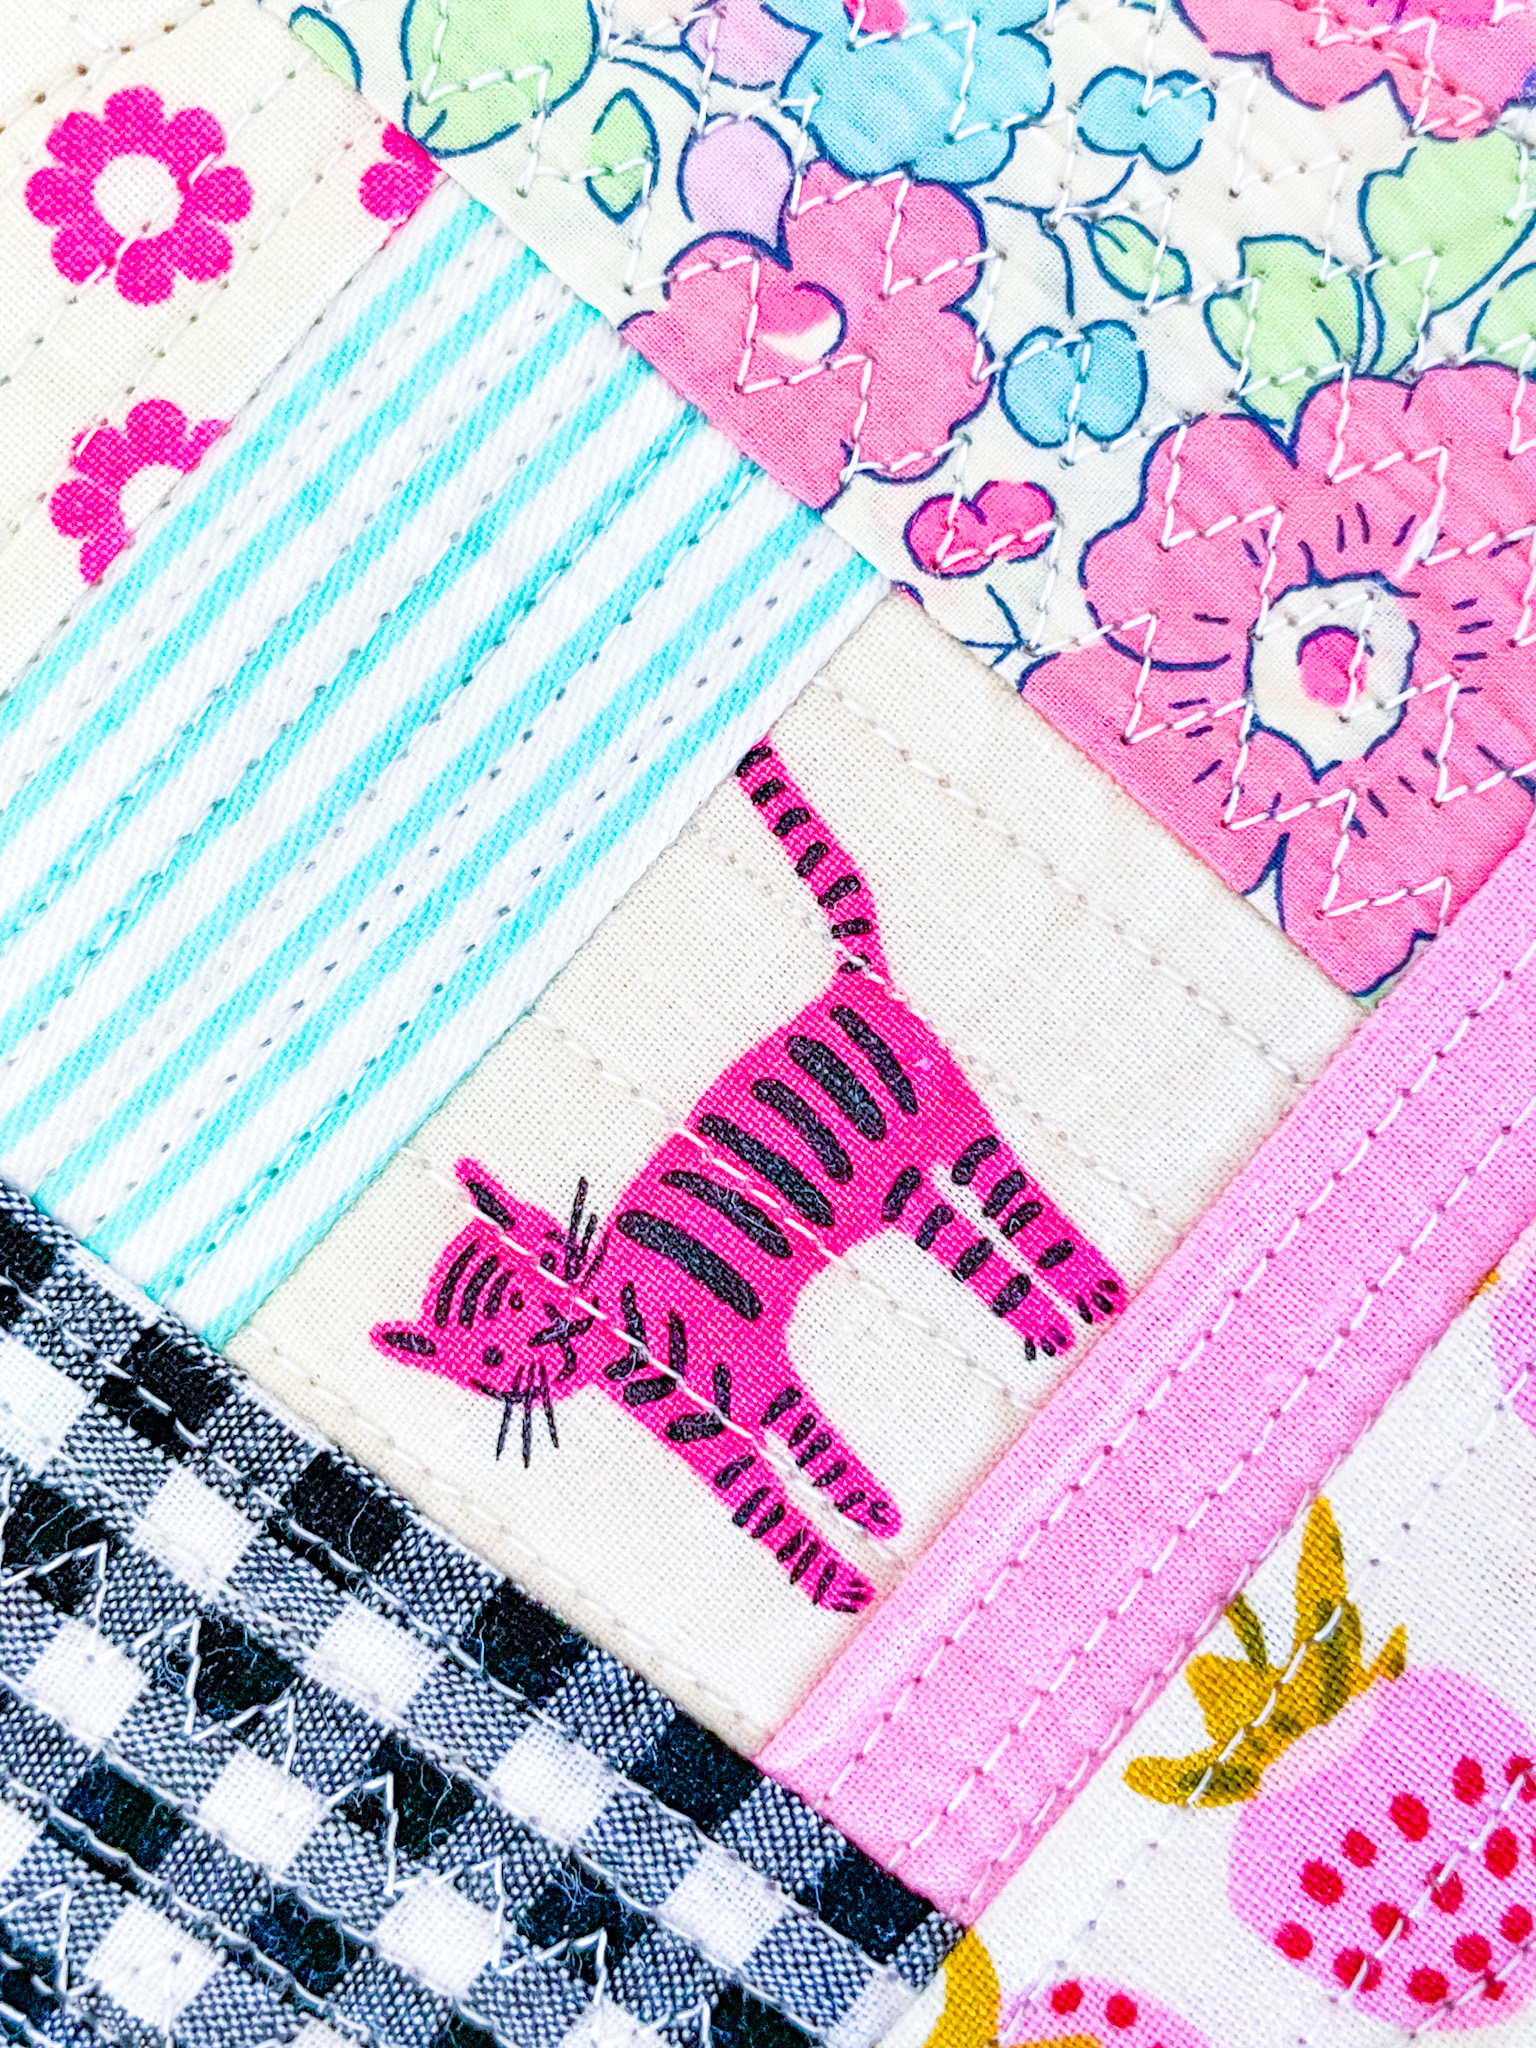
I just can’t get enough of that quilted texture…
I hope you enjoy this free pattern! If you have any questions or comments, don’t hesitate to reach out.
And if you make one (or more!), I’d love to see your creations. Share your photos and tag me on Instagram or Facebook.
I can’t wait to feature your beautiful coasters!
Happy Sewing, Kellie x.

Look so cool. Gonna make some of these! TY so much