
Tassel Zipper Pull Tutorial
Fabric tassels are a quick, fun way to add a pop of colour and personality to your zipper pulls or charms. But don’t stop there – their possibilities are endless! Dress up pouches, jazz up gifts, make a cute key fob, or add a little flair to your sewing swaps. And the best part? They’re perfect for using up those tiny scraps and precious bits of fabric you just can’t bear to throw away.
Finished size approx. 5” long (including Tassel hanger)
Supplies
- Assorted fabric scraps and trimmings ( 6″ long and ½” wide)
- 1 piece of fabric 8″ long by ½” wide for tying the tassel
- bakers twine or other thin string or cotton twine, I have also used soft thin leather lacing here too(16″ long)
- standard sewing supplies
Tassel instructions
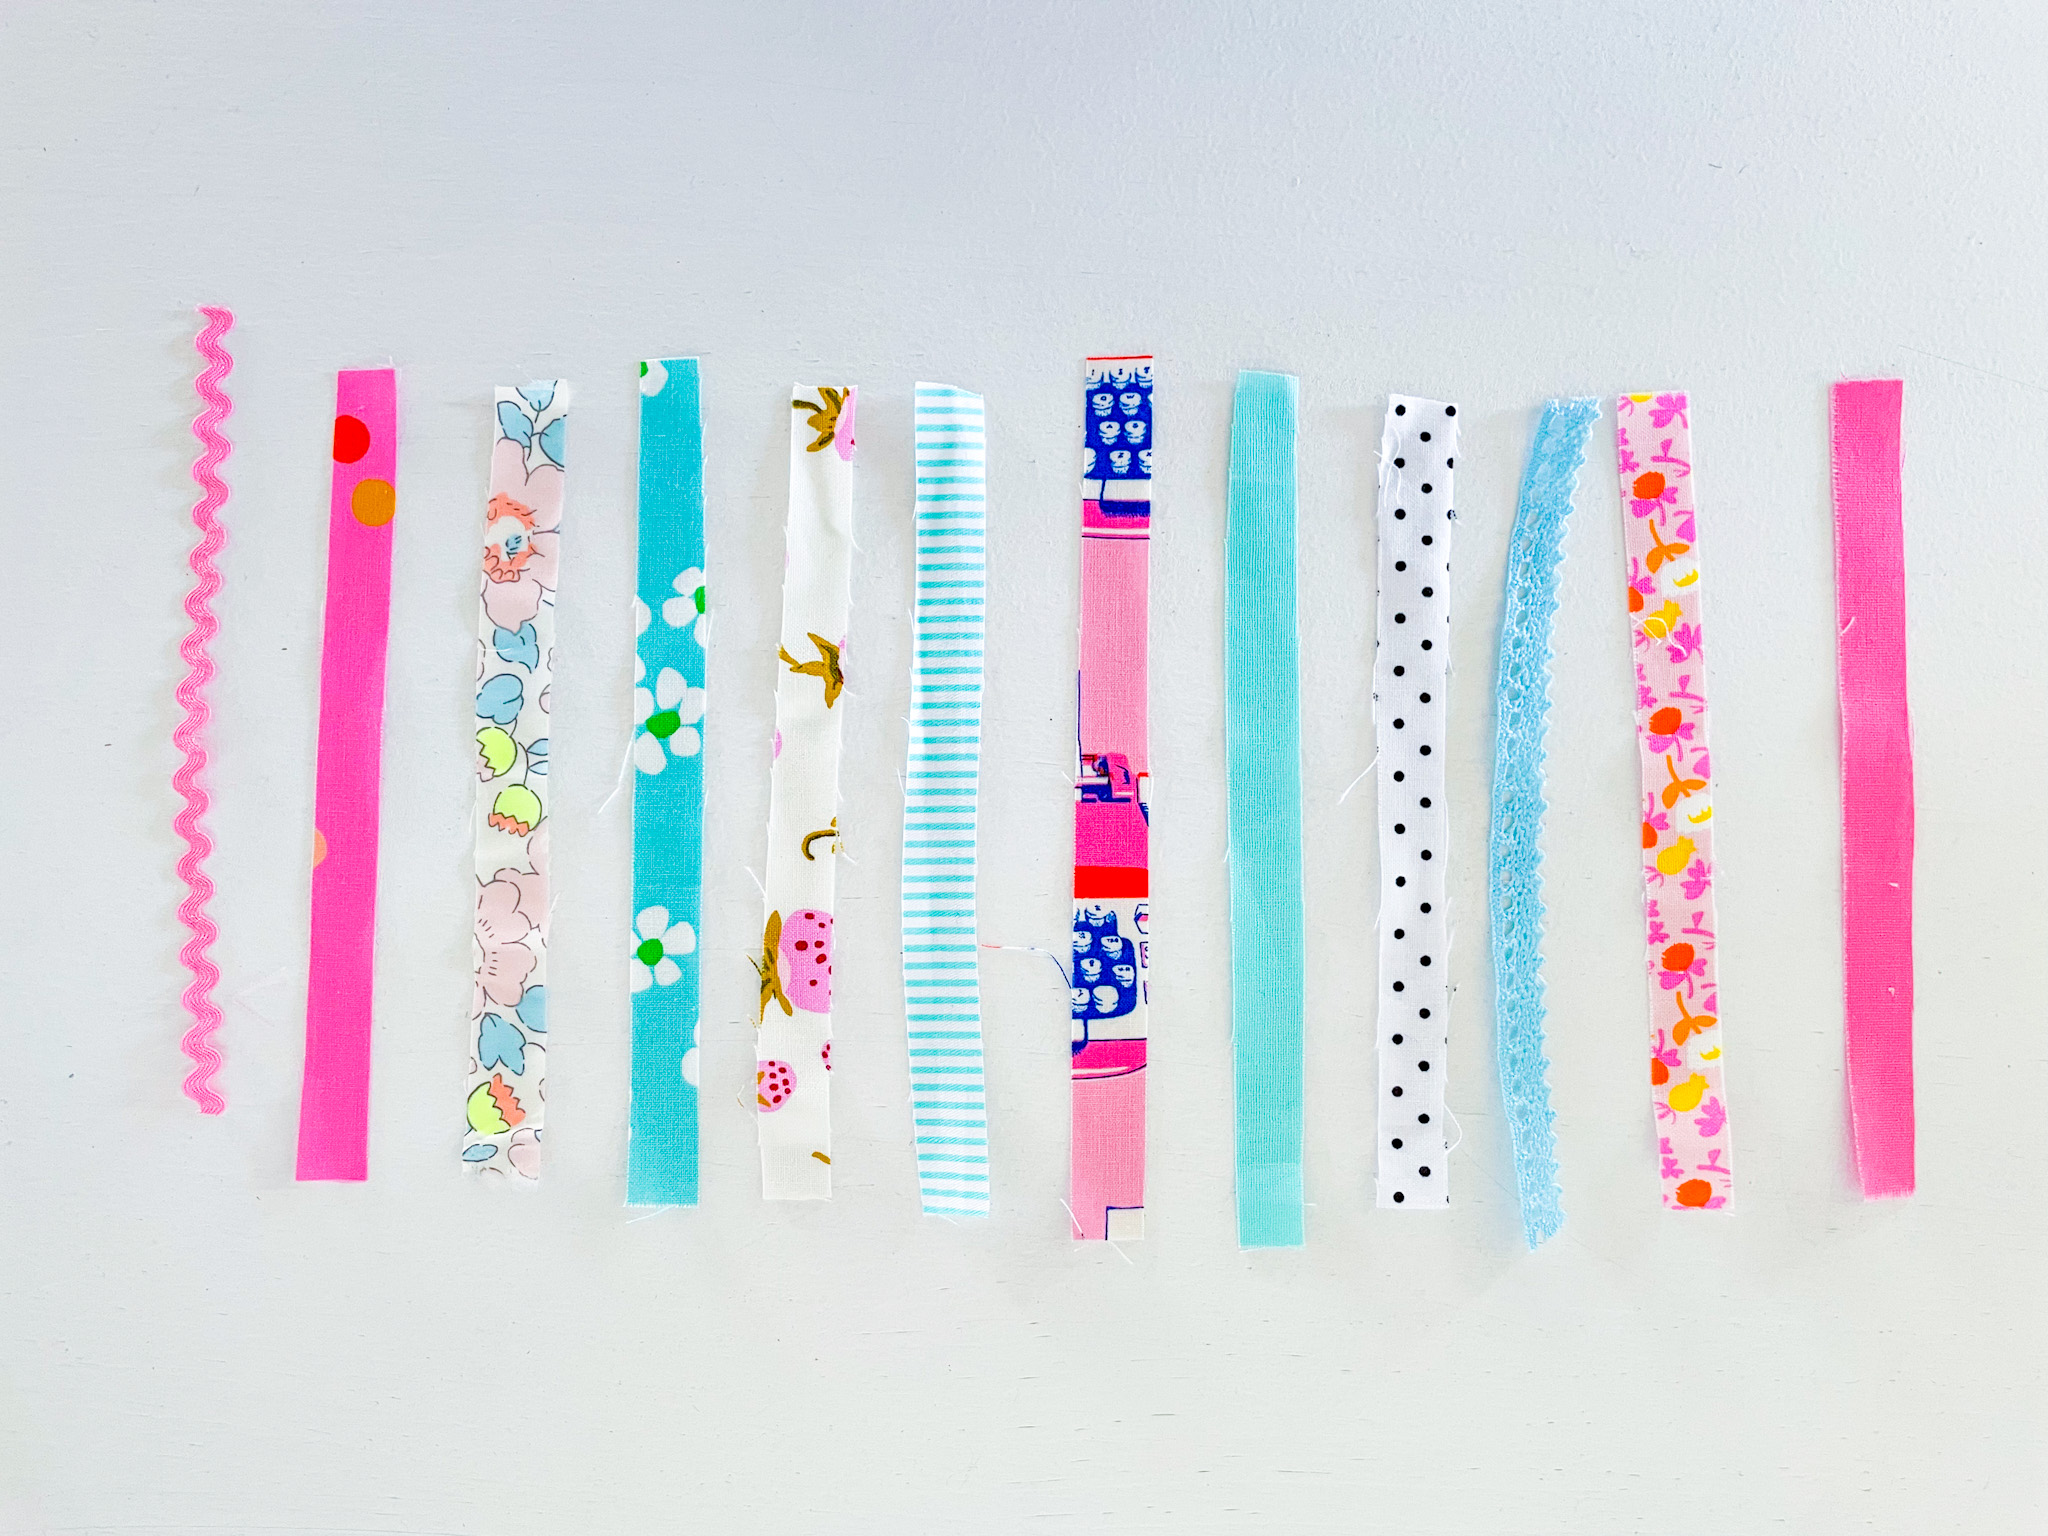
1. Start by collecting an assortment of fabric scraps and trimmings you’d like to use. You can stick to a color theme or go totally random—it’s all about having fun and adding texture and interest! Small bits of ric rac, cotton crochet lace, or other tiny embellishments work beautifully.
You’ll also need a thin piece of cotton or baker’s twine, at least 16″ long, to use as the tassel hanger. Make sure it’s thin enough to fit through the tiny hole at the end of a zipper when doubled over. If you’re using a large ring-pull zipper, you have more flexibility—ribbon, trimmings, or a scrap of fabric will work, as long as it easily fits through the hole when doubled.

2. Trim your fabric scraps and trimmings so they’re roughly the same length. For a tassel that’s about 2.5″ long, cut your fabric pieces to around 6″ long and ½” wide. Match your trimmings to the same 6″ length. You’ll need a total of 12 pieces of fabric and trim combined.
You’ll also need one extra piece of fabric, 8″ long by ½” wide, to use as the tassel tie.
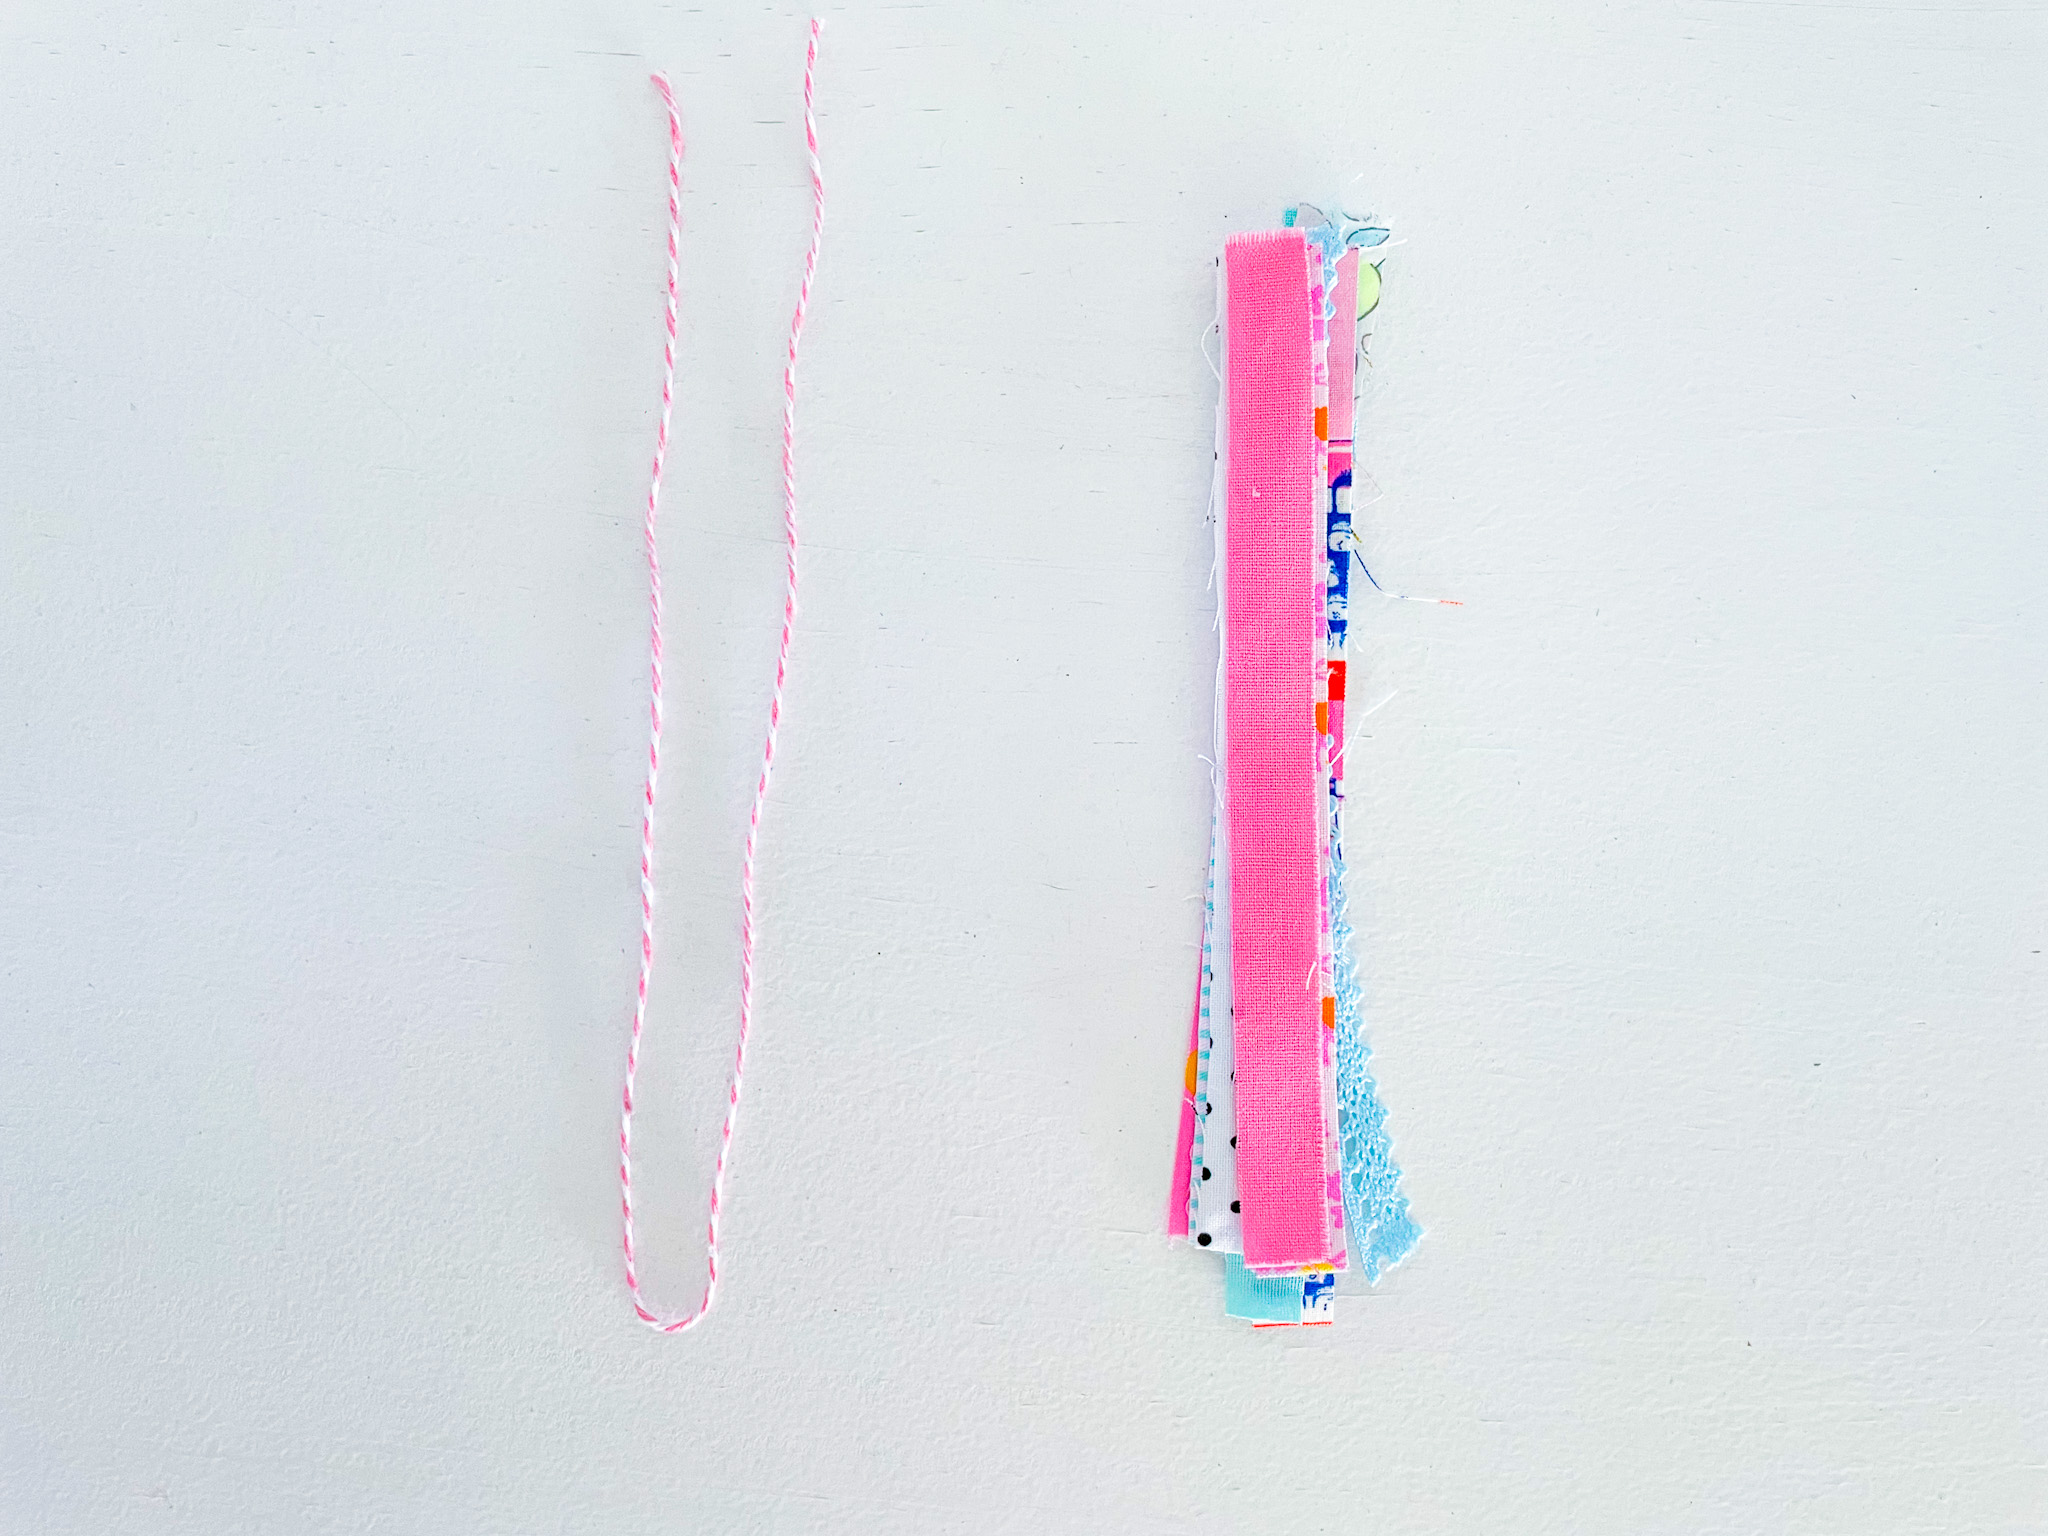
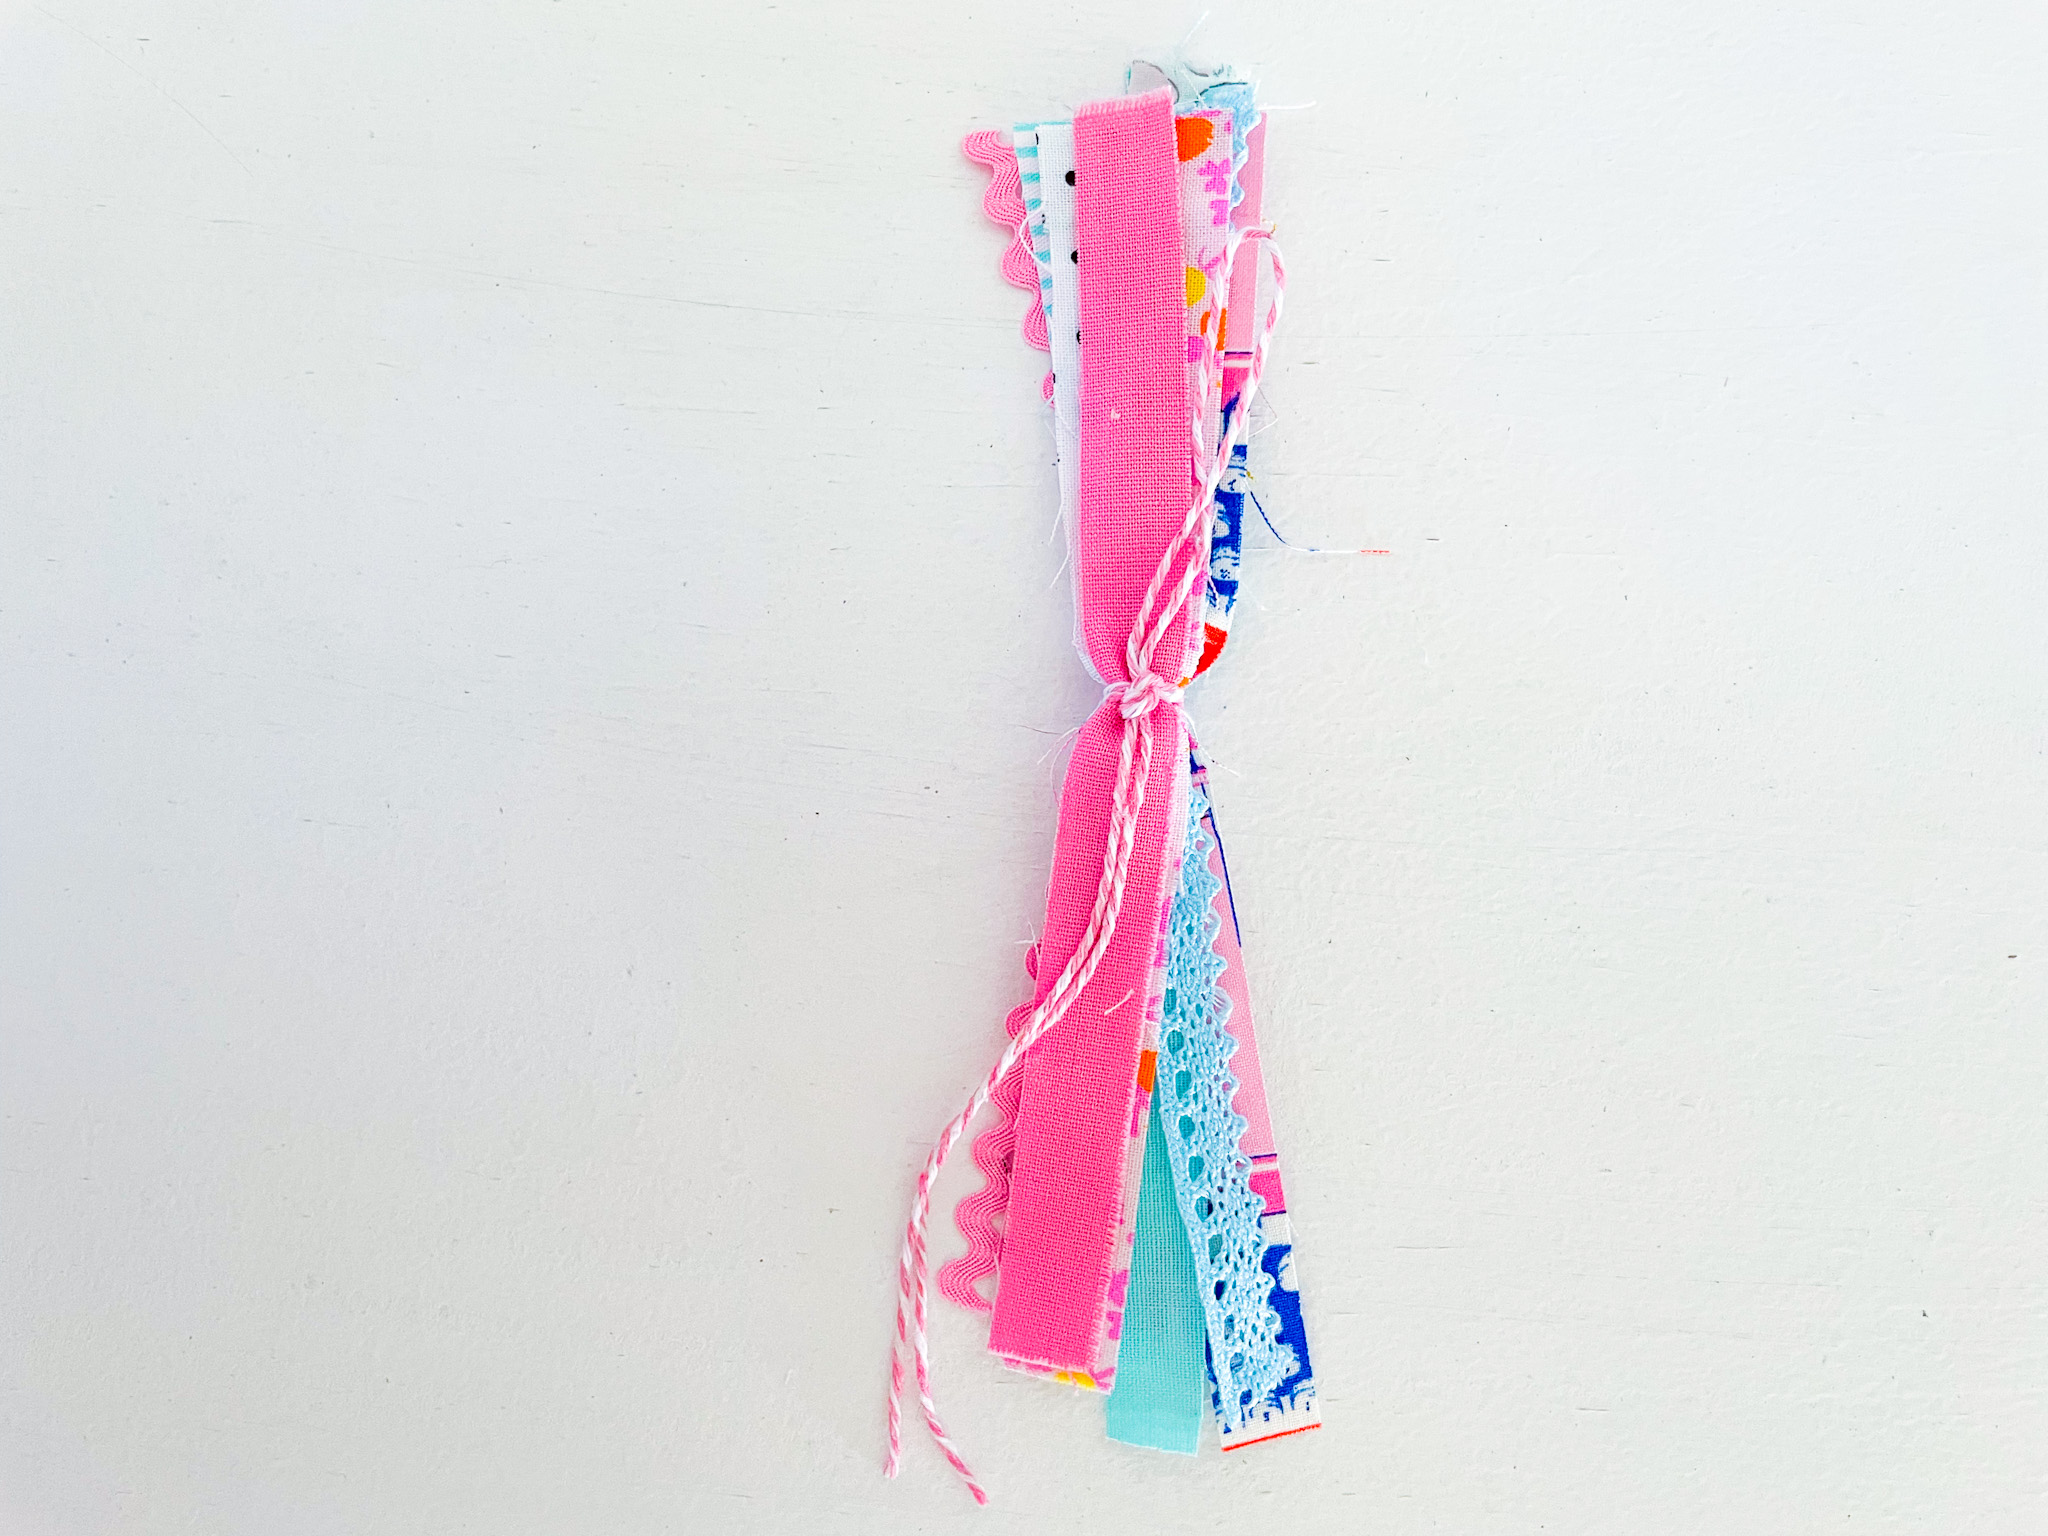
3. Lay out your fabric scraps and trimmings in an order that looks pleasing to you, stacking them on top of each other with the right sides facing up. Place your twine (or chosen hanger) beside the stack, doubled from end to end, ready to be incorporated into the tassel.
Tip: Don’t worry if your pieces are a little longer or shorter than suggested—you can make larger or smaller tassels by adjusting the length of the strips. Just avoid making them too tiny, as the raw edges can fray more easily.
4. Take your piece of twine and slip it under the center of your fabric and trim stack. Make sure the looped end sticks out by about 2″—this will be your tassel hanger. The rest of the twine should extend out the other end.
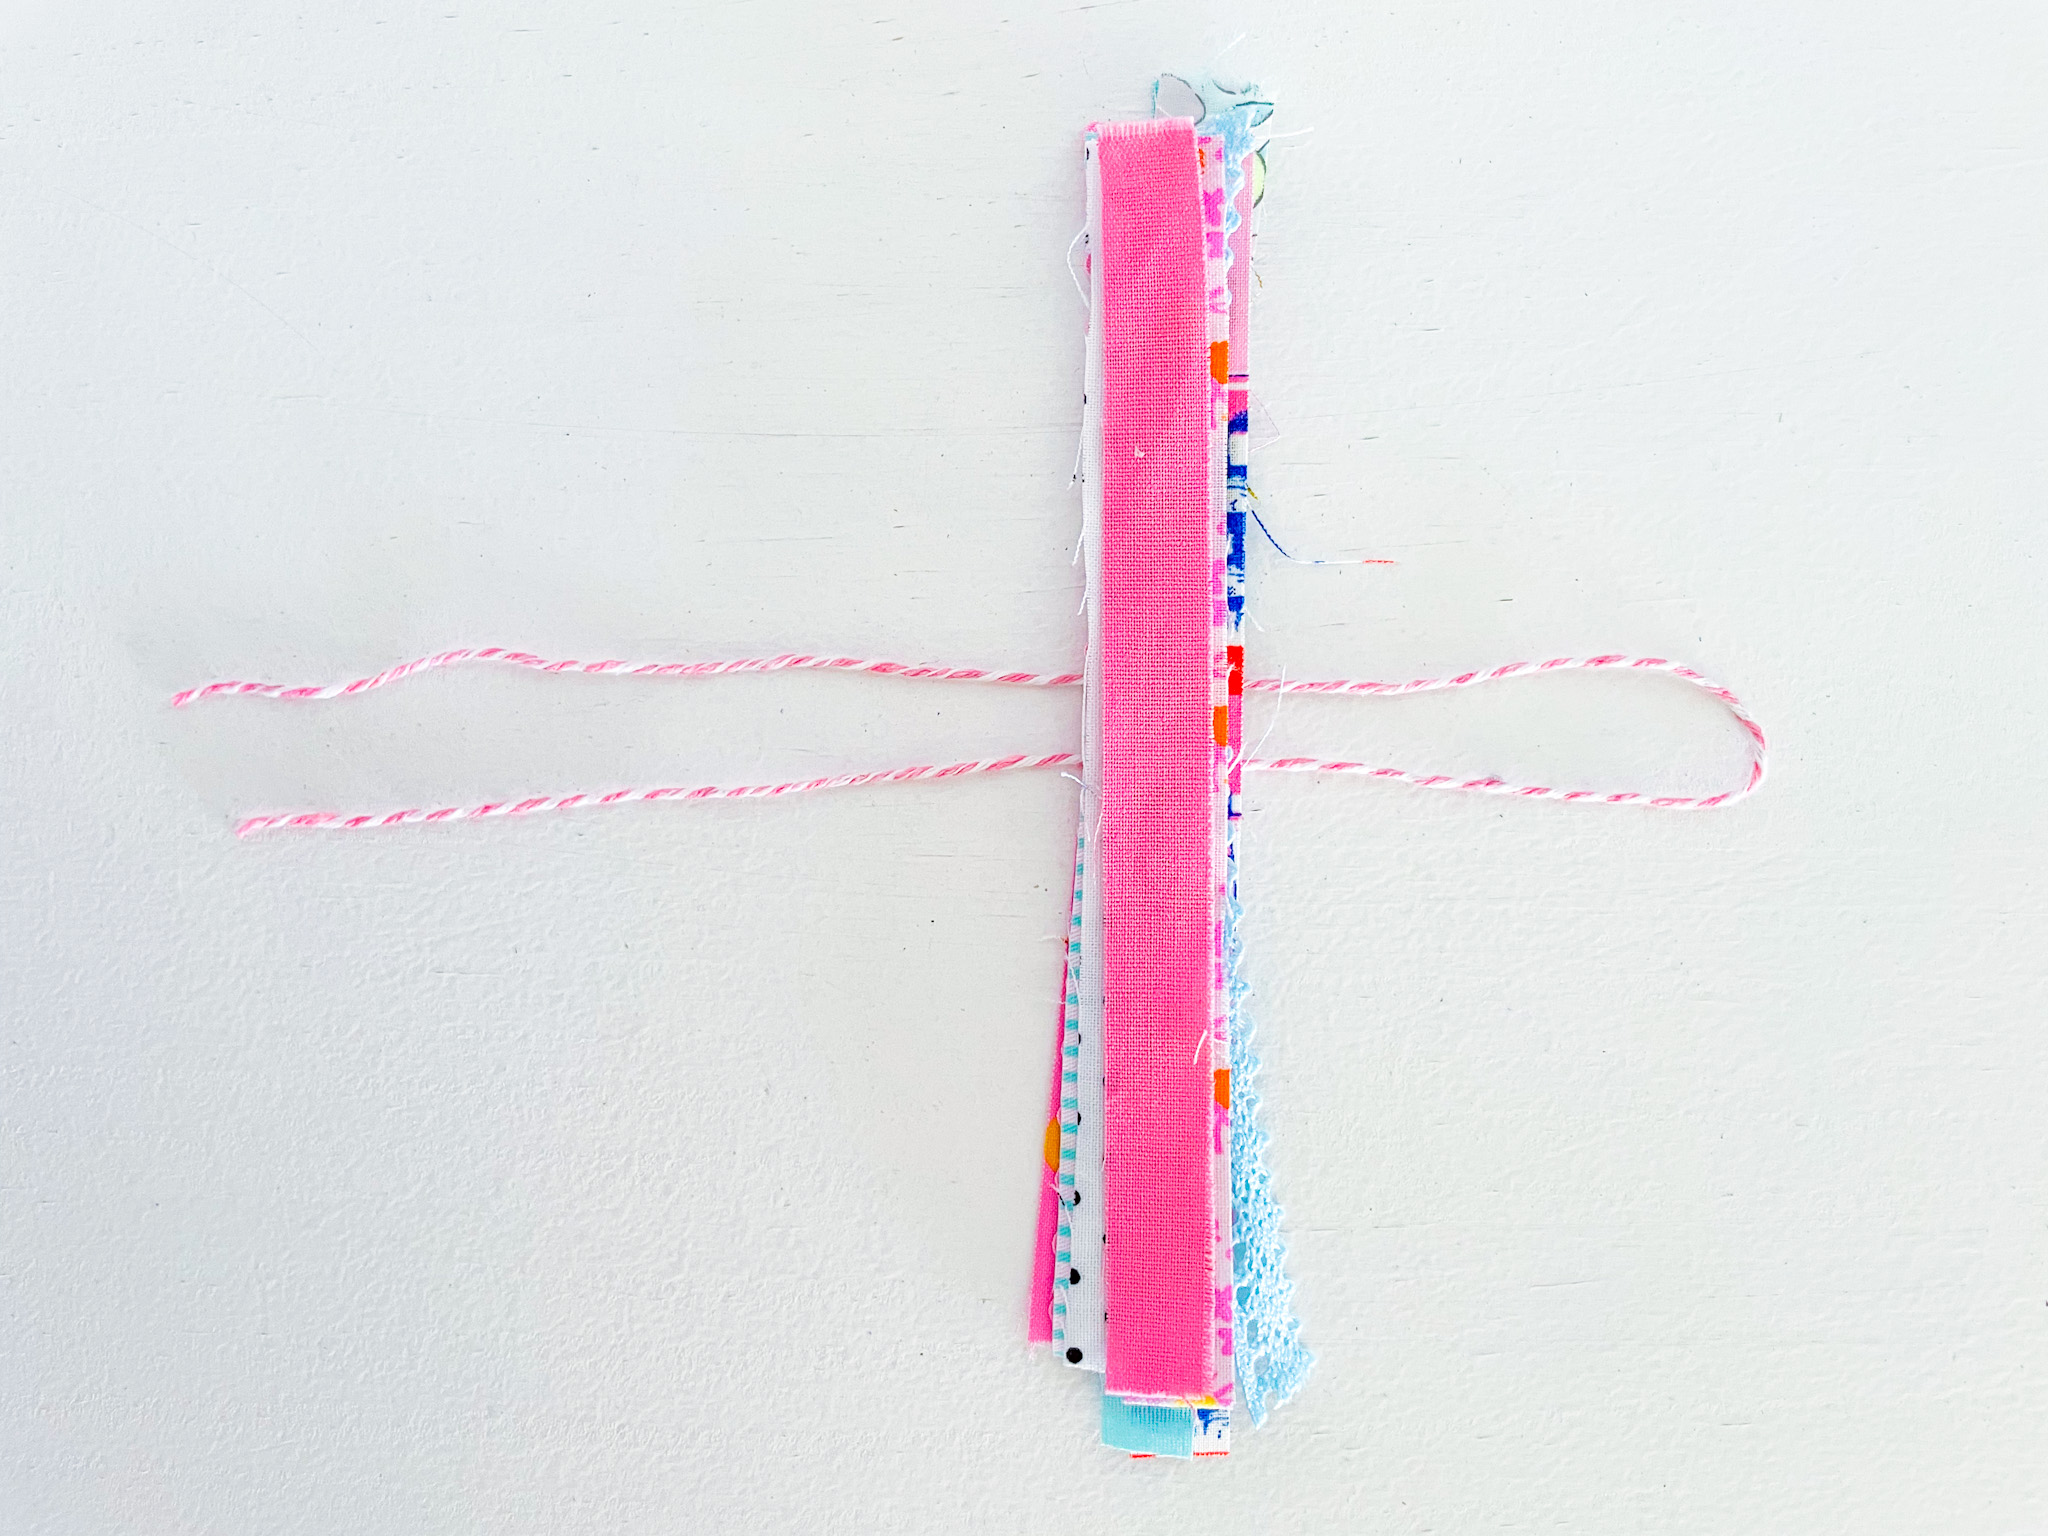
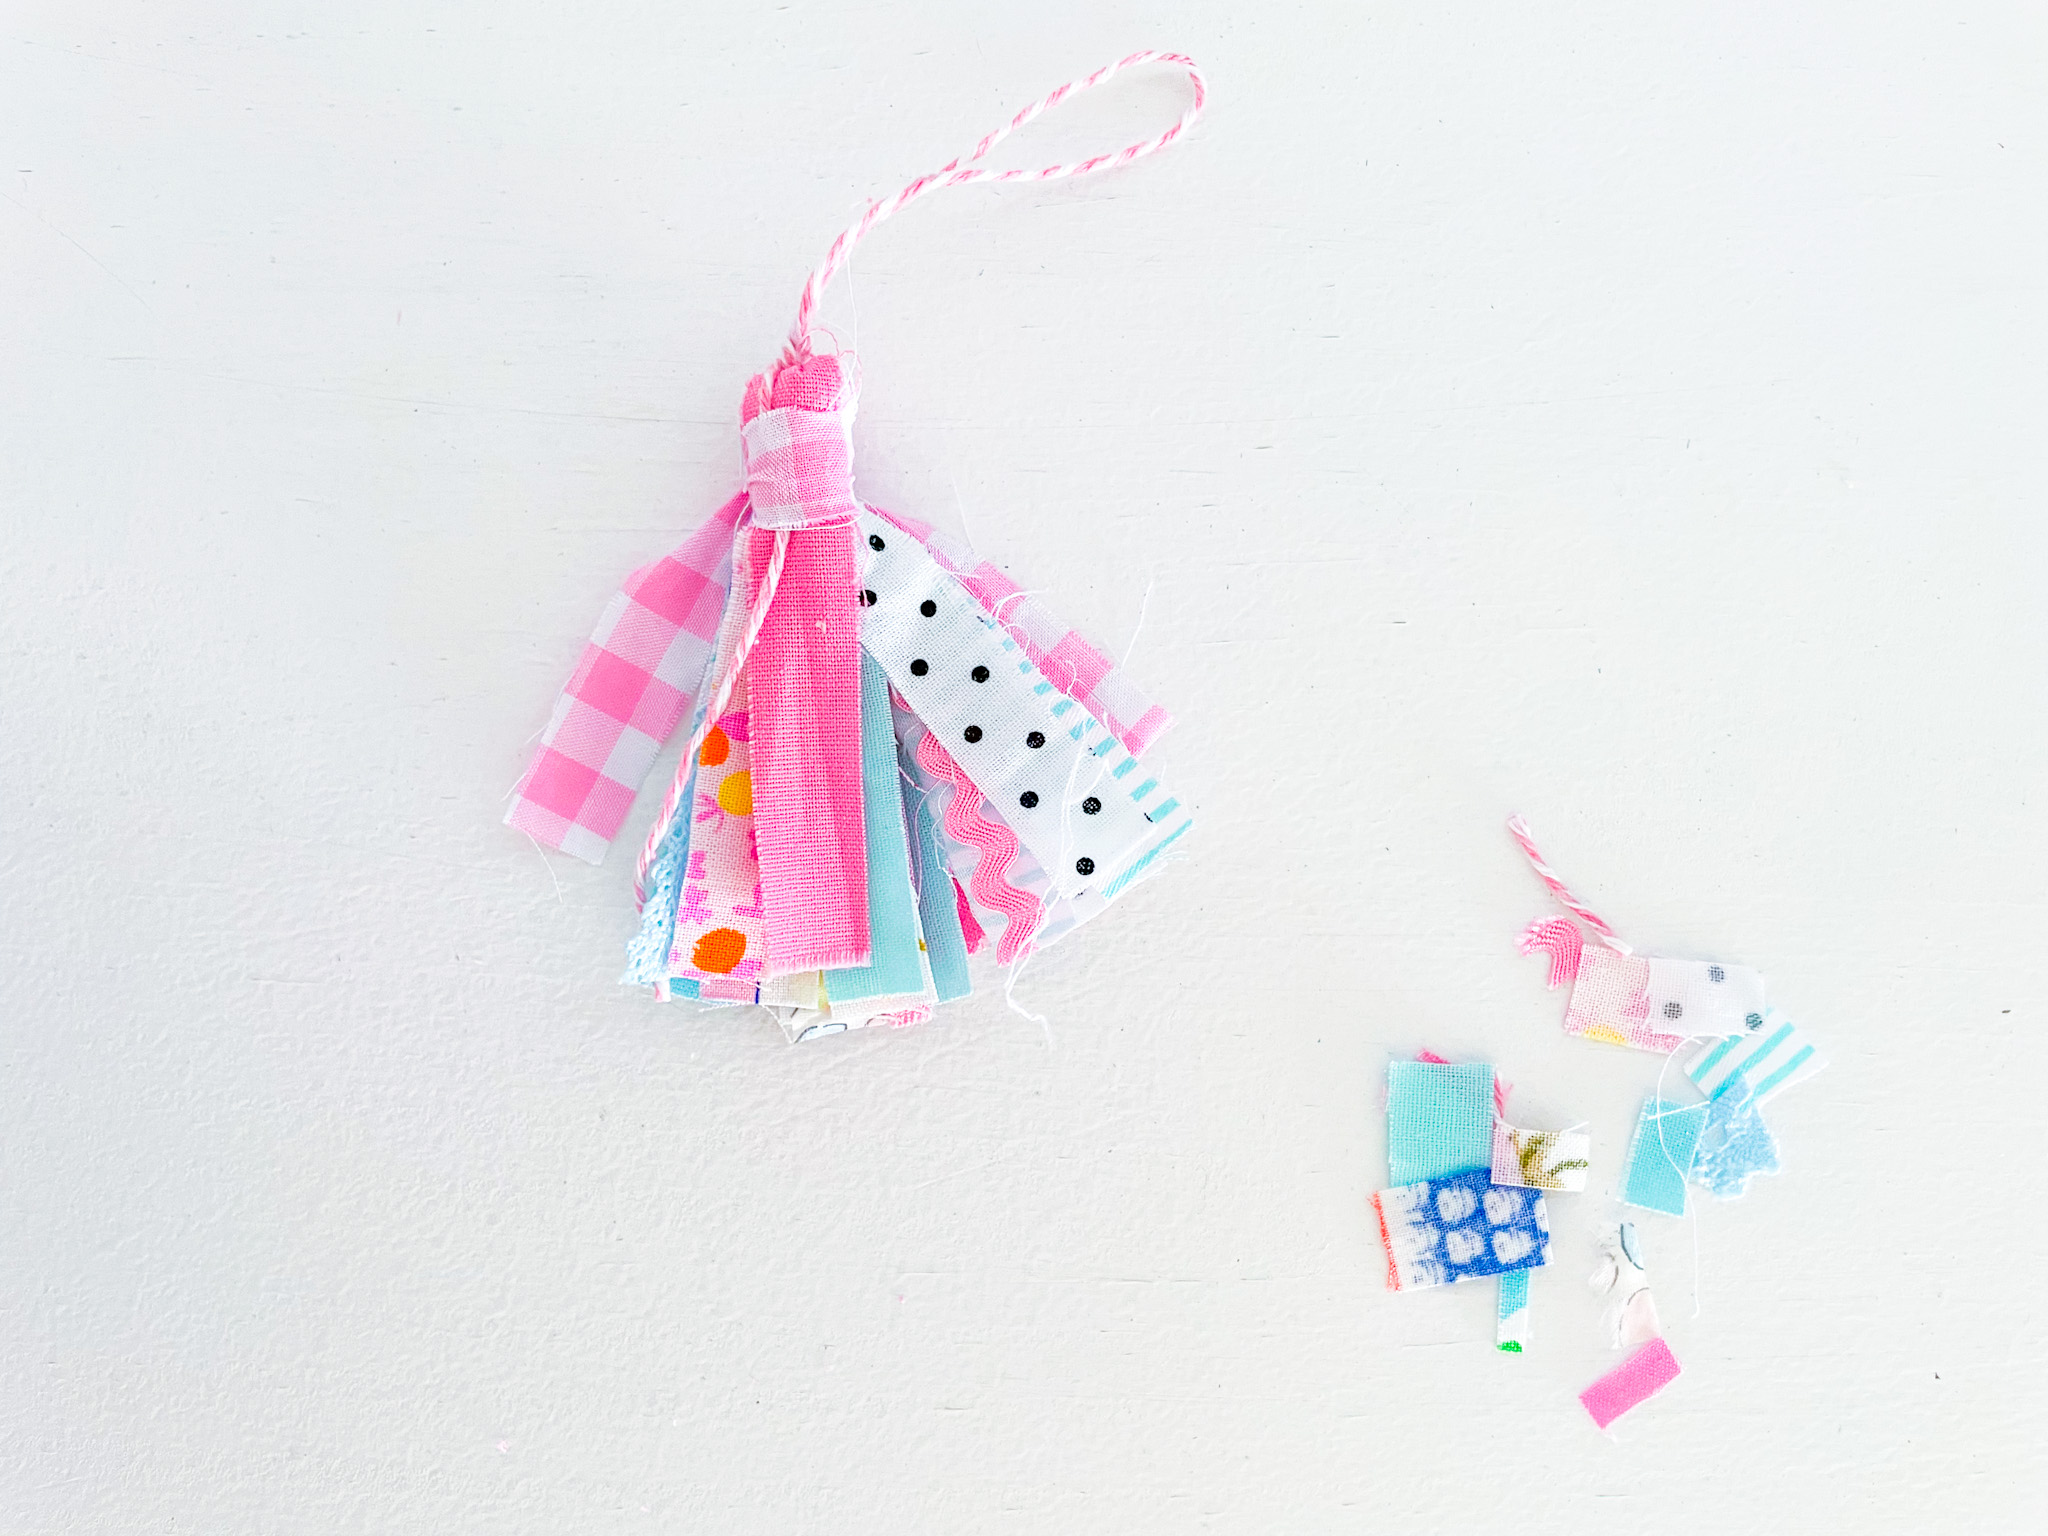
Tie the twine around the middle of the pile in a double knot to secure everything together. You should now have a bundle that looks like this:
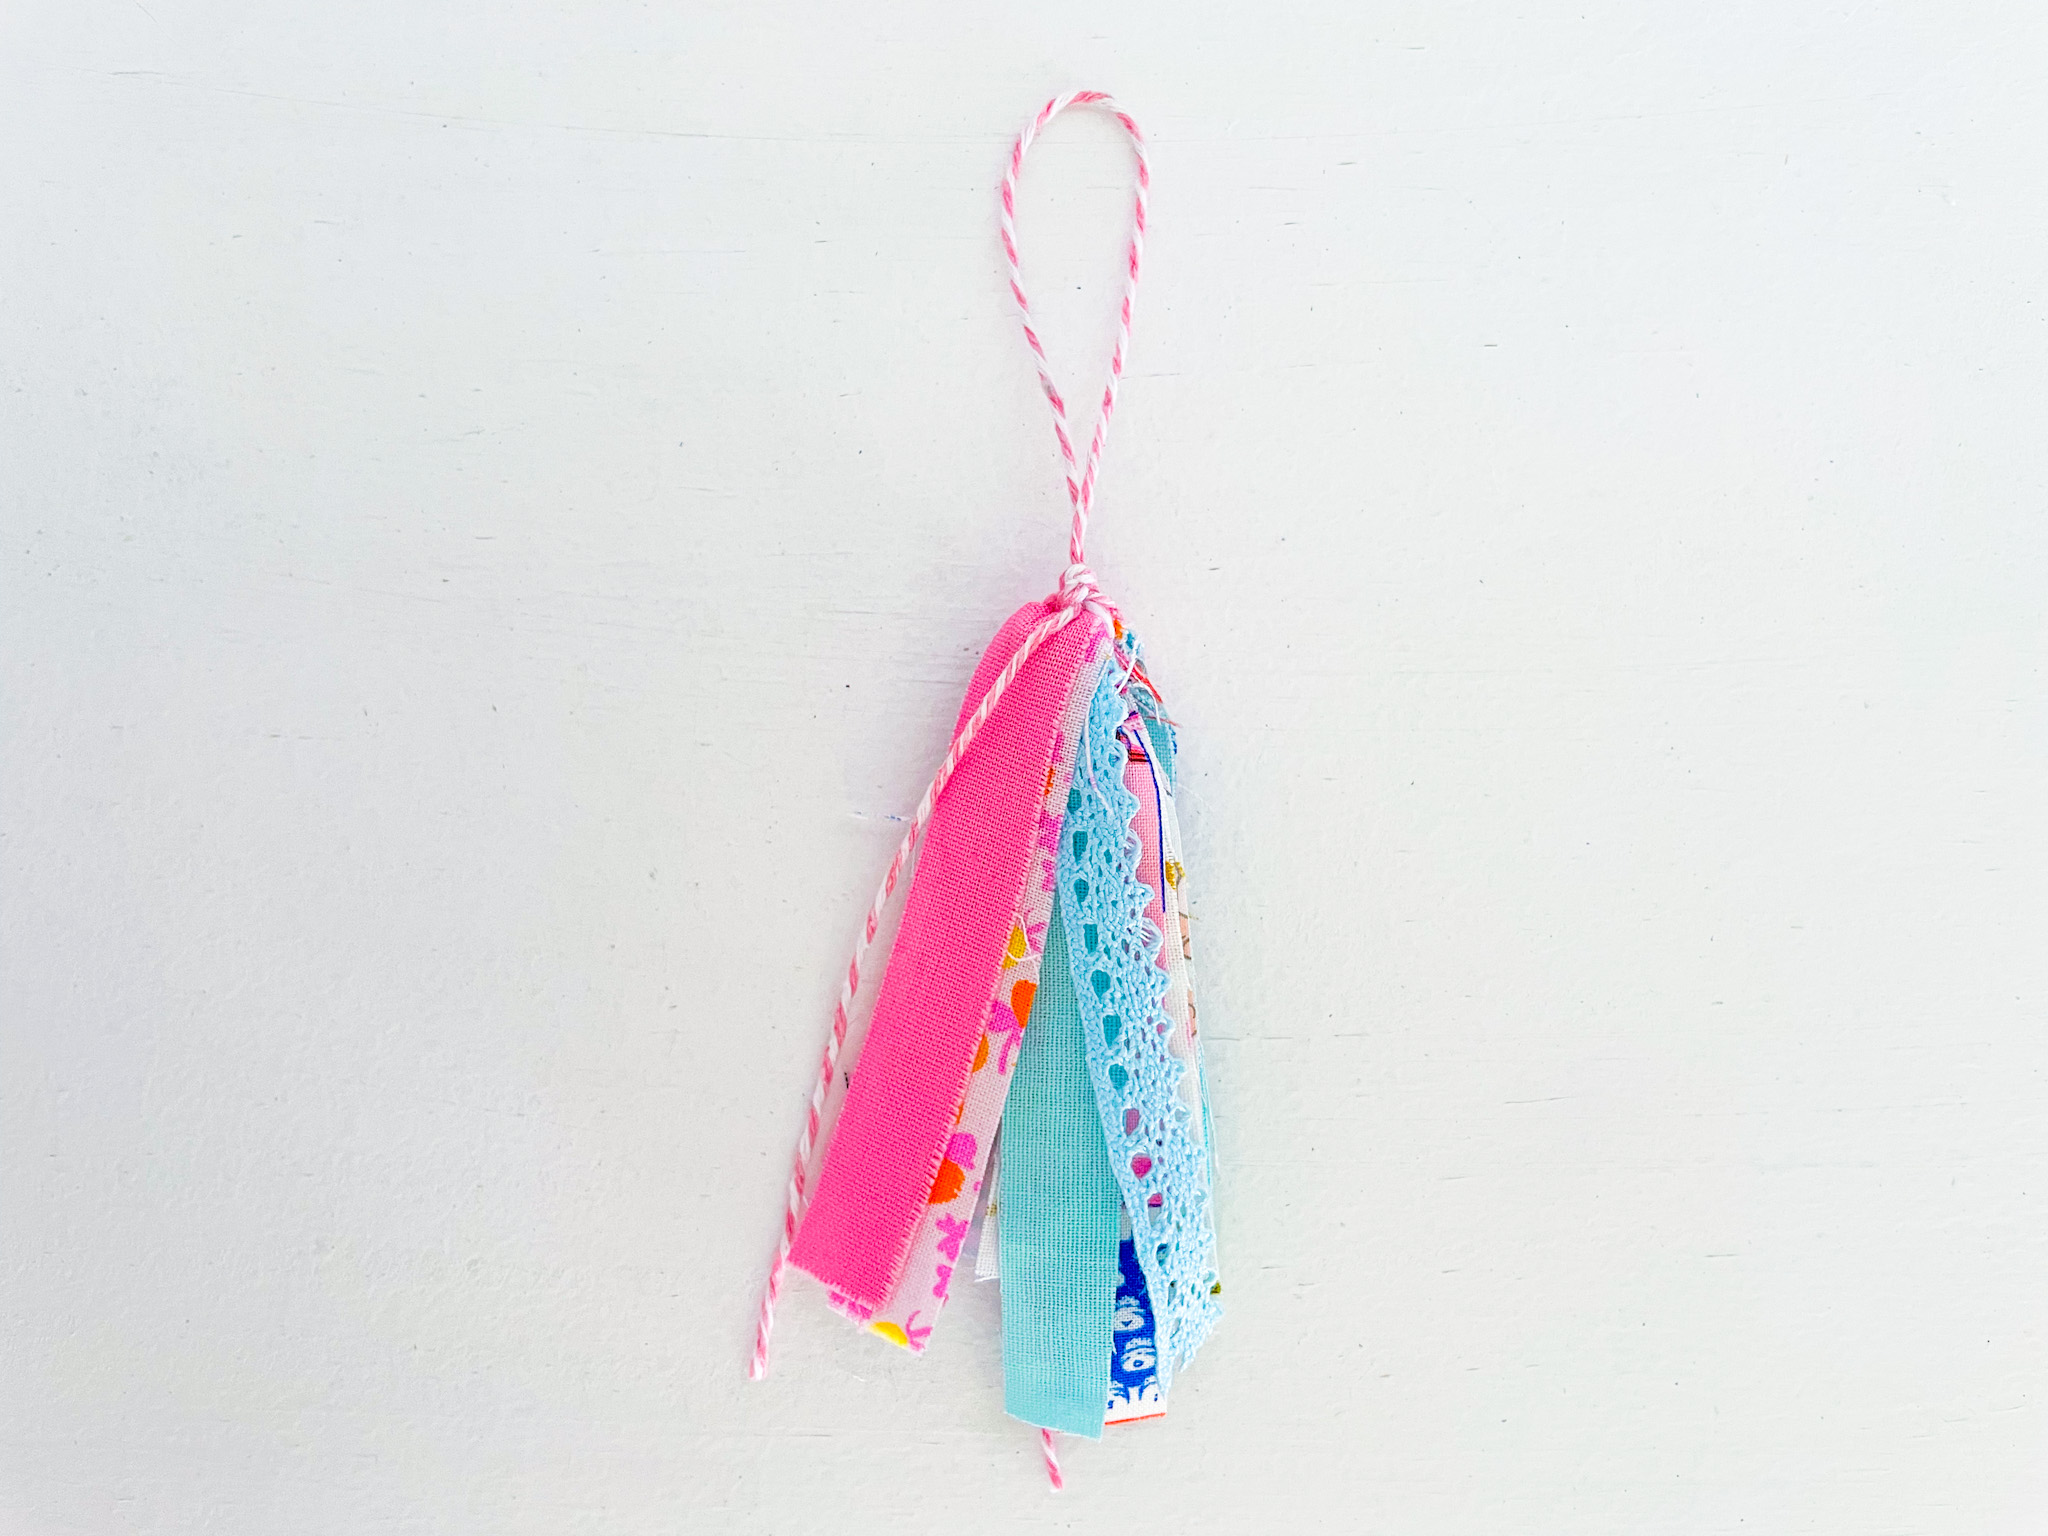
5. Fold all the fabric and trim strips downward, away from the twine loop. Make sure the tails of your baker’s twine are folded down along with the strips, as they will become part of the tassel itself.
6. Take the remaining 8″ × ½” fabric strip and tie it around the tassel about ½” from the top using a double knot. After your first knot, take a moment to adjust the fabric and gently arrange the strips so they’re sitting evenly, then pull tight to secure the final knot.
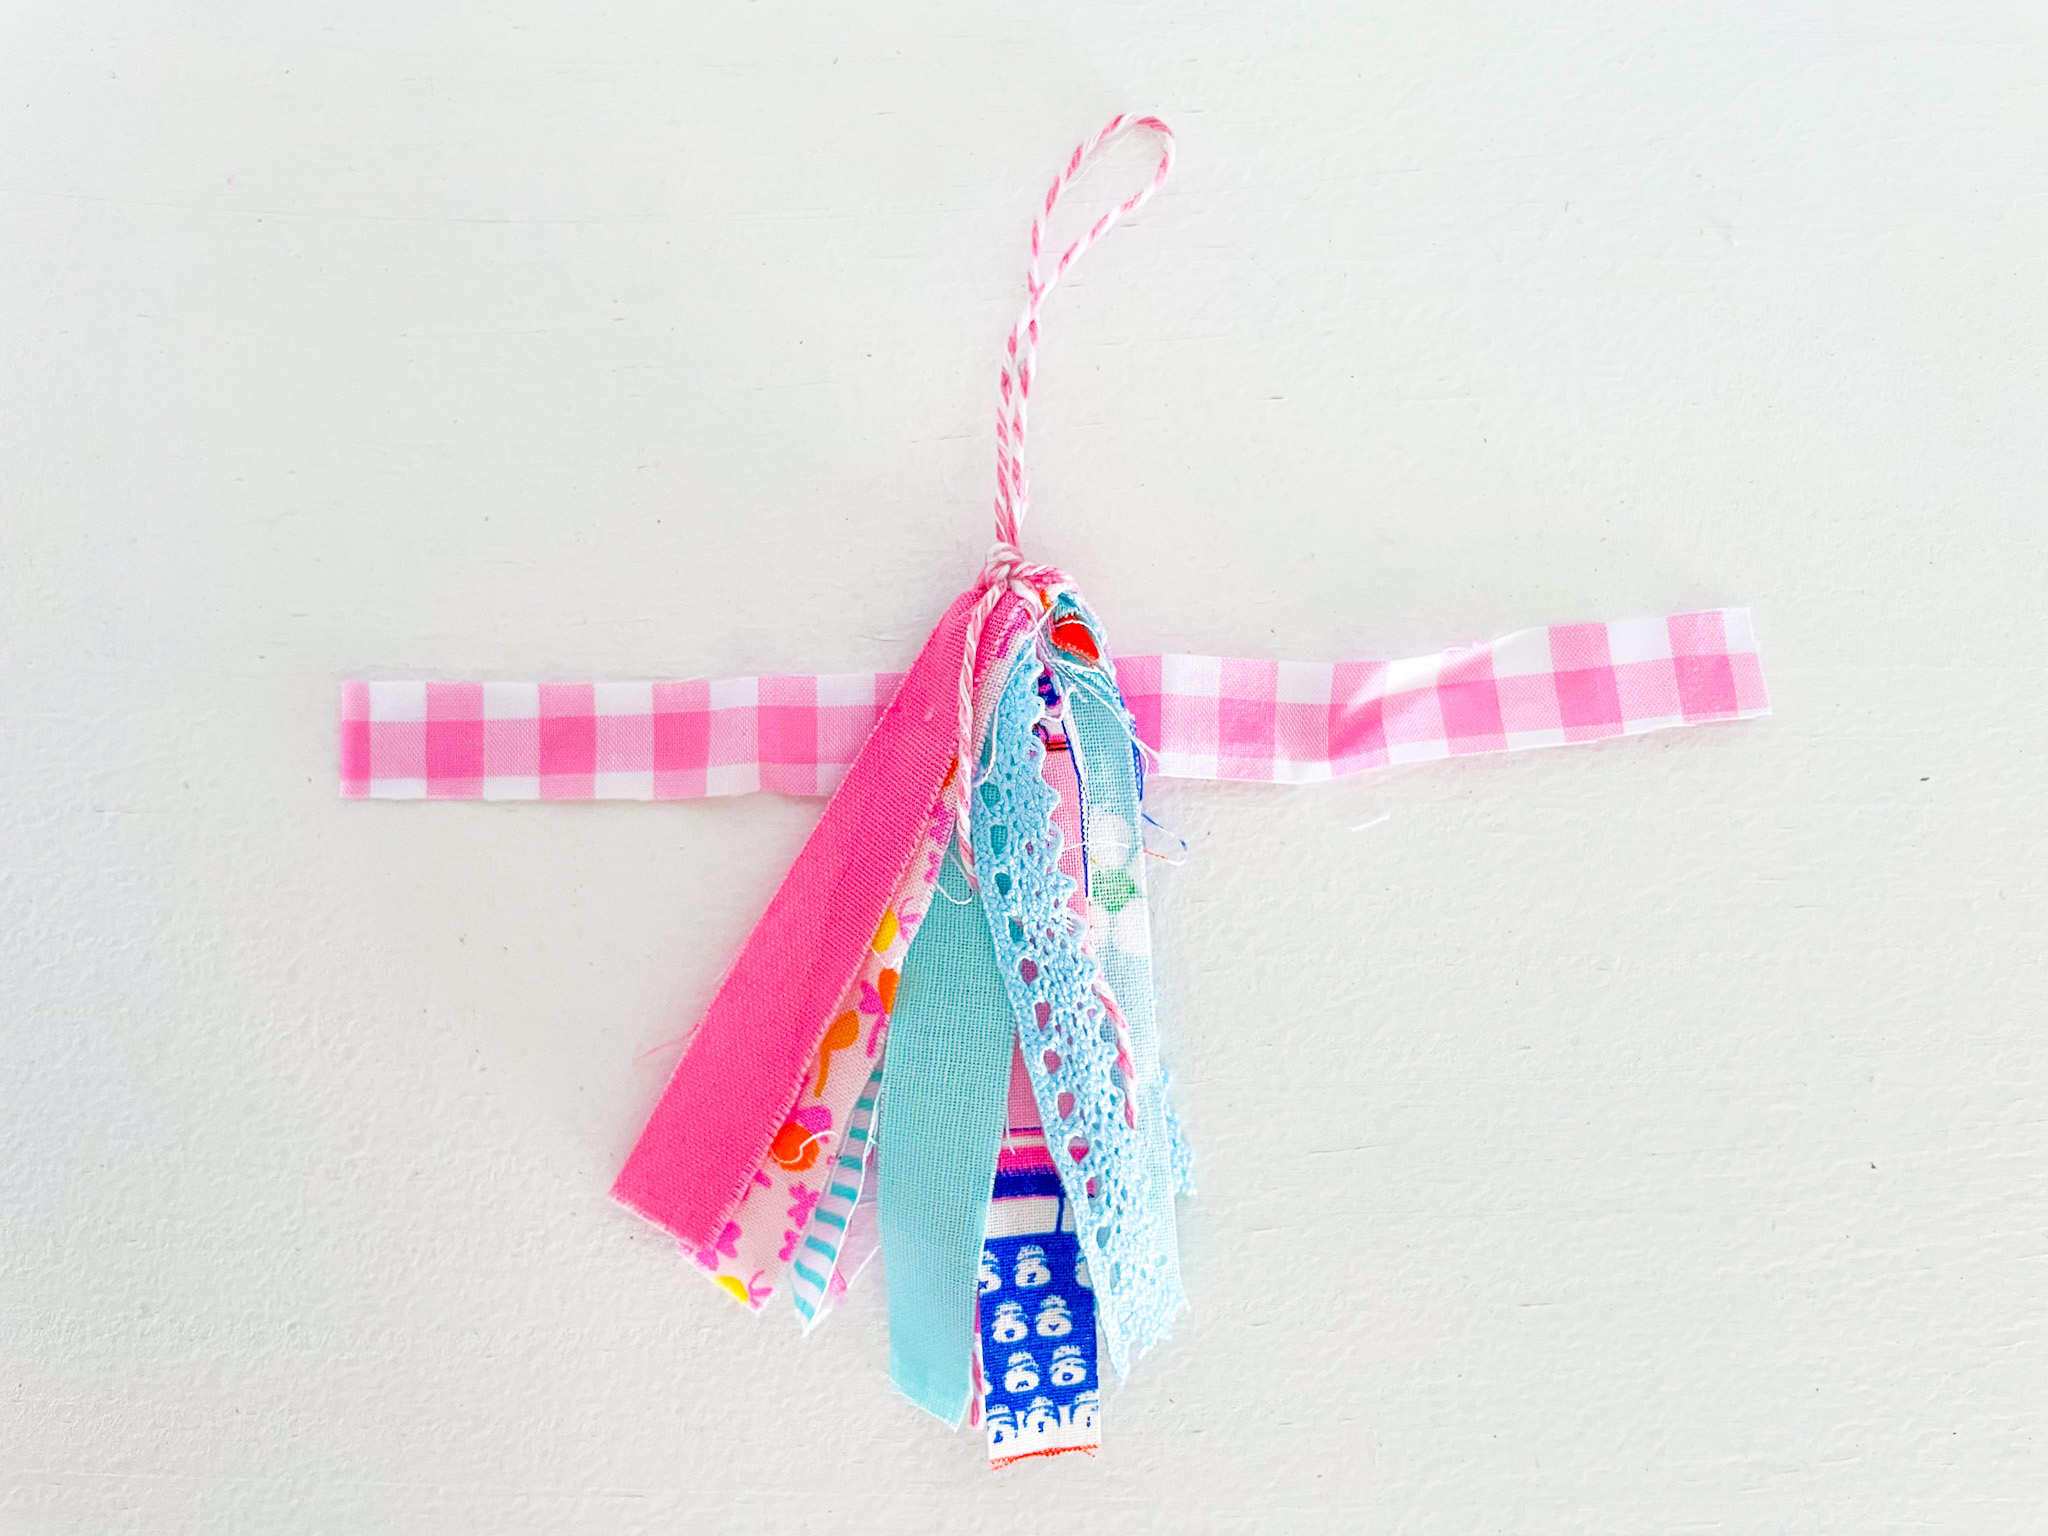
NOTE: The bit of fabric you used for tying will become part of the tassel.
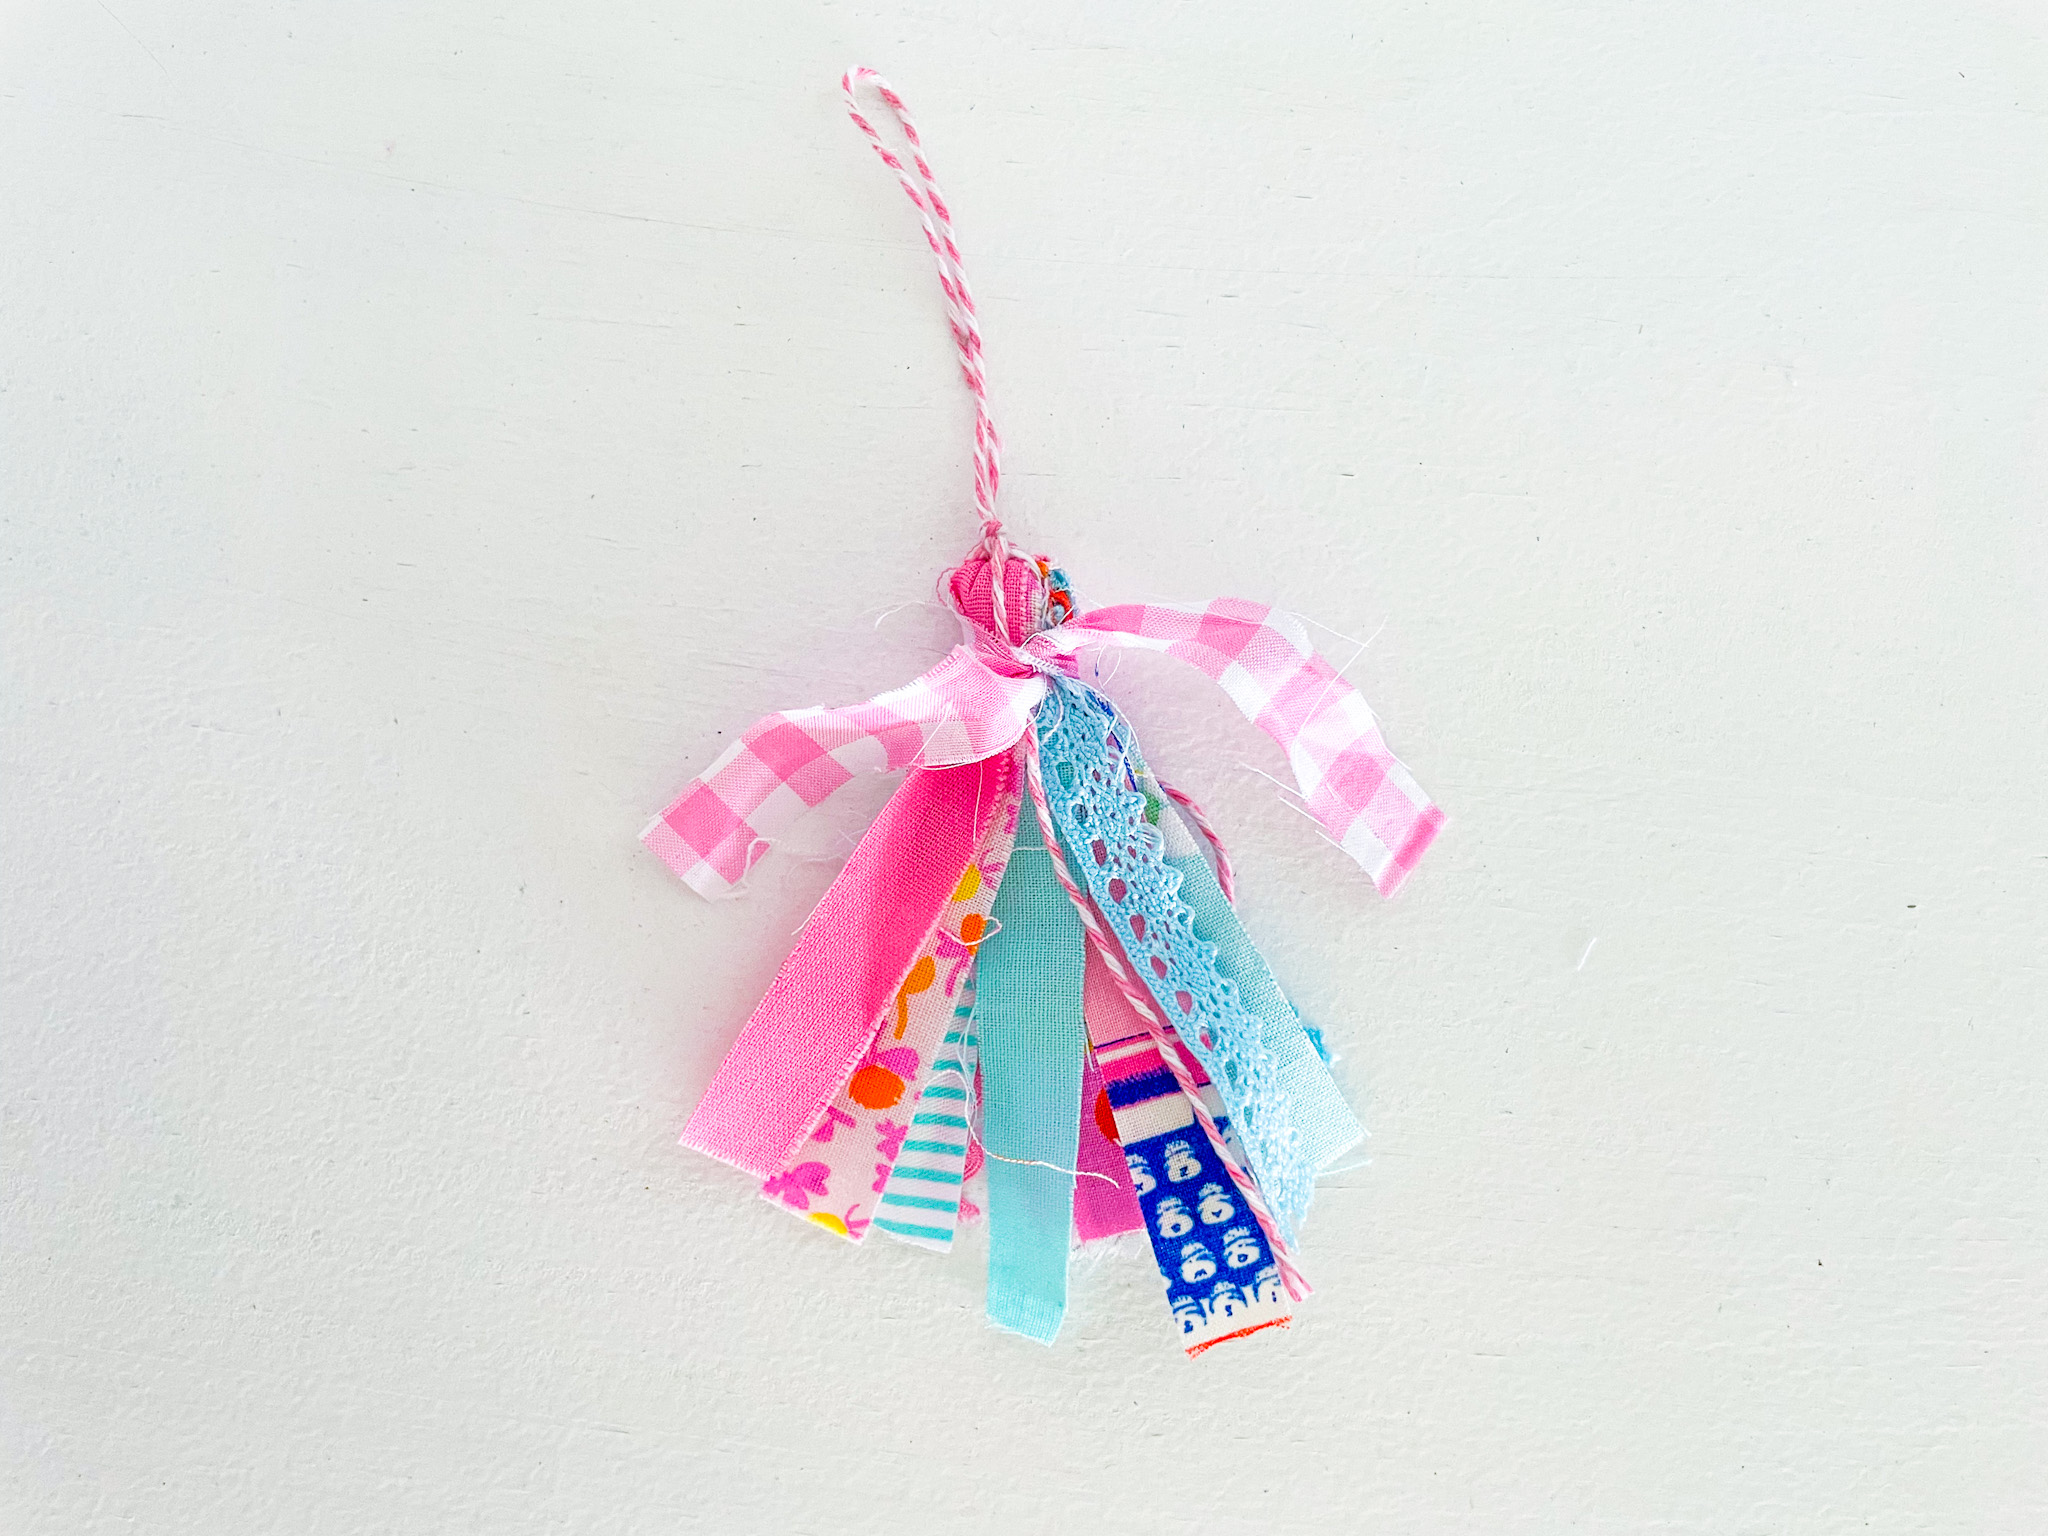
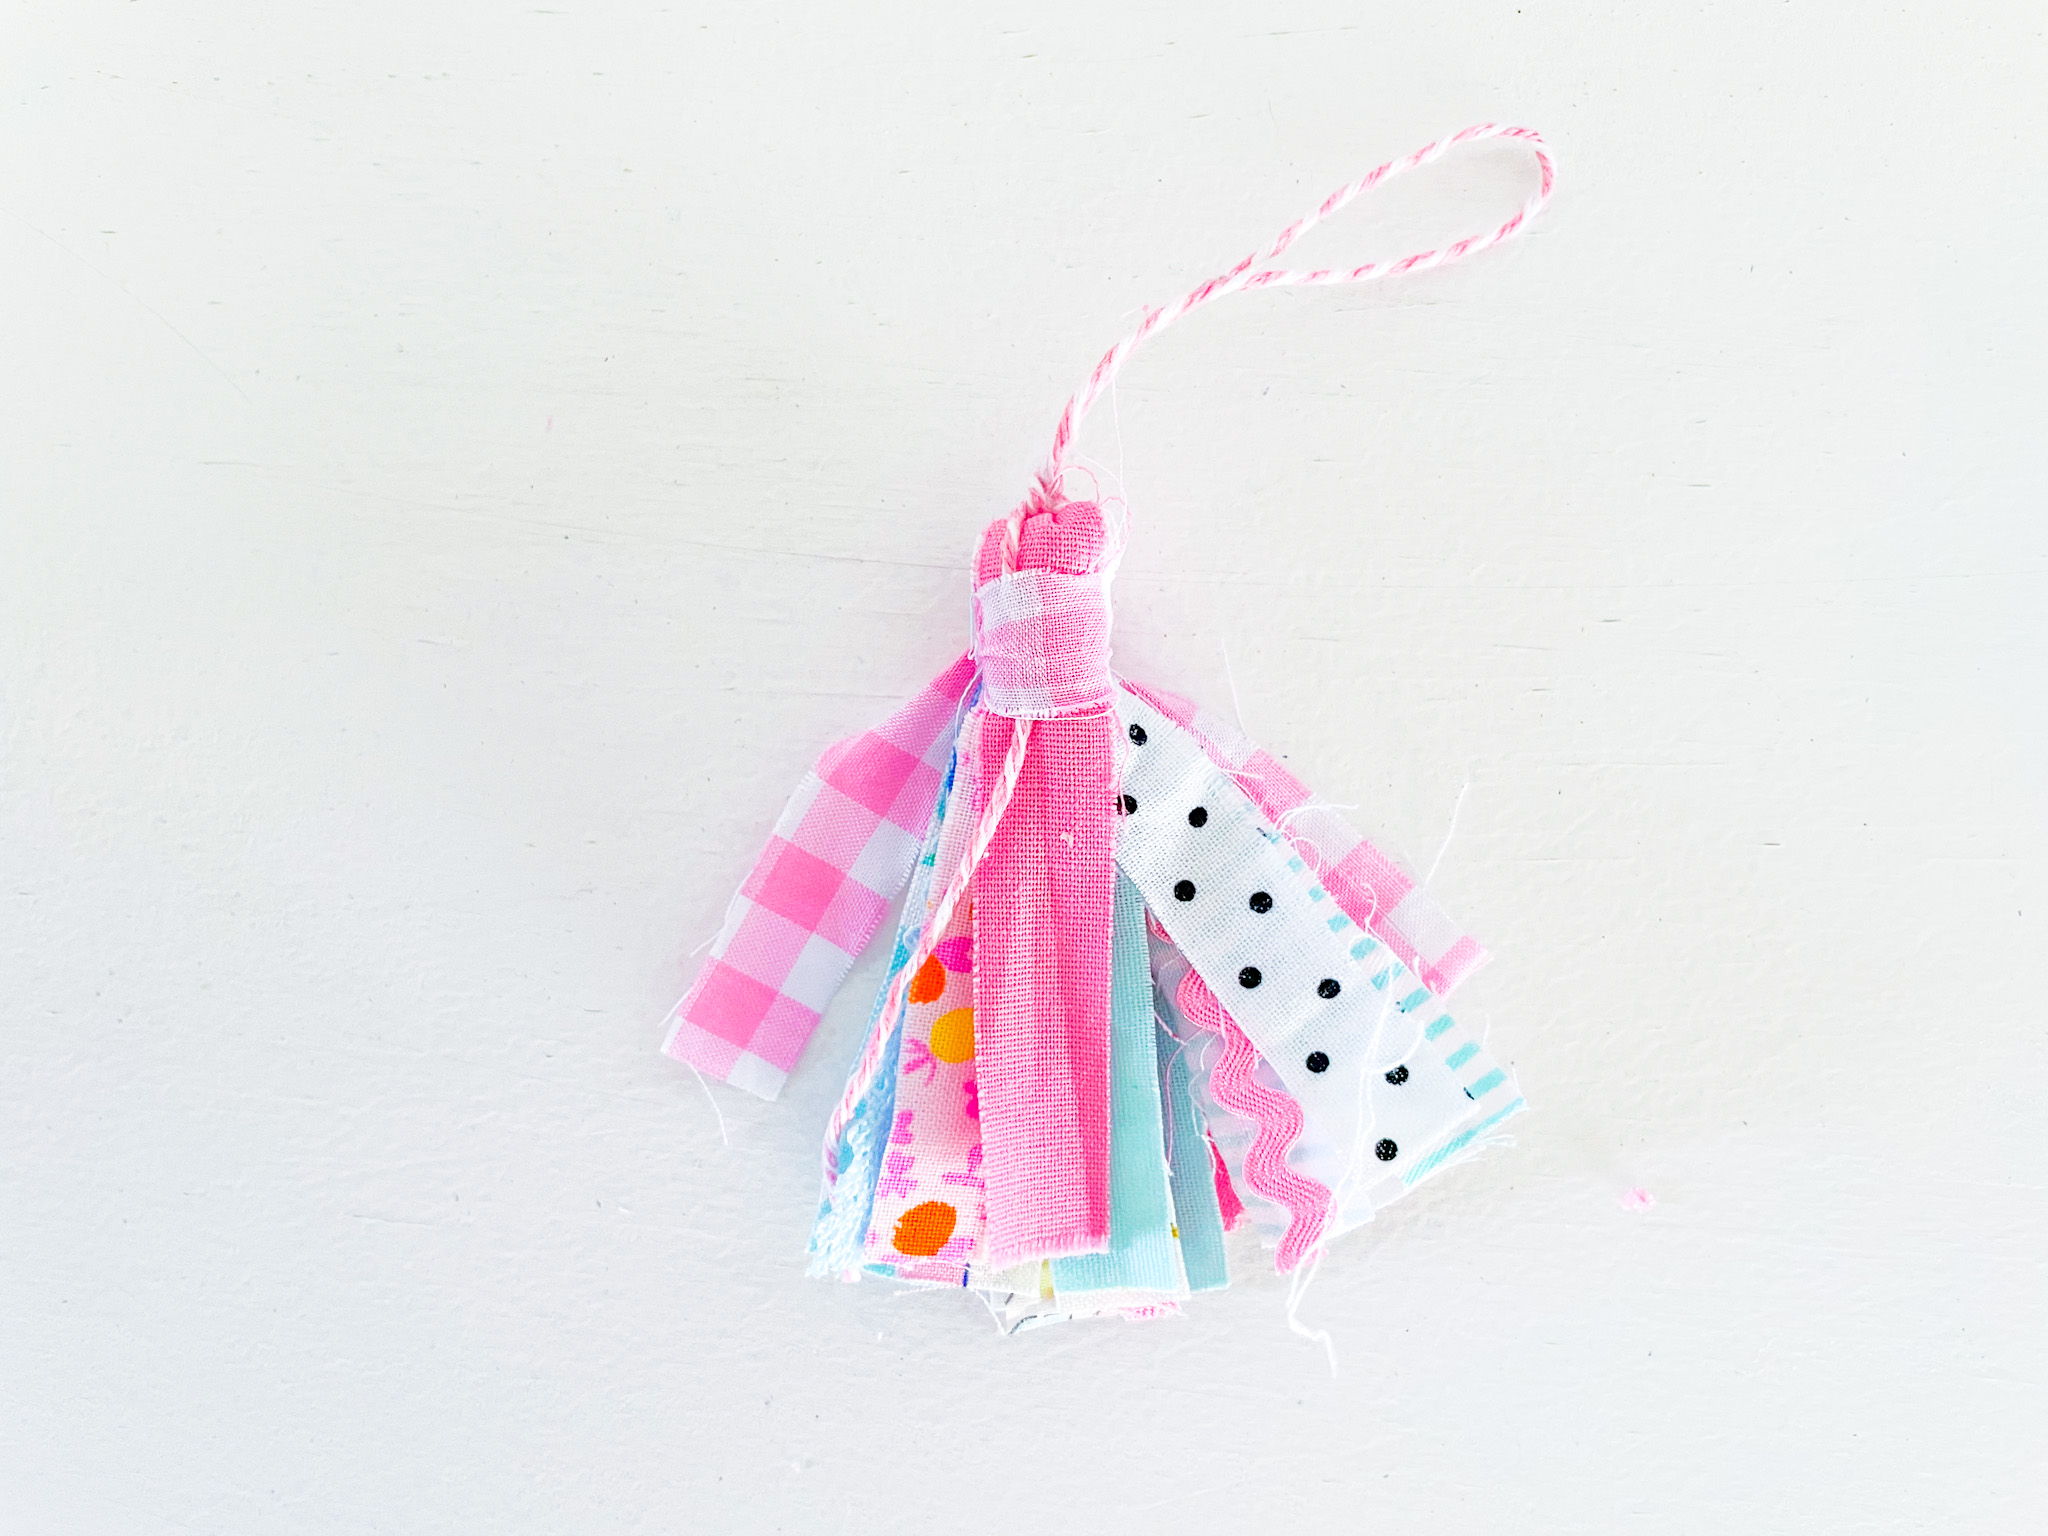
7. Trim your tassel so the fabric, trimmings, and twine are roughly the same length as the other pieces in your tassel. Don’t worry about making them perfectly even—this is a scrappy tassel, and a little unevenness is part of the charm!
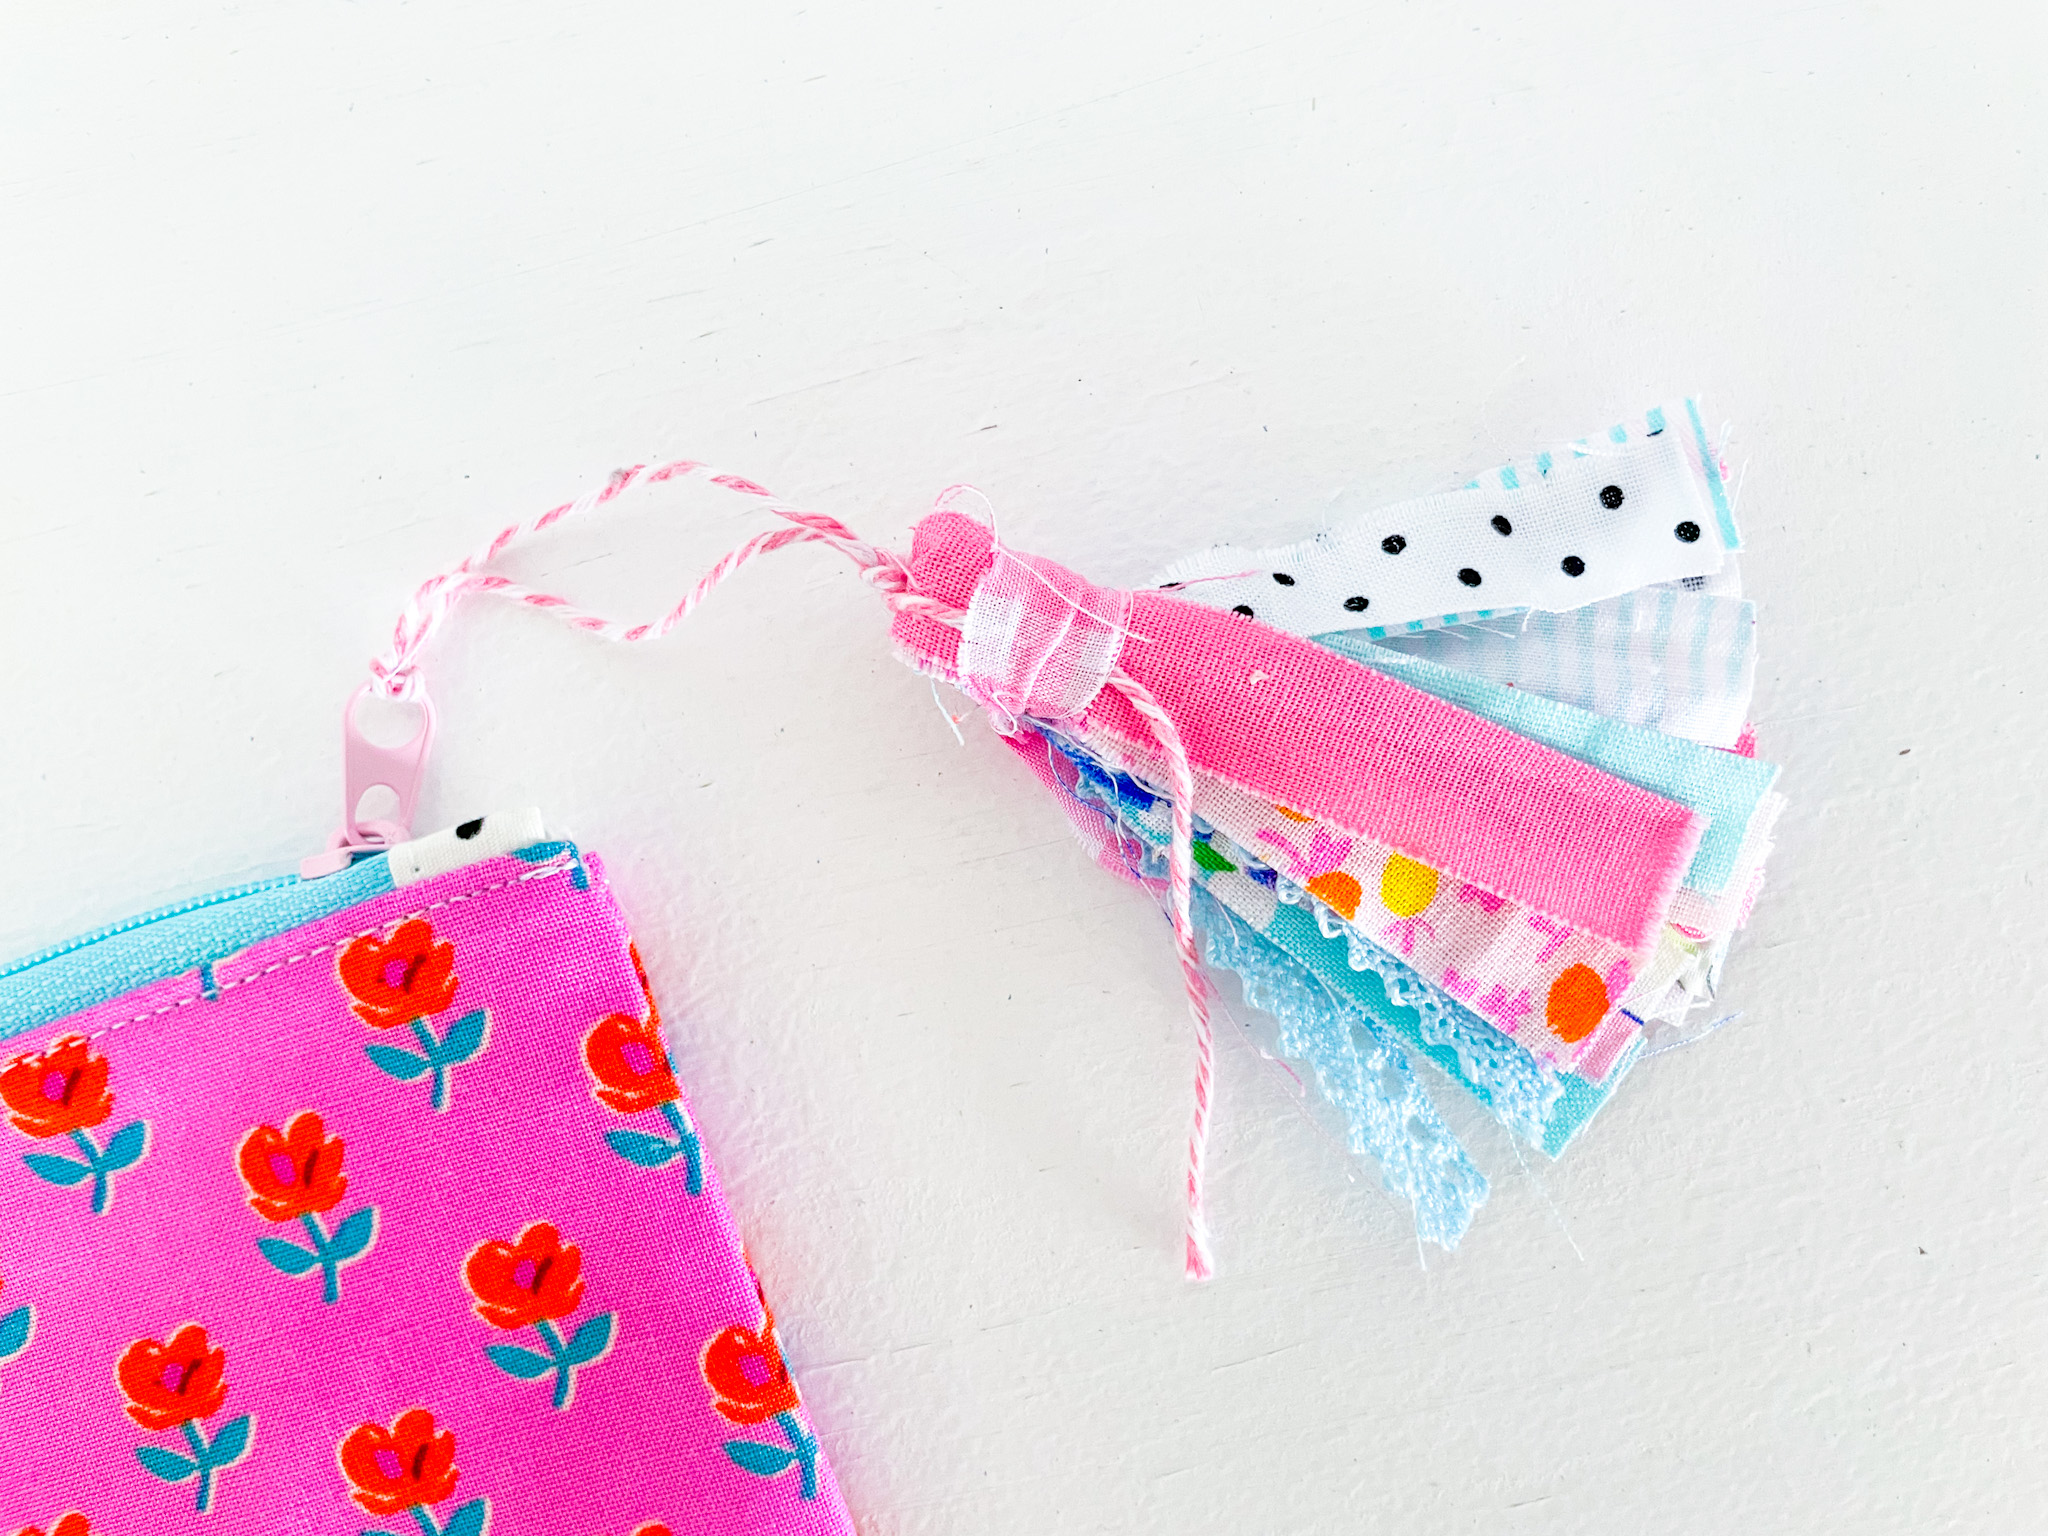
Ta-da! You’ve now made a cute scrappy tassel zipper pull-super easy and lots of fun, right?
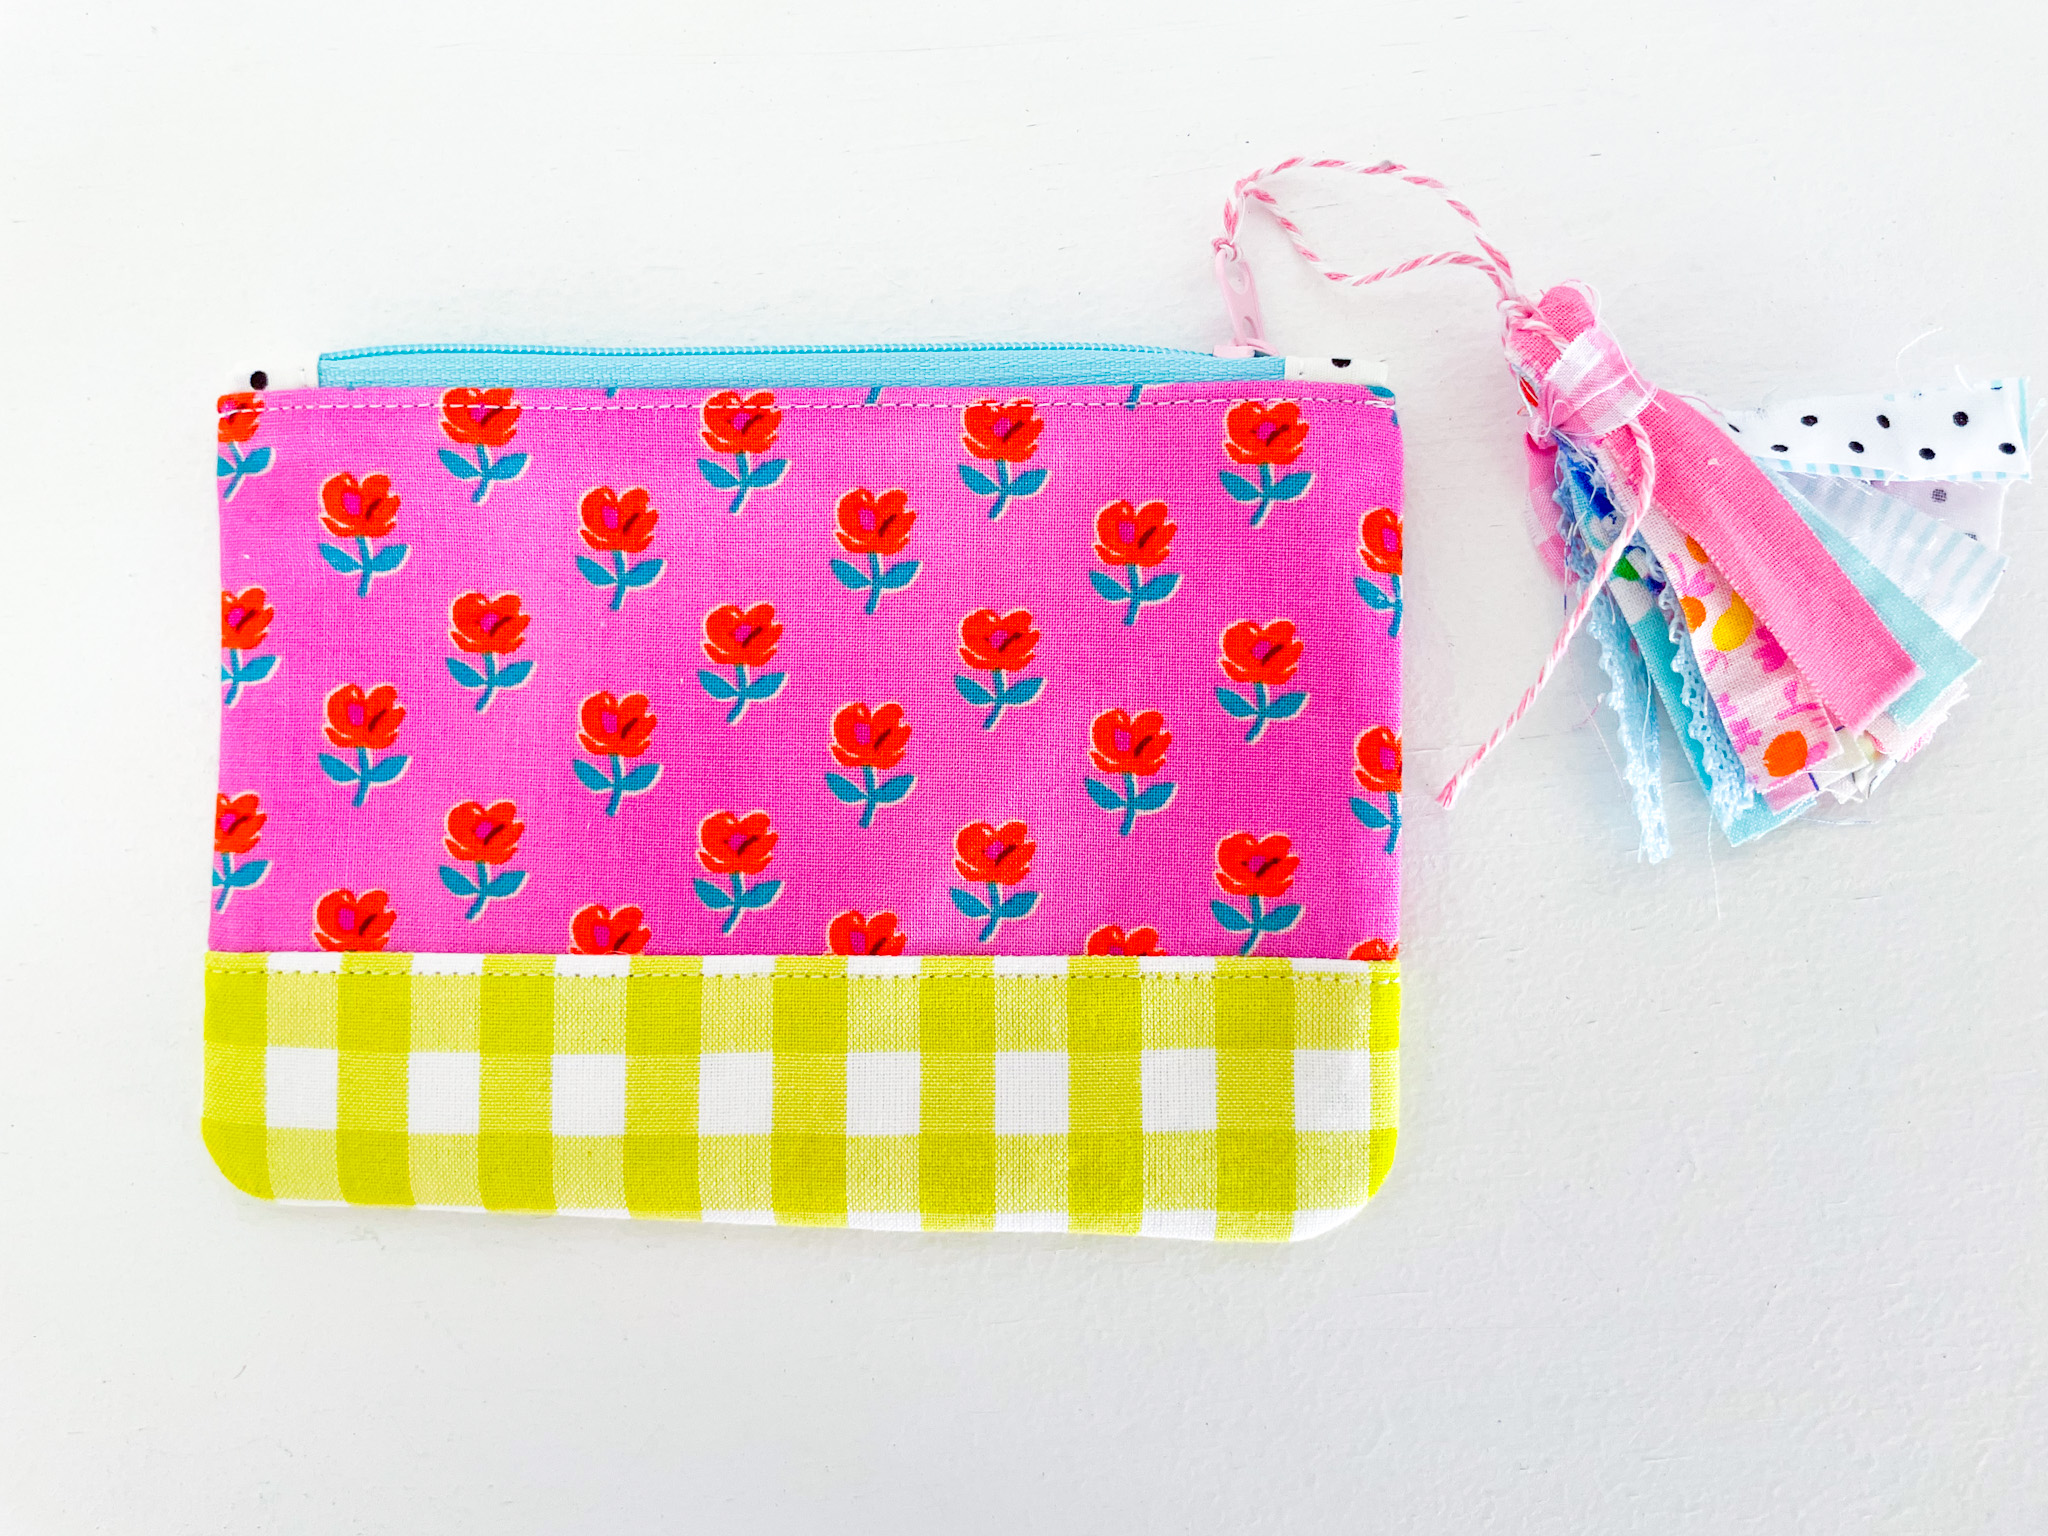
Use it to jazz up your favorite zipper pouch (just like I have), gift it to a friend, turn it into a key fob, or simply make a little collection of your own scrappy fabric tassels. The possibilities are endless!
If you found this tutorial helpful—or have any questions—drop me a comment below. And if you make a scrappy tassel, I’d love to see your creations! Tag me Instagram so I can share in your crafty fun.
Happy Sewing, Kellie X.

Thank you from Dolores